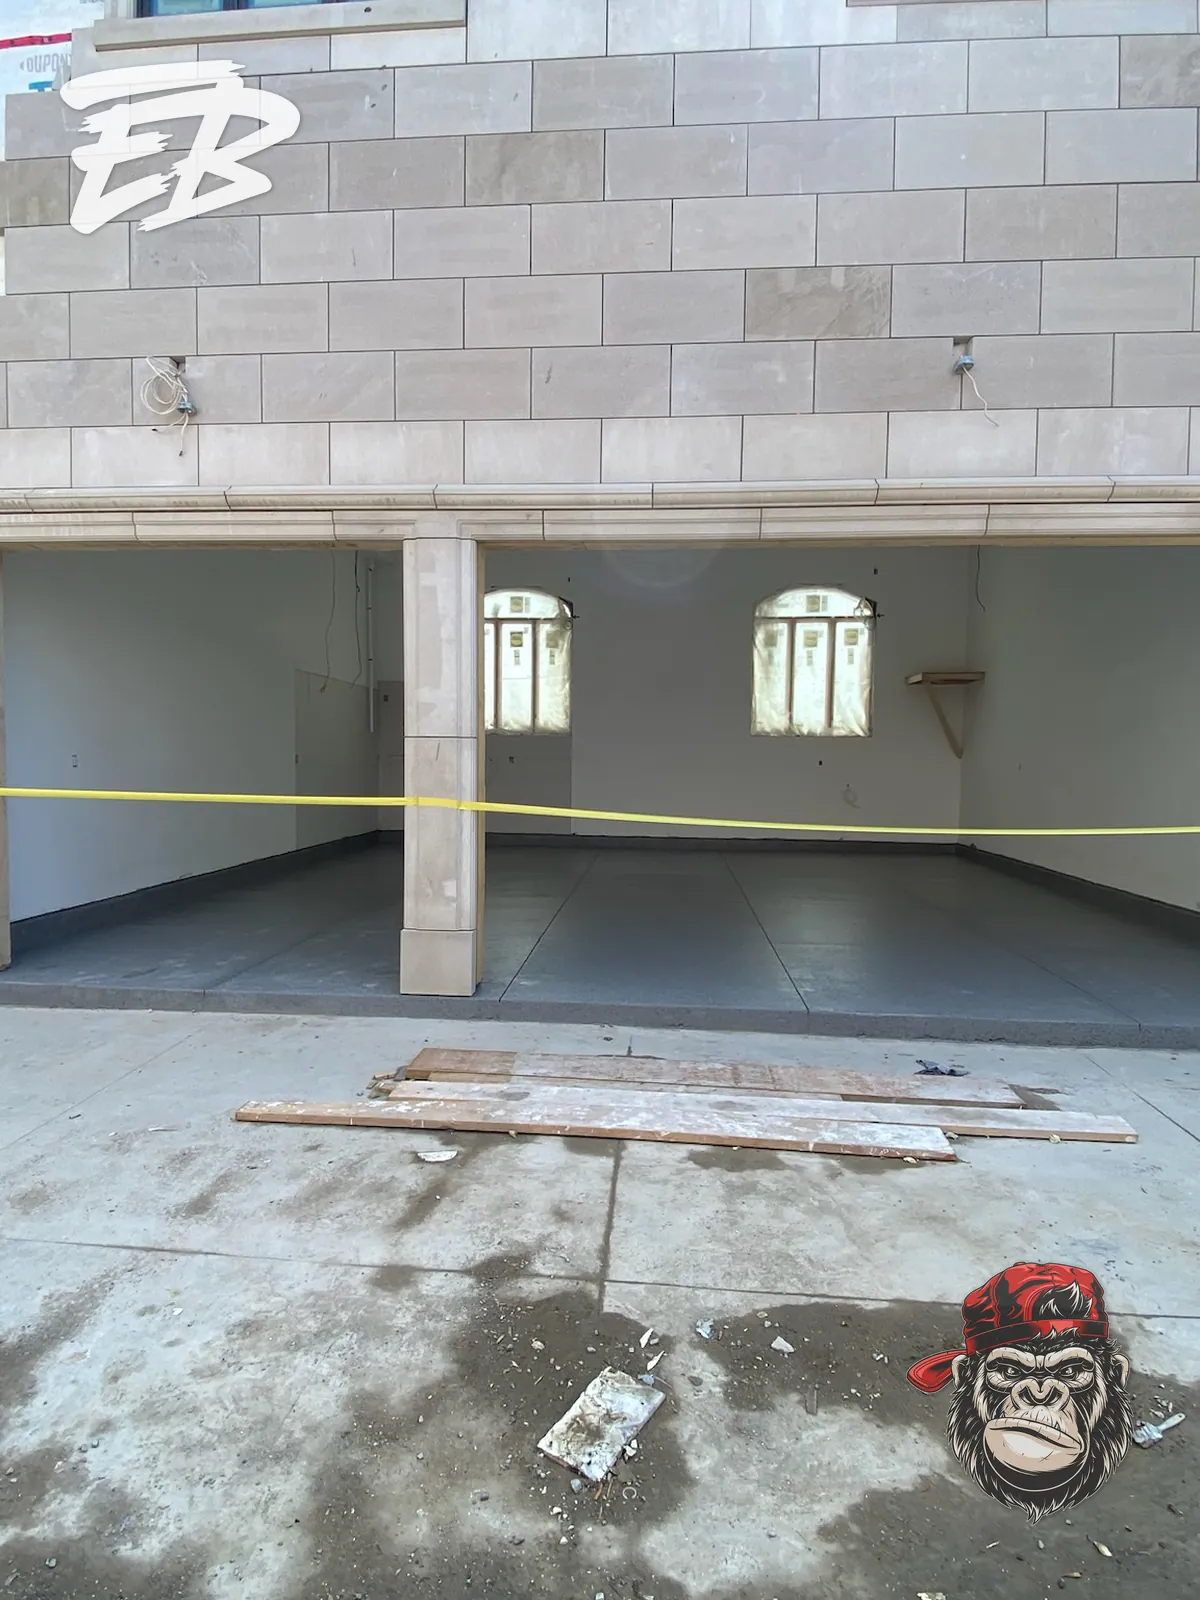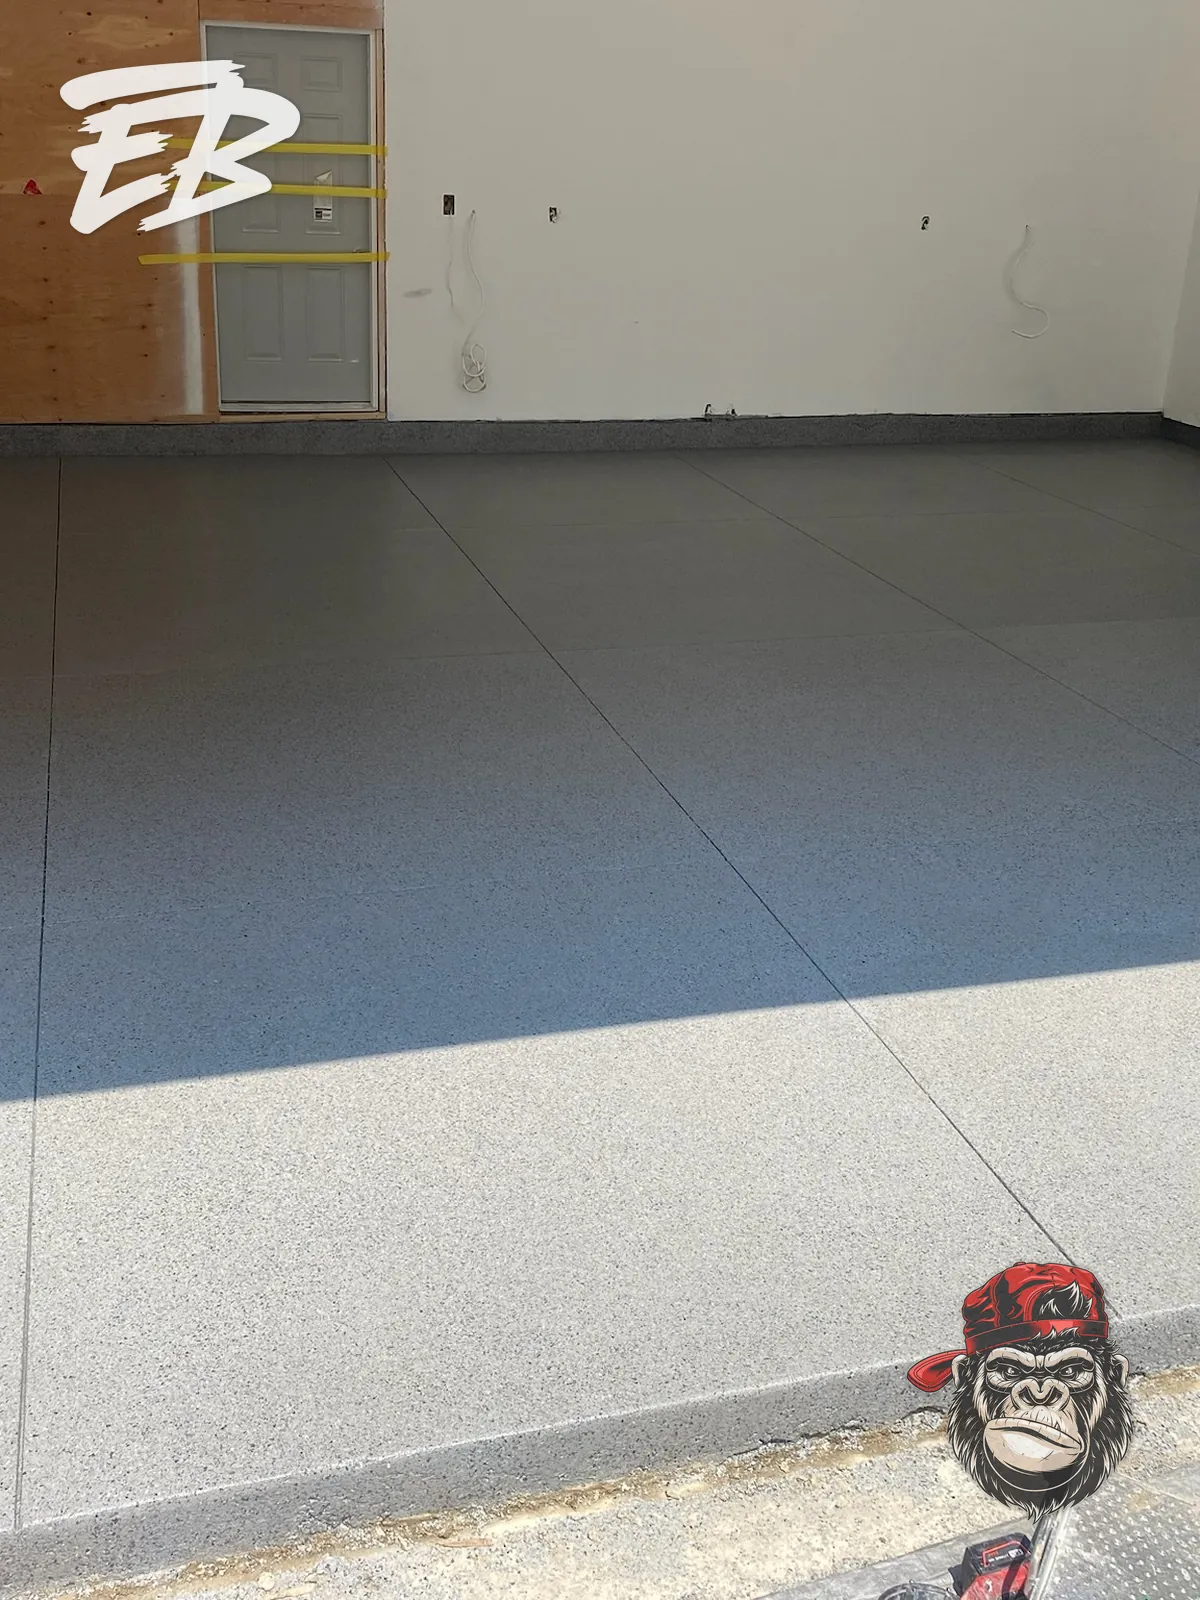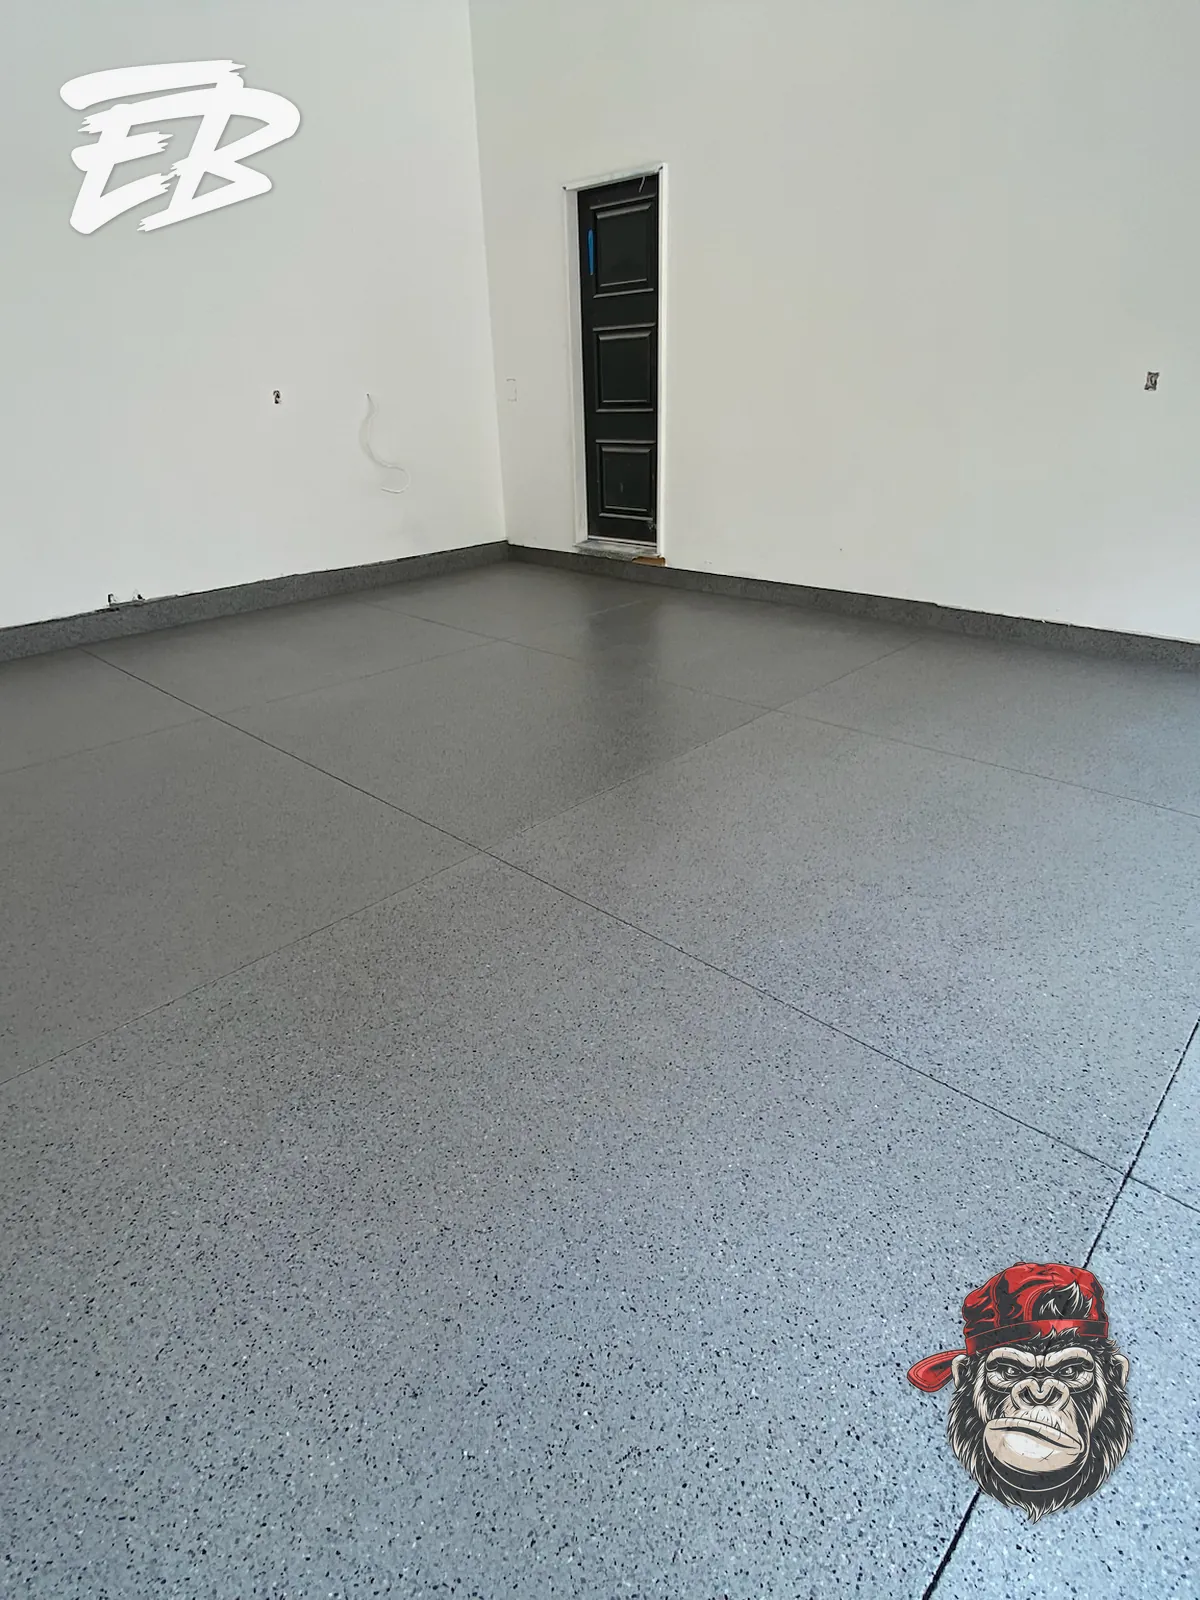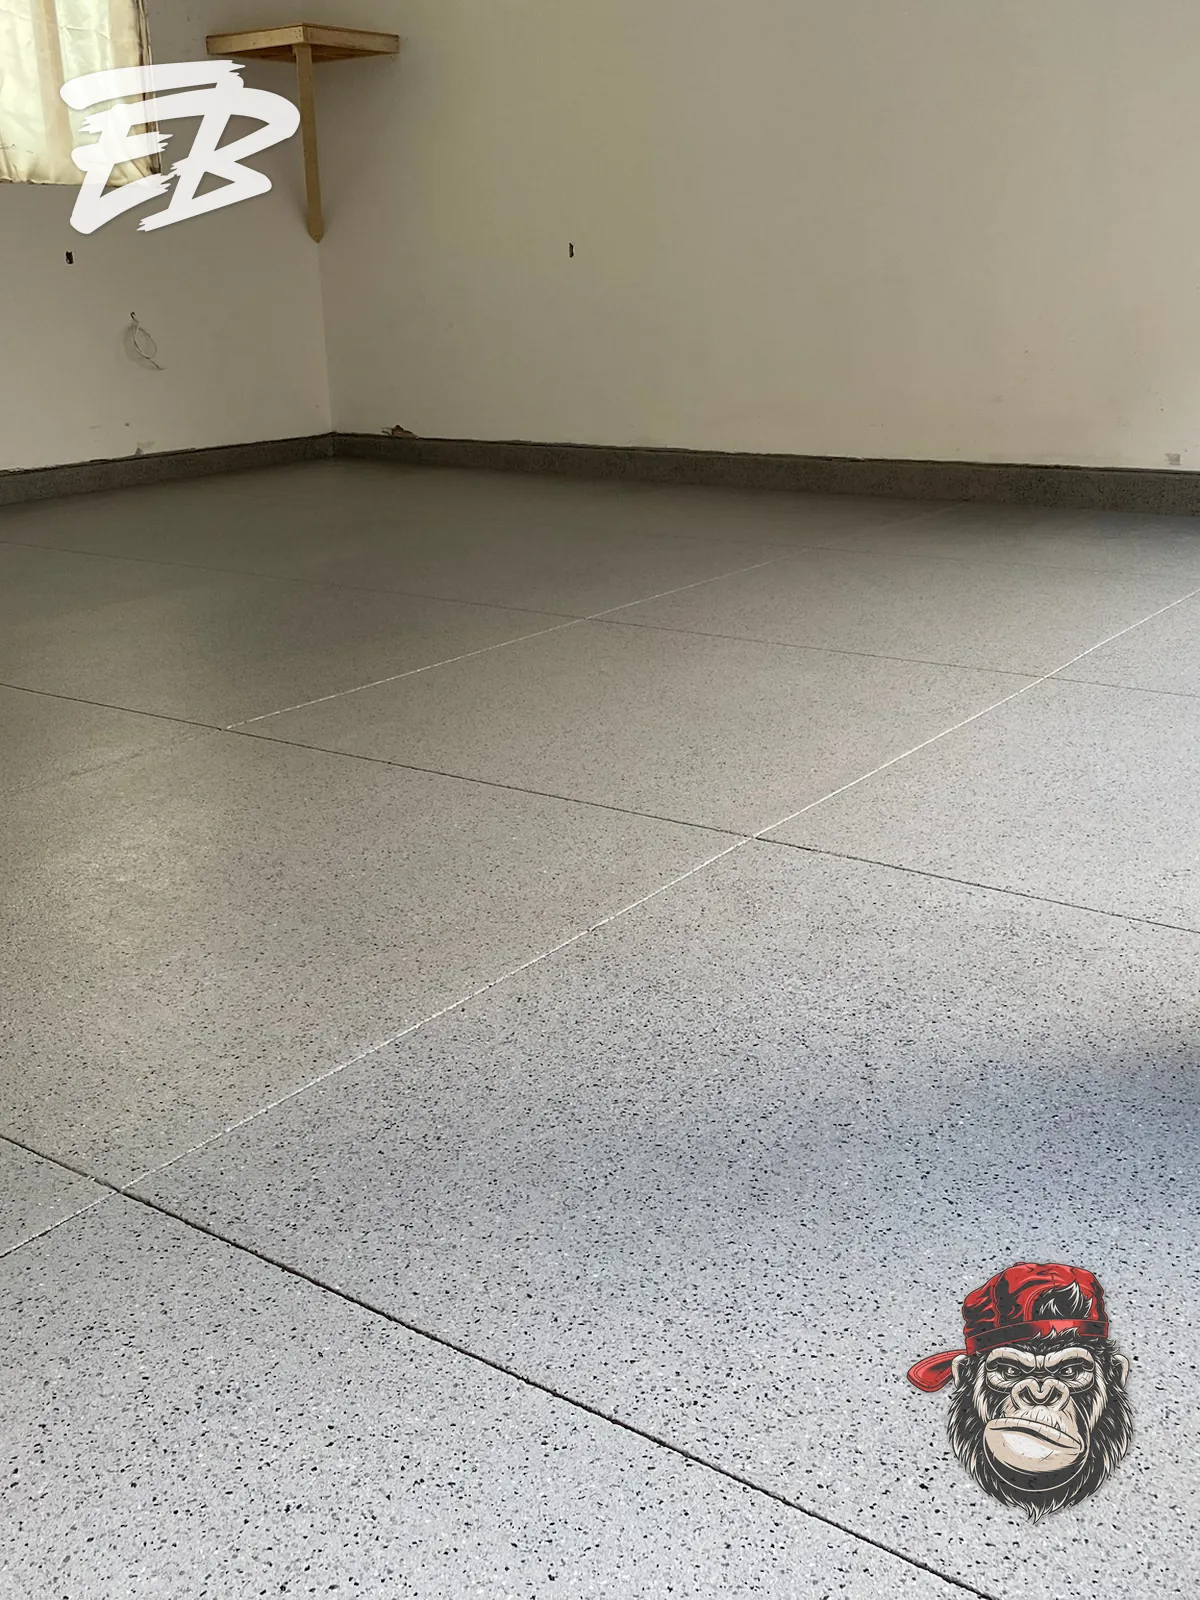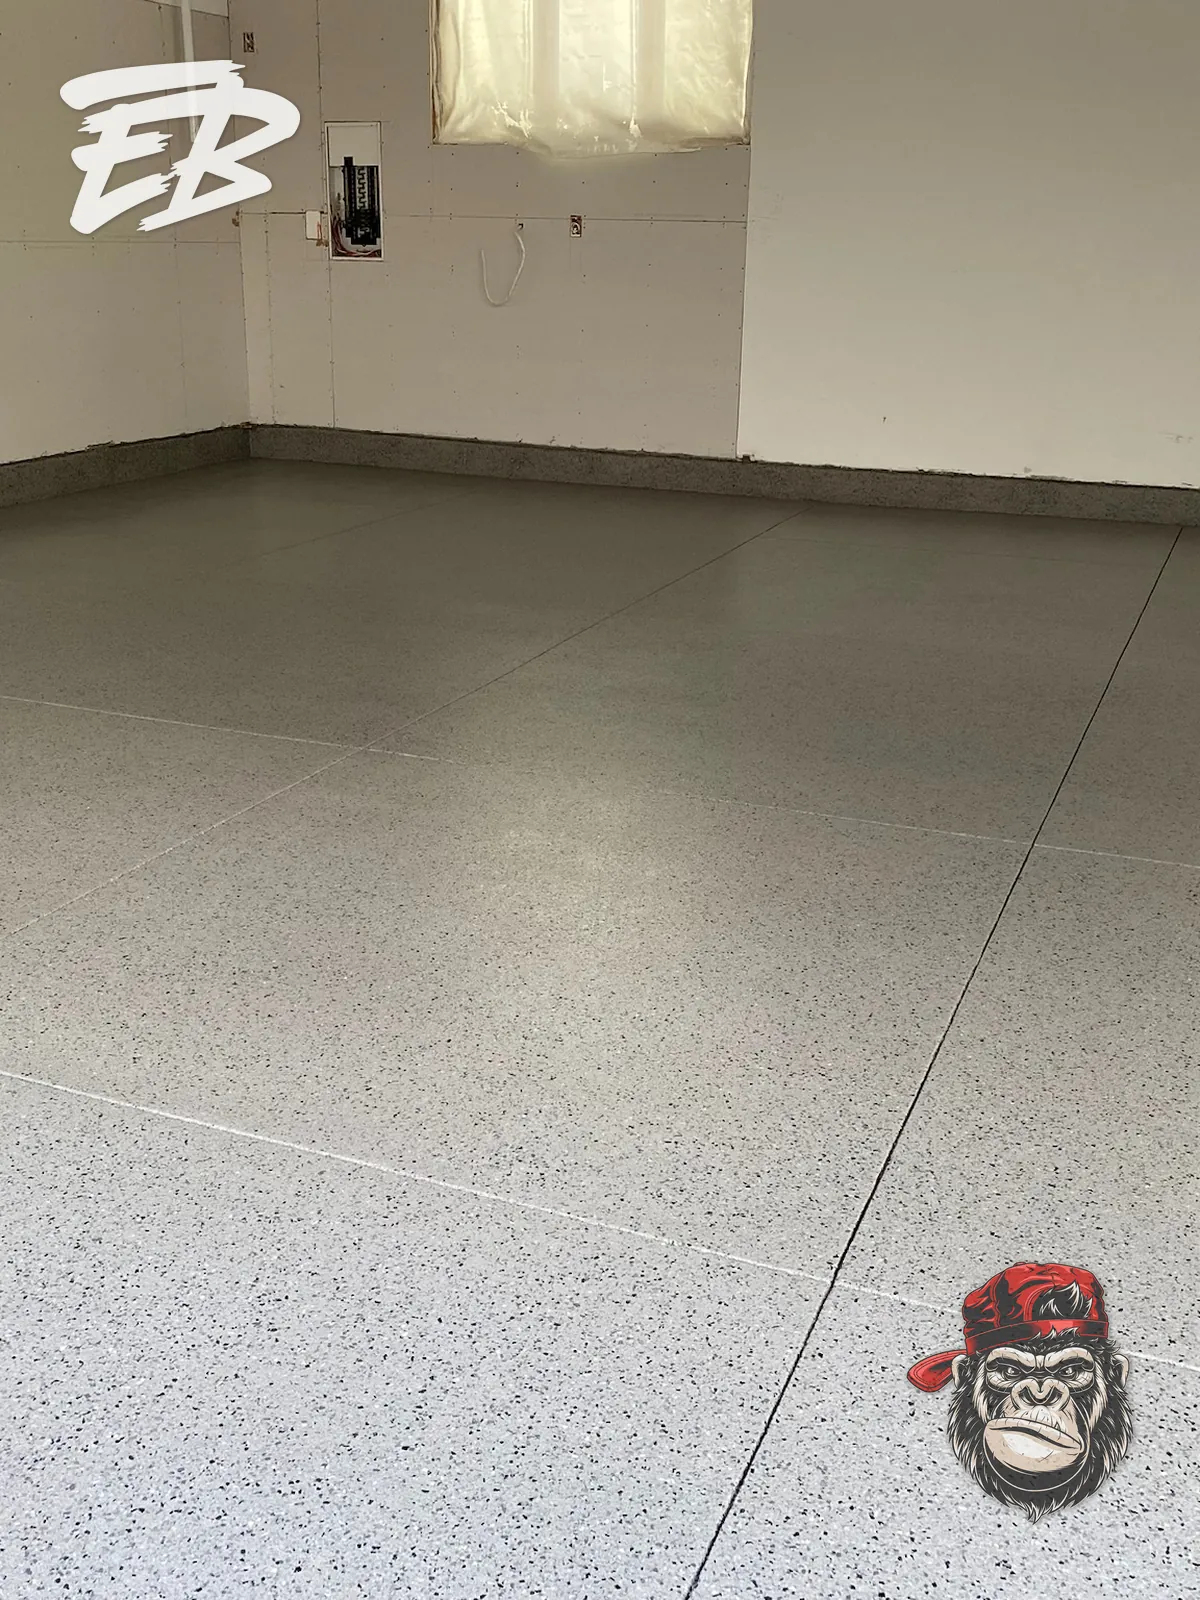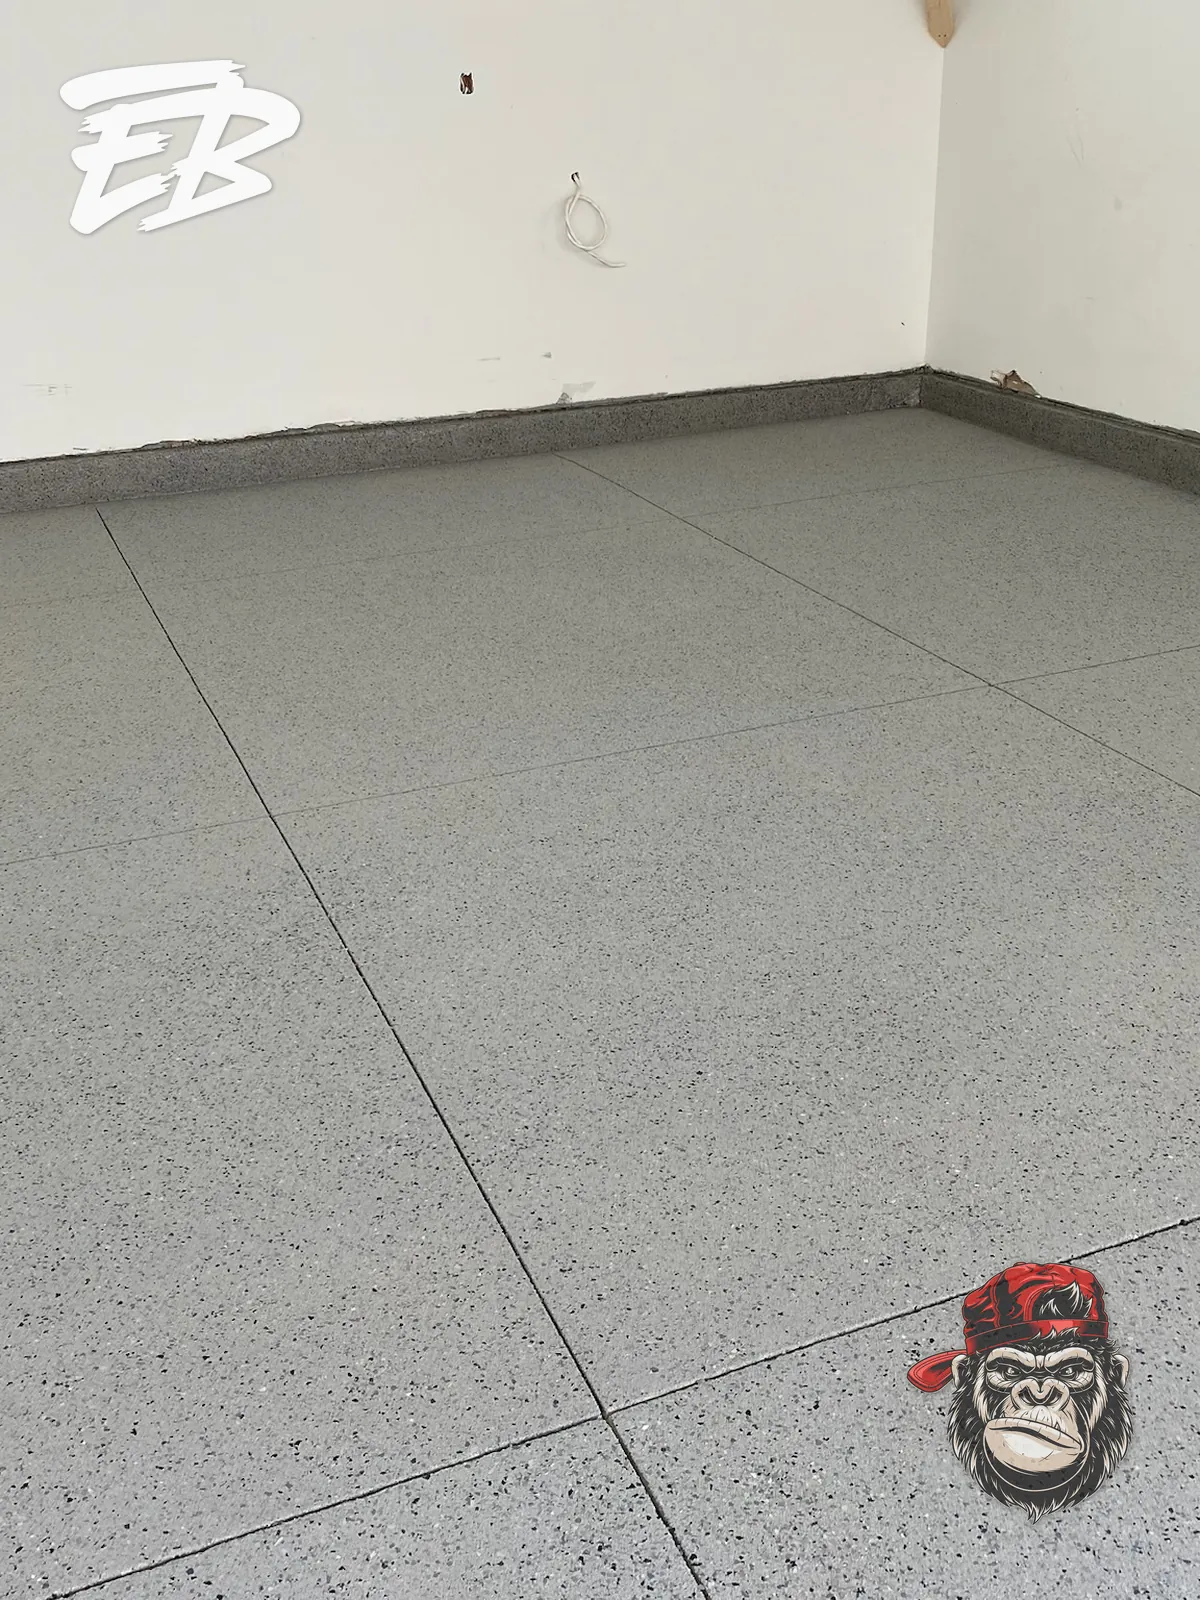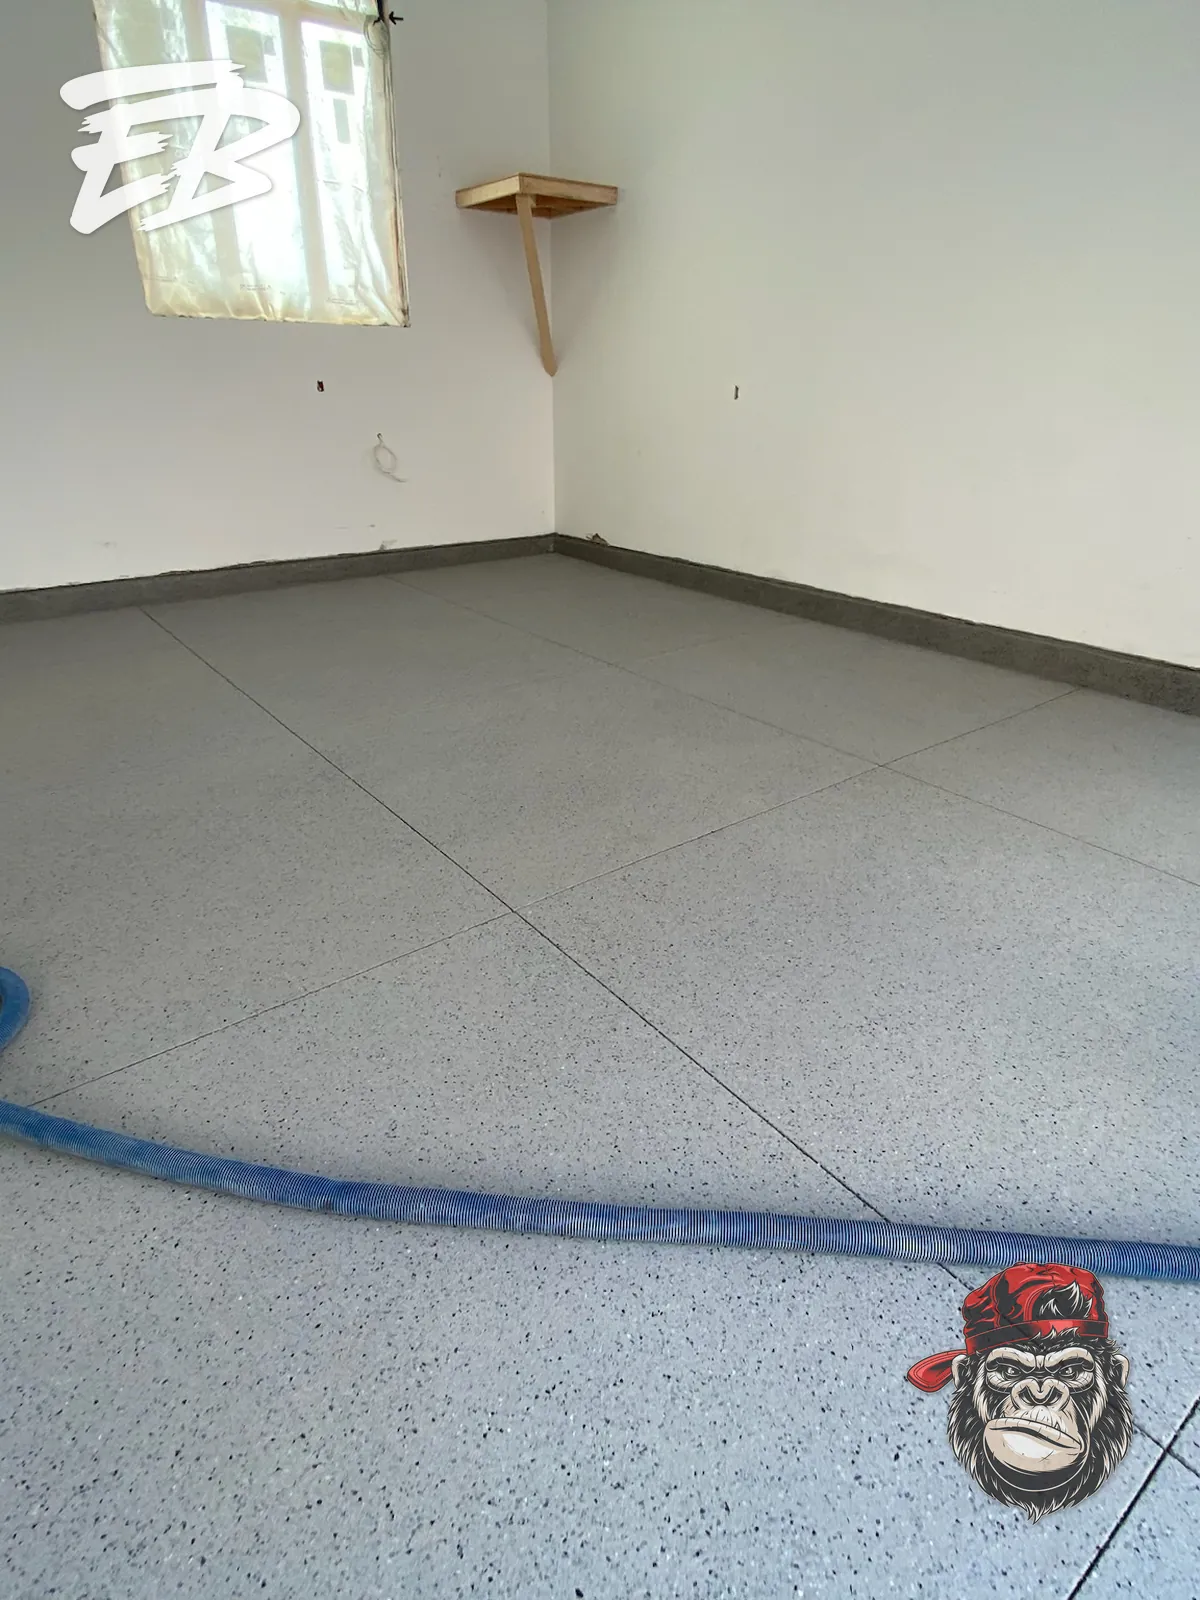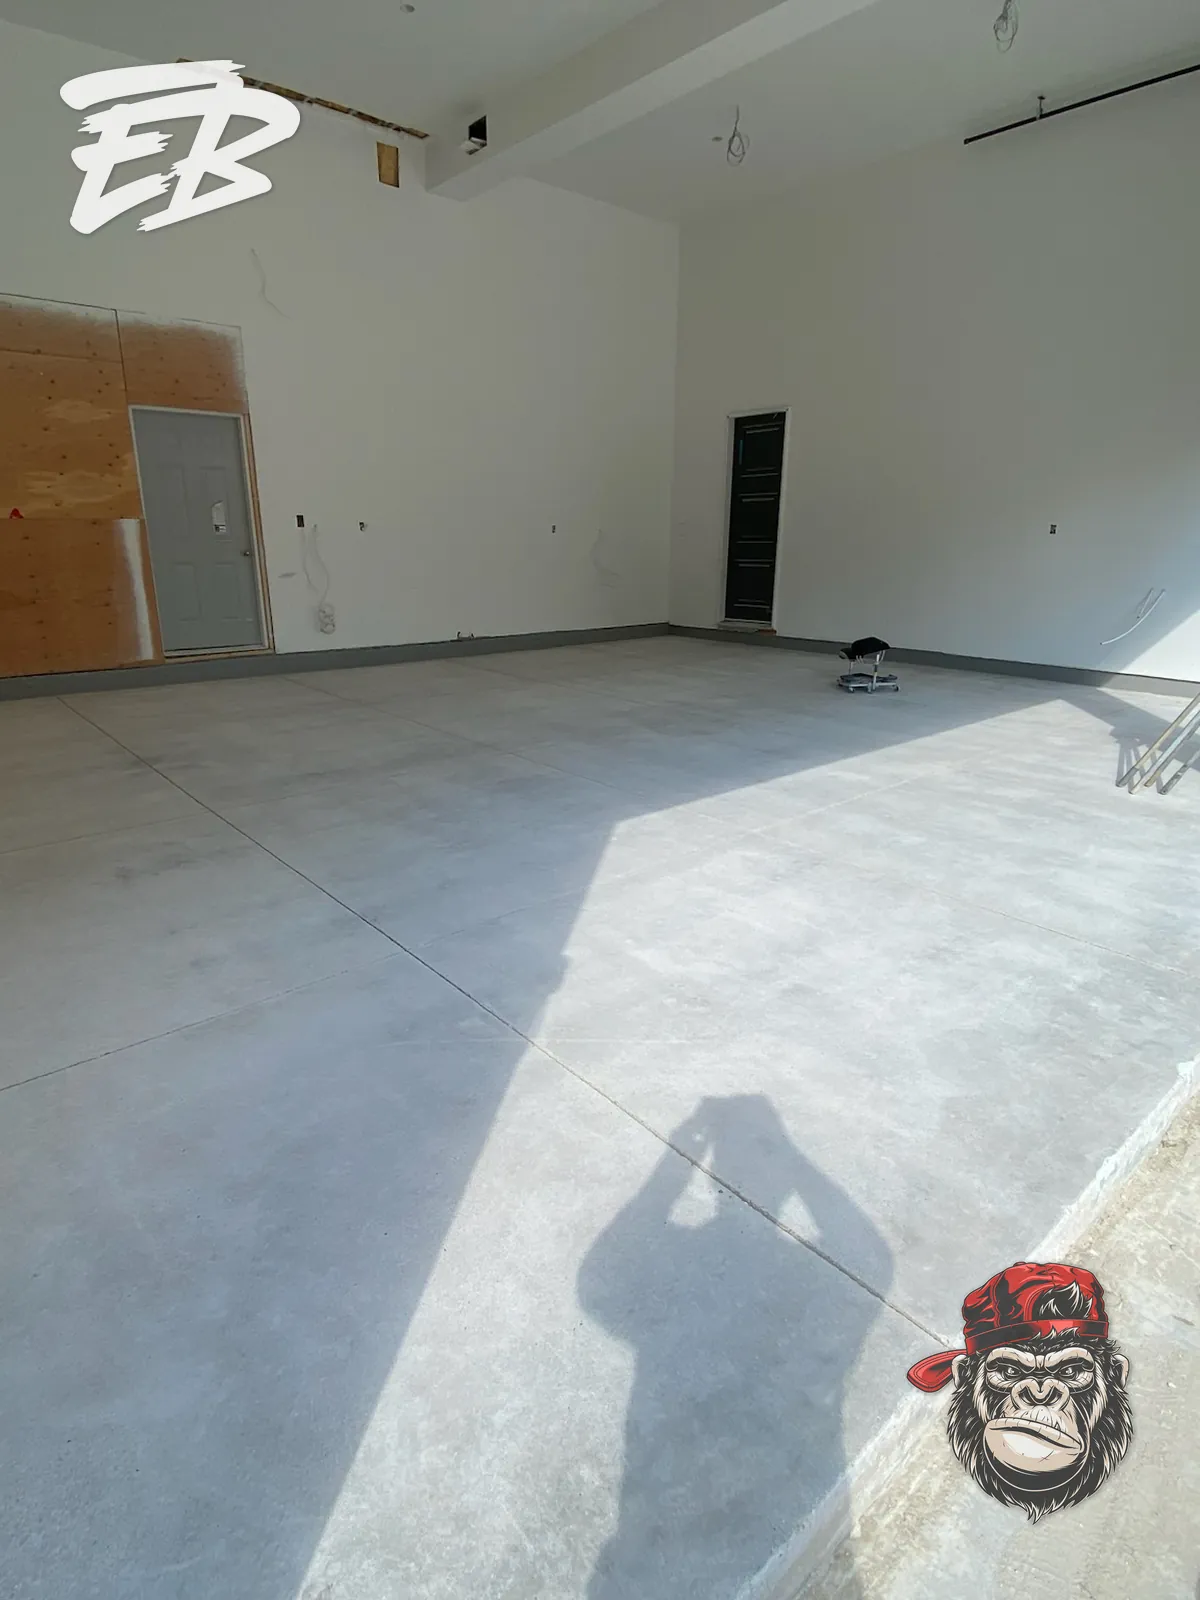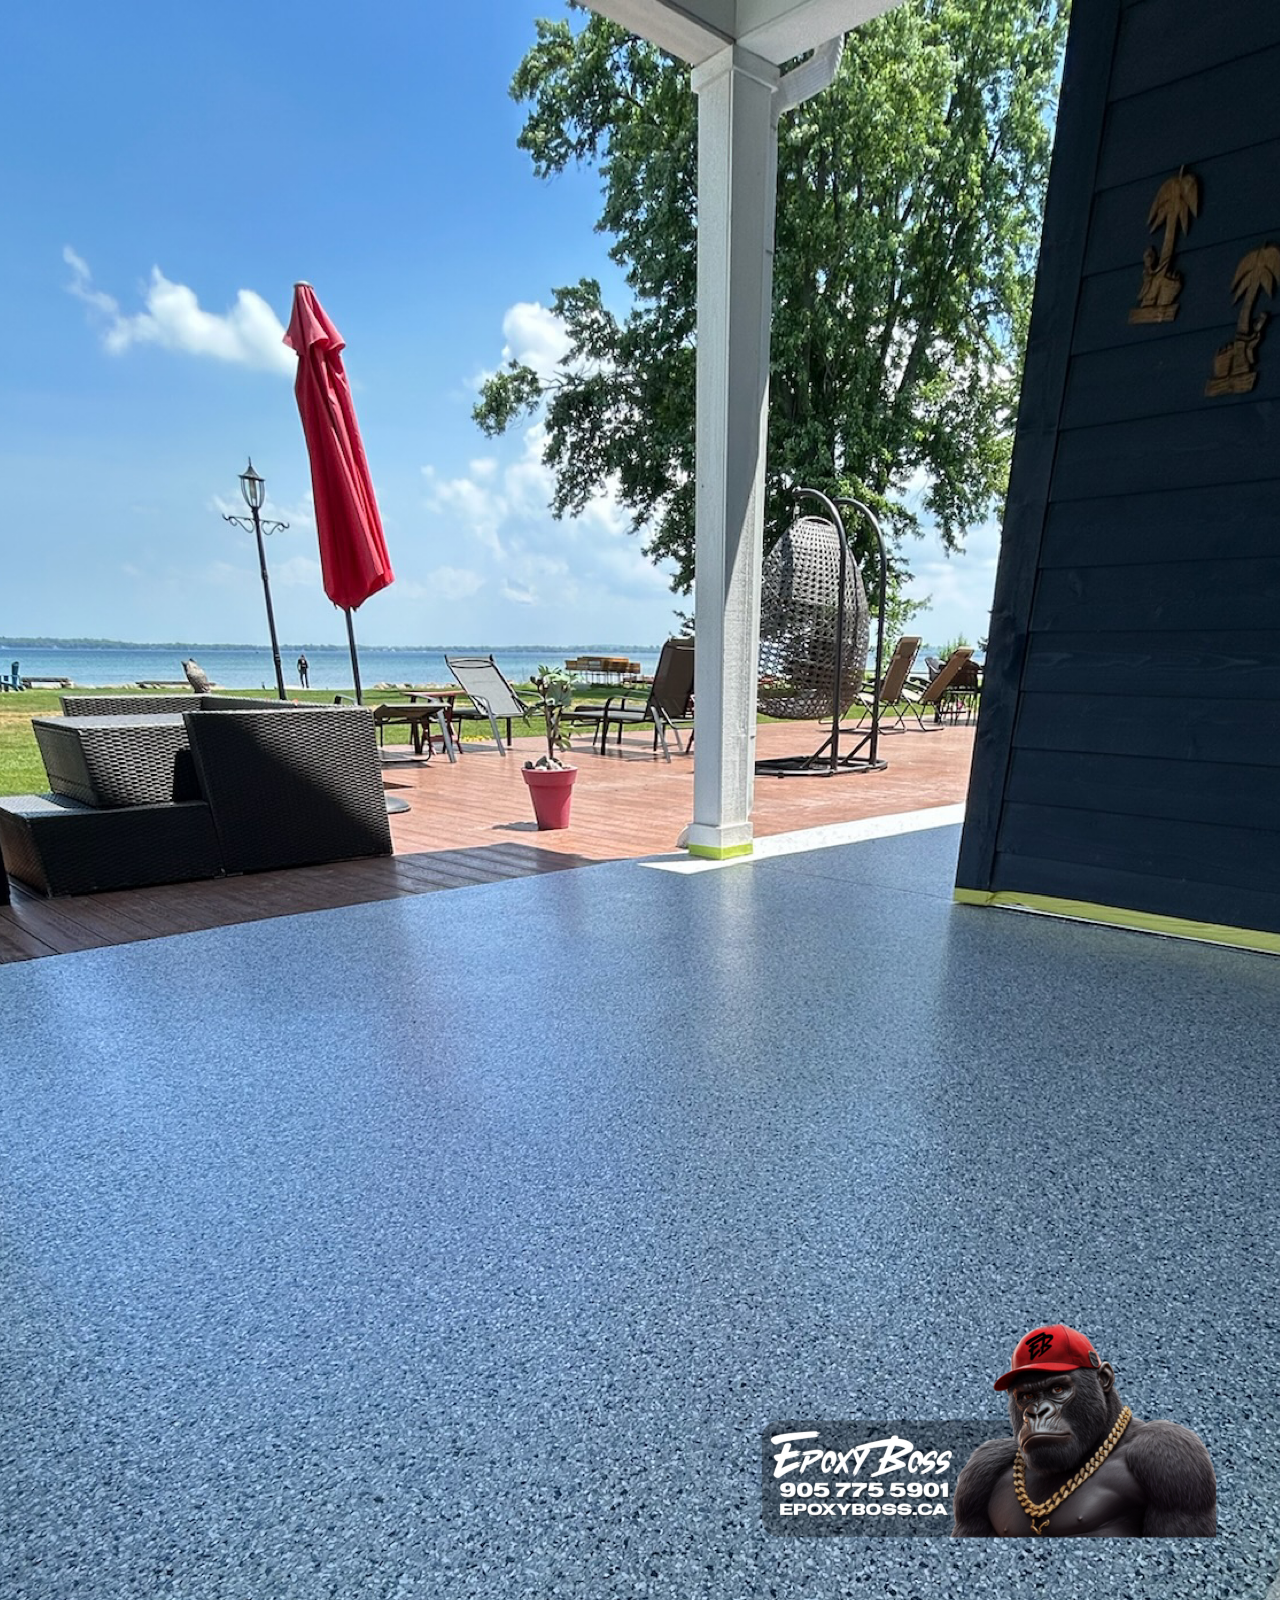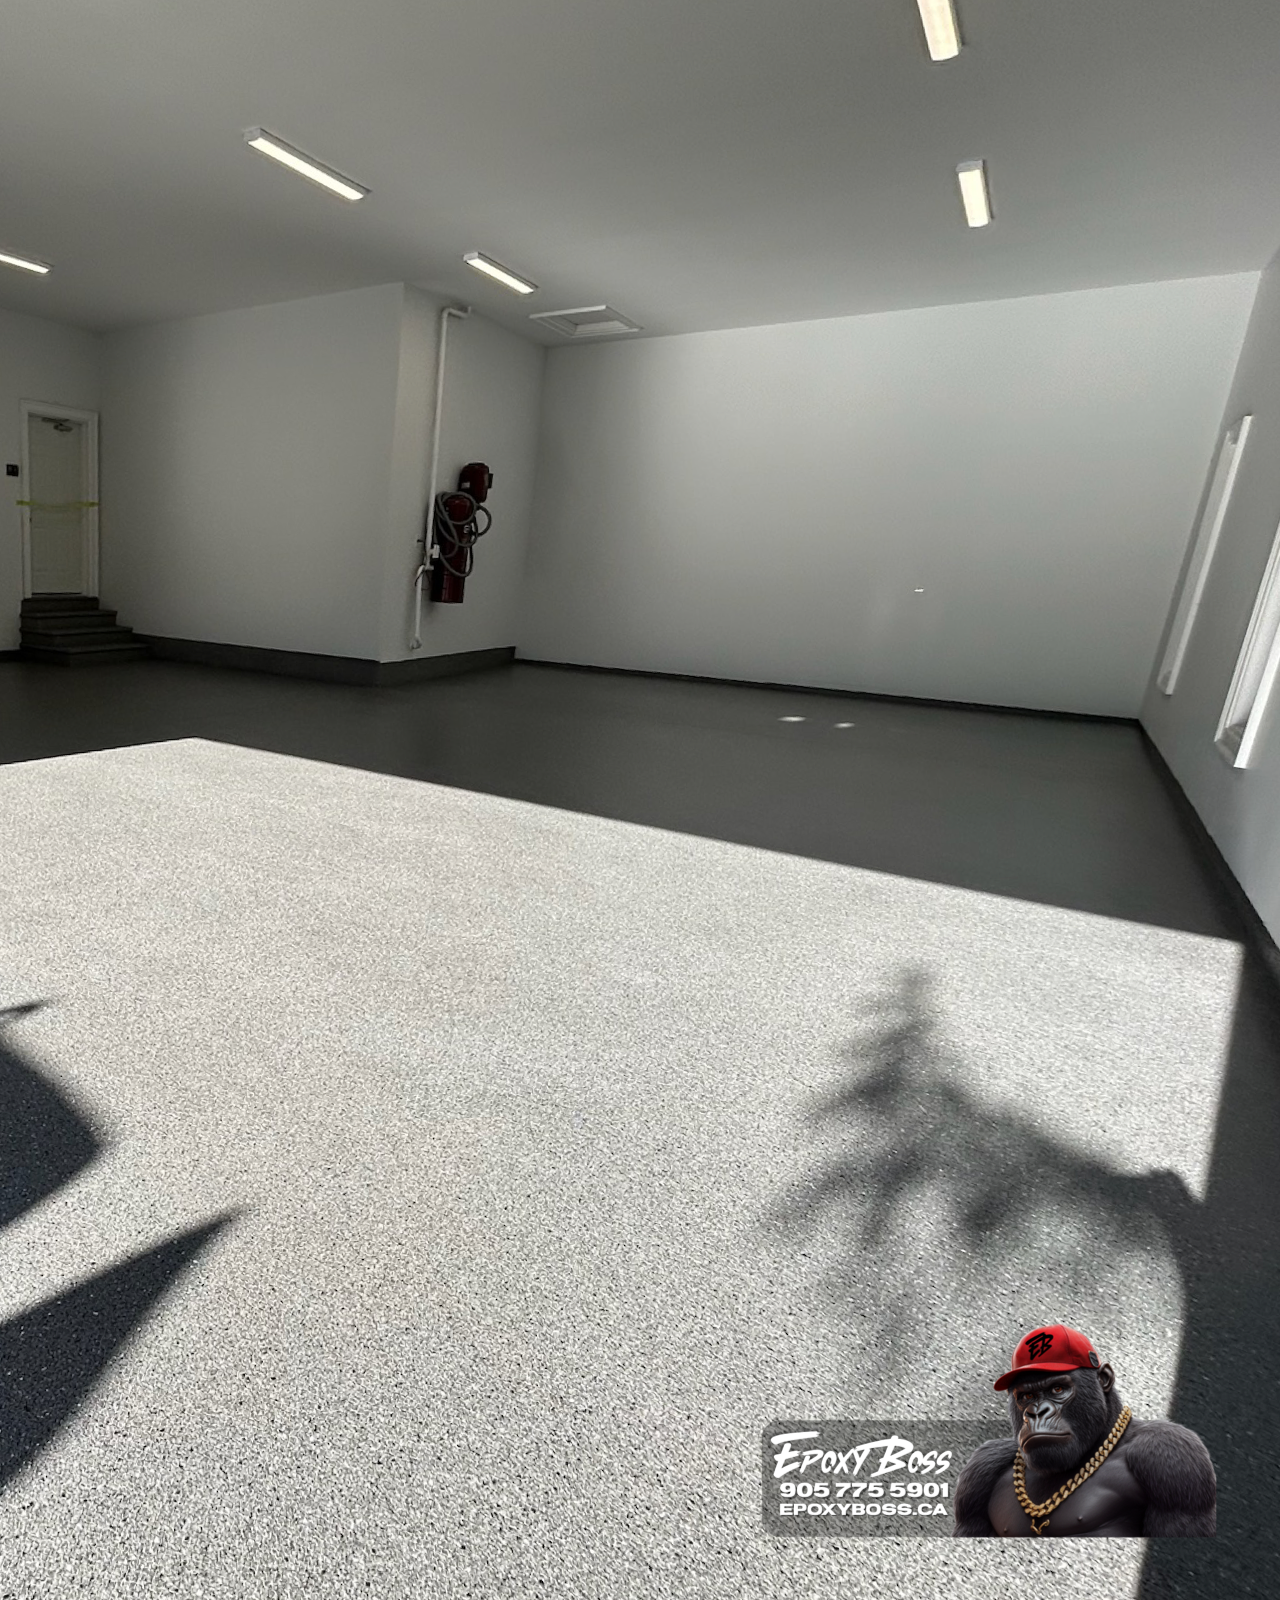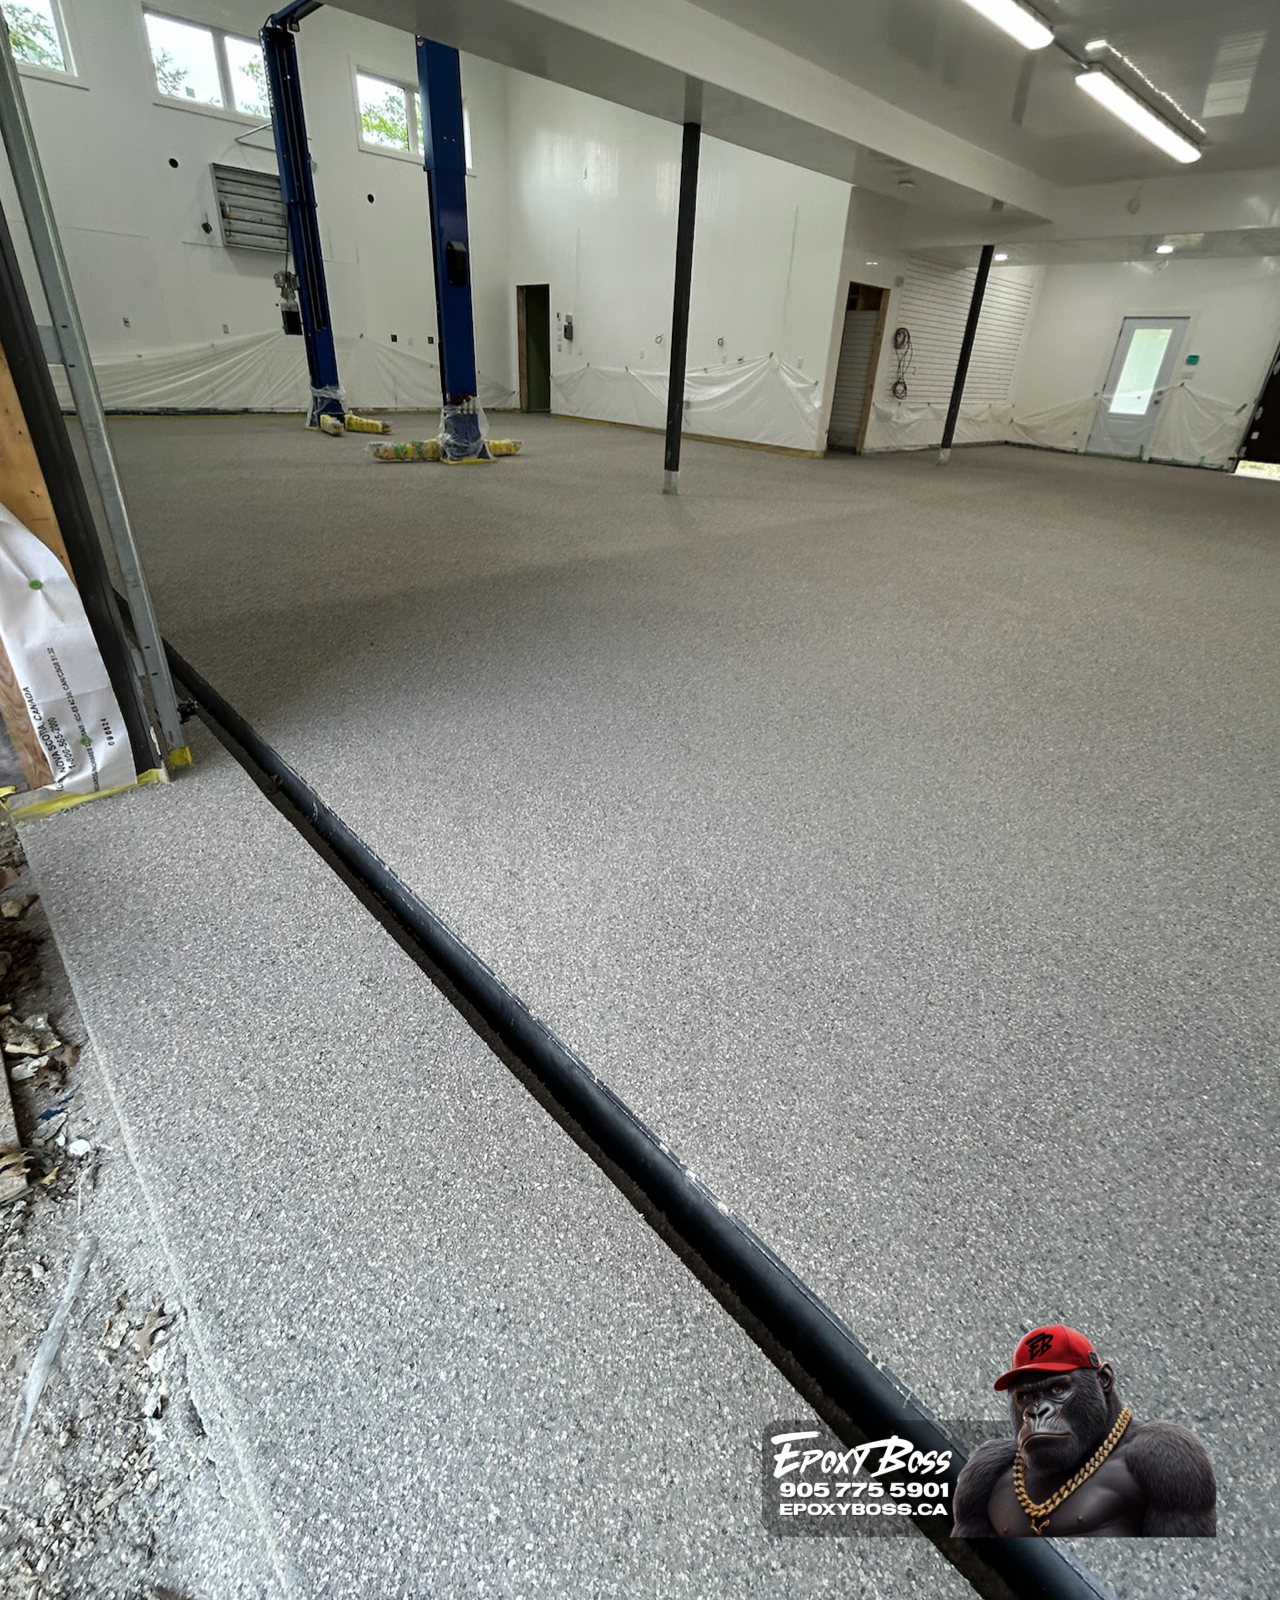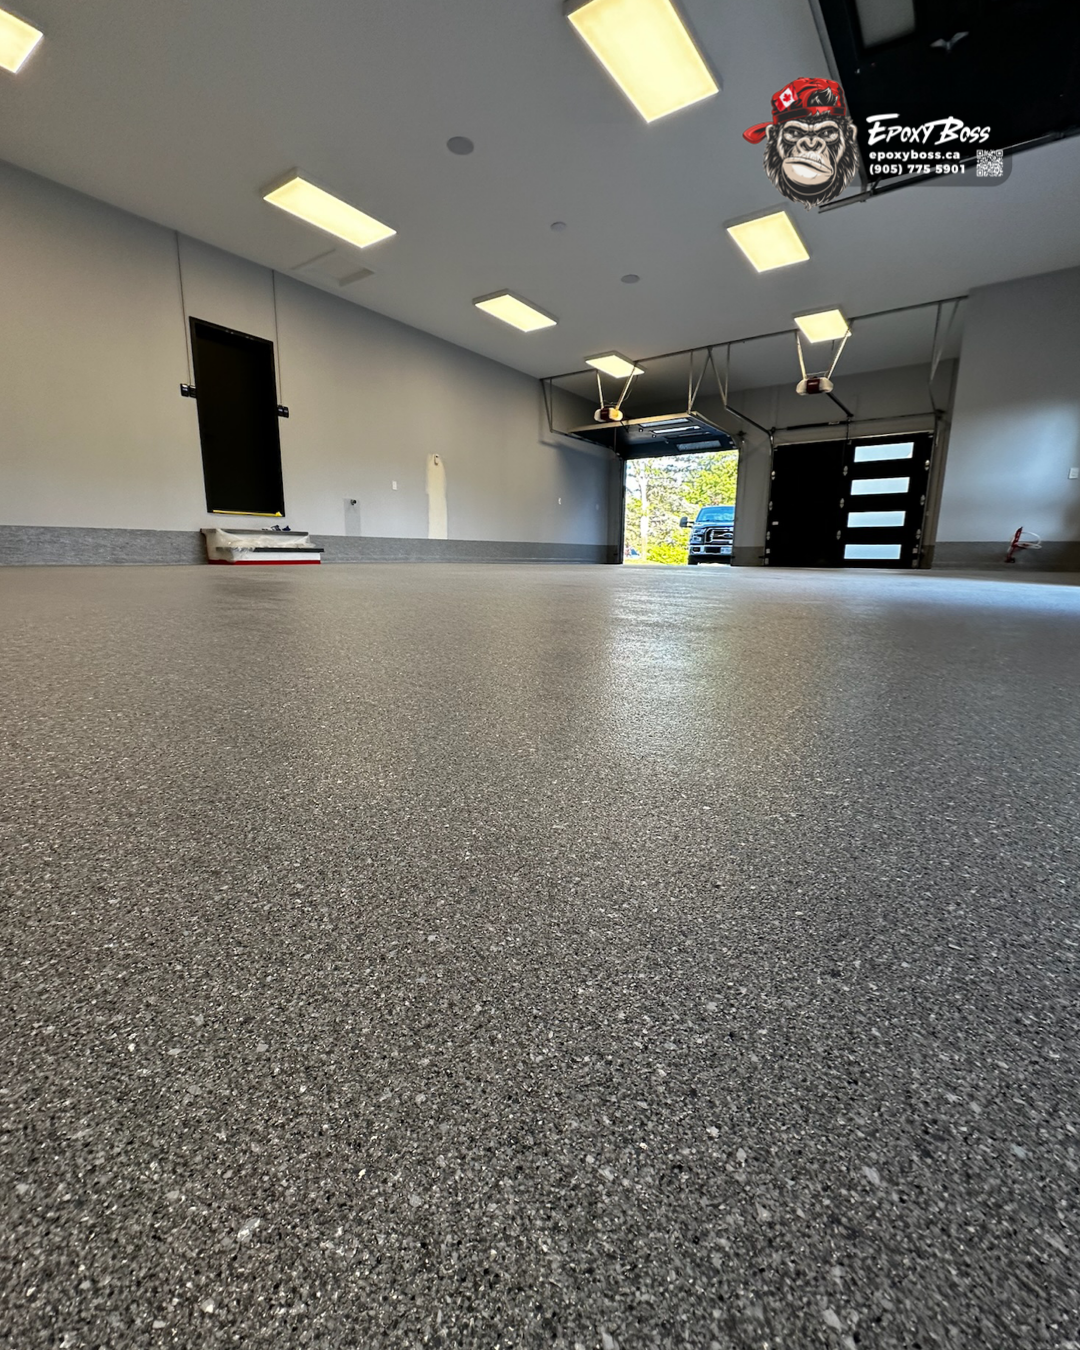
How a Full-Flake Garage Floor Is Built in Innisfil, ON - Step by Step
A full-flake garage floor is not a coat of paint with decorative chips thrown on top. It is a layered concrete-protection system. The finished appearance matters, but the performance of the floor depends first on the concrete: its condition, cracks, surface strength, moisture behaviour, contamination, and how the garage will be used. For Innisfil homeowners, that matters because garages see road salt, snowmelt, tire traffic, temperature changes, storage loads, and everyday abrasion. A full-flake system is designed to create a clean, decorative, maintainable surface after the concrete has been properly prepared and the correct layers have been selected. Here is how Epoxy Boss approaches a full-flake garage floor system in Innisfil.
What is a full-flake garage floor?
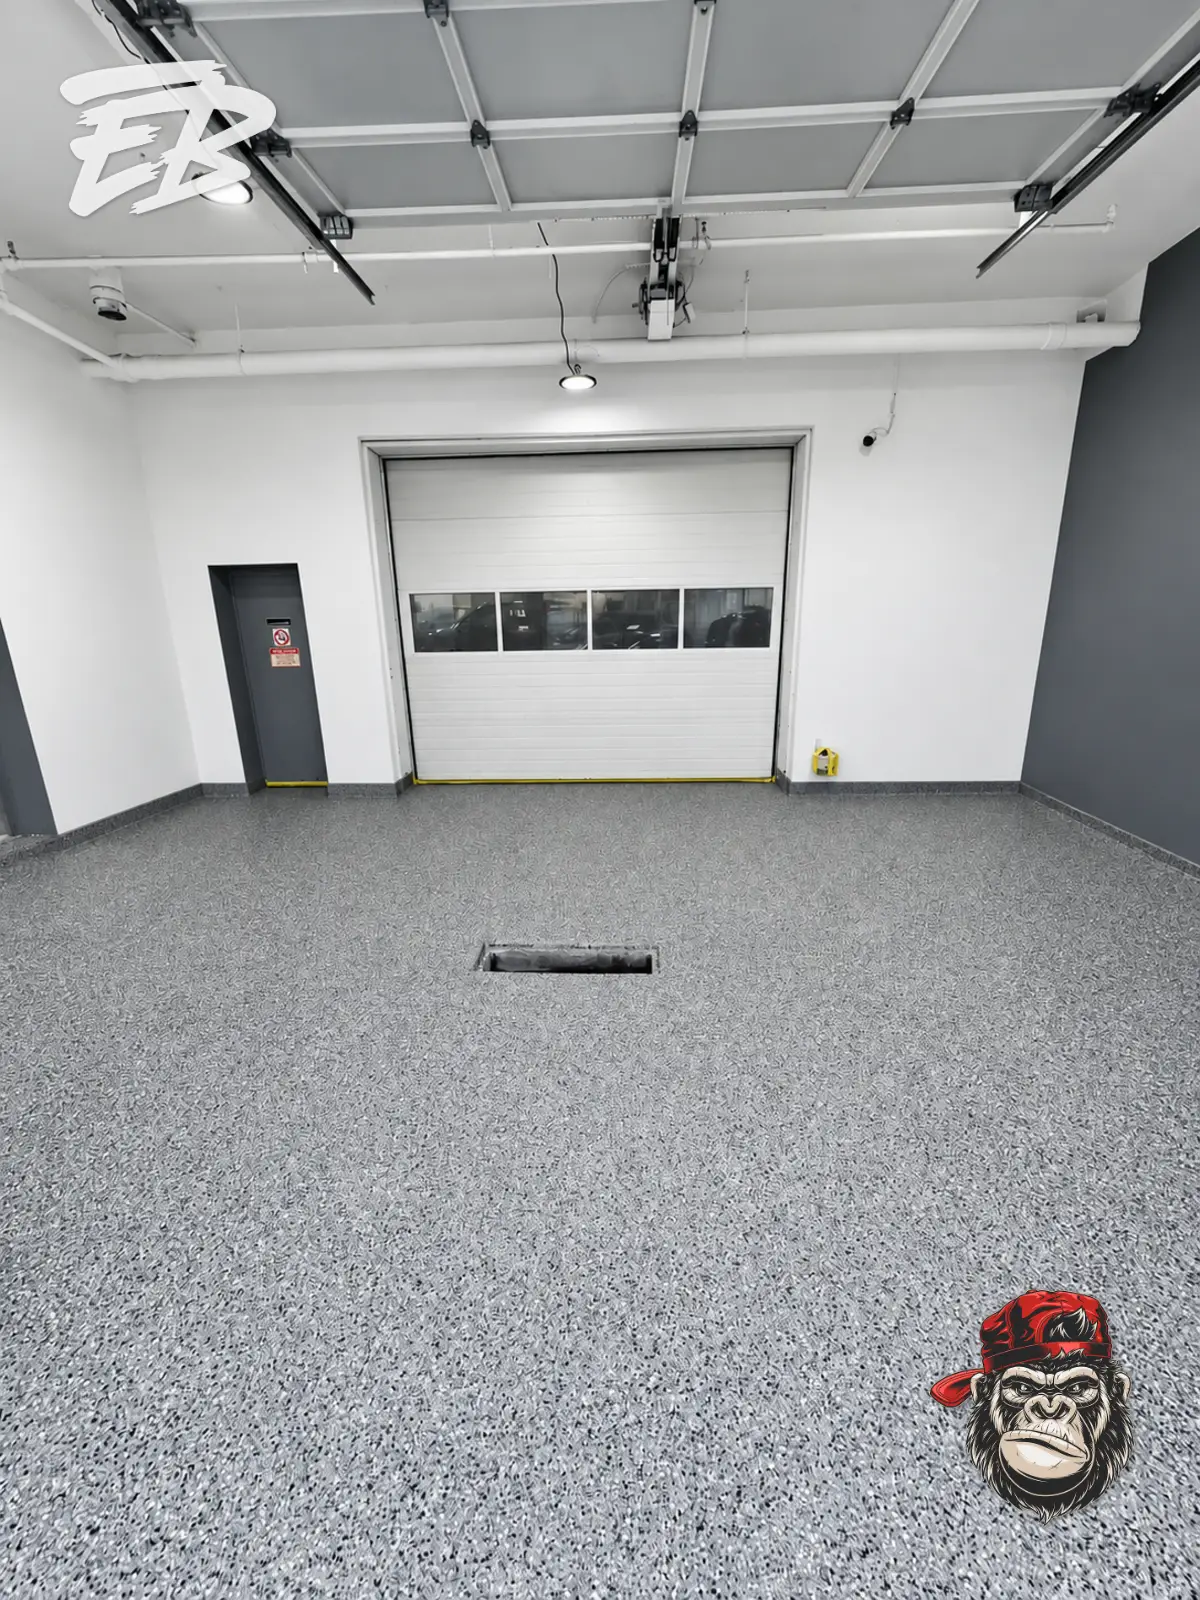
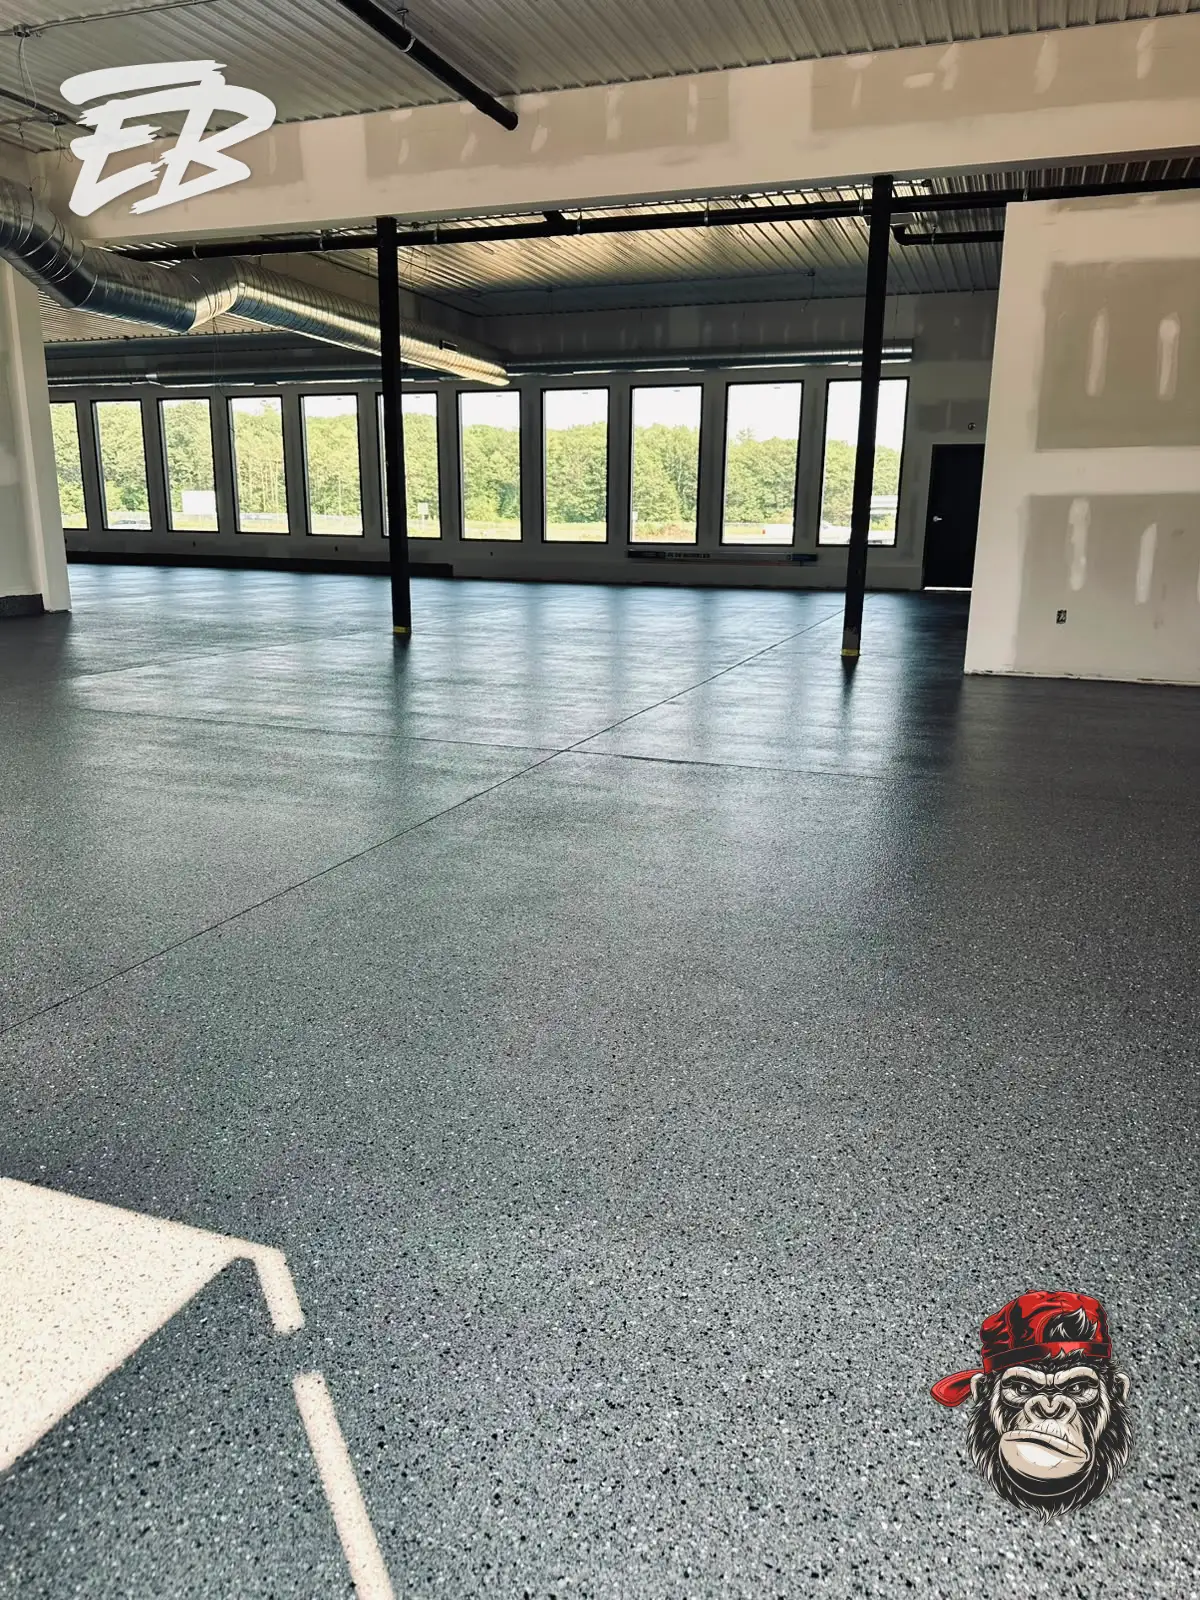
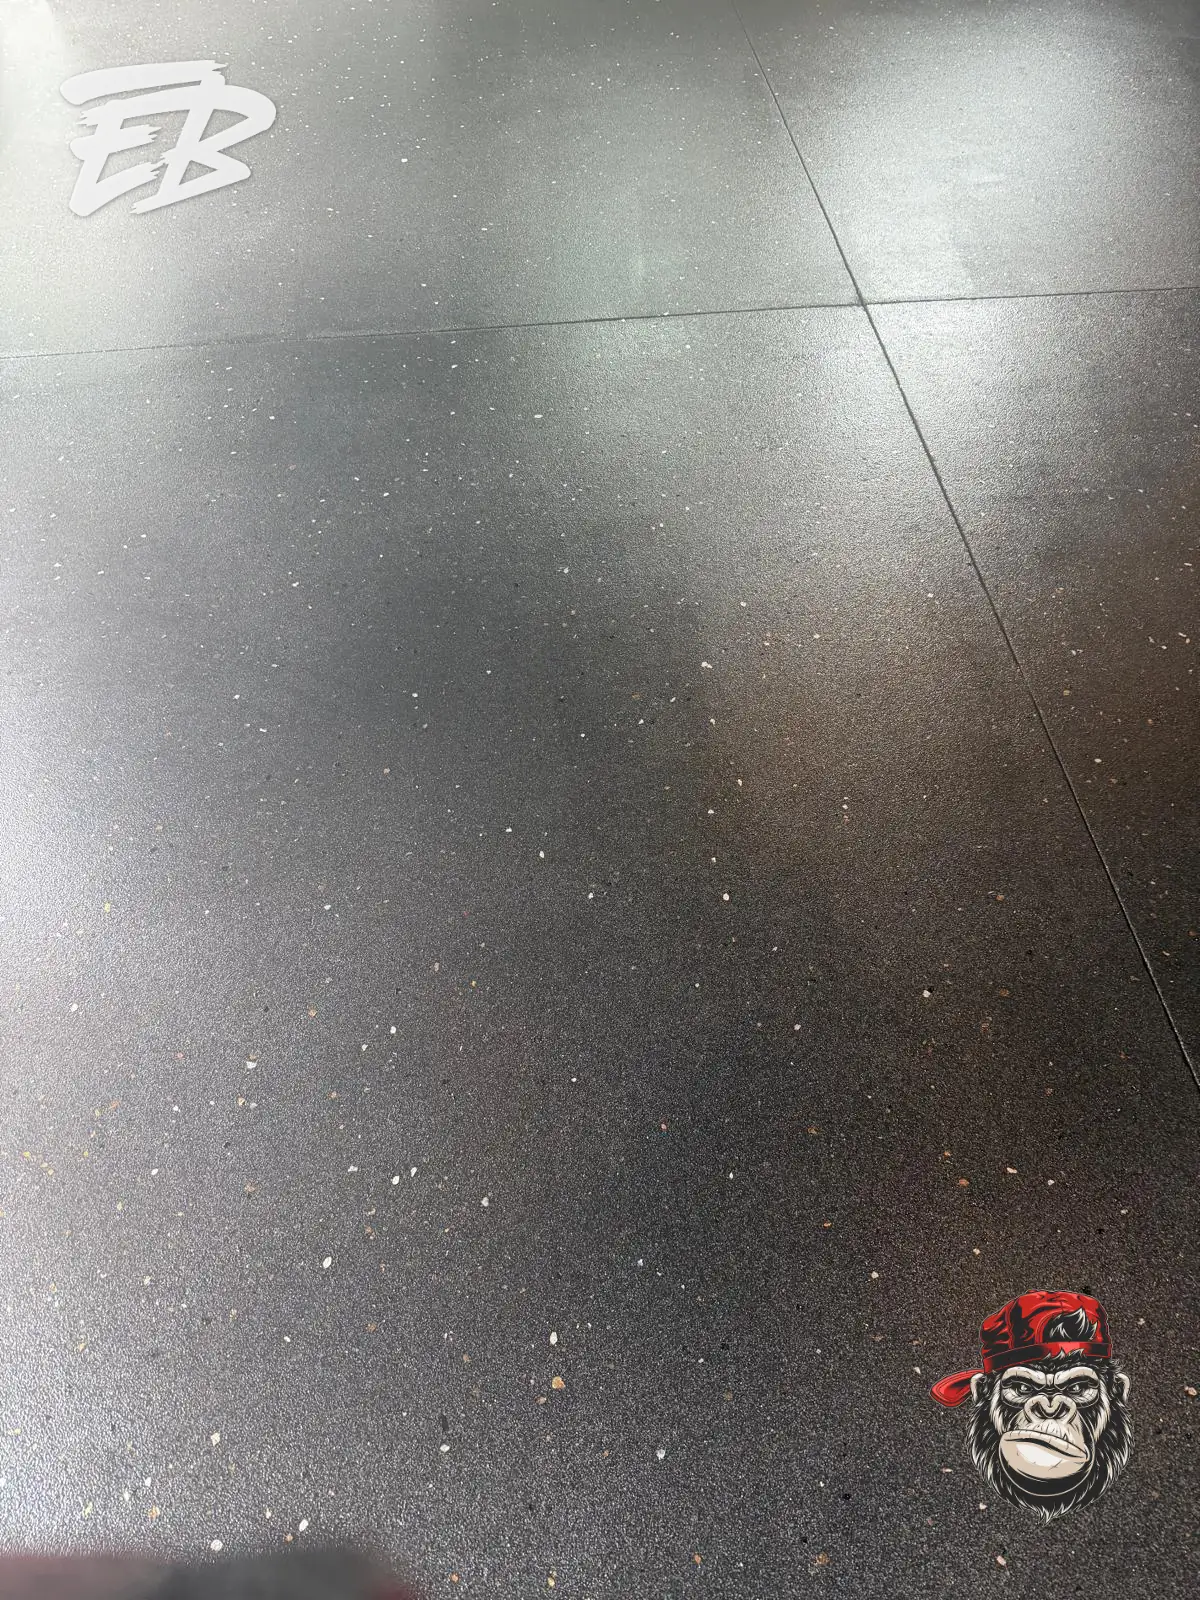
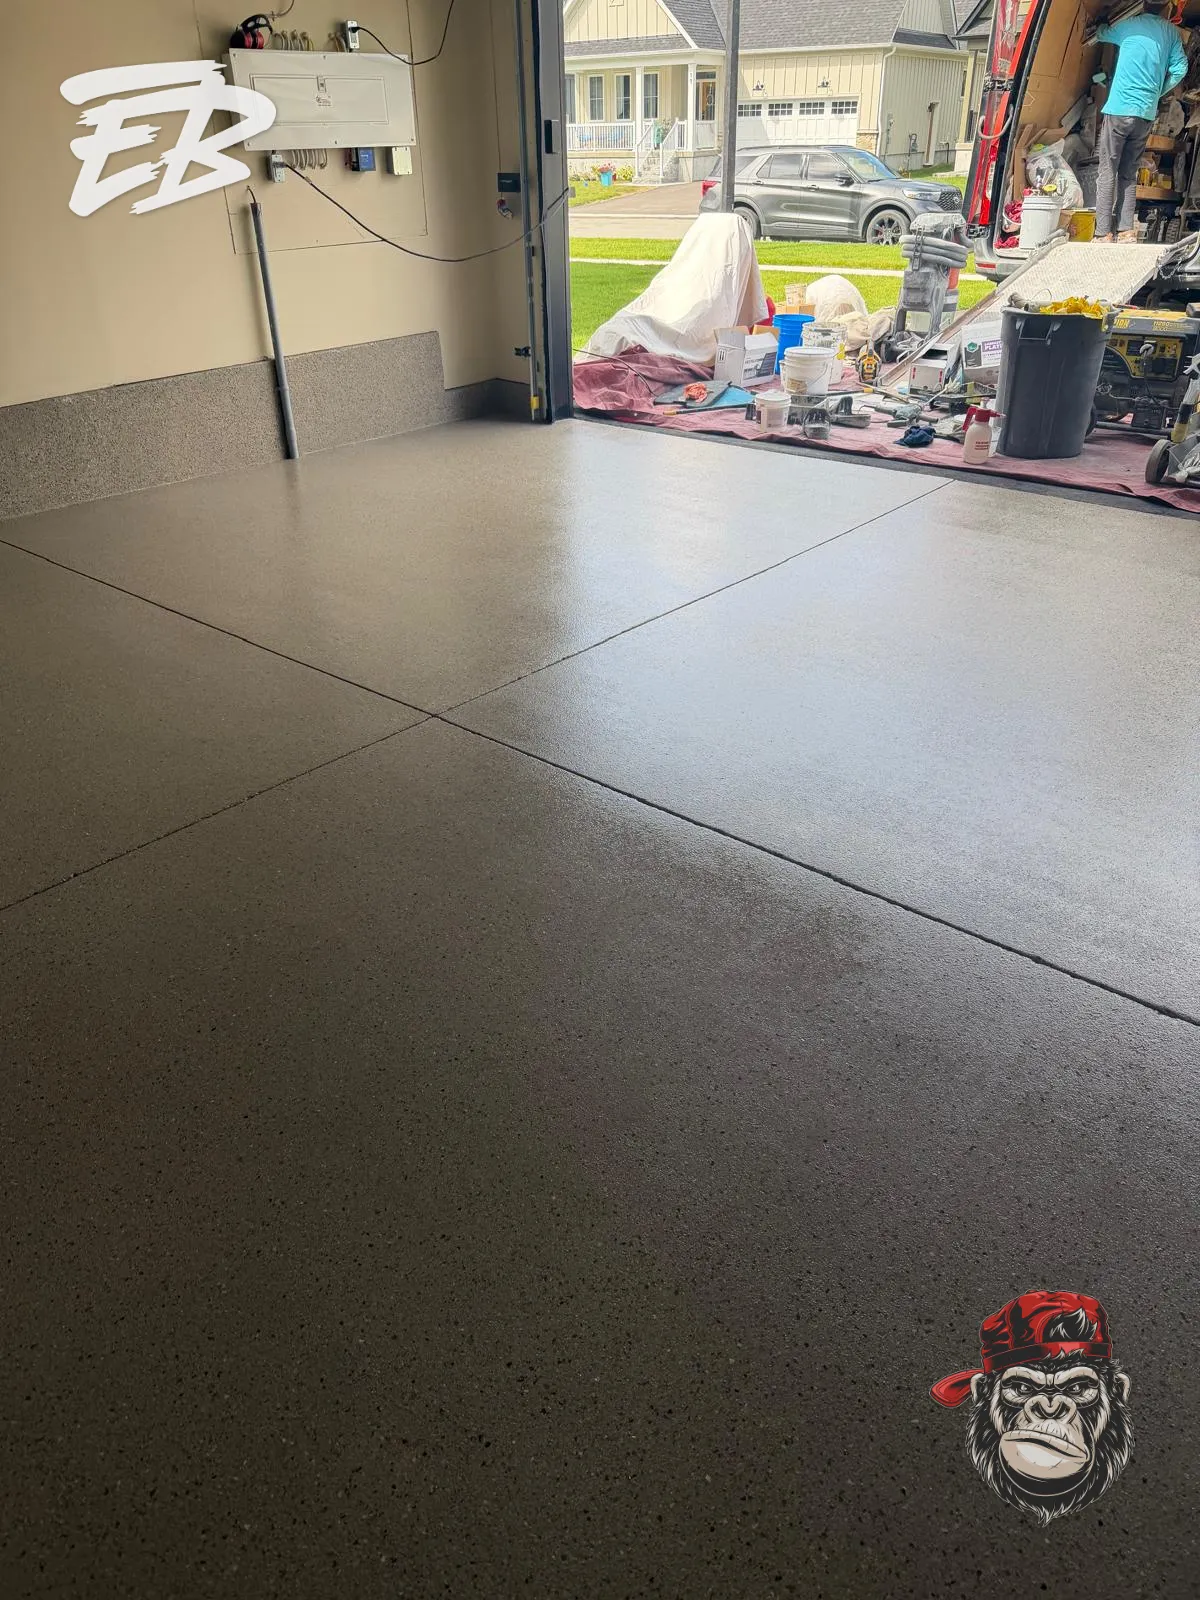
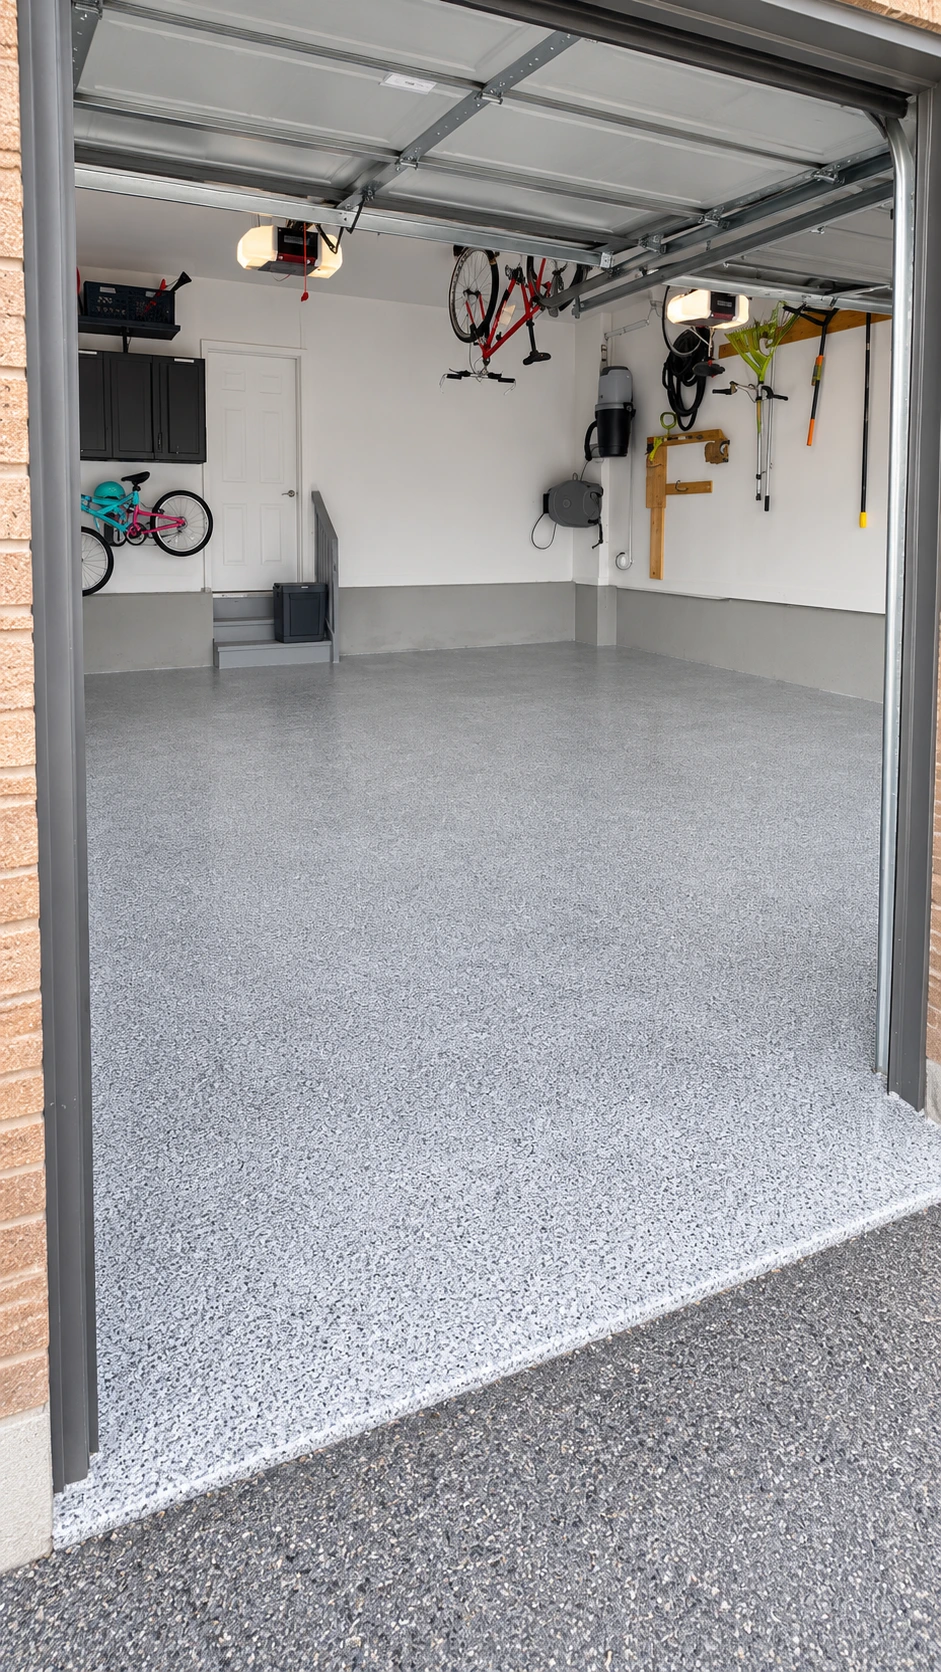
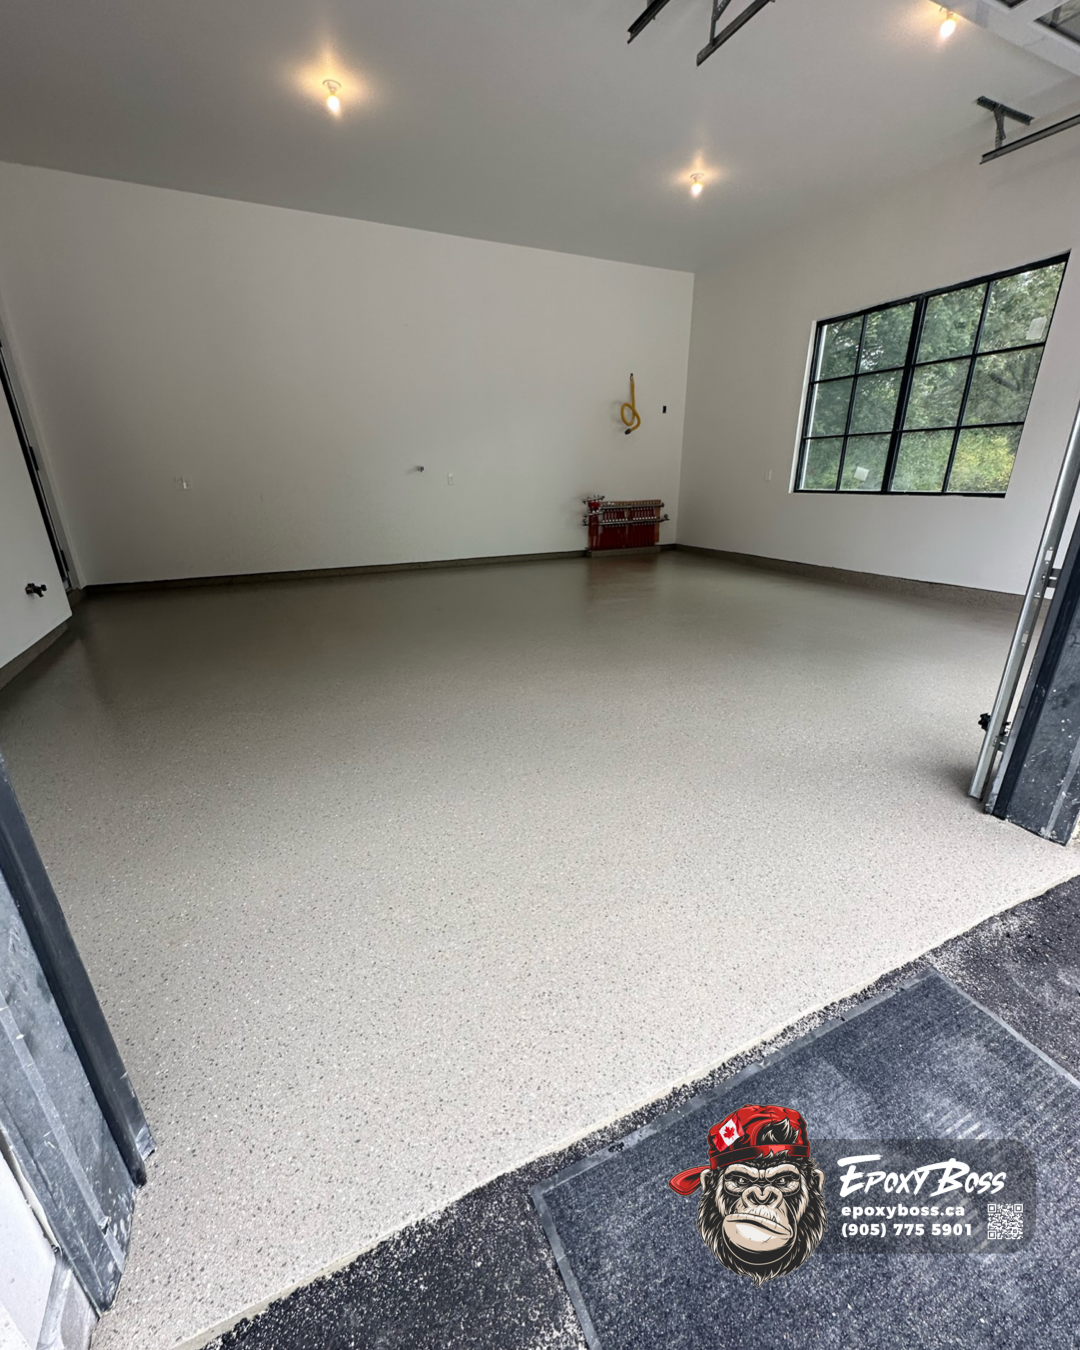
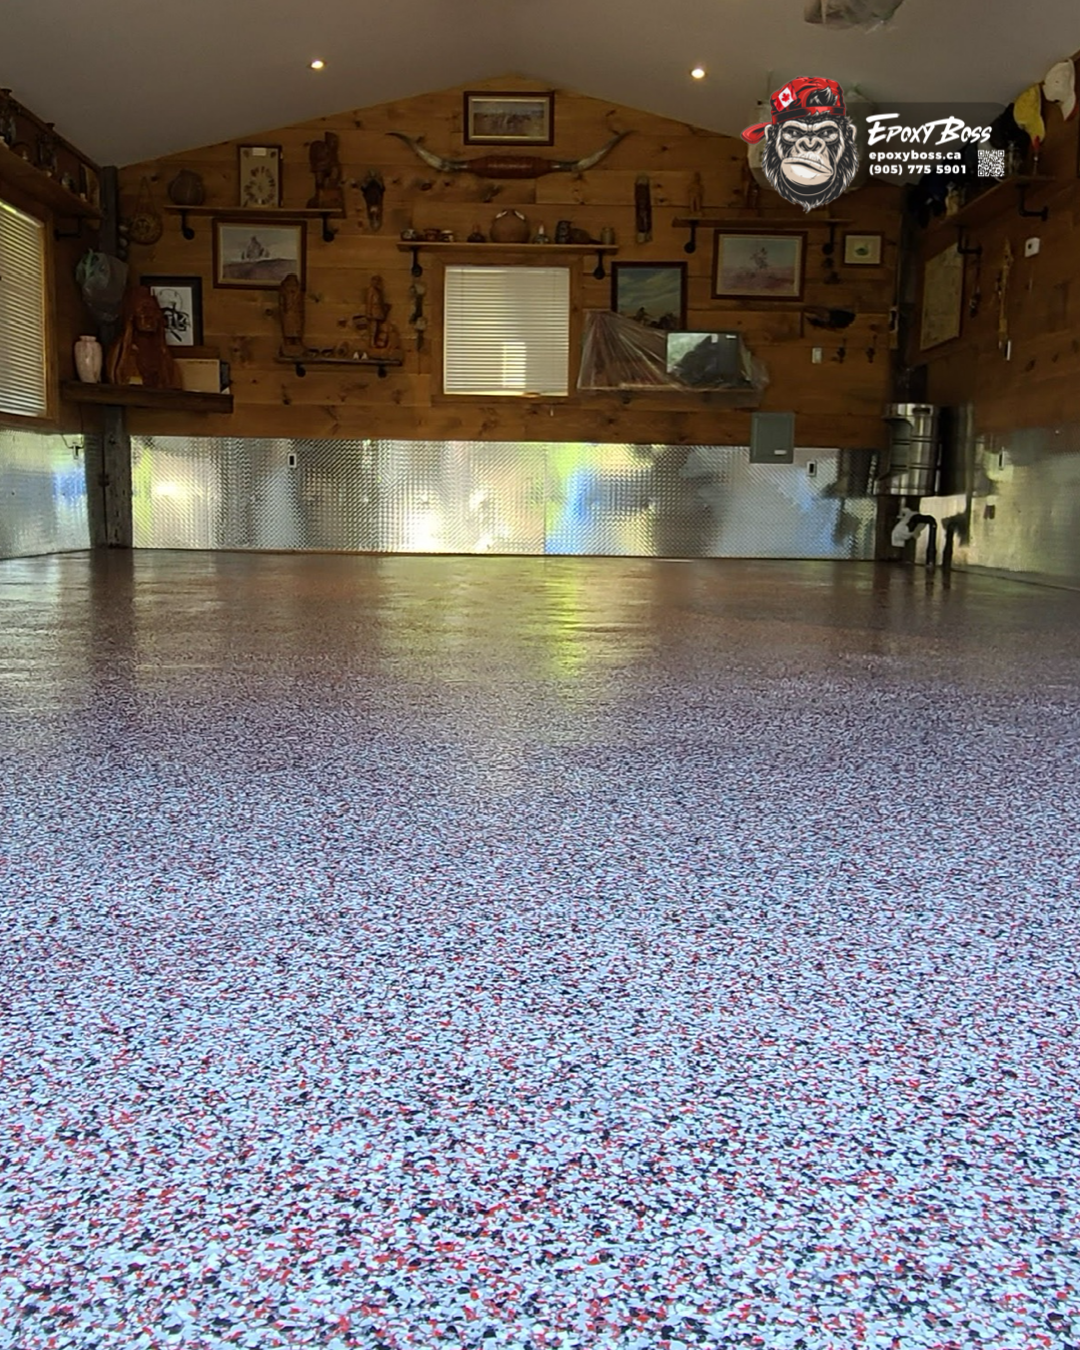
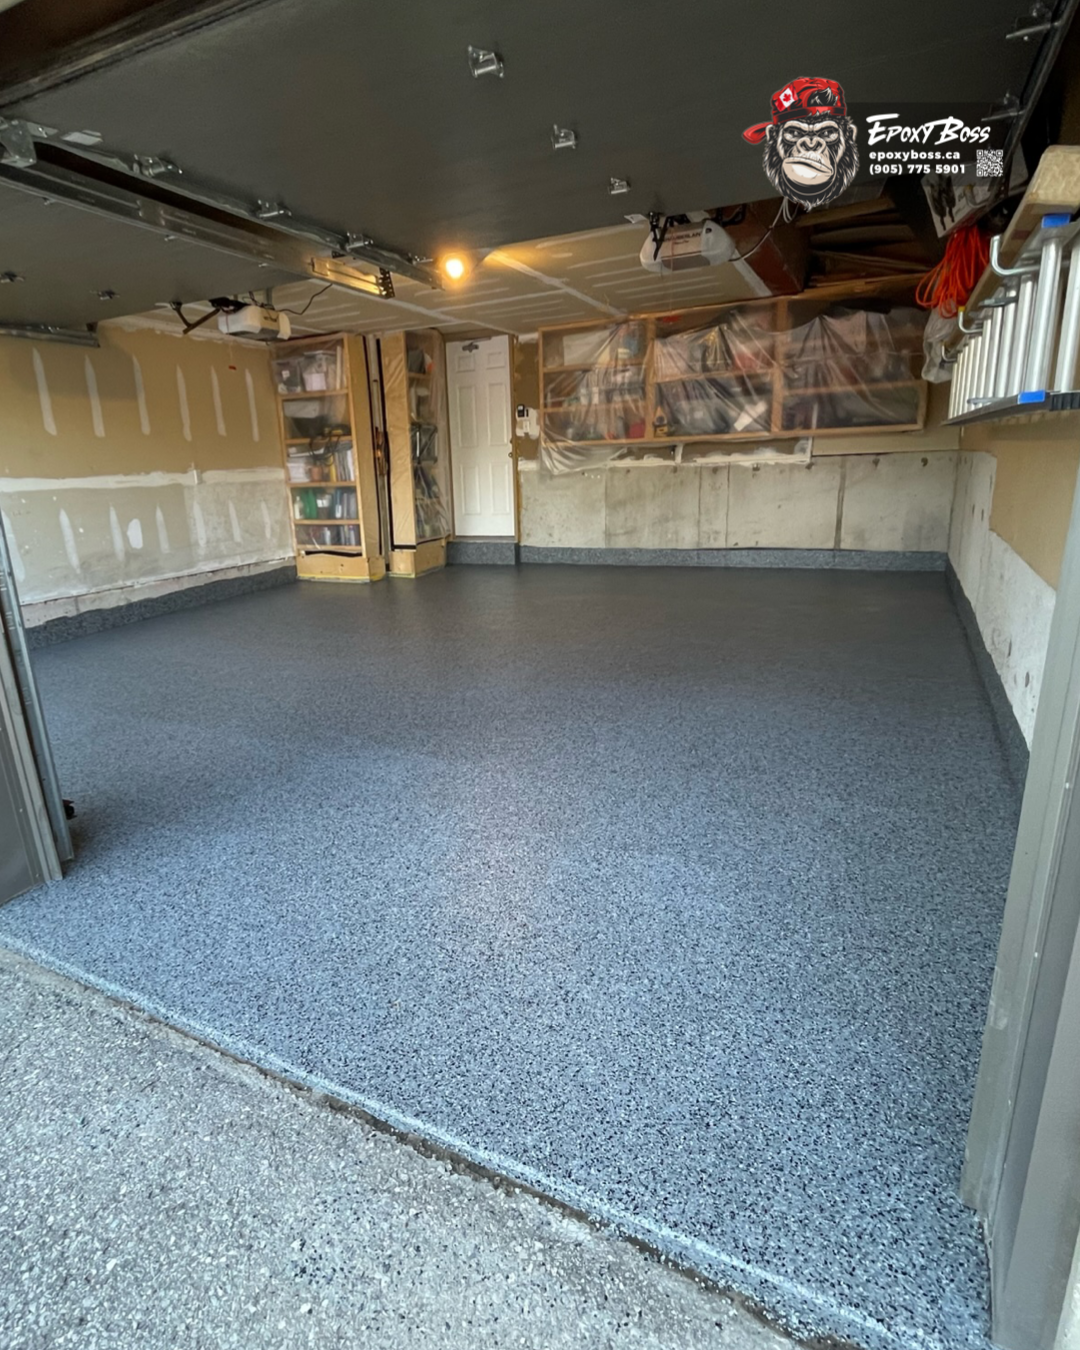
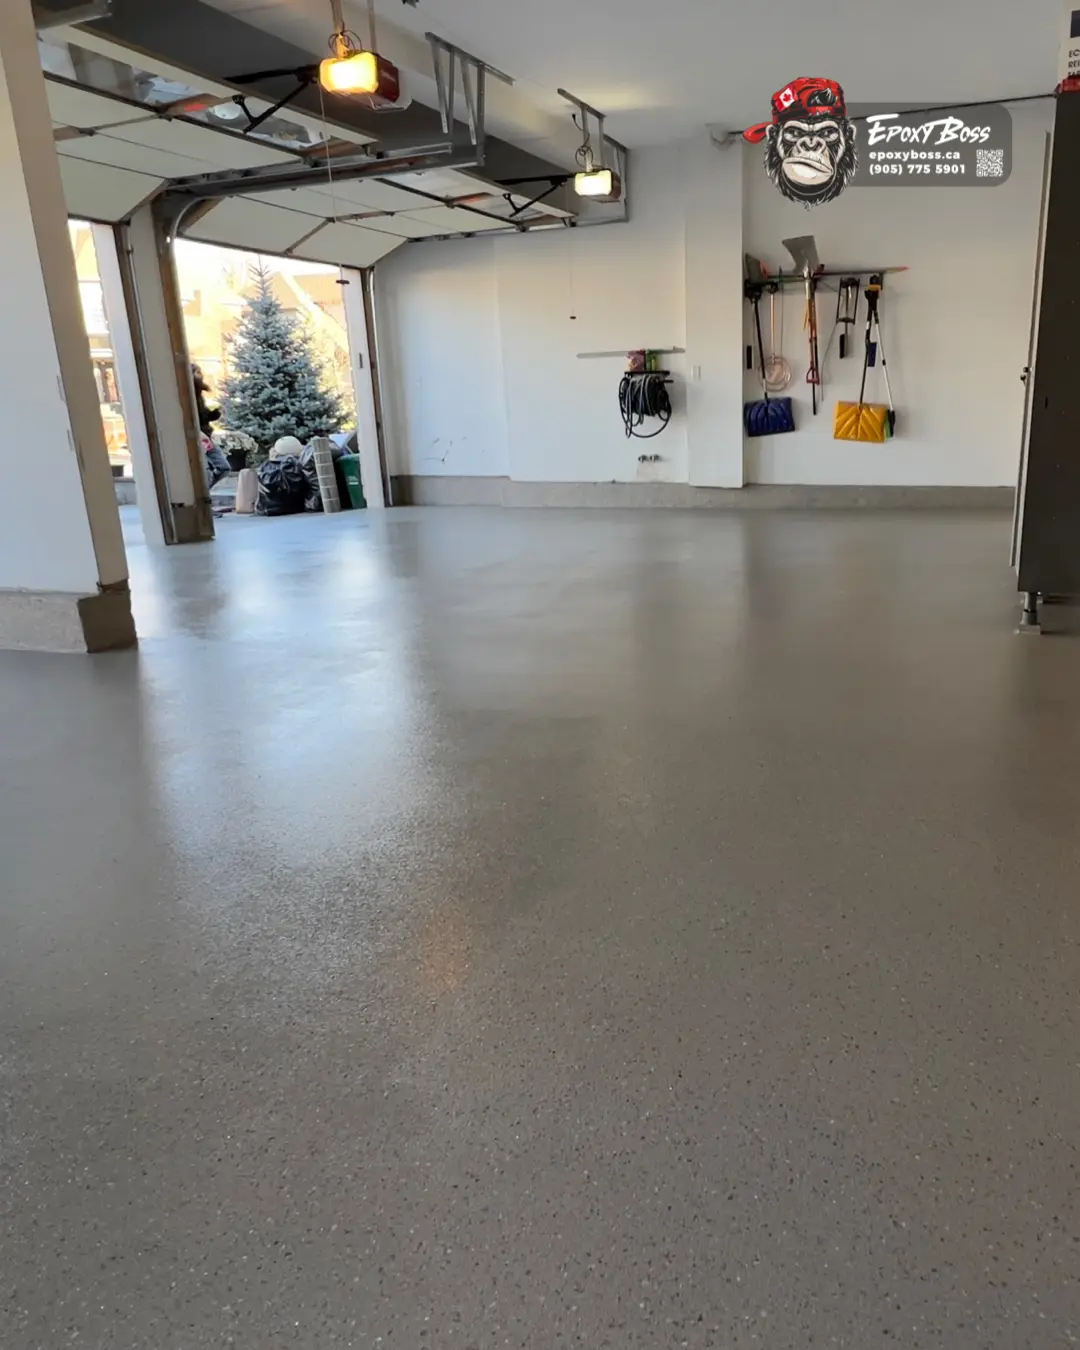
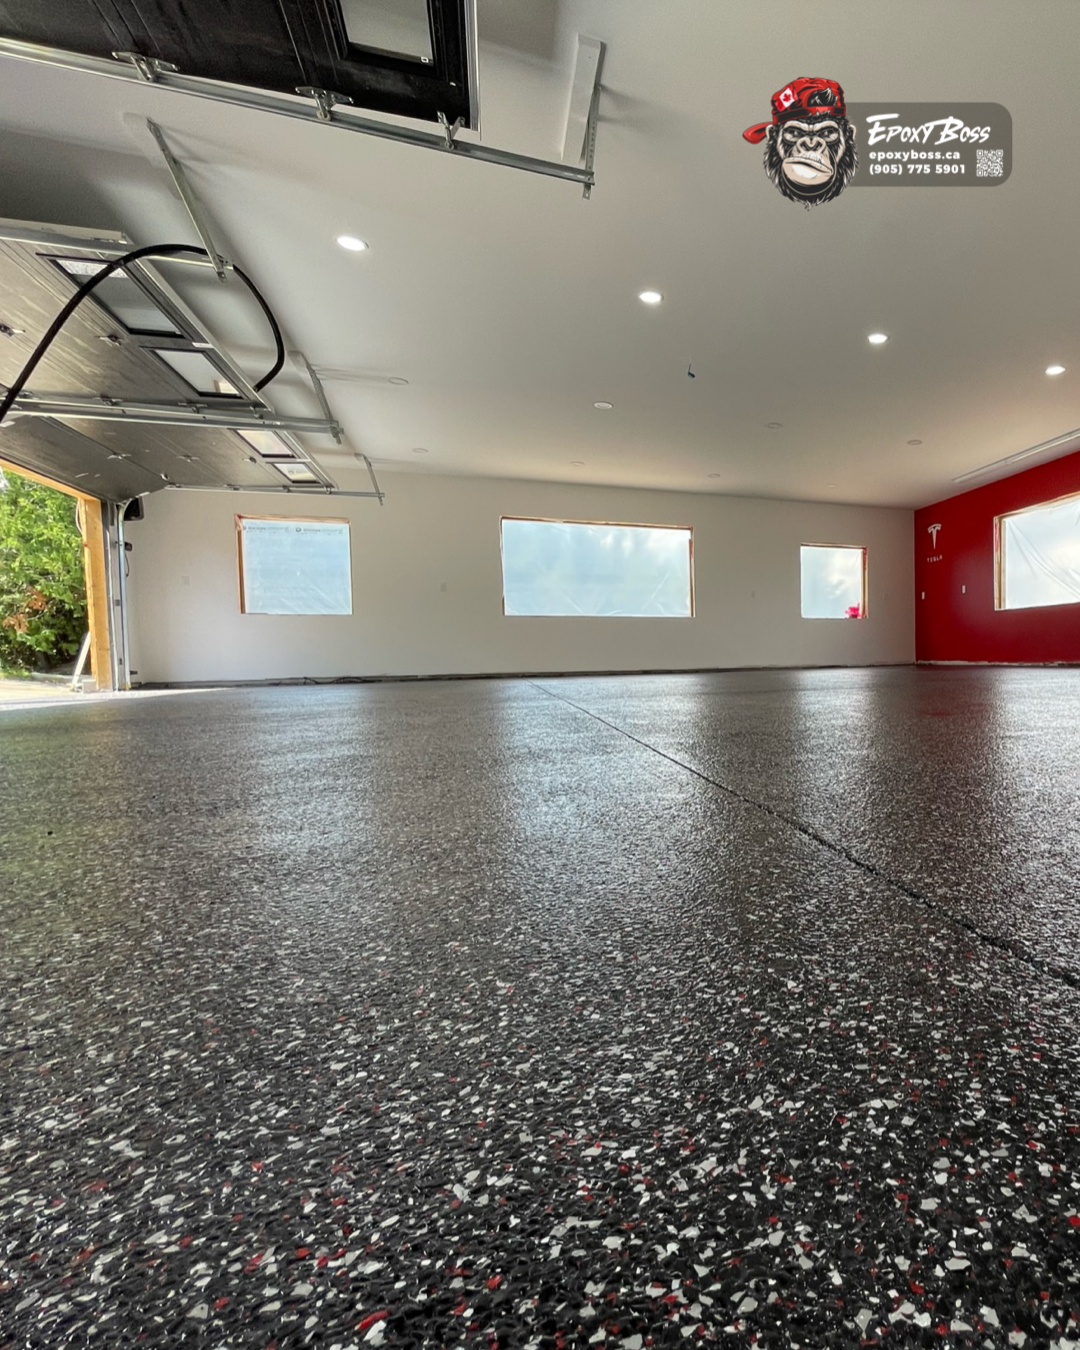
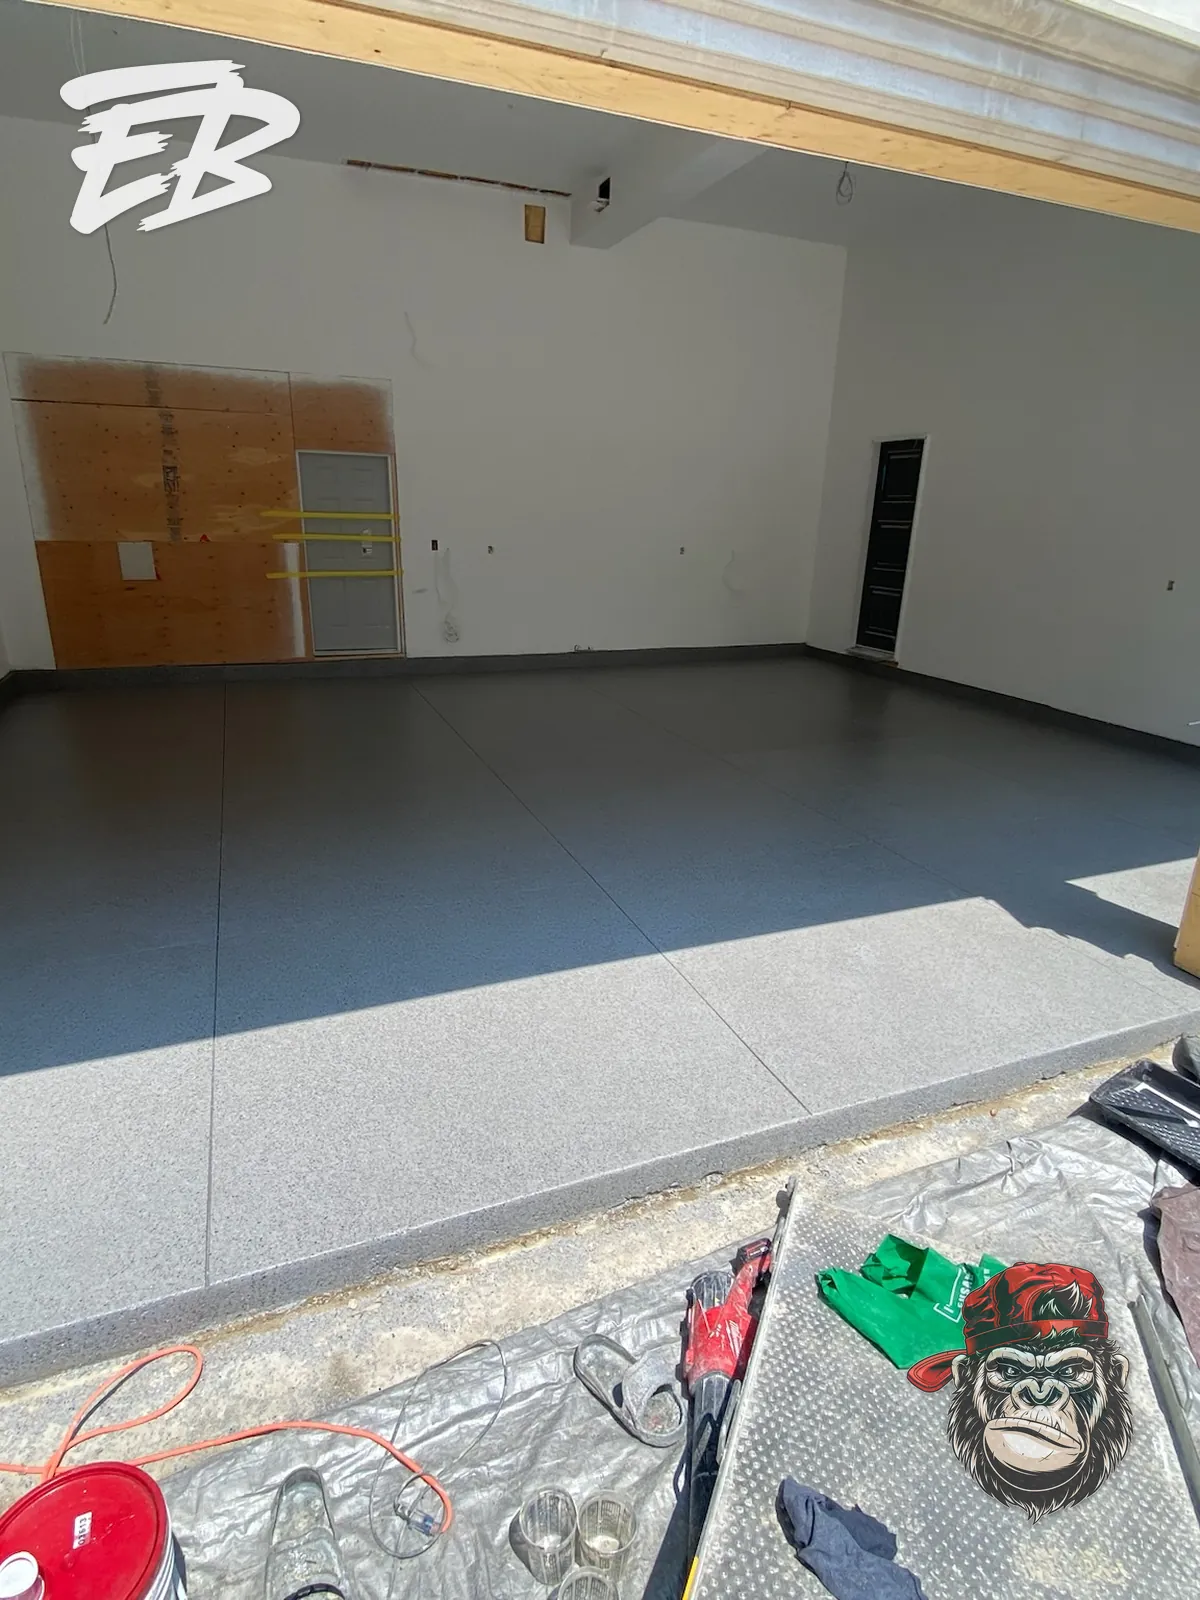
A full-flake system is a resinous floor assembly in which decorative vinyl flakes are broadcast across the entire receiving coat until no wet resin is visible. The excess flake is then removed before the final clear protective topcoat is applied. The finished floor has a multi-tone, textured appearance rather than a flat painted look. It is commonly selected for garages because the flake blend helps visually manage ordinary dust, tire marks, and day-to-day wear while creating a more finished space for parking, storage, hobbies, or workshop use. A typical system can include:
- Mechanical concrete preparation.
- Crack and surface repair where required.
- A compatible primer or tinted resinous base layer.
- Full-broadcast decorative flake.
- Scraping and vacuuming.
- A compatible polyaspartic or urethane protective topcoat.
- A traction additive where the selected finish and use require it.
The exact assembly is not identical on every garage. The existing slab and the intended use determine the scope.
Step 1: Inspect the garage concrete
Before installation, the floor is assessed as a concrete surface—not simply measured as square footage. The inspection considers:
- Cracks, joints, spalls, and surface defects.
- Weak, dusty, porous, or scaling concrete.
- Oil, tire residue, old sealers, paint, adhesives, or failed coatings.
- Low spots, thresholds, edges, and transitions.
- Signs of moisture-related concerns.
- Garage use, including vehicles, storage, workshop activity, and cleaning habits.
This is the point where the project scope is established. A garage with sound bare concrete may need standard preparation and repair. A garage with old coating failure, contamination, weak surface paste, or larger defects may need more extensive work before a resinous system is appropriate. A coating should not be used to hide unsound concrete. The surface has to be made ready to receive the system.
Step 2: Diamond grind the concrete
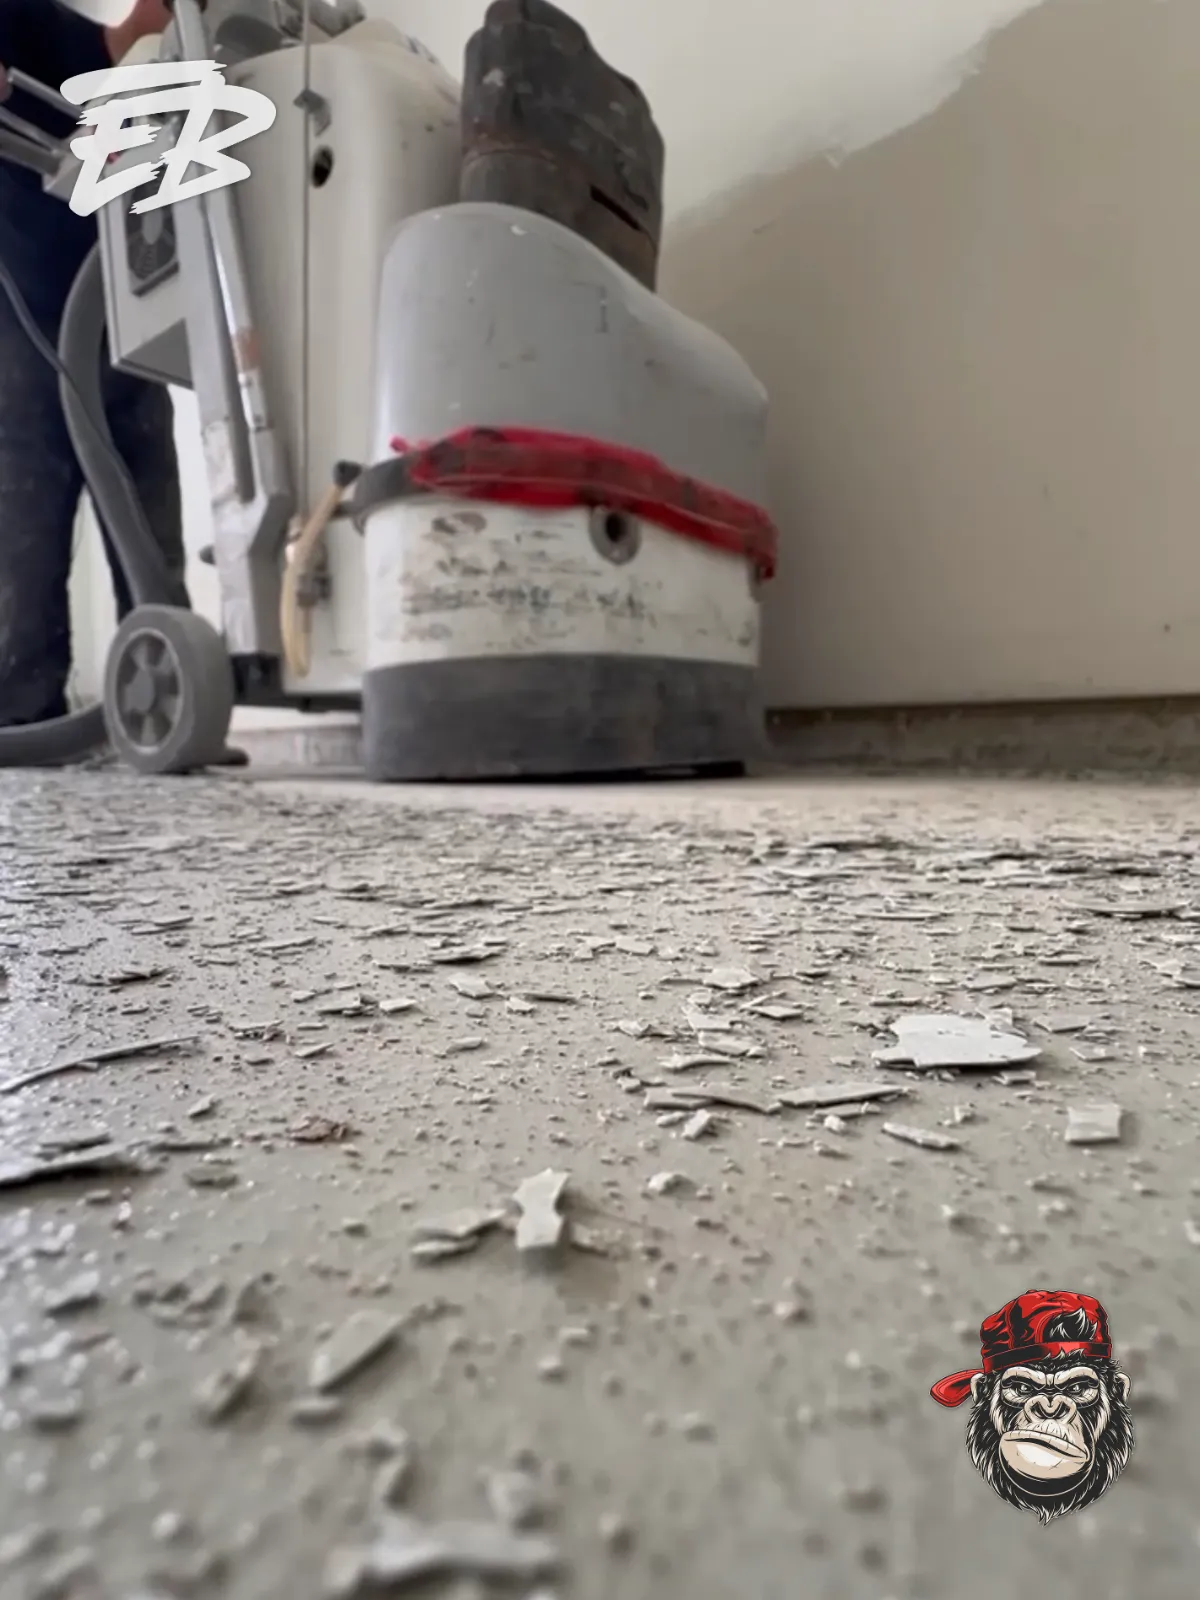
Diamond grinding is the foundation of a full-flake garage floor. Epoxy Boss mechanically grinds the concrete to remove weak surface material, old coatings where required, residue, and contaminants that can interfere with bonding. Grinding also creates a mechanical profile that gives the resin system a sound surface to grip. This is different from relying on a quick acid wash or surface cleaning alone. Cleaning is important, but it does not replace mechanical profiling when the goal is a bonded coating system. For an Innisfil garage, preparation is especially important after winters of salt, slush, and tire traffic. The visible floor may look clean after sweeping, but preparation identifies and removes weak or contaminated material at the surface. The goal is not to make the floor look rough. The goal is to create the right concrete profile for the specified resin system.
Step 3: Repair cracks and surface imperfections
Most garage floors have some cracking. Concrete moves, shrinks, and responds to conditions over time. Not every crack requires the same repair method, and not every crack can be treated as a cosmetic line. Before coating, Epoxy Boss evaluates whether a crack appears stable, whether it follows a joint, whether edges are damaged, and whether surrounding concrete is sound. Compatible repair materials are then used where the system and substrate require them. This step can include:
- Filling prepared cracks.
- Repairing small pits and surface defects.
- Addressing damaged edges or transitions.
- Preparing joints according to their function in the floor.
- Correcting local imperfections that would affect the finished appearance or system continuity.
The purpose is not to promise that concrete will never move again. It is to prepare visible defects and transitions correctly before the resin layers are installed.
Step 4: Assess moisture and substrate conditions
Moisture is one of the main reasons a floor coating must be selected around the slab instead of sold as a universal package. A garage slab can have moisture-related concerns because of its age, location, seasonal conditions, previous floor coverings, or the way water moves around the property. Where the concrete condition or project history calls for it, moisture is assessed before the coating scope is finalized. If moisture control is required, it is addressed as part of the system design. A moisture-tolerant primer or vapour-reduction layer may be considered only where it is compatible with the substrate and the specified flooring assembly. This is a technical decision. It is not something that can be confirmed from a colour chart or a single photo.
Step 5: Apply the compatible resinous base layer
Once preparation and repairs are complete, the selected resinous base layer is applied. In many full-flake garage systems, this is a pigmented epoxy or compatible resin coat that performs two jobs:
- It bonds to the prepared concrete.
- It creates the receiving layer for the decorative flake.
The base colour is selected to support the flake blend. Although most of the base coat is covered by full-broadcast flake, the colour still matters around edges, vertical details, and small visual transitions. This is where system selection becomes visible. The base layer, flake blend, and topcoat should work together as one assembly. Choosing a strong product in isolation is not enough if the underlying concrete, preparation, or layer compatibility has not been addressed.
Step 6: Broadcast decorative flake to full rejection
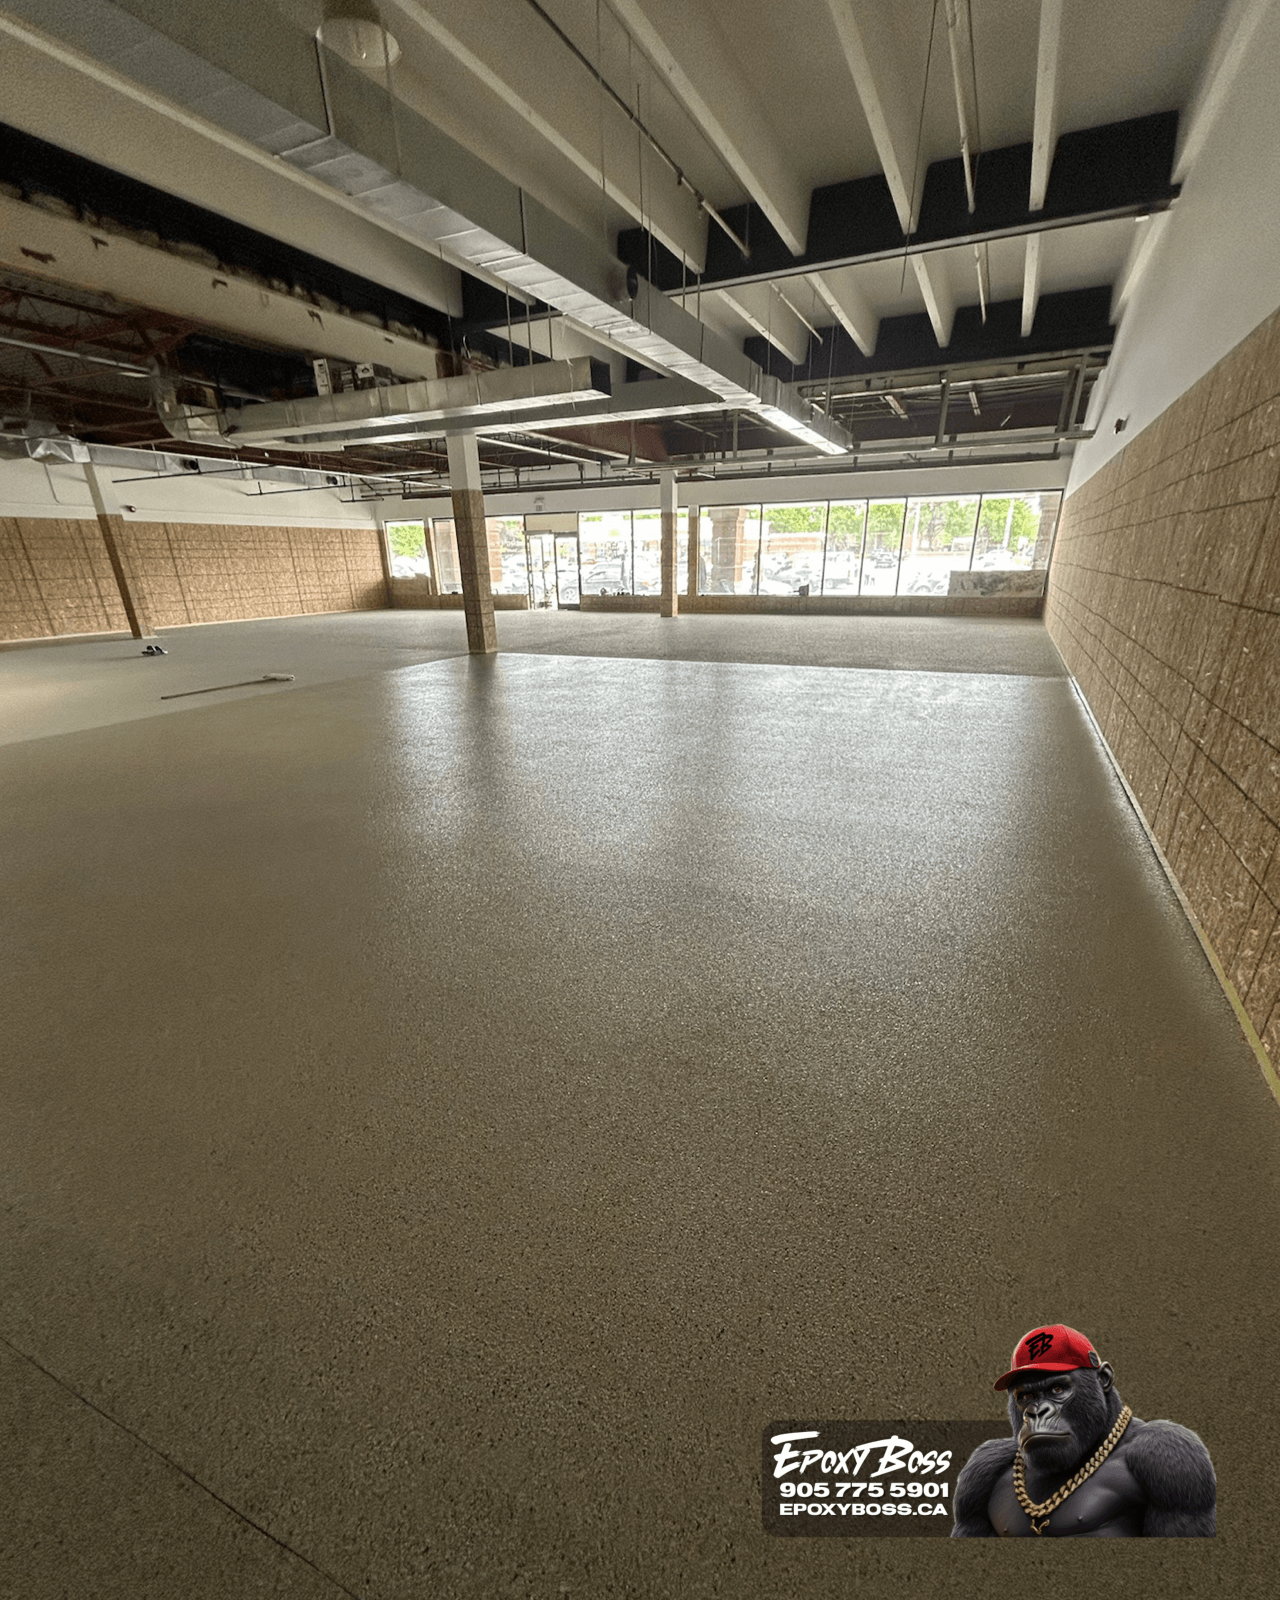
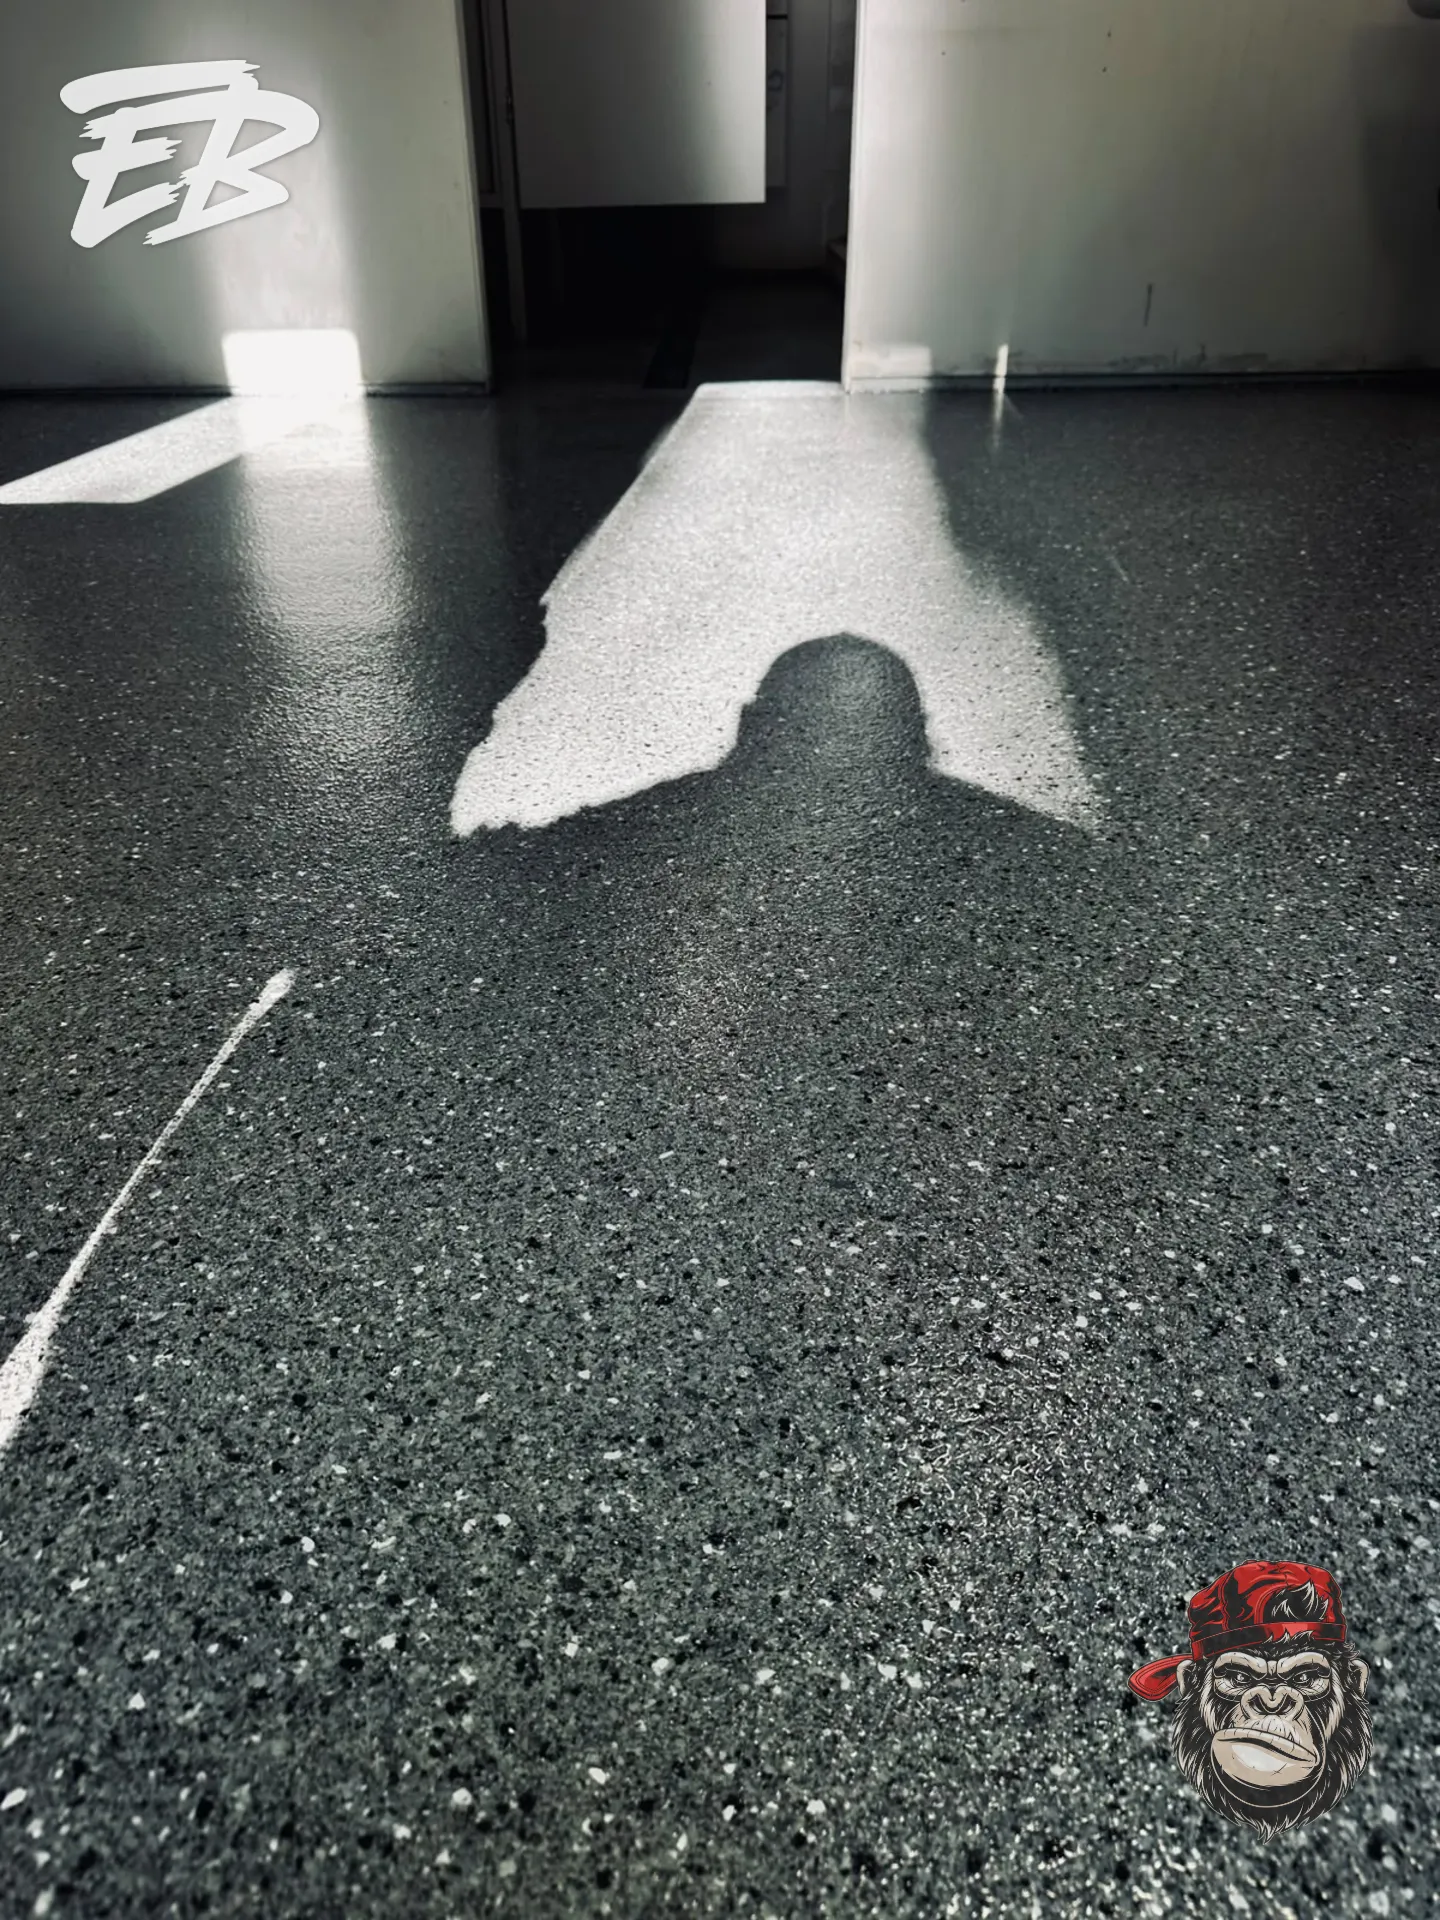
While the receiving coat is still within its working time, decorative vinyl flakes are broadcast across the floor until the wet resin is fully covered. This is called a full broadcast or broadcast to rejection. The flake is not lightly sprinkled for decoration. It is applied until excess material remains on the surface. That full coverage creates the characteristic depth and texture of a true flake floor. Flake blends can be selected to suit the garage, home style, lighting, and desired level of contrast. A lighter blend can create a brighter, cleaner visual. A darker blend can be more forgiving in high-use garages. The decision is practical as well as aesthetic. A full-flake floor is often a strong fit for Innisfil garages because the multi-tone finish can make ordinary dust, road grit, and light tire residue less visually obvious than a single solid-colour floor.
Step 7: Scrape, vacuum, and prepare the flake layer
After the broadcast layer has cured as required by the system, the excess flake is removed. The floor is scraped in multiple directions to knock down loose or standing flakes and create a more even surface. It is then vacuumed thoroughly so the final topcoat is applied over a clean, stable broadcast layer rather than loose debris. This step affects both appearance and performance. If the flake is not properly scraped and cleaned, the final finish can feel rougher than intended or have inconsistent texture. The goal is a controlled surface that keeps the visual depth of the flake system while remaining practical to sweep and maintain.
Step 8: Apply the protective topcoat
The final layer is the protective topcoat. Depending on the specified assembly, this may be a polyaspartic or urethane topcoat selected around the garage’s expected exposure, finish, recoat requirements, and maintenance needs. The topcoat helps finish the system and protects the decorative flake layer from day-to-day garage use. In an Ontario garage, the final layer is considered in relation to tire traffic, road-salt residue, cleaning, seasonal conditions, and sunlight exposure through an open overhead door. Where appropriate, a fine traction additive can be incorporated into the topcoat. The amount and texture should be selected carefully. Too little may not provide the desired feel. Too much can make cleaning more difficult. The result is a finished floor with a defined texture, a clean visual finish, and a surface that is easier to maintain than bare concrete.
What makes a full-flake floor different from a basic coating?
The difference is the complete build-up. A basic coating may only change the colour of the floor. A full-flake system is built as a sequence:
Concrete assessment → diamond grinding → repairs → moisture review where required → resinous base → full flake broadcast → scrape and vacuum → protective topcoat
Every step supports the next one. The visual finish is the part homeowners see.