2026
410.6
Sq Ft
Concrete Coating
Garage
Failed Flake Garage Floor Rescue in Bradford, Ontario

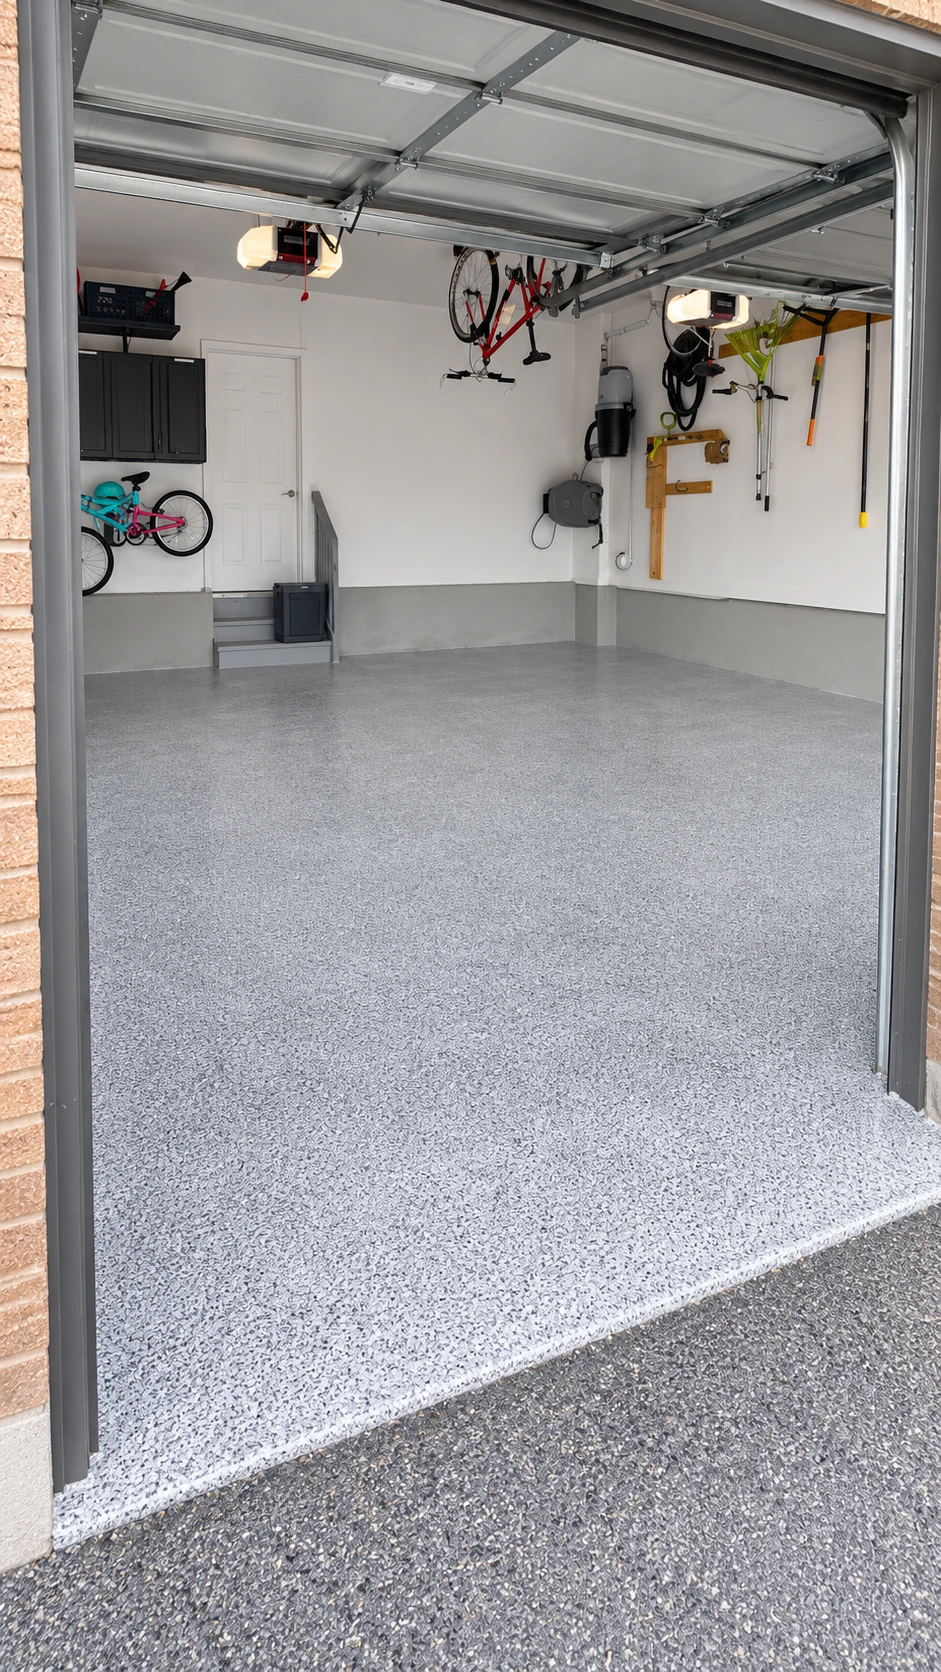
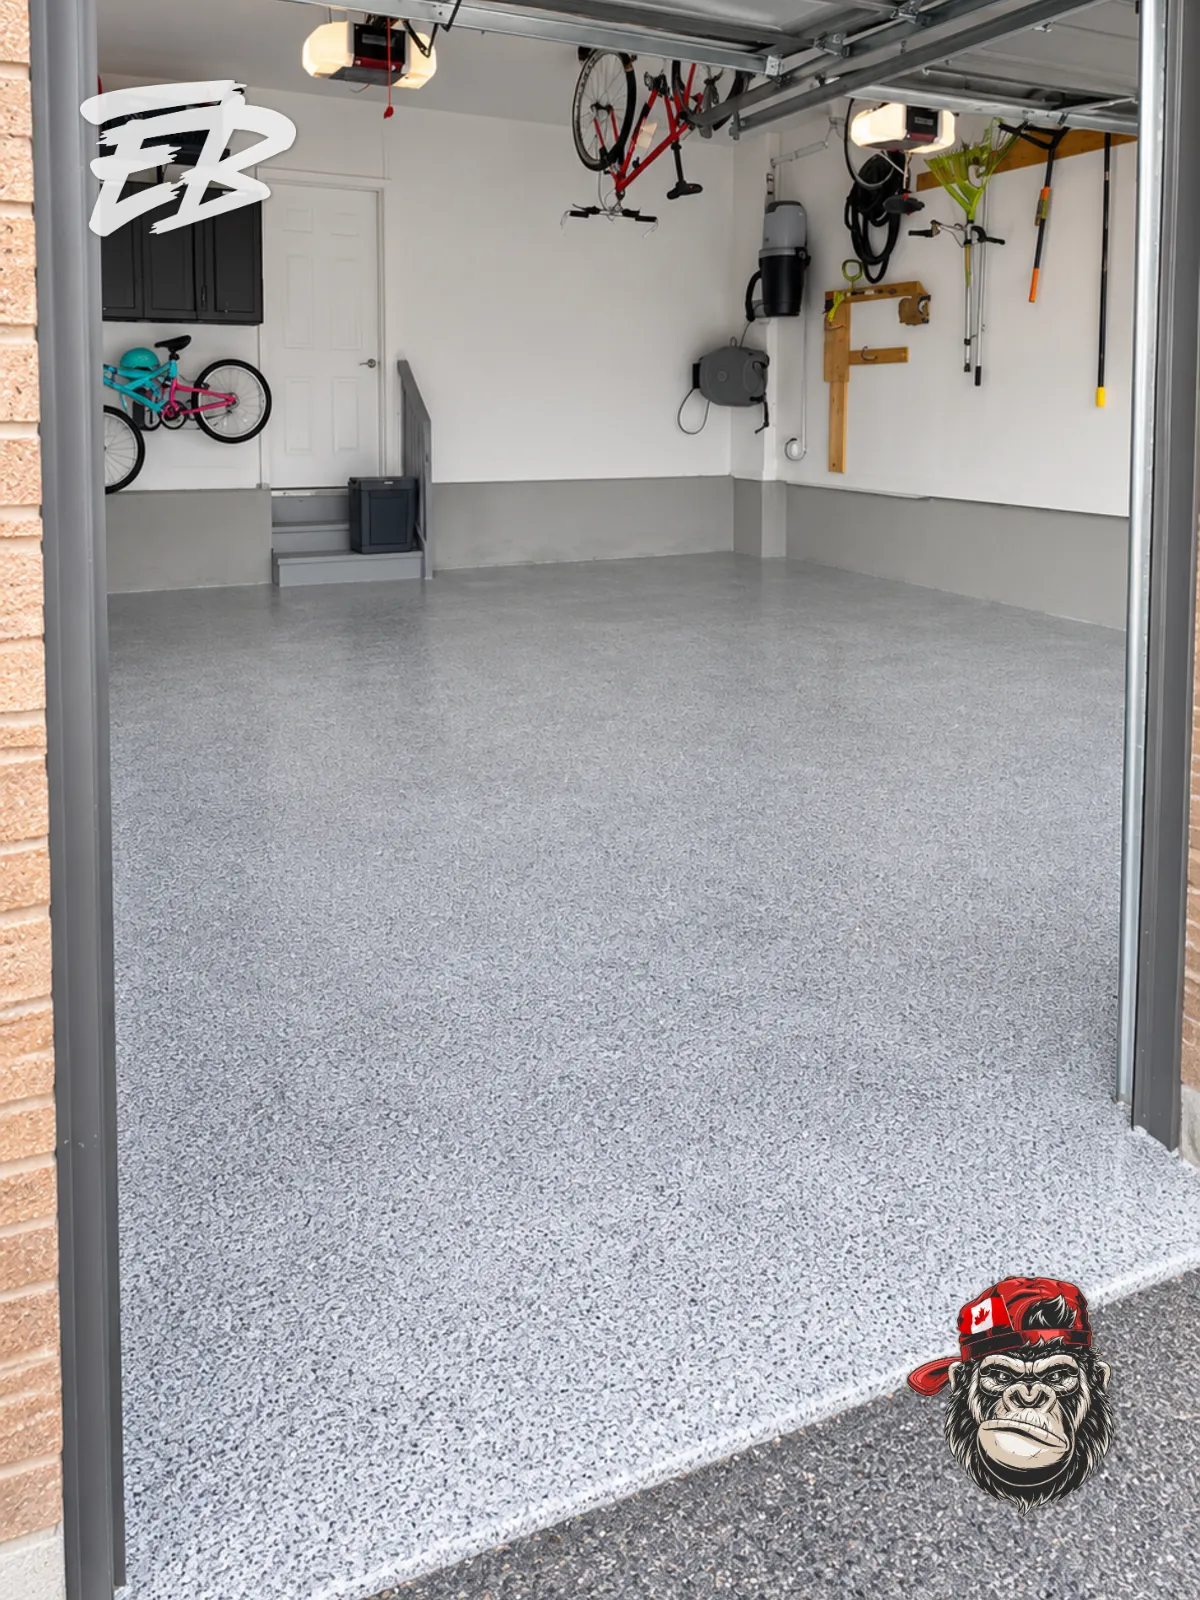
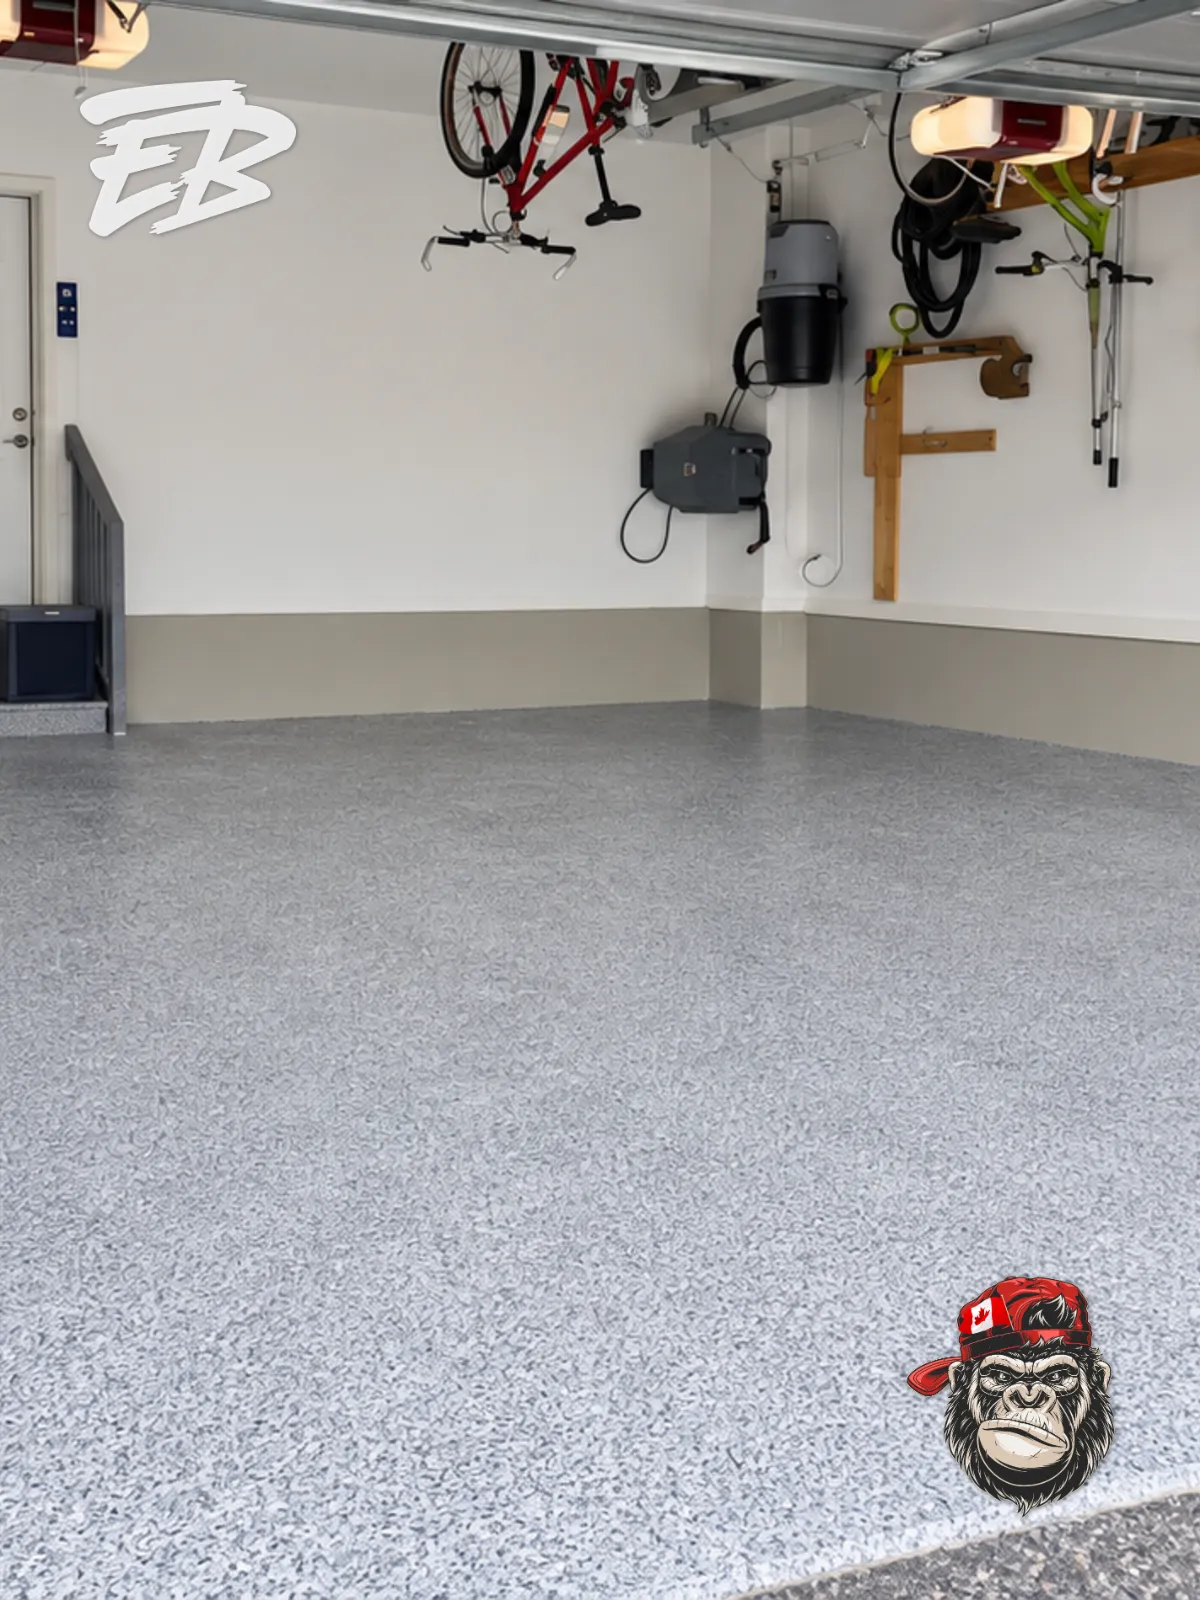
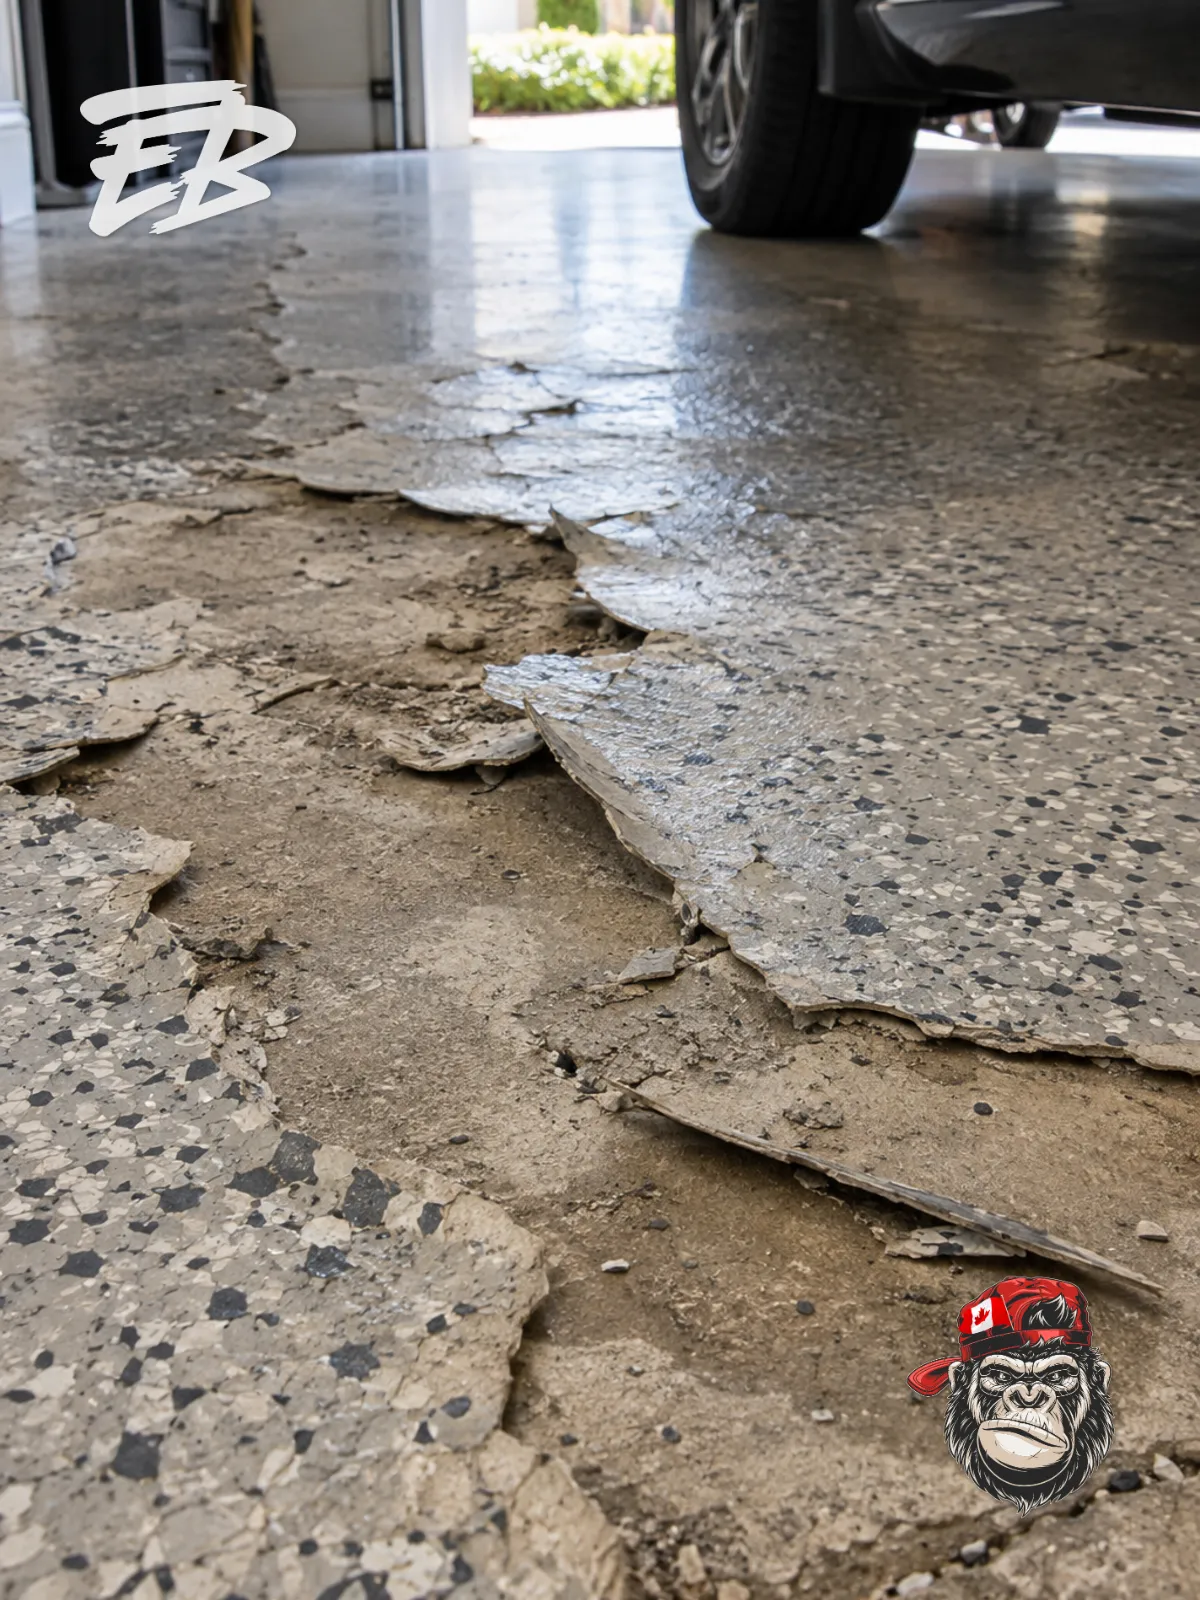
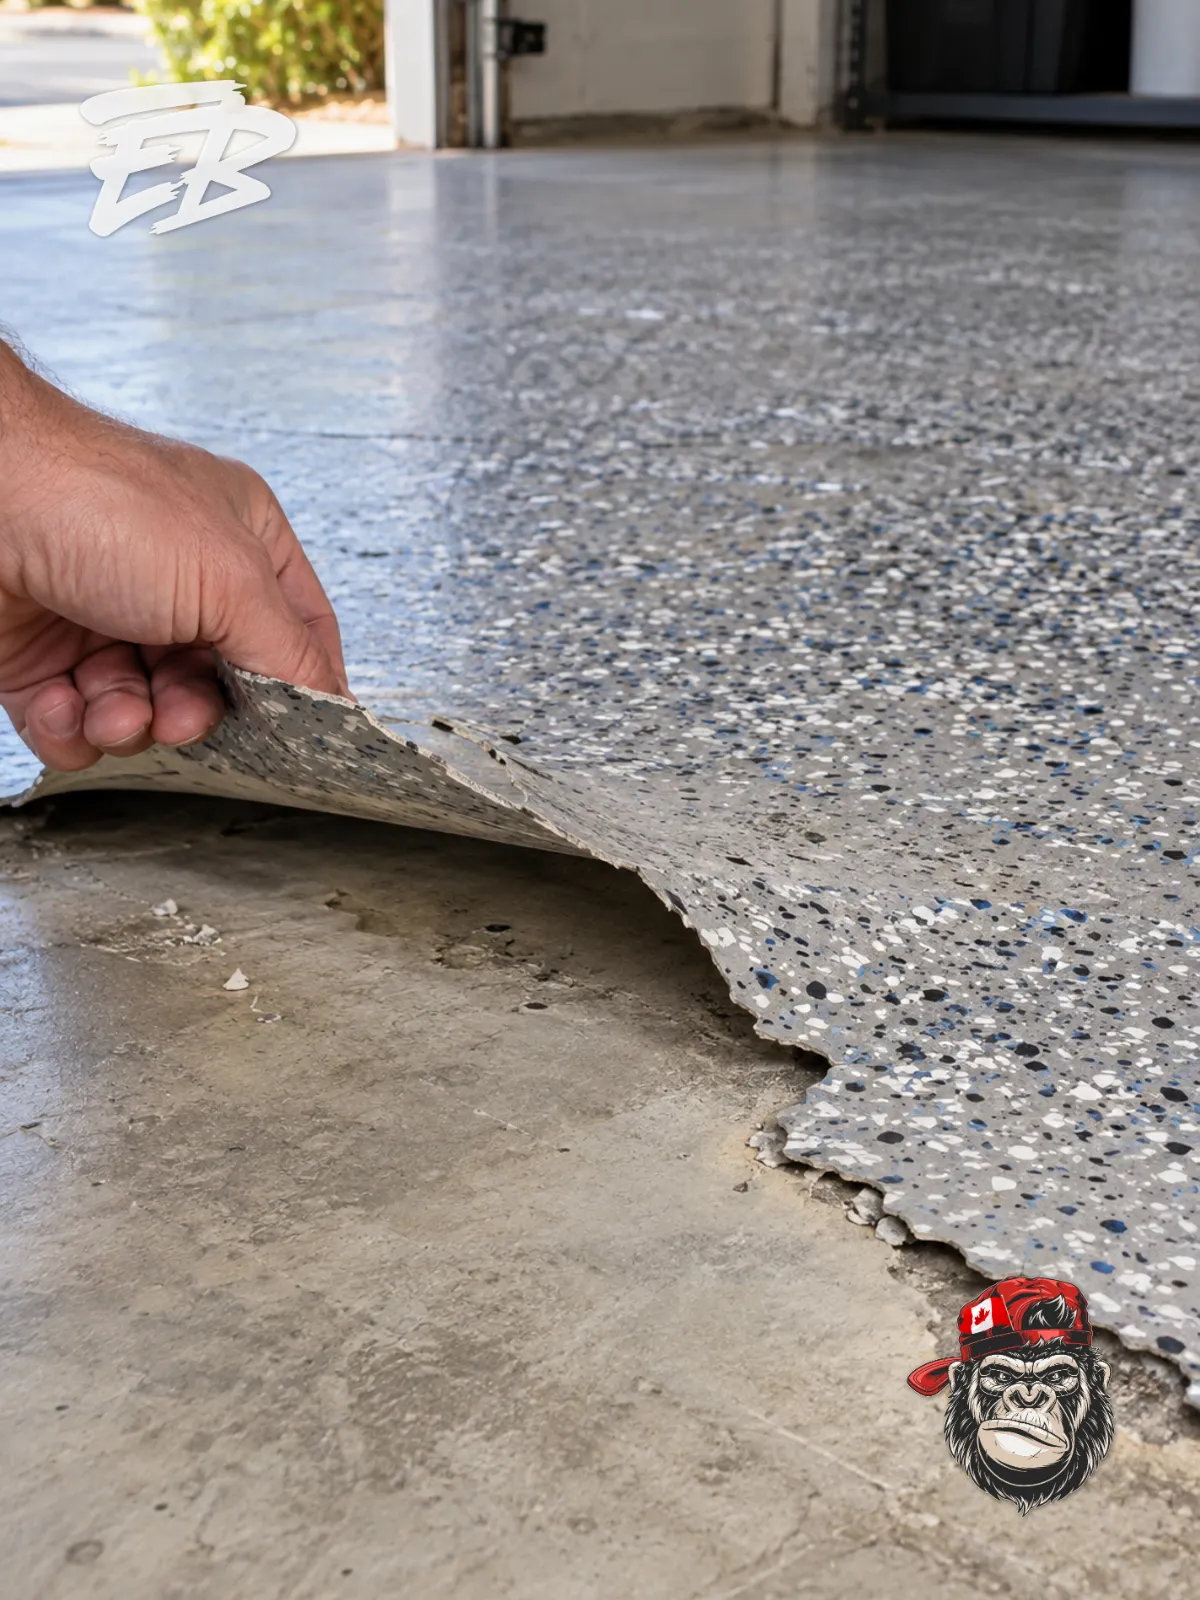
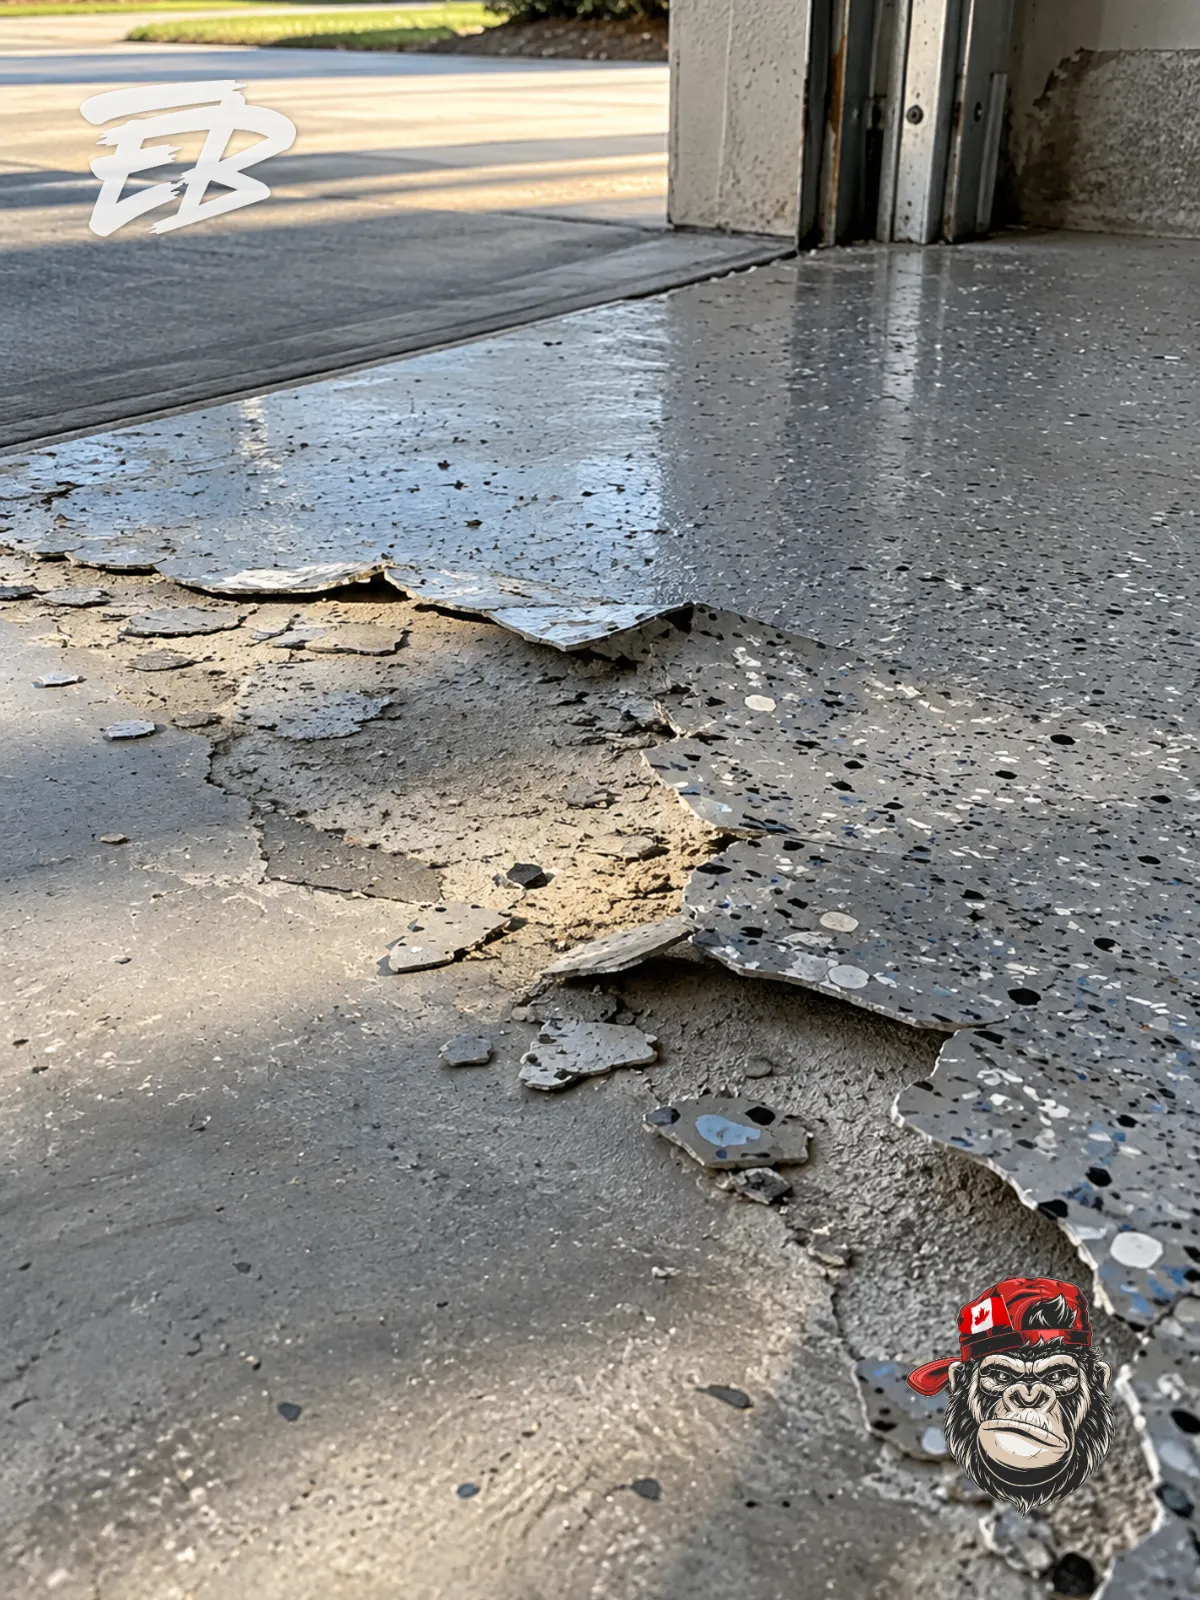
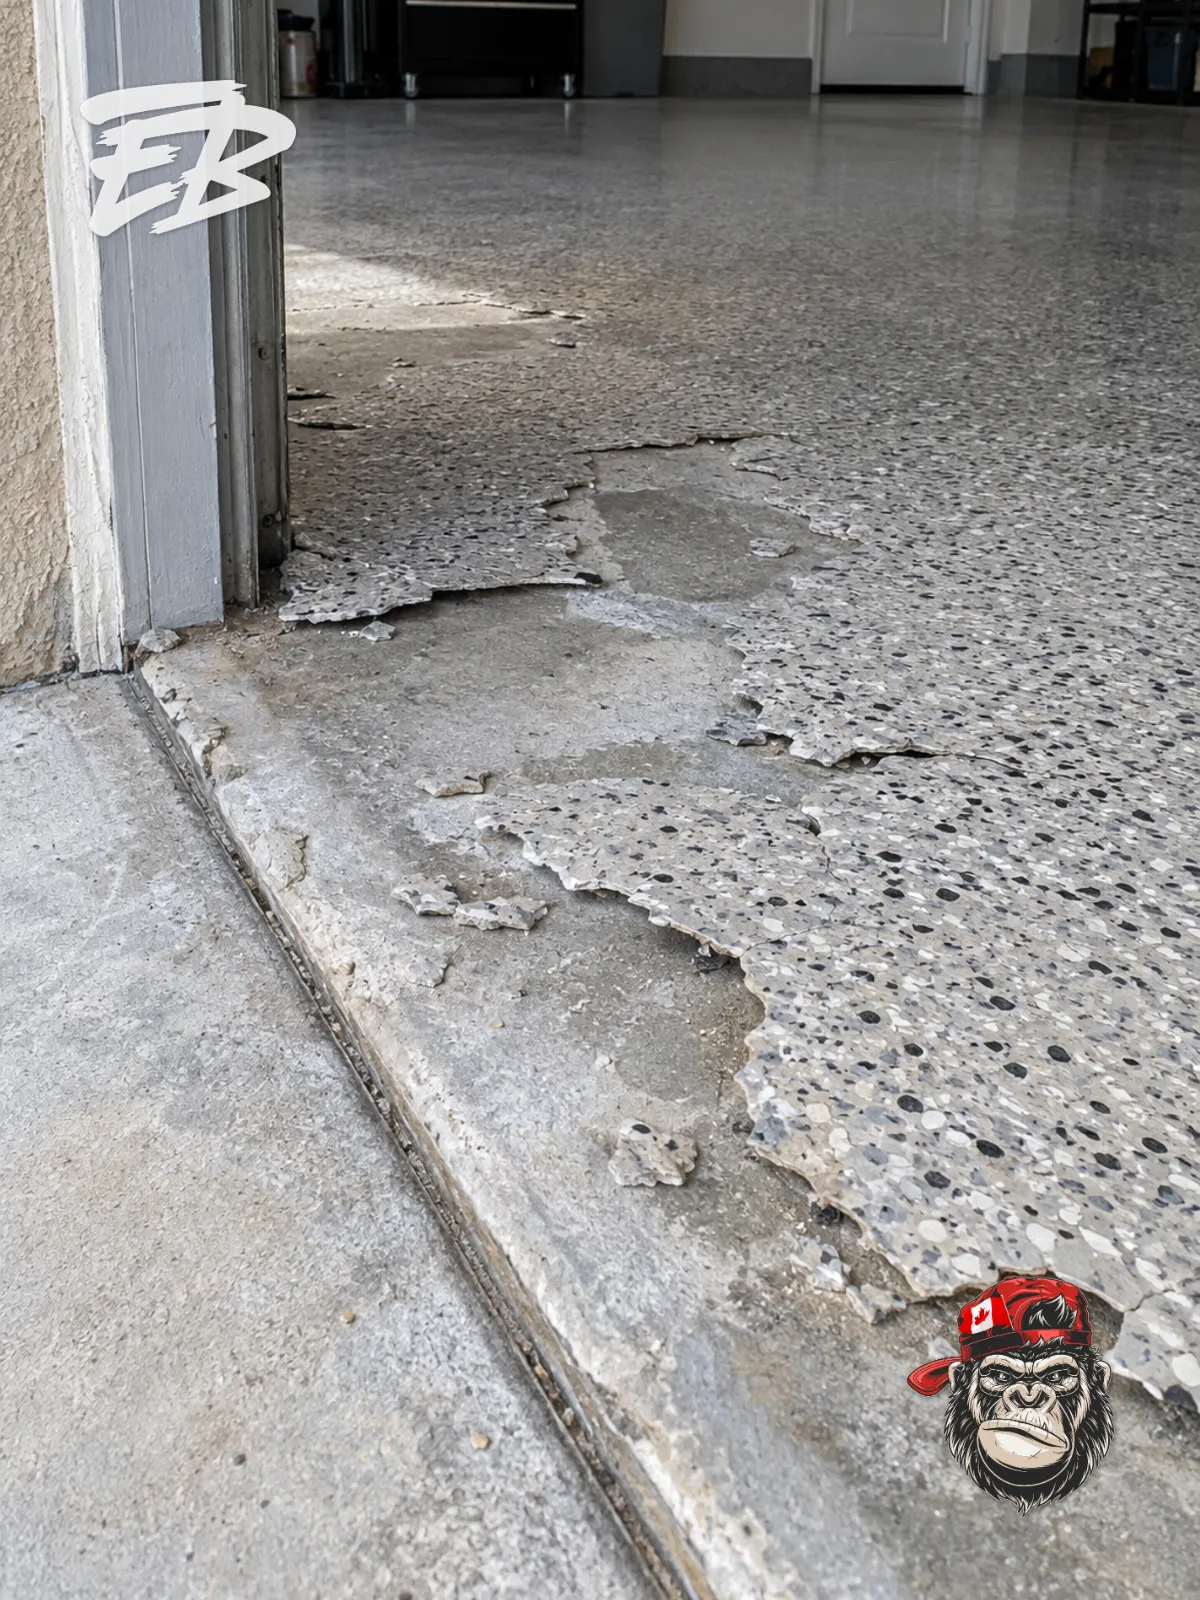
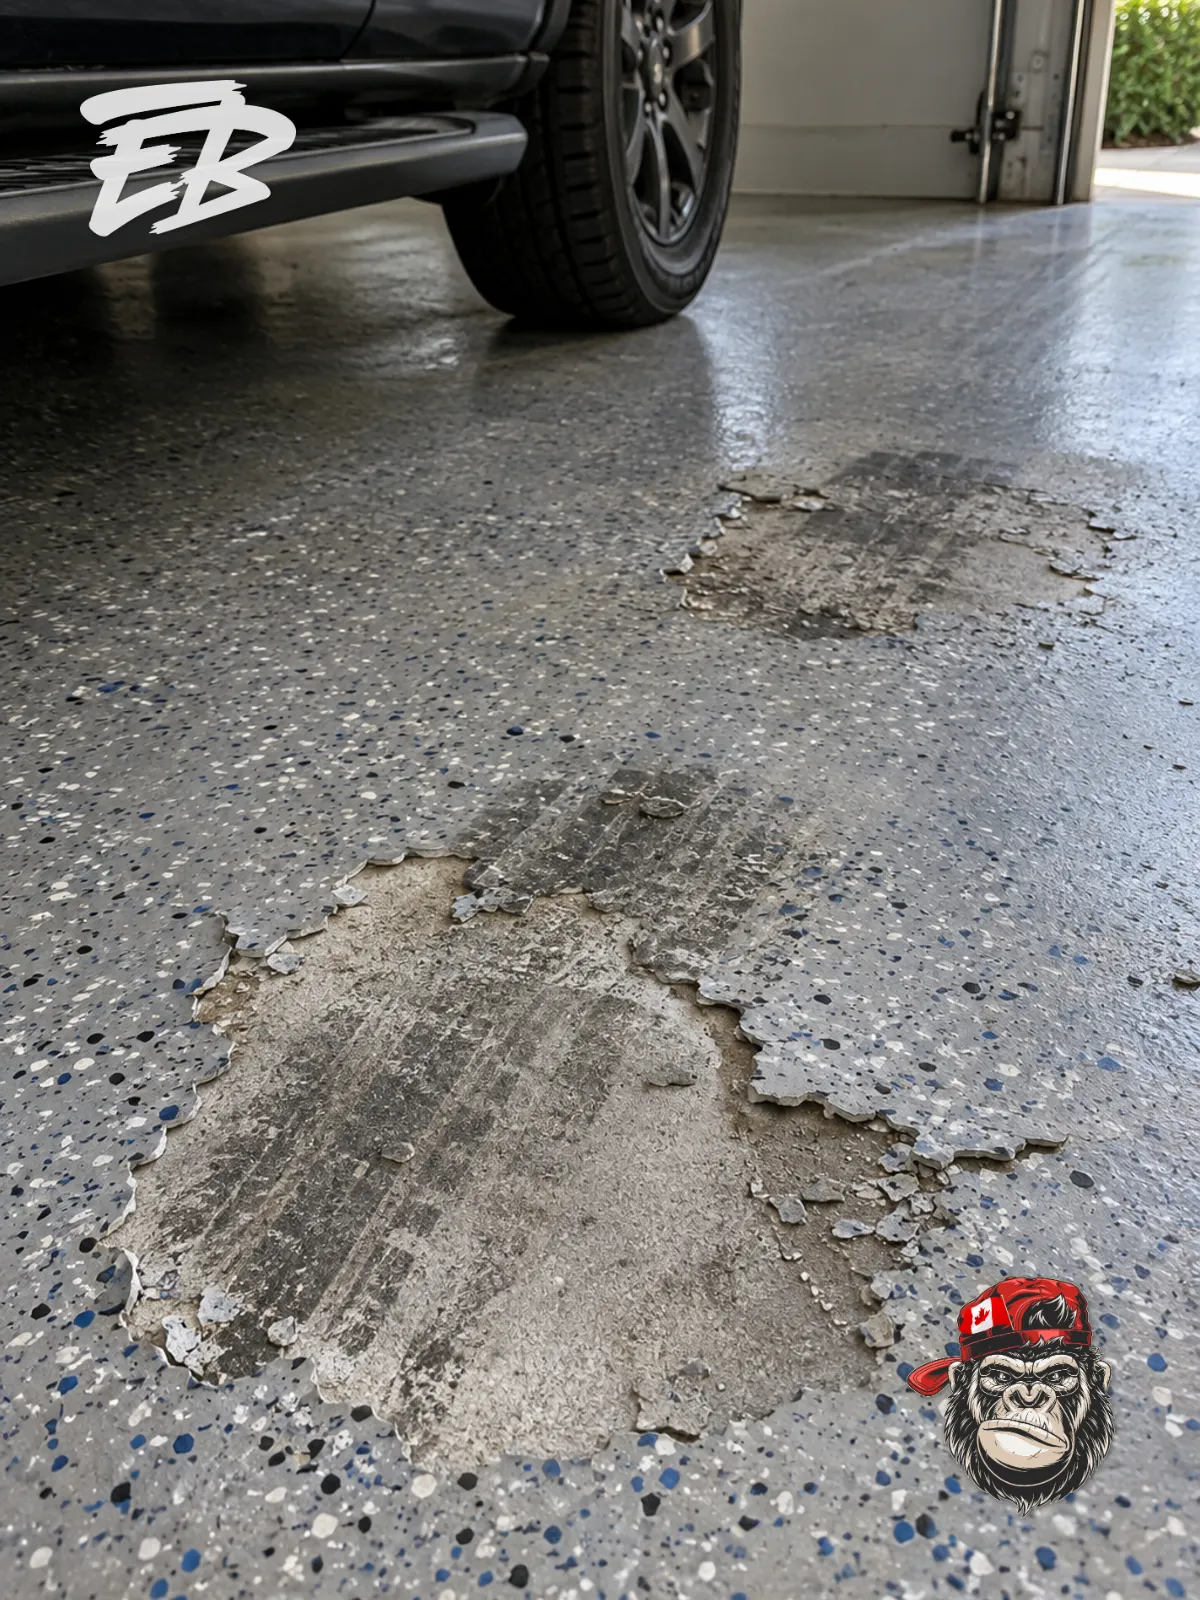
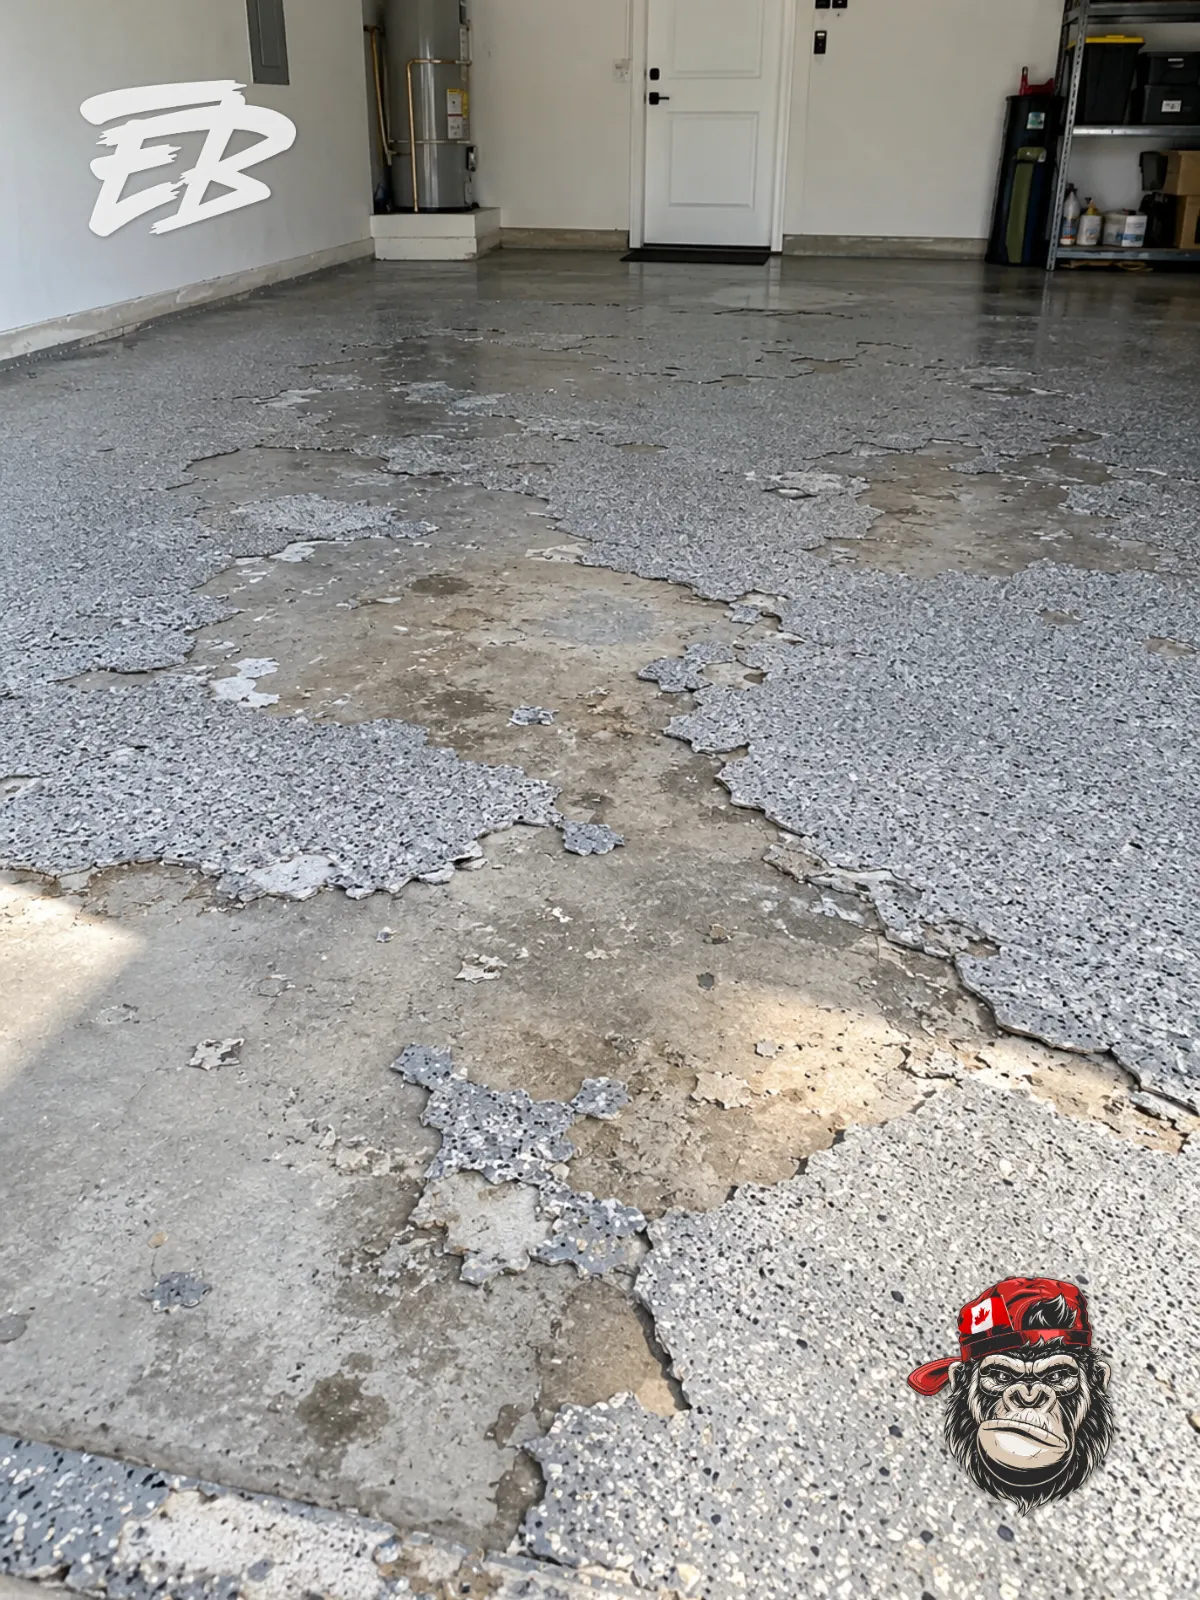
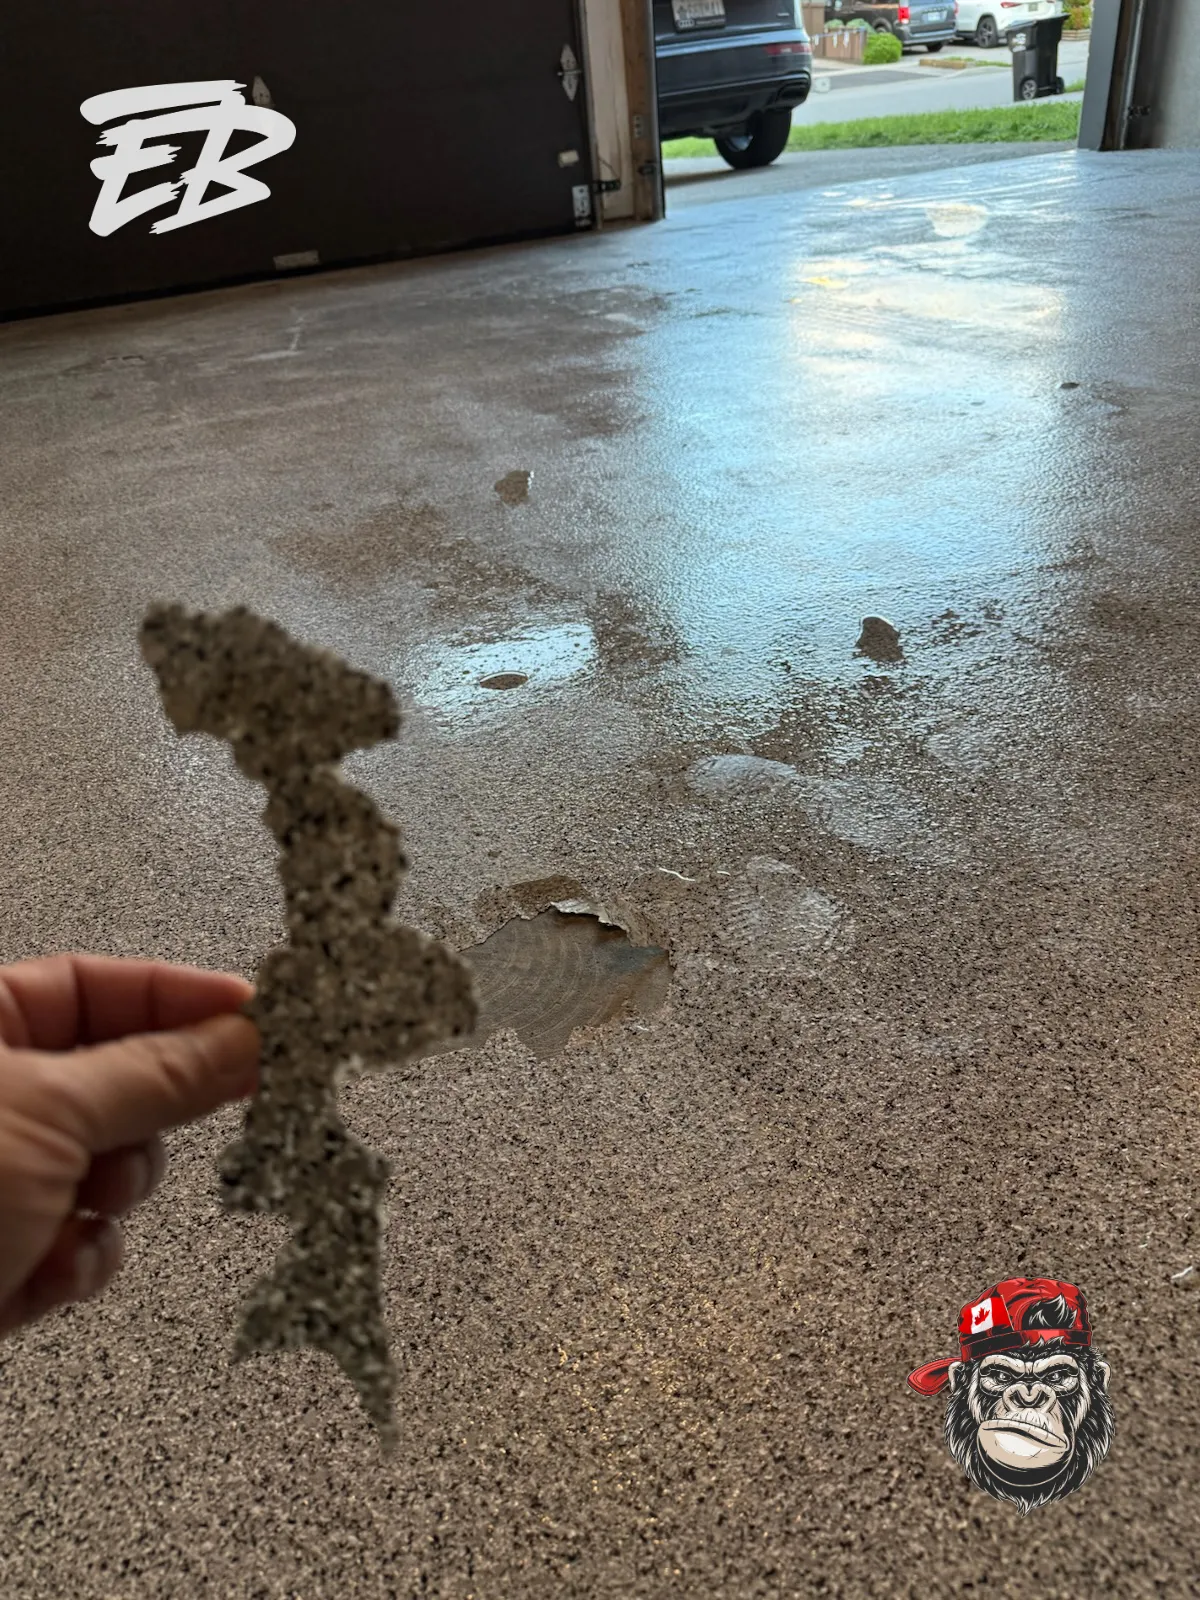
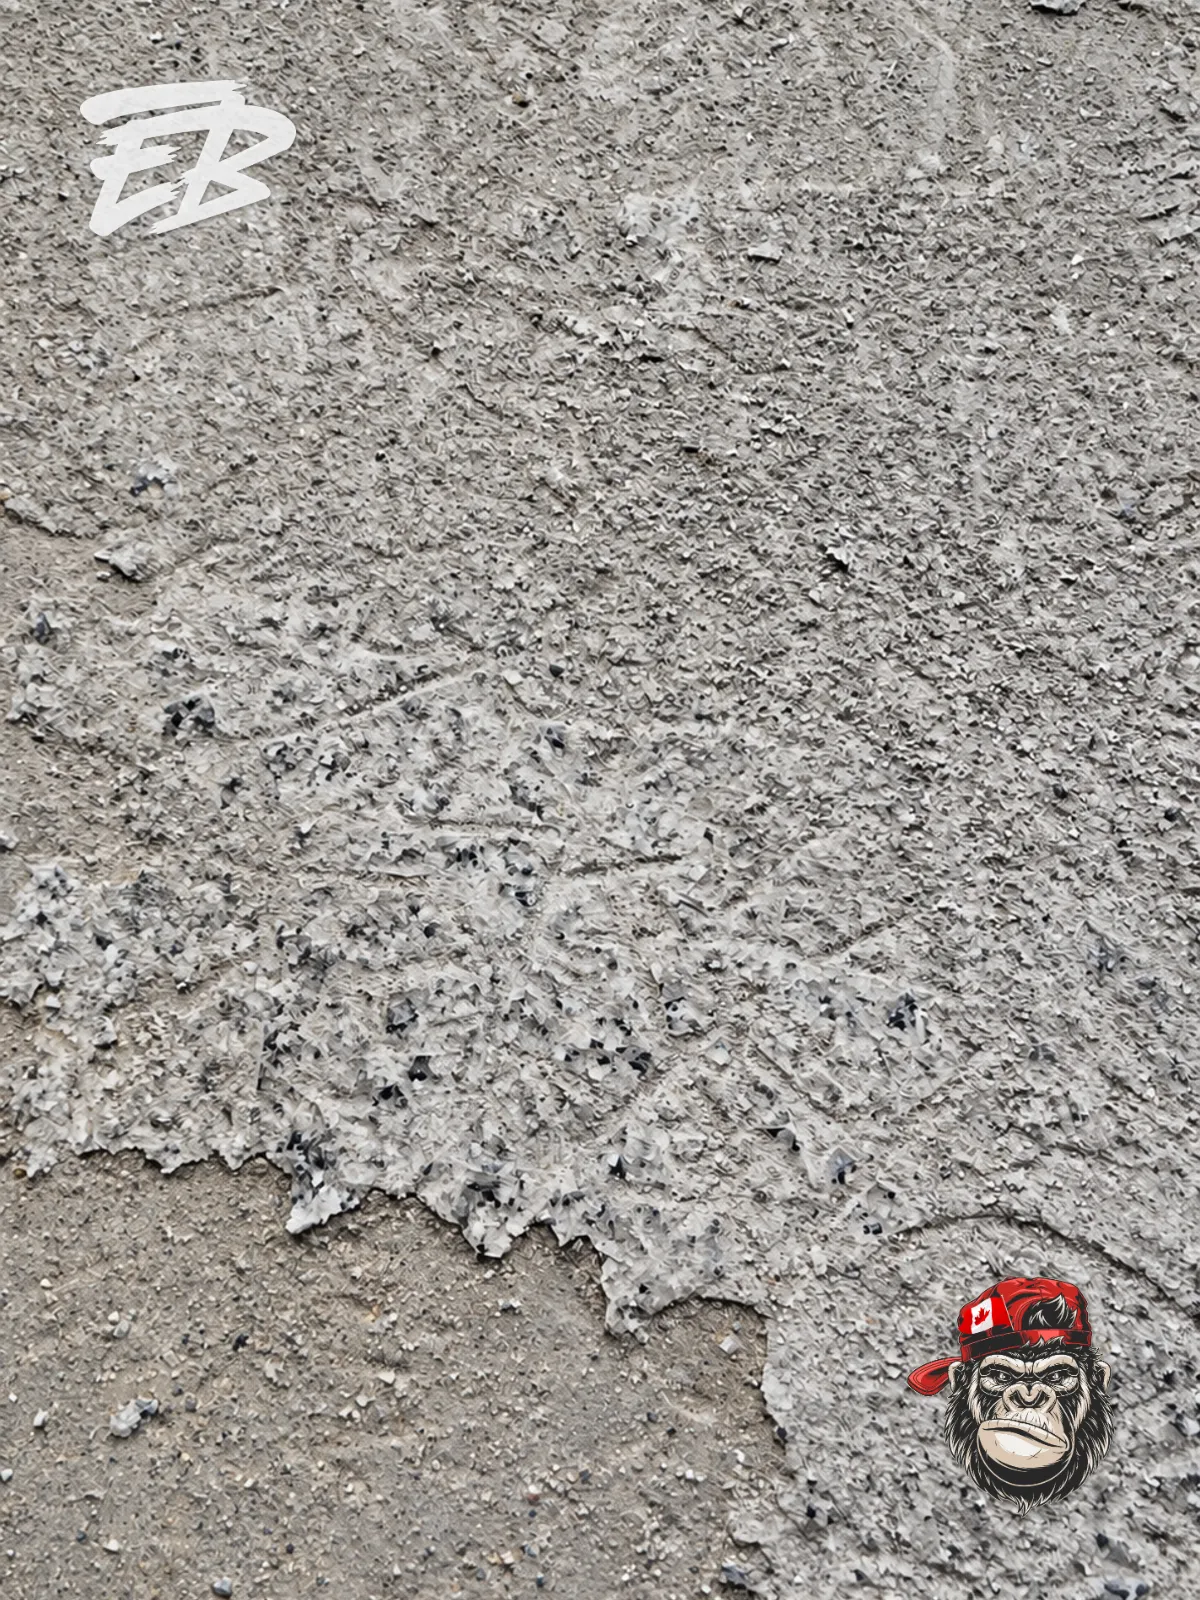
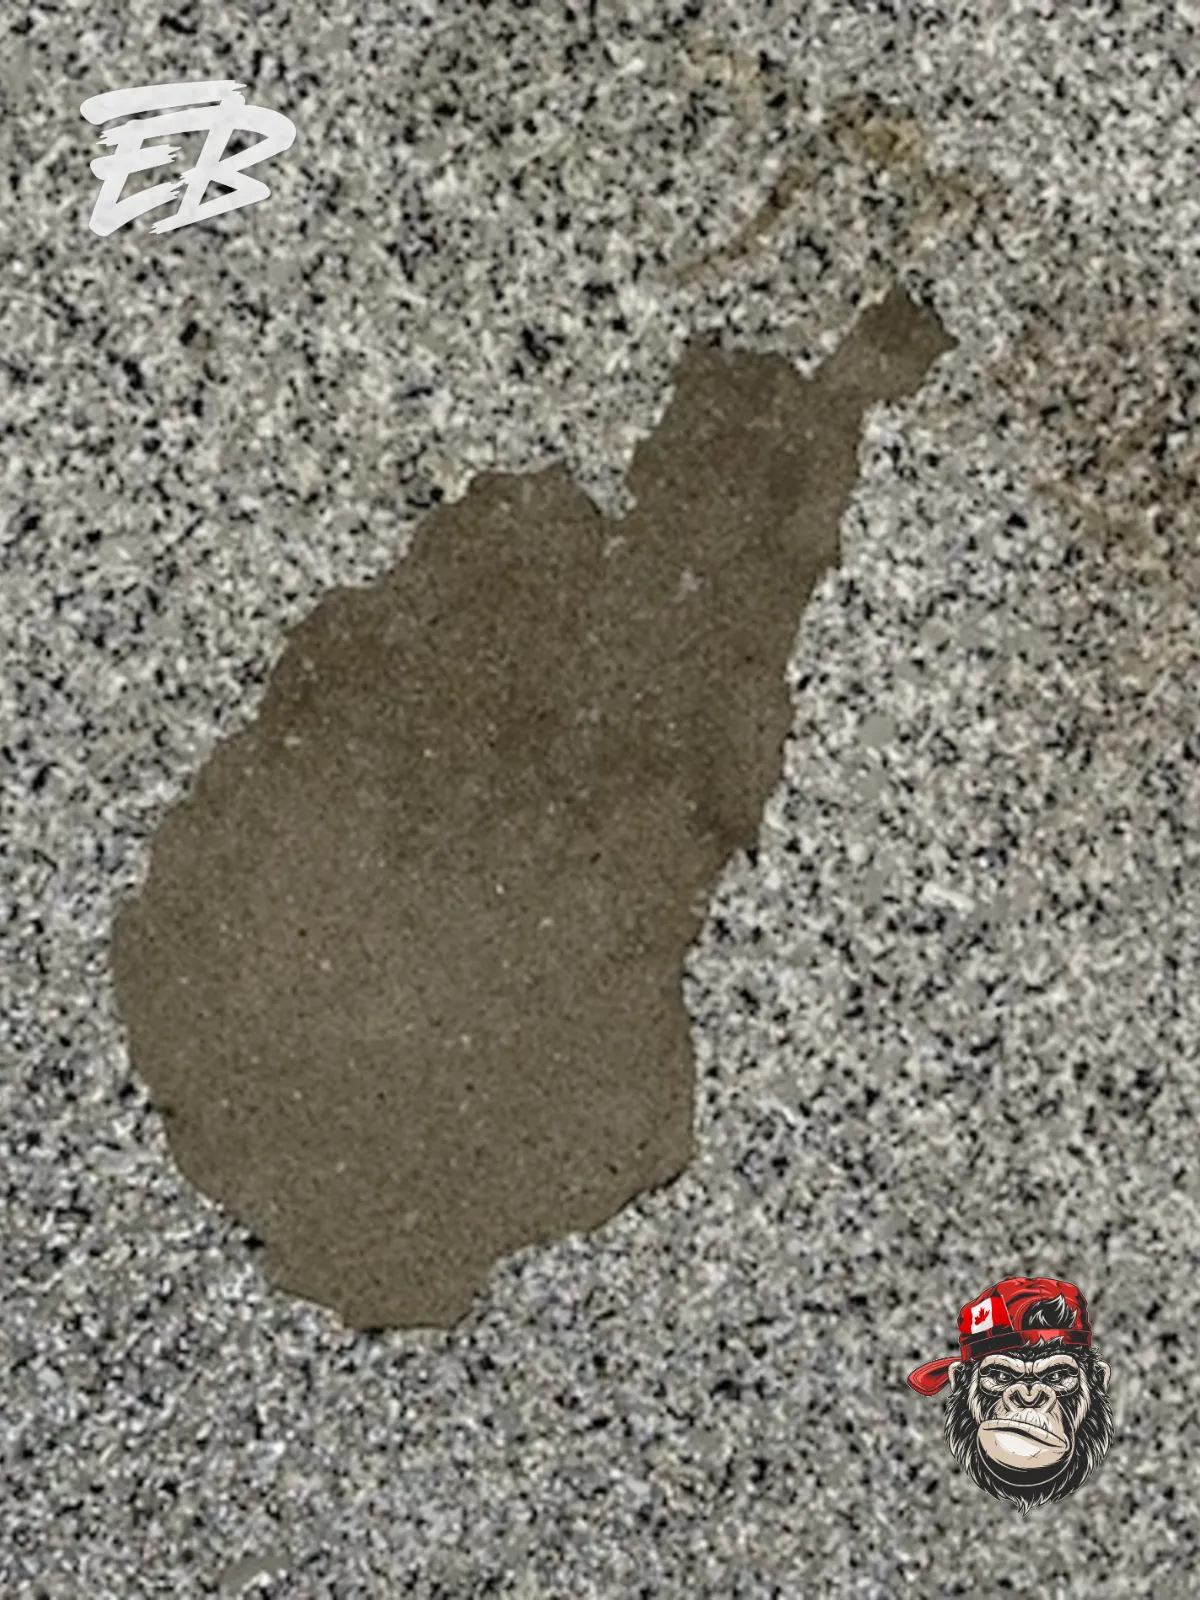
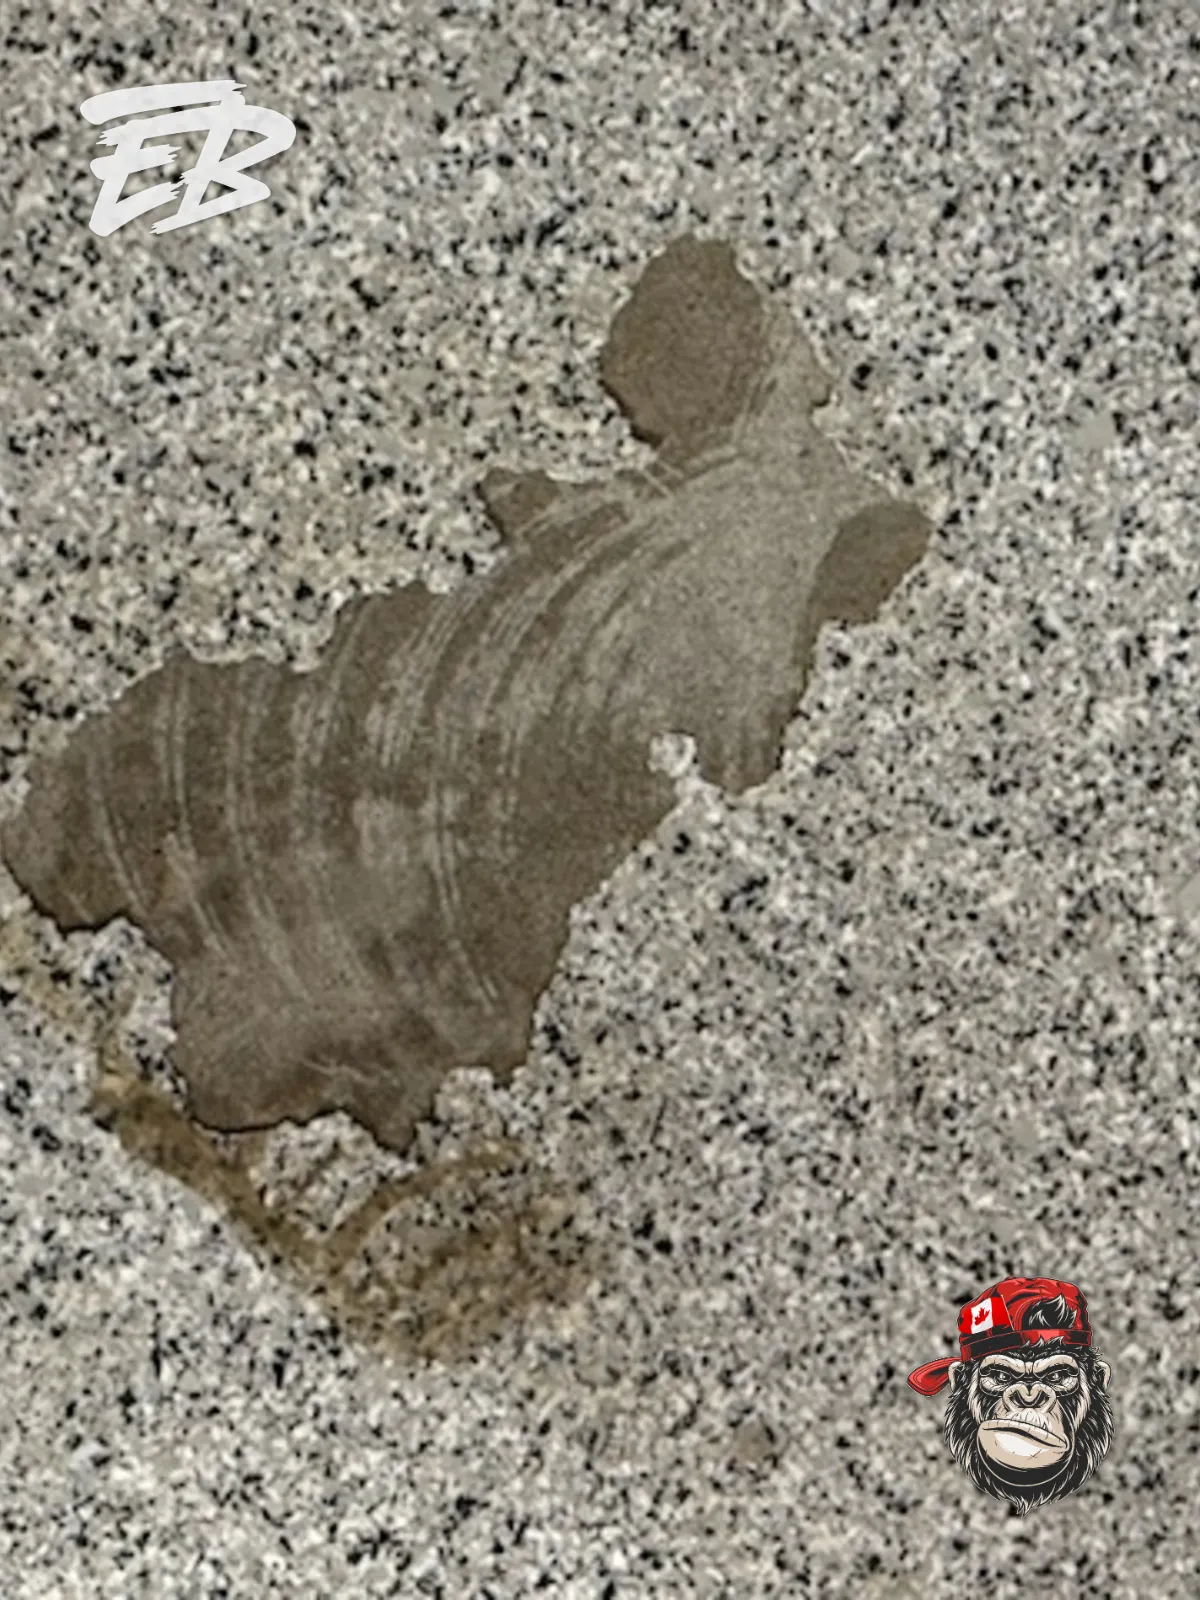
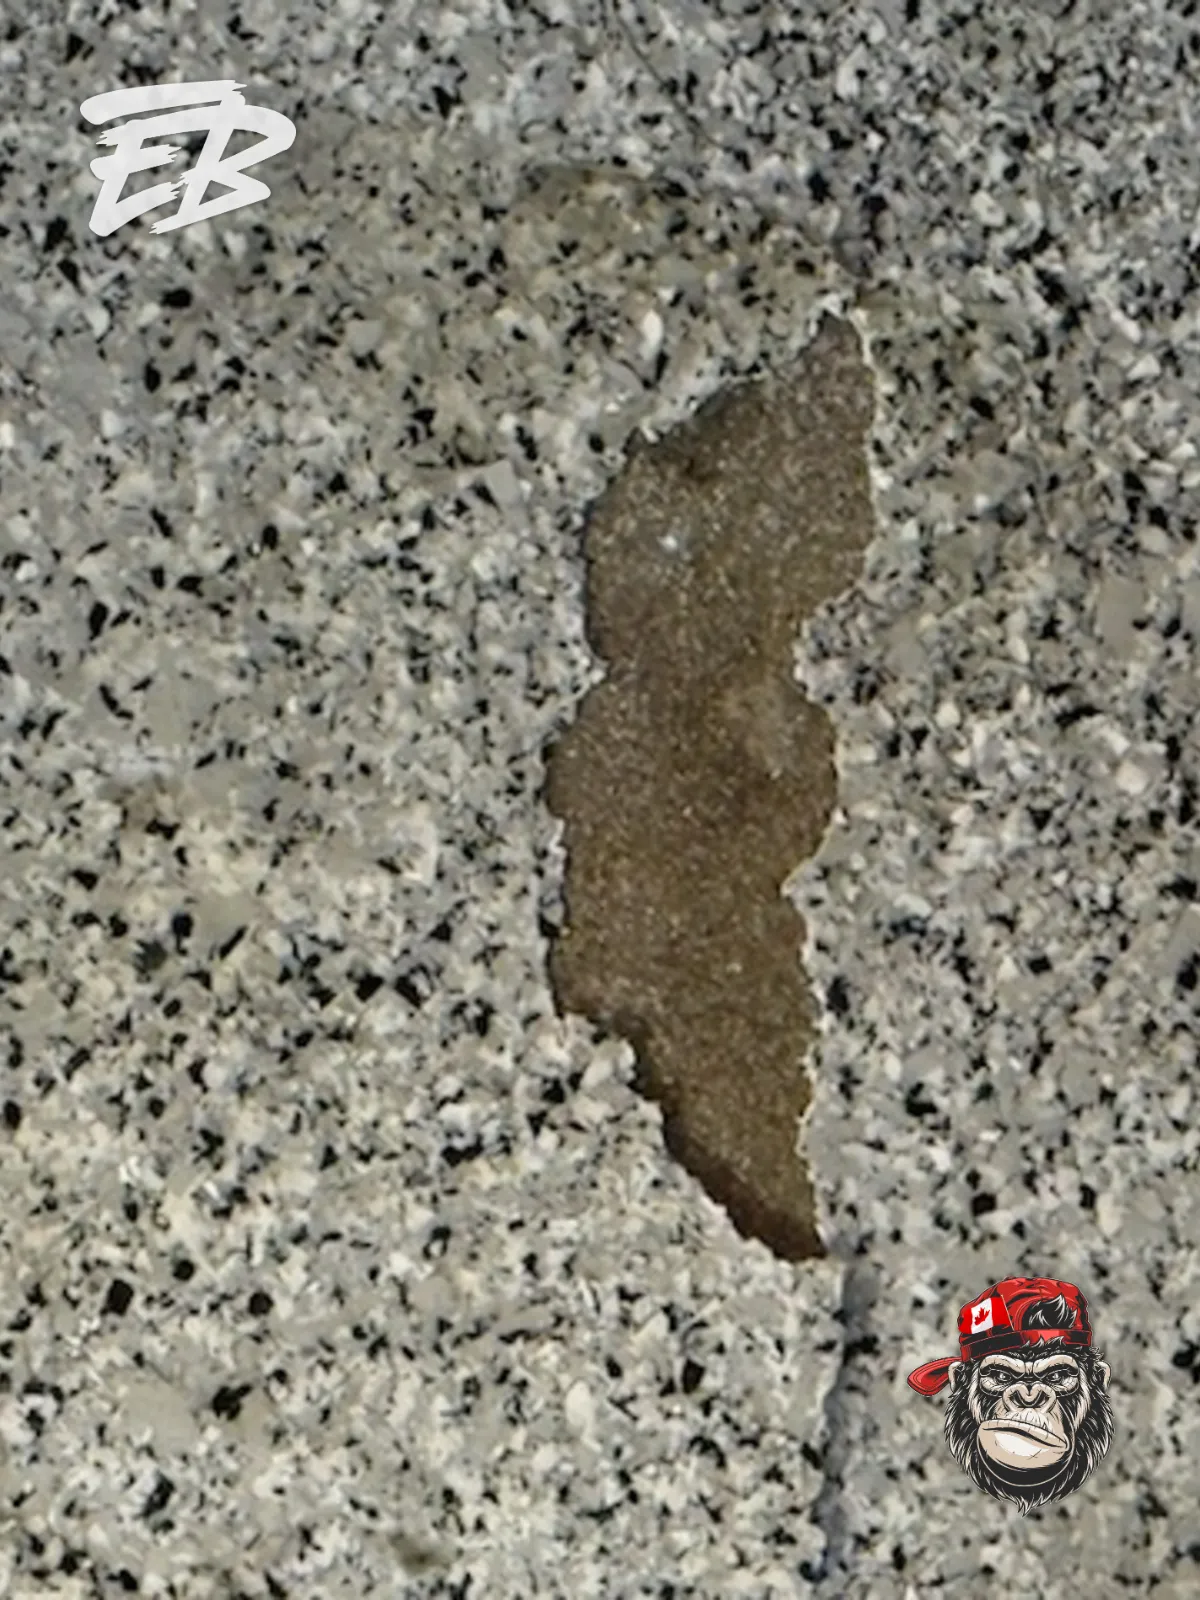
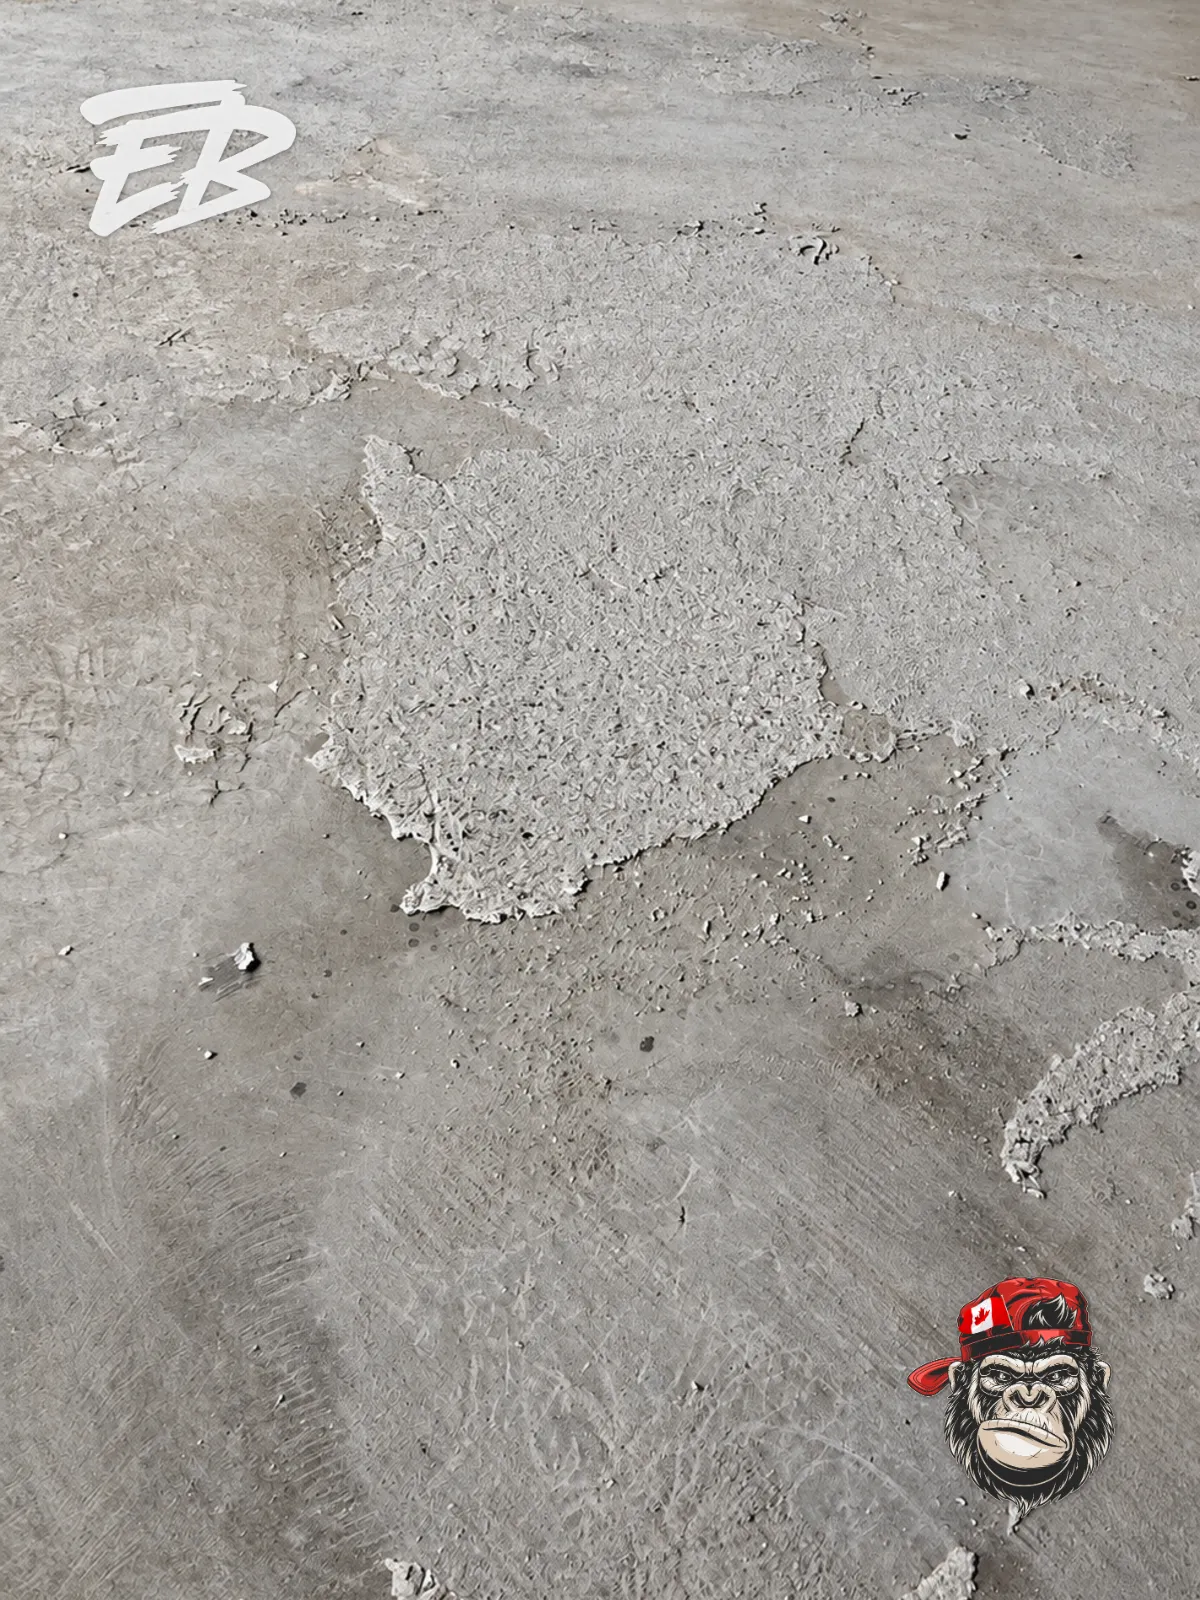
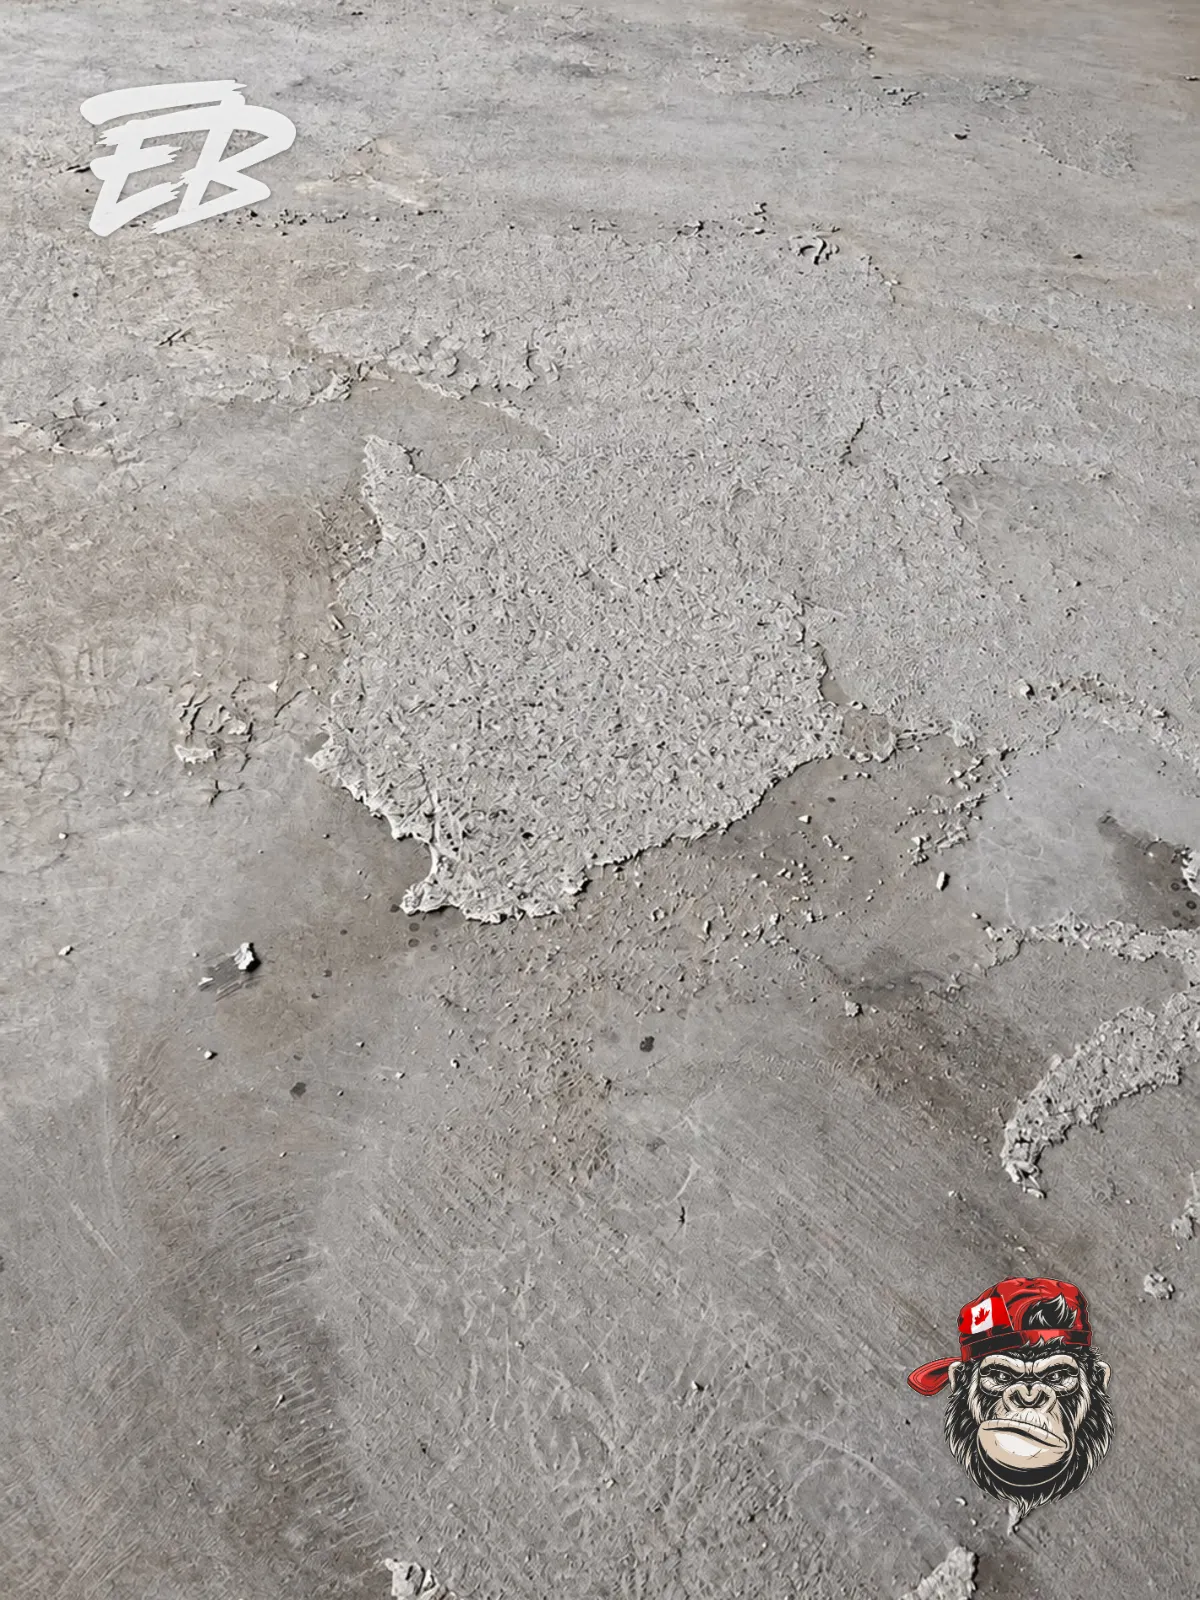
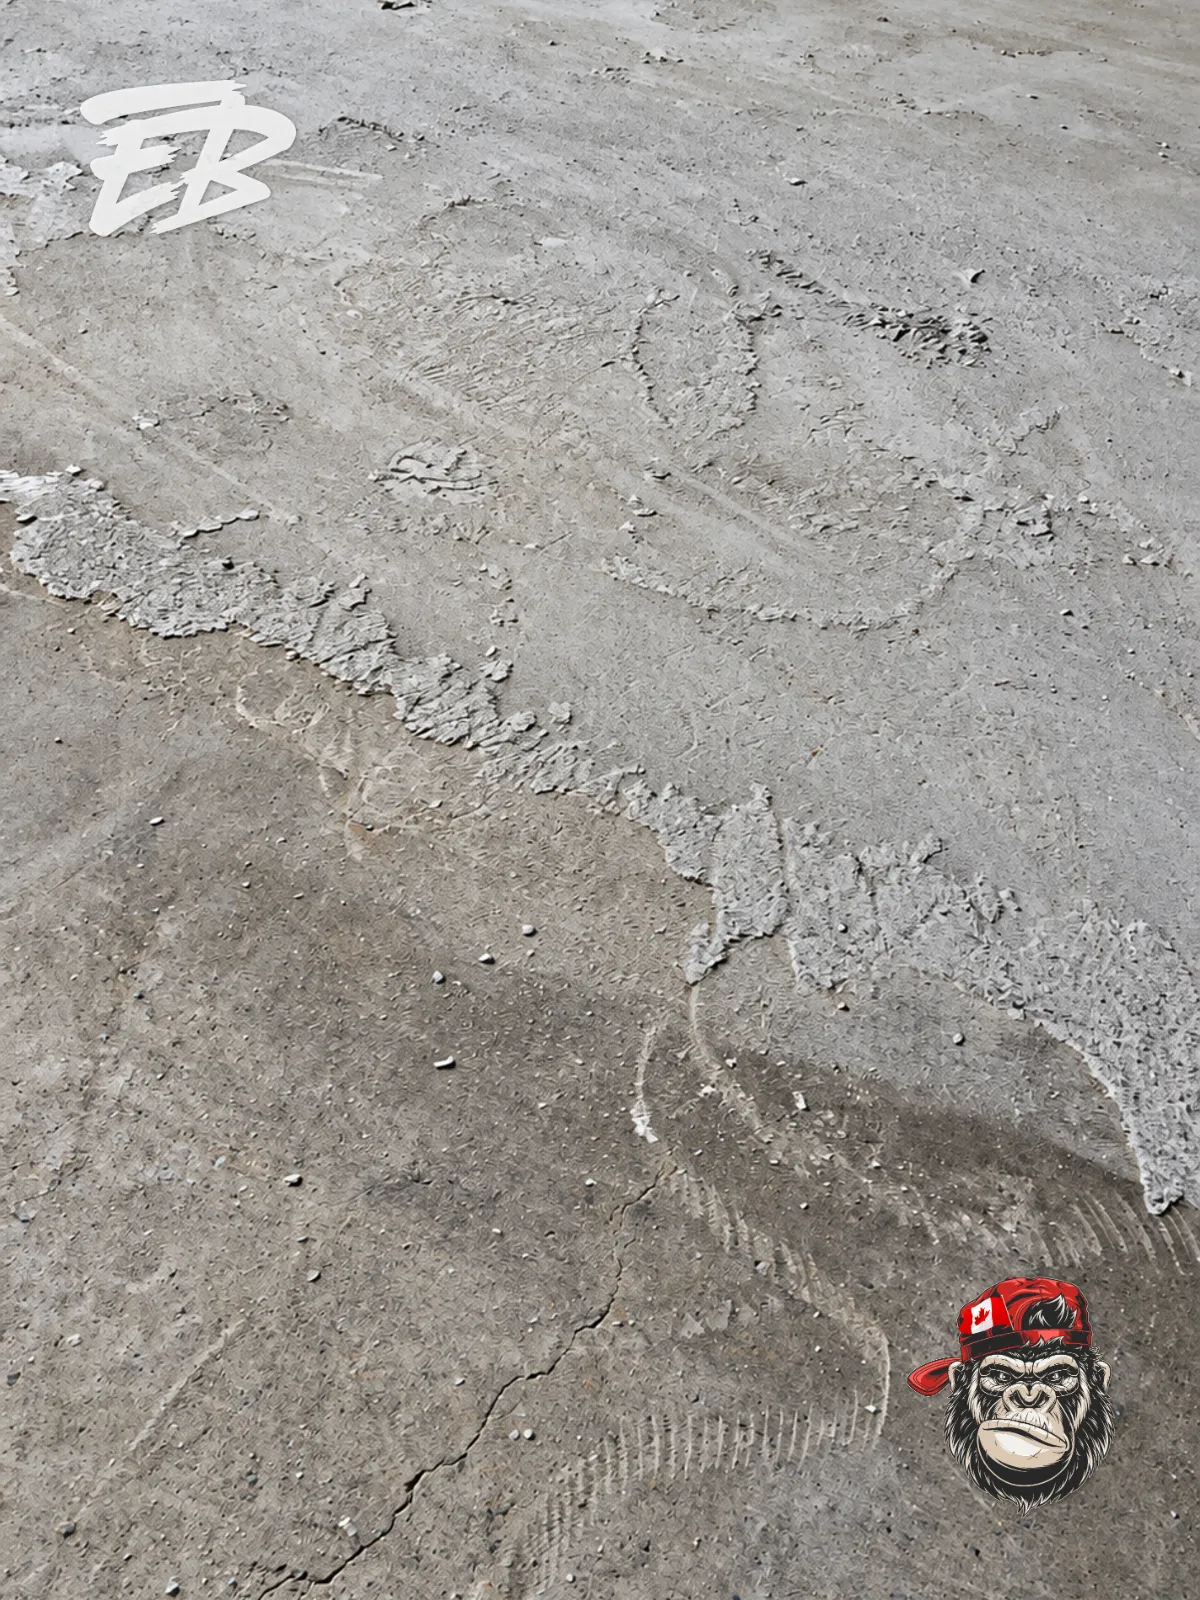
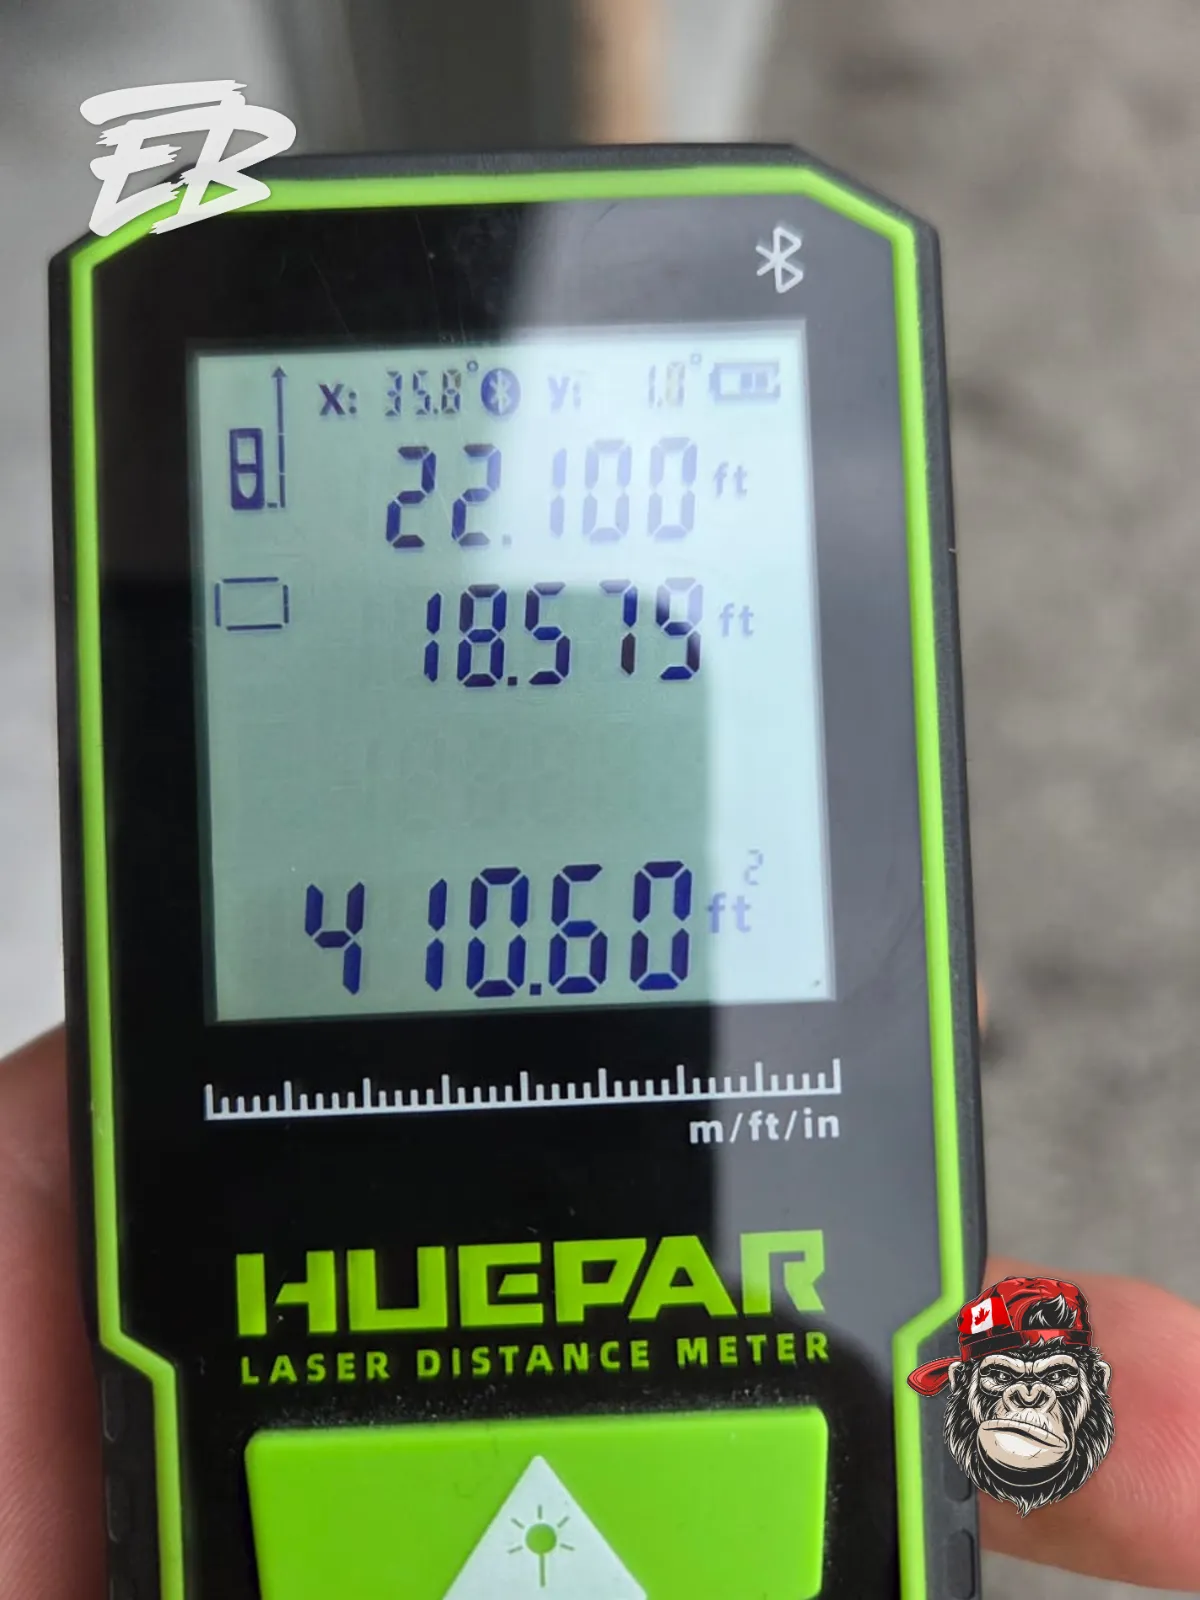
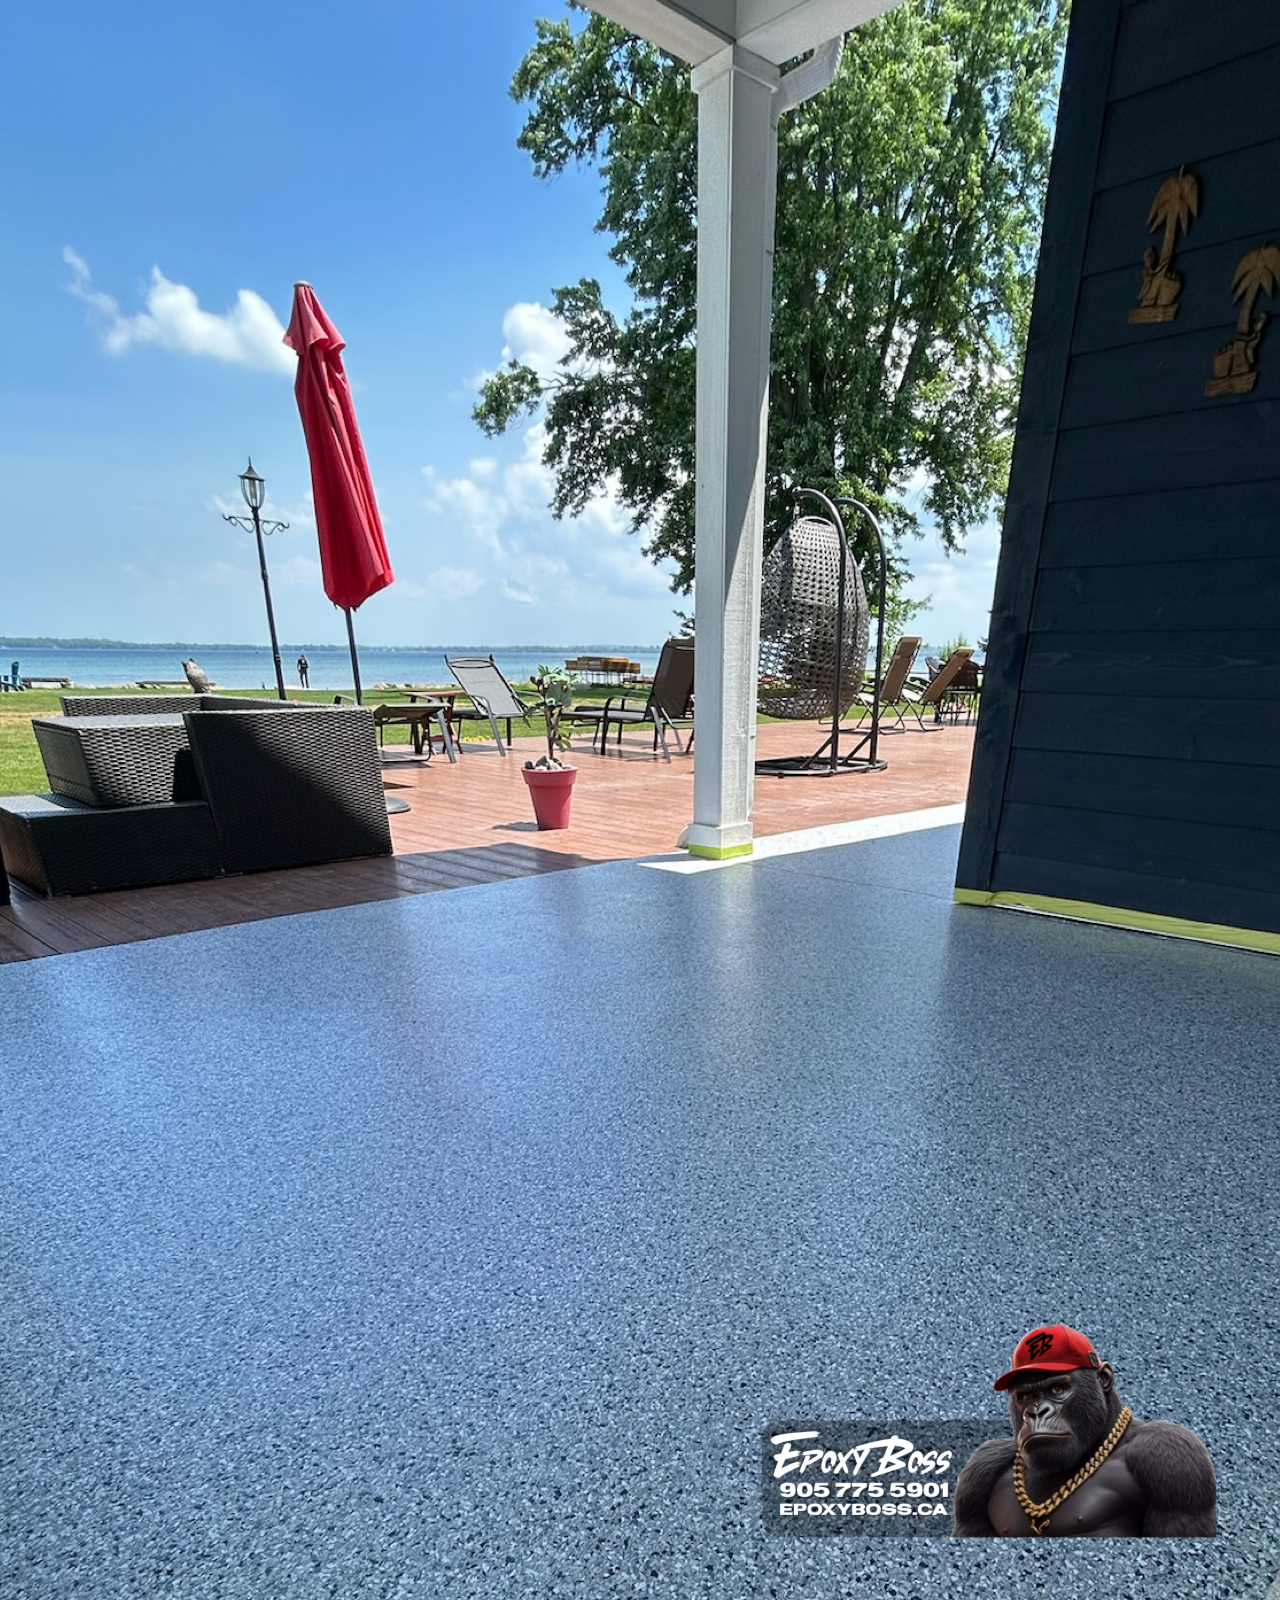
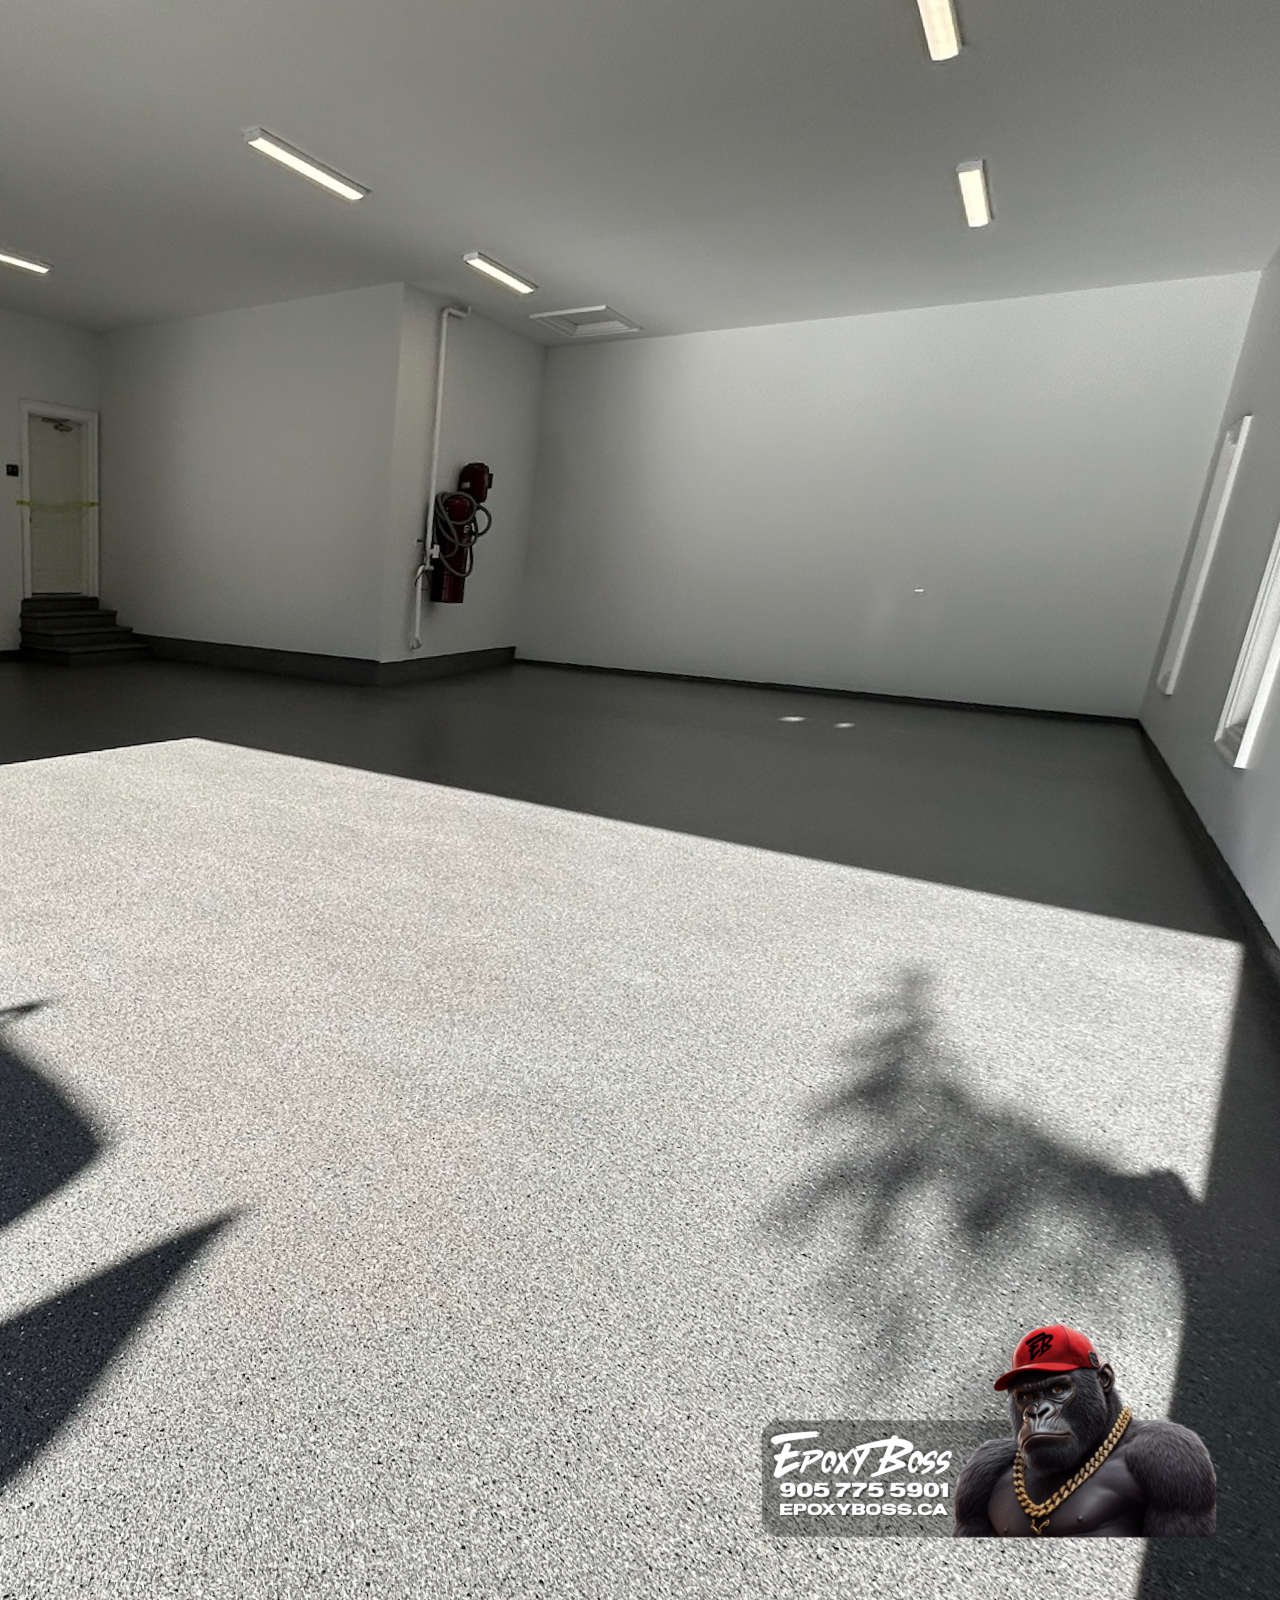
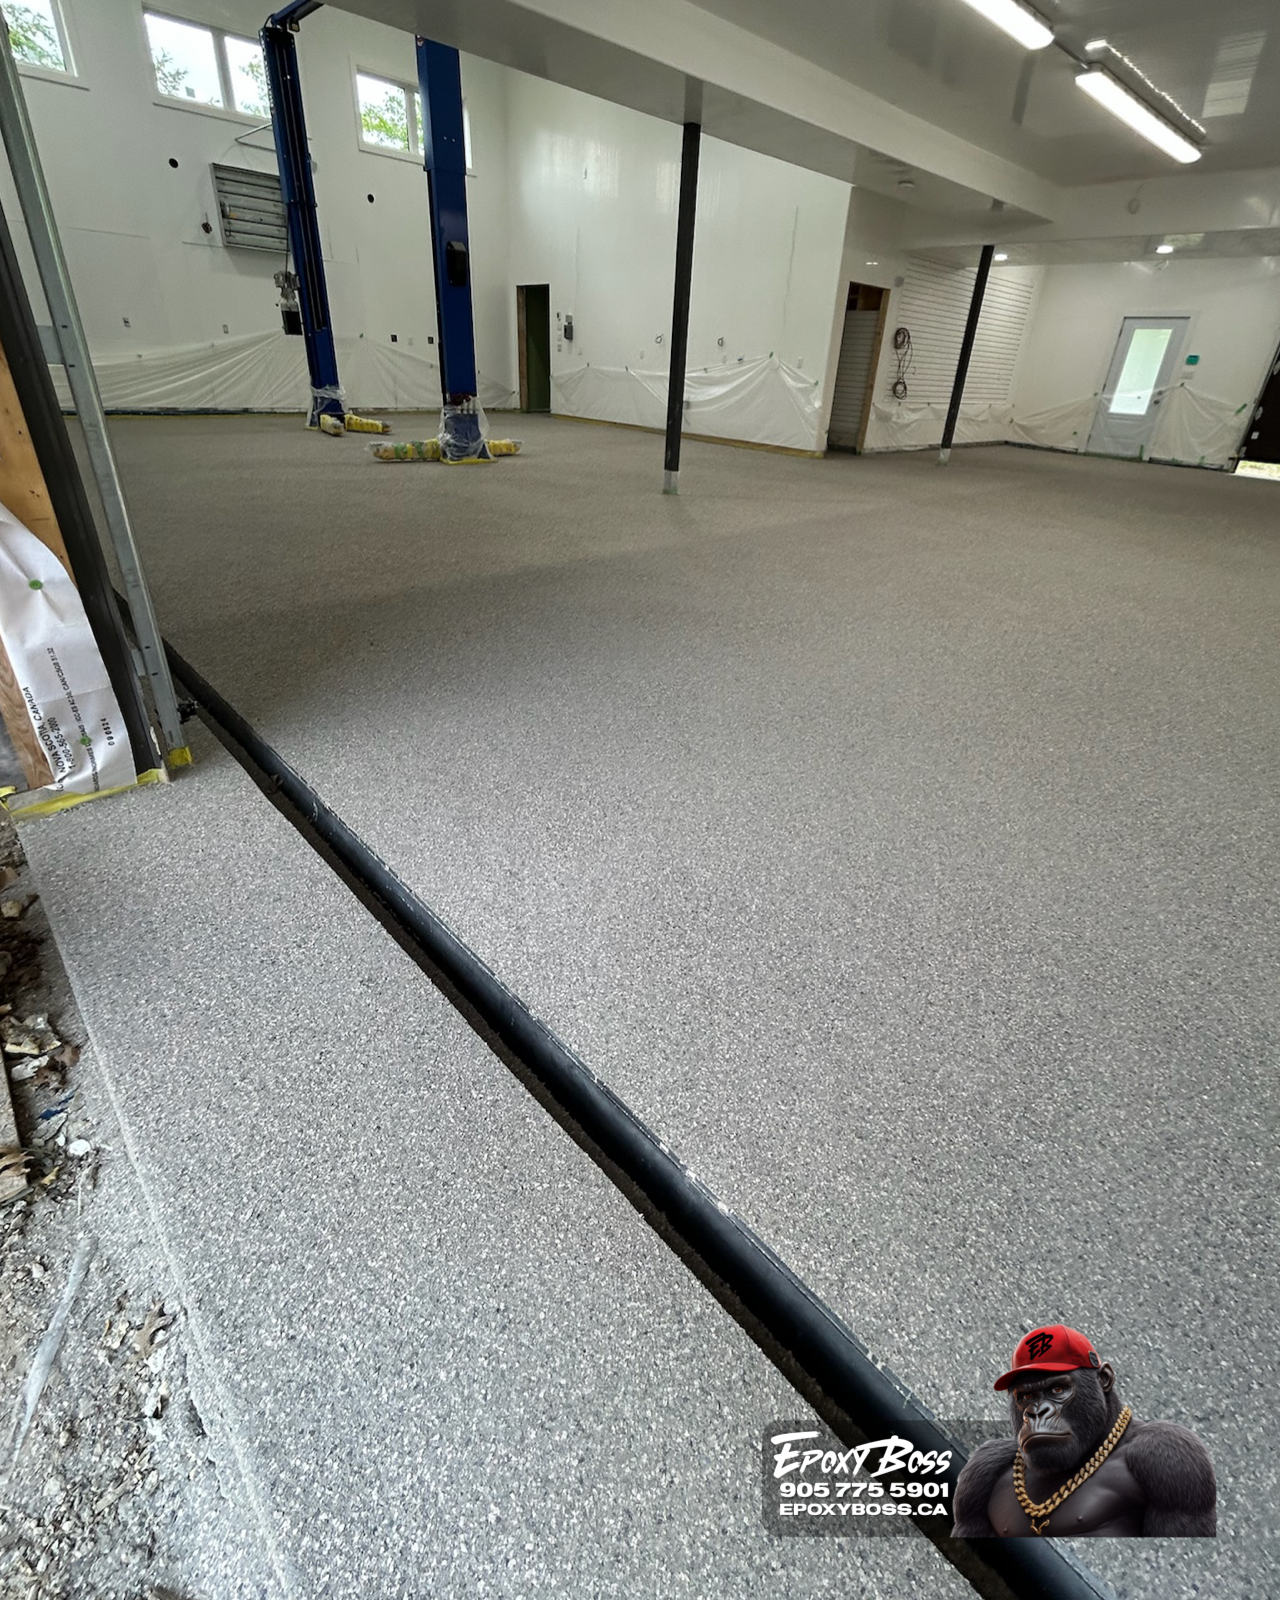
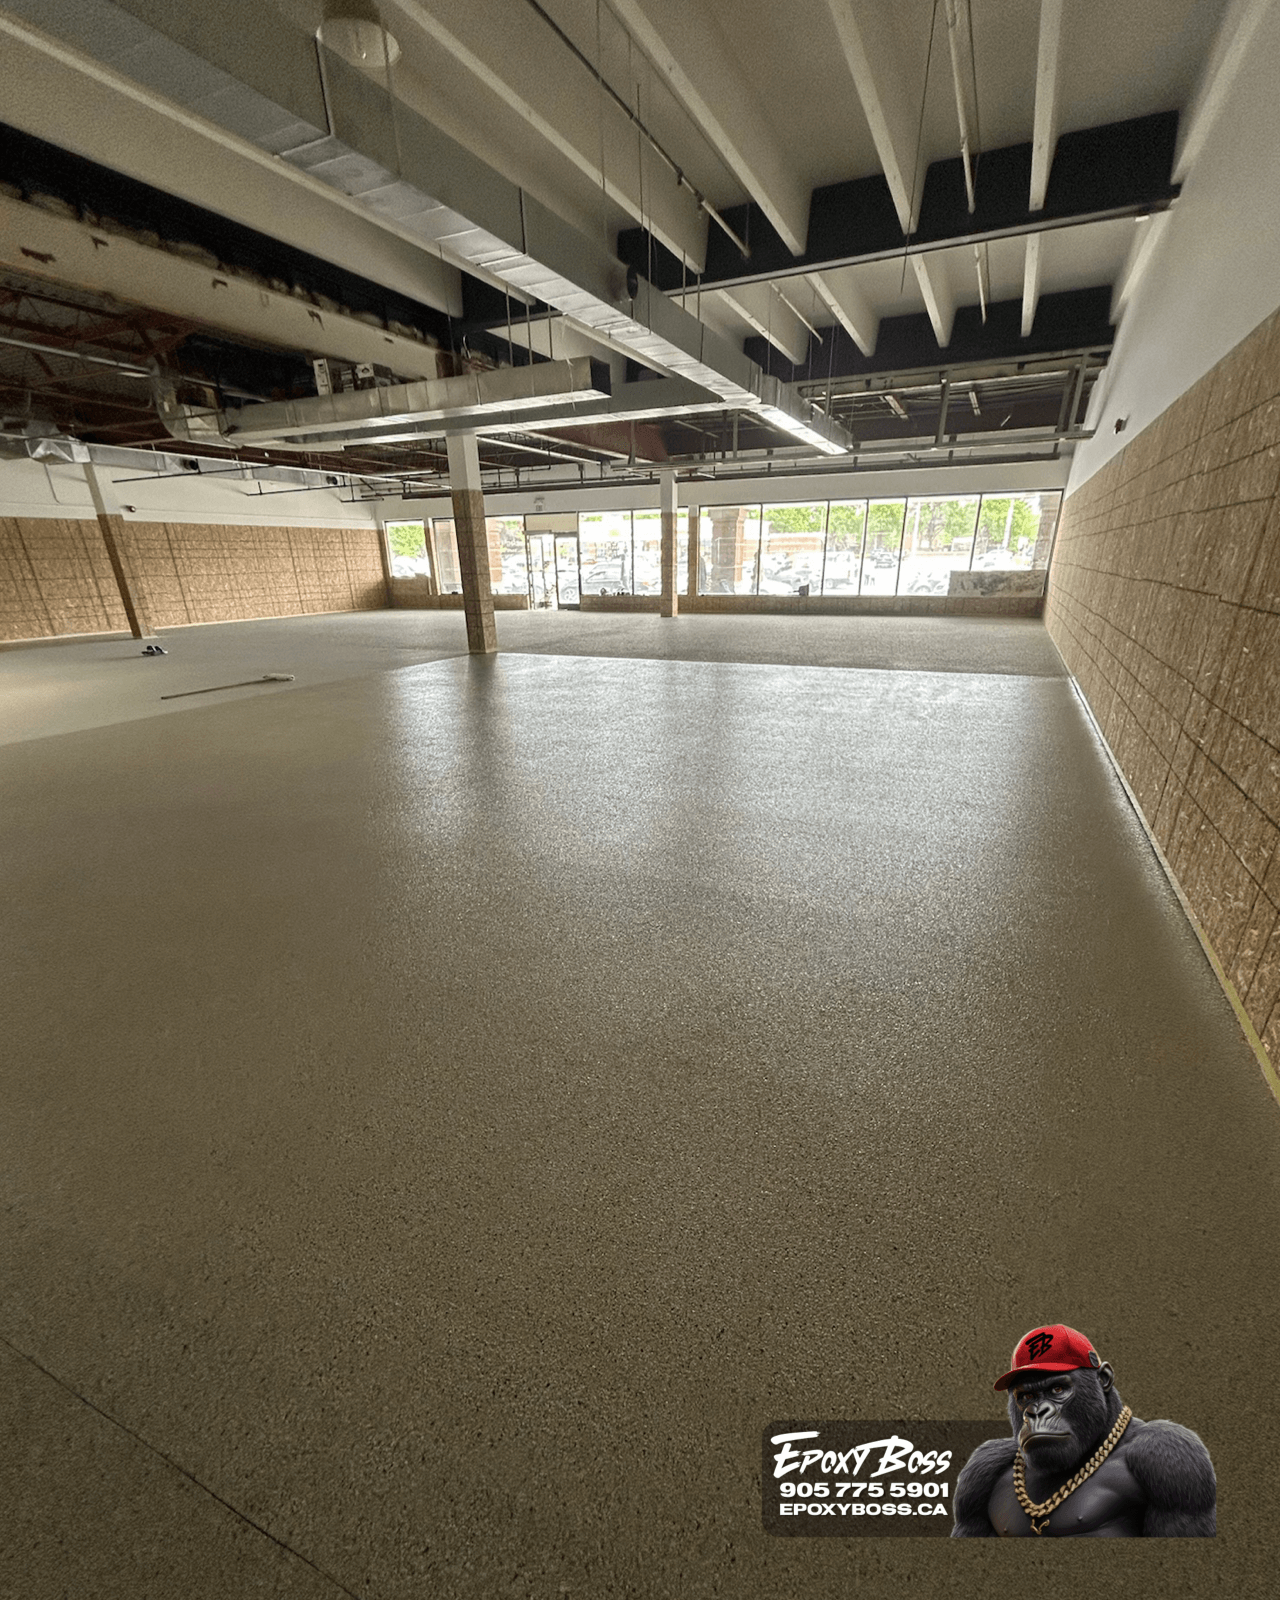
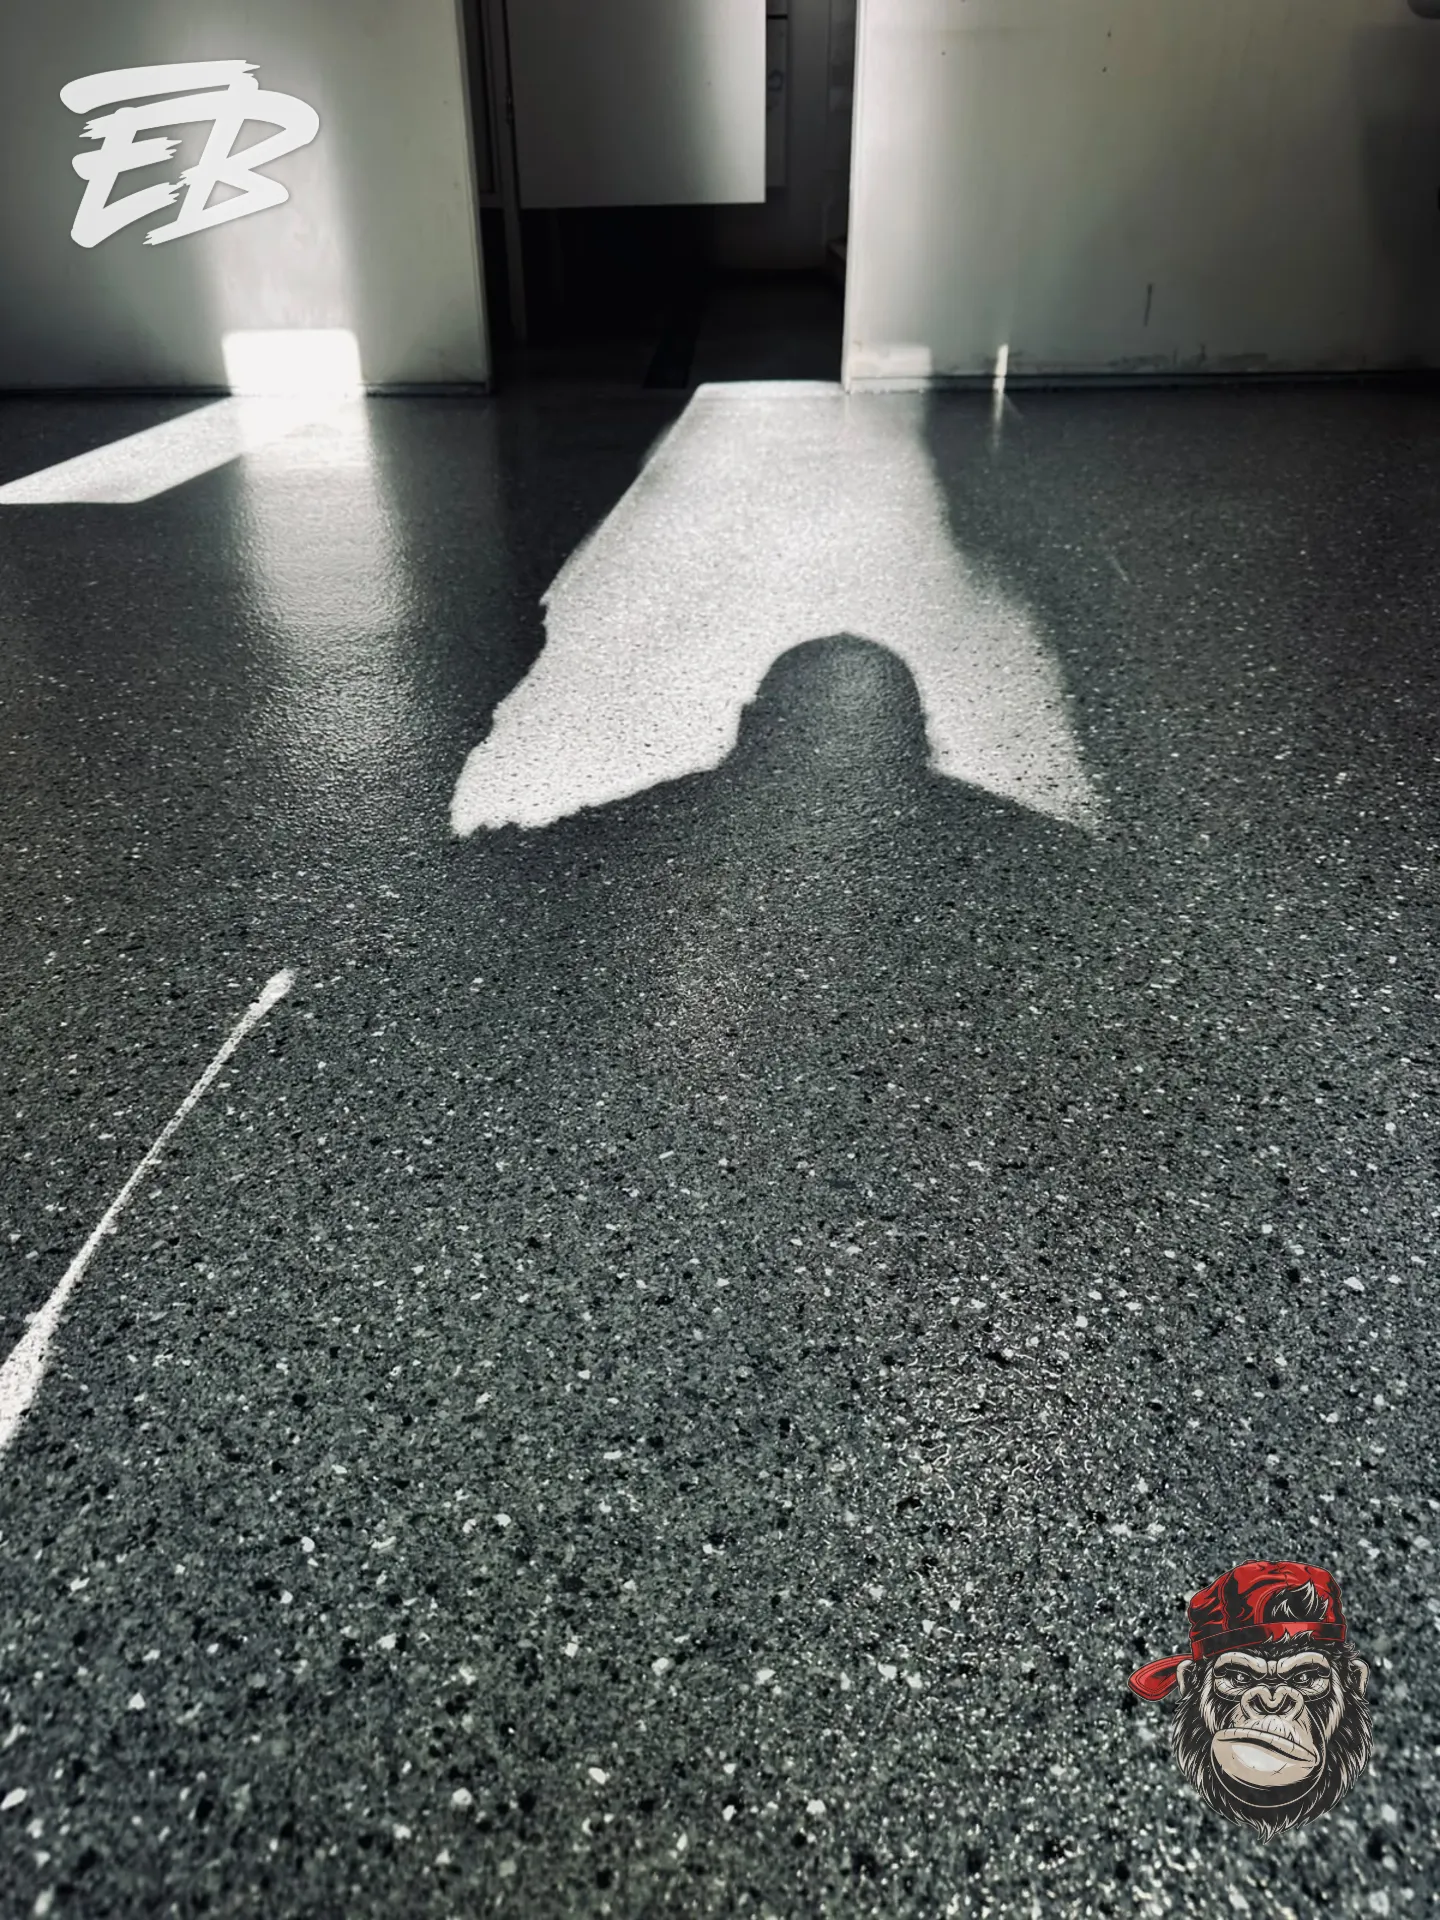
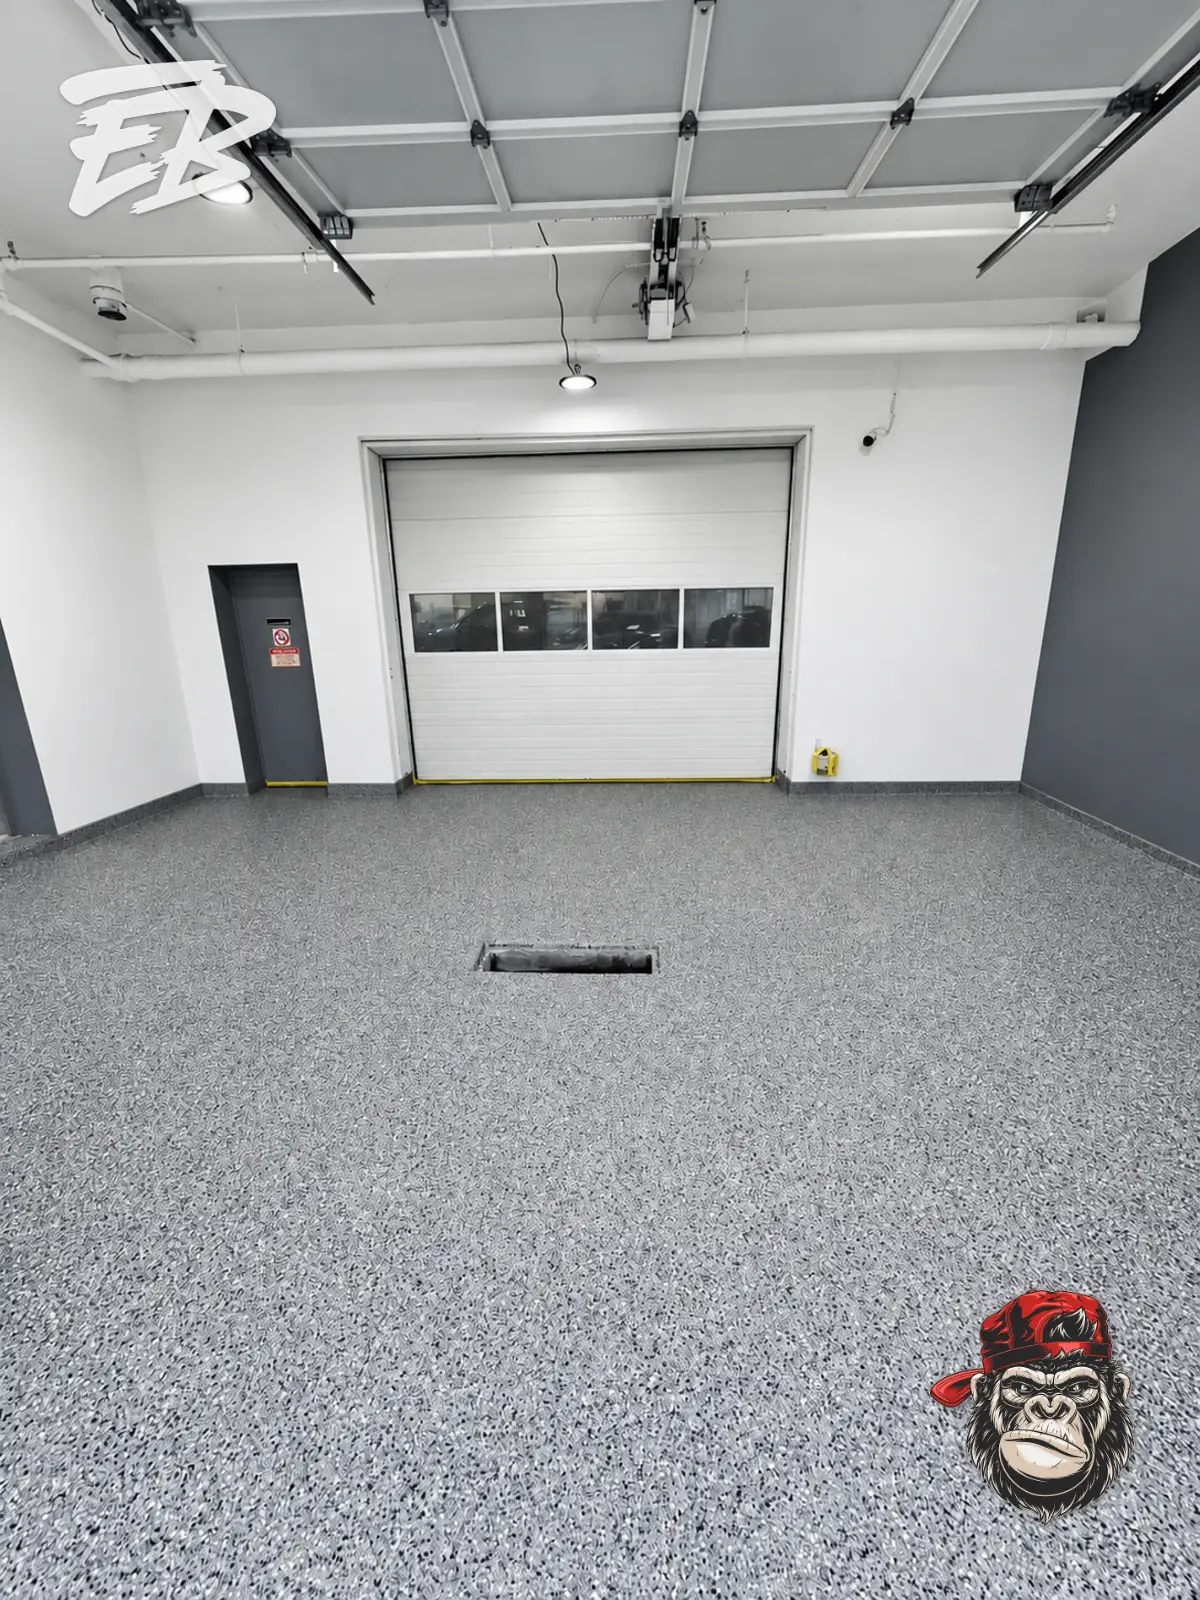
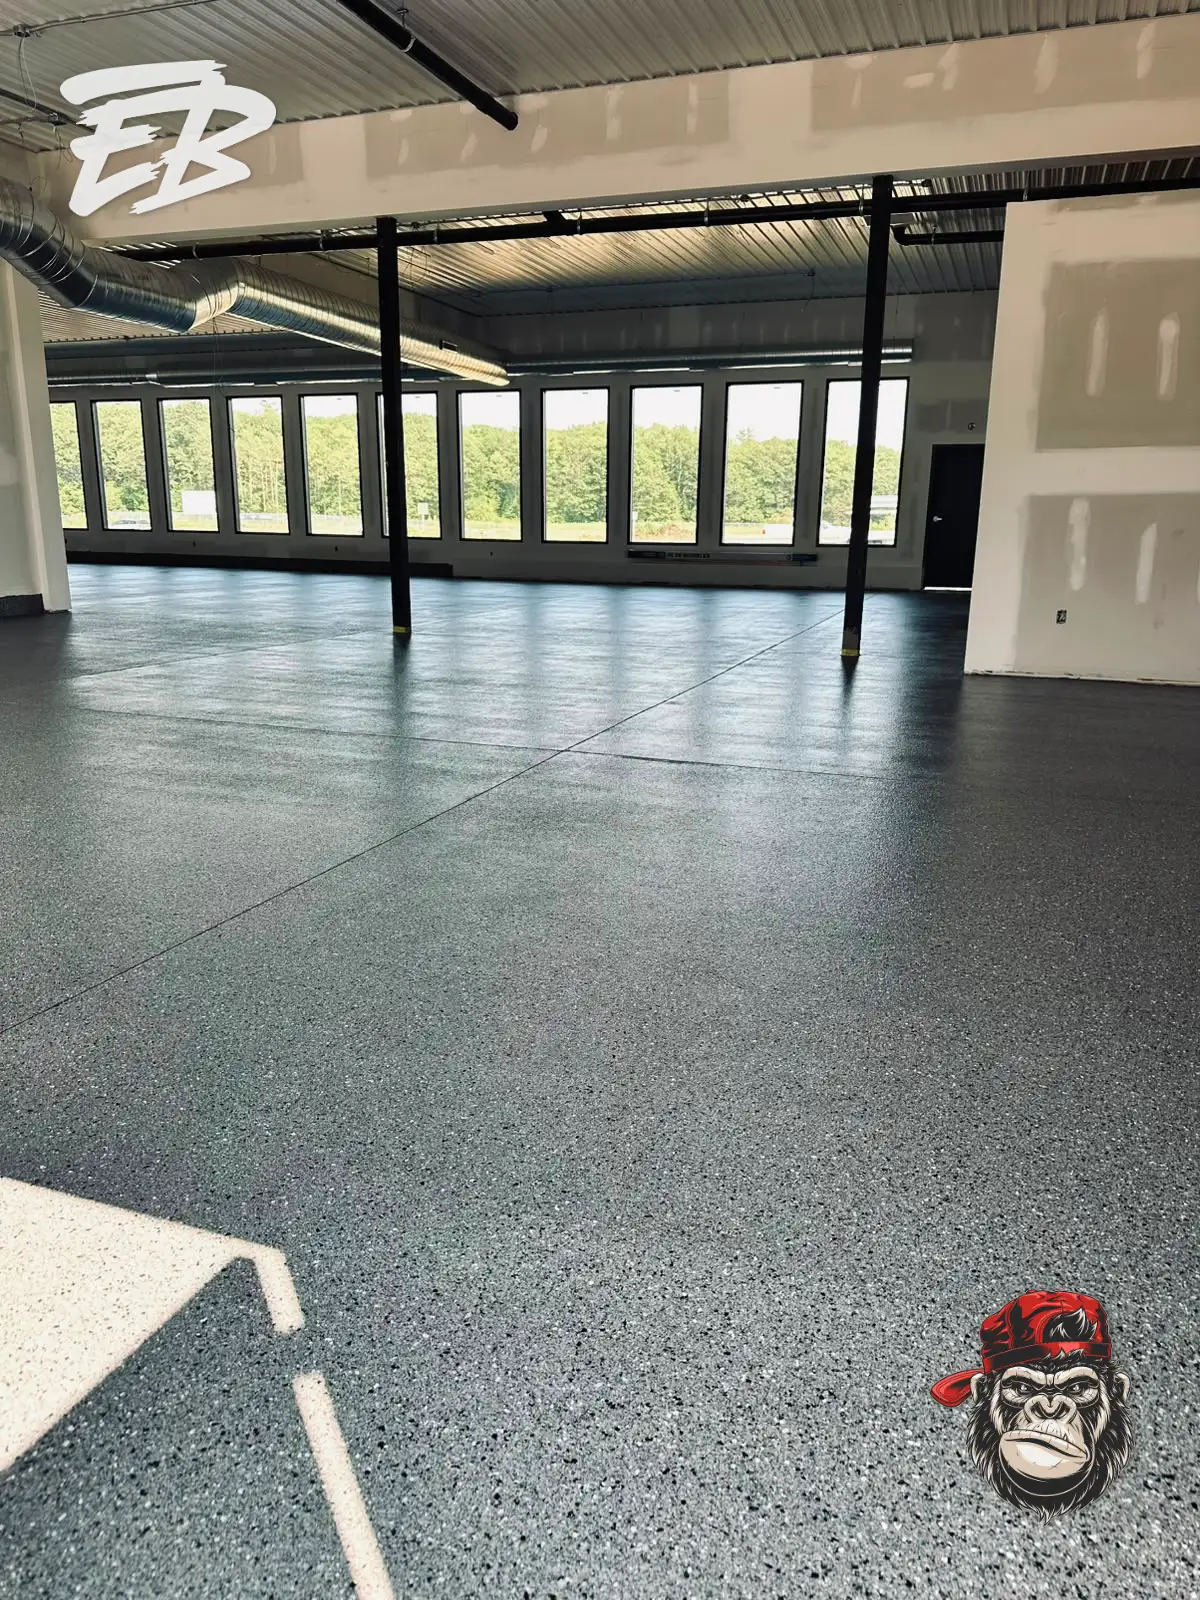
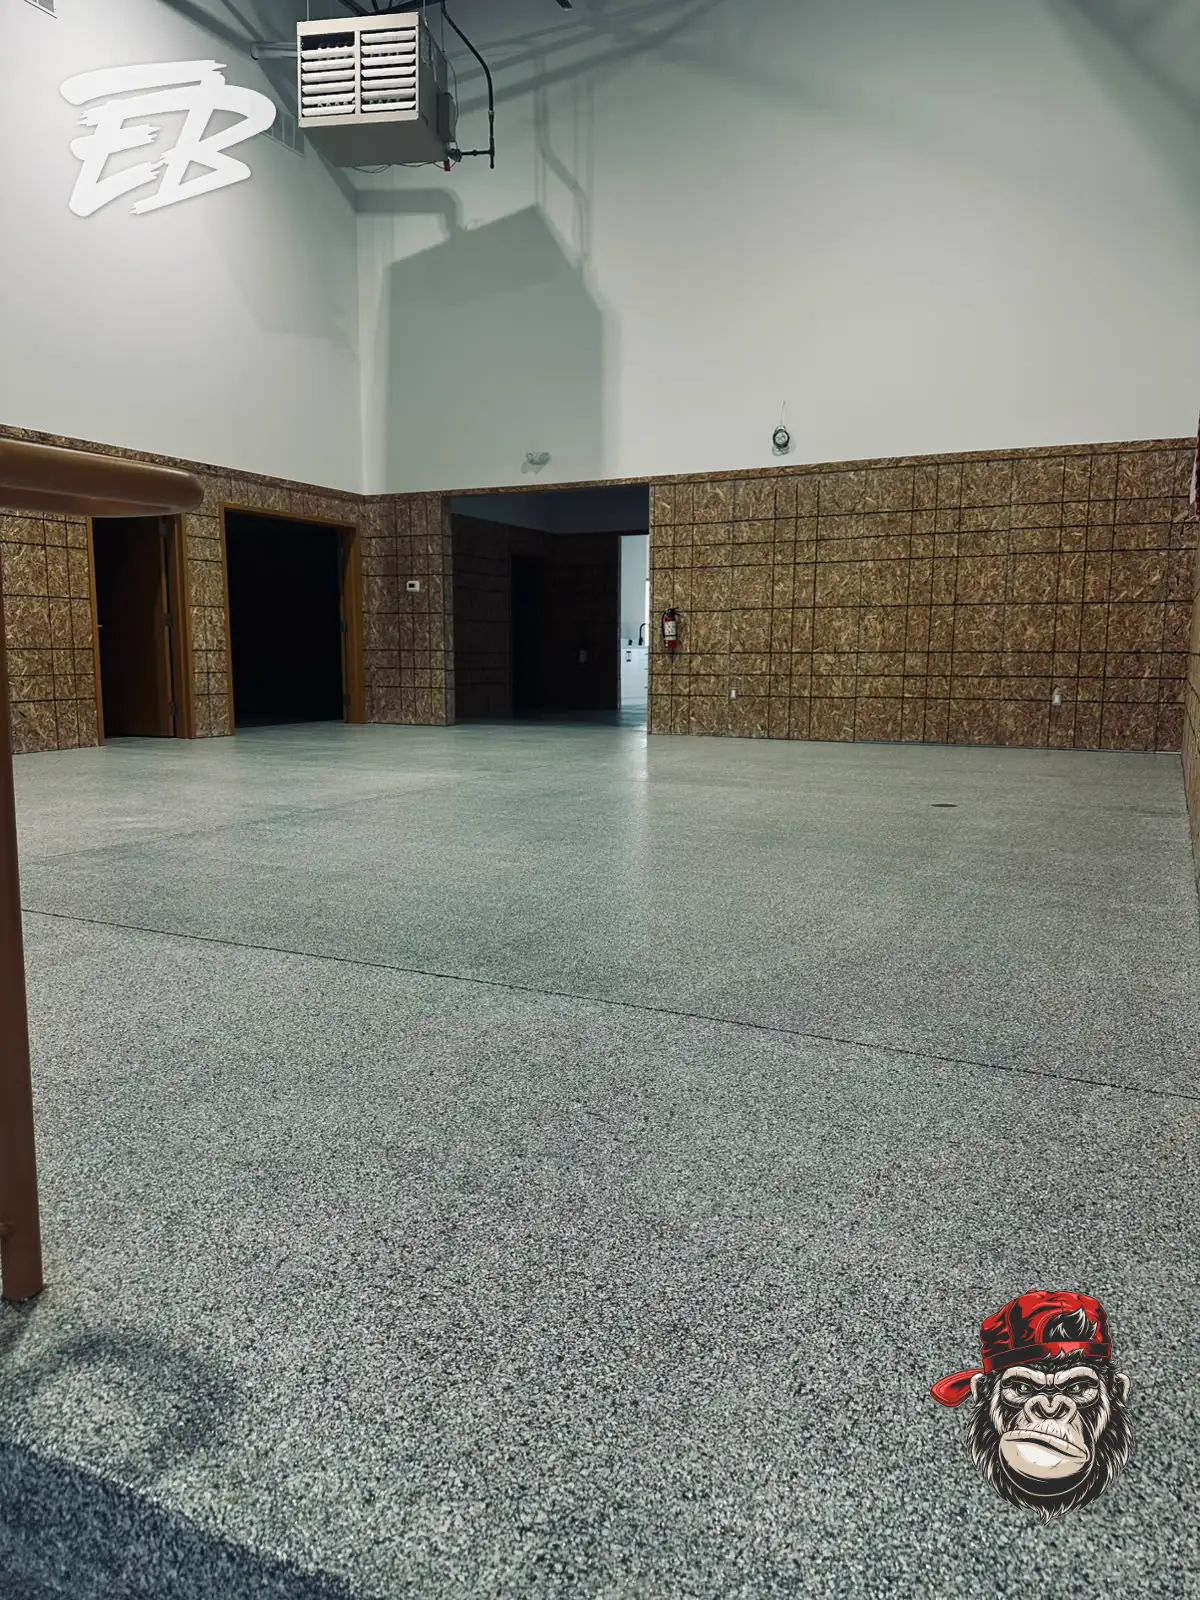
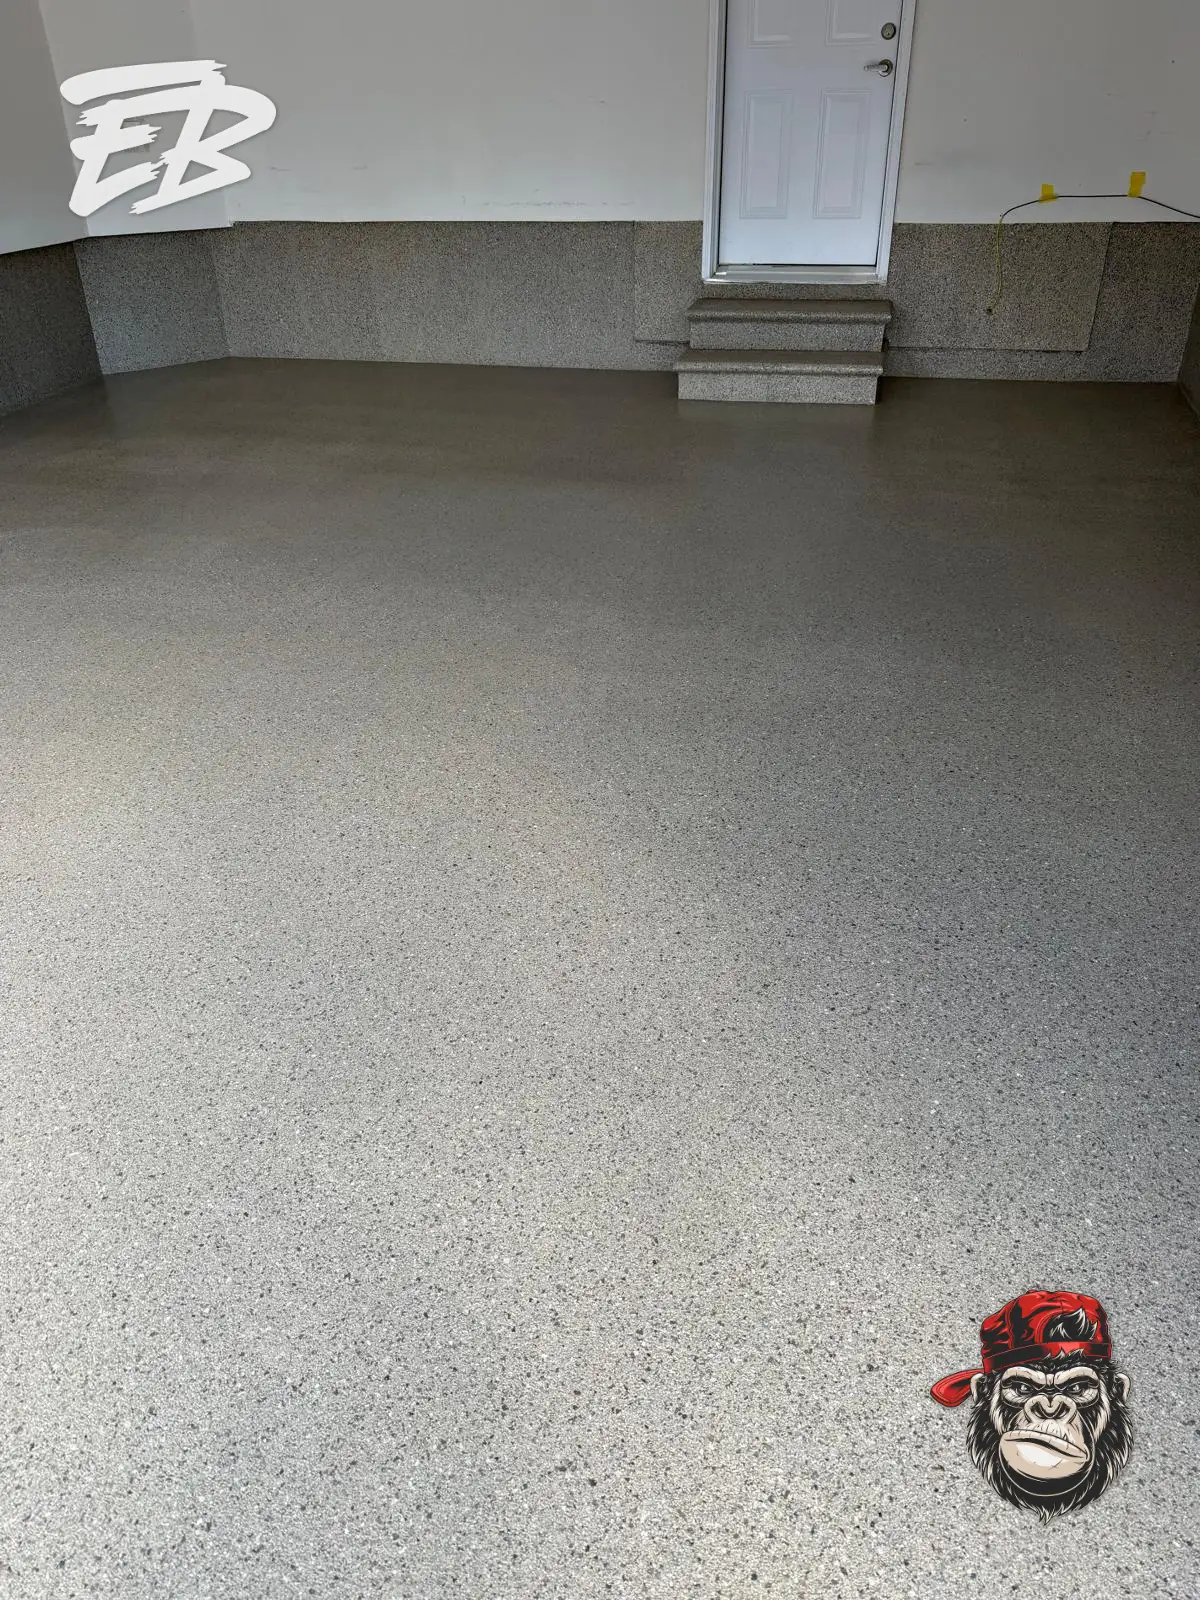
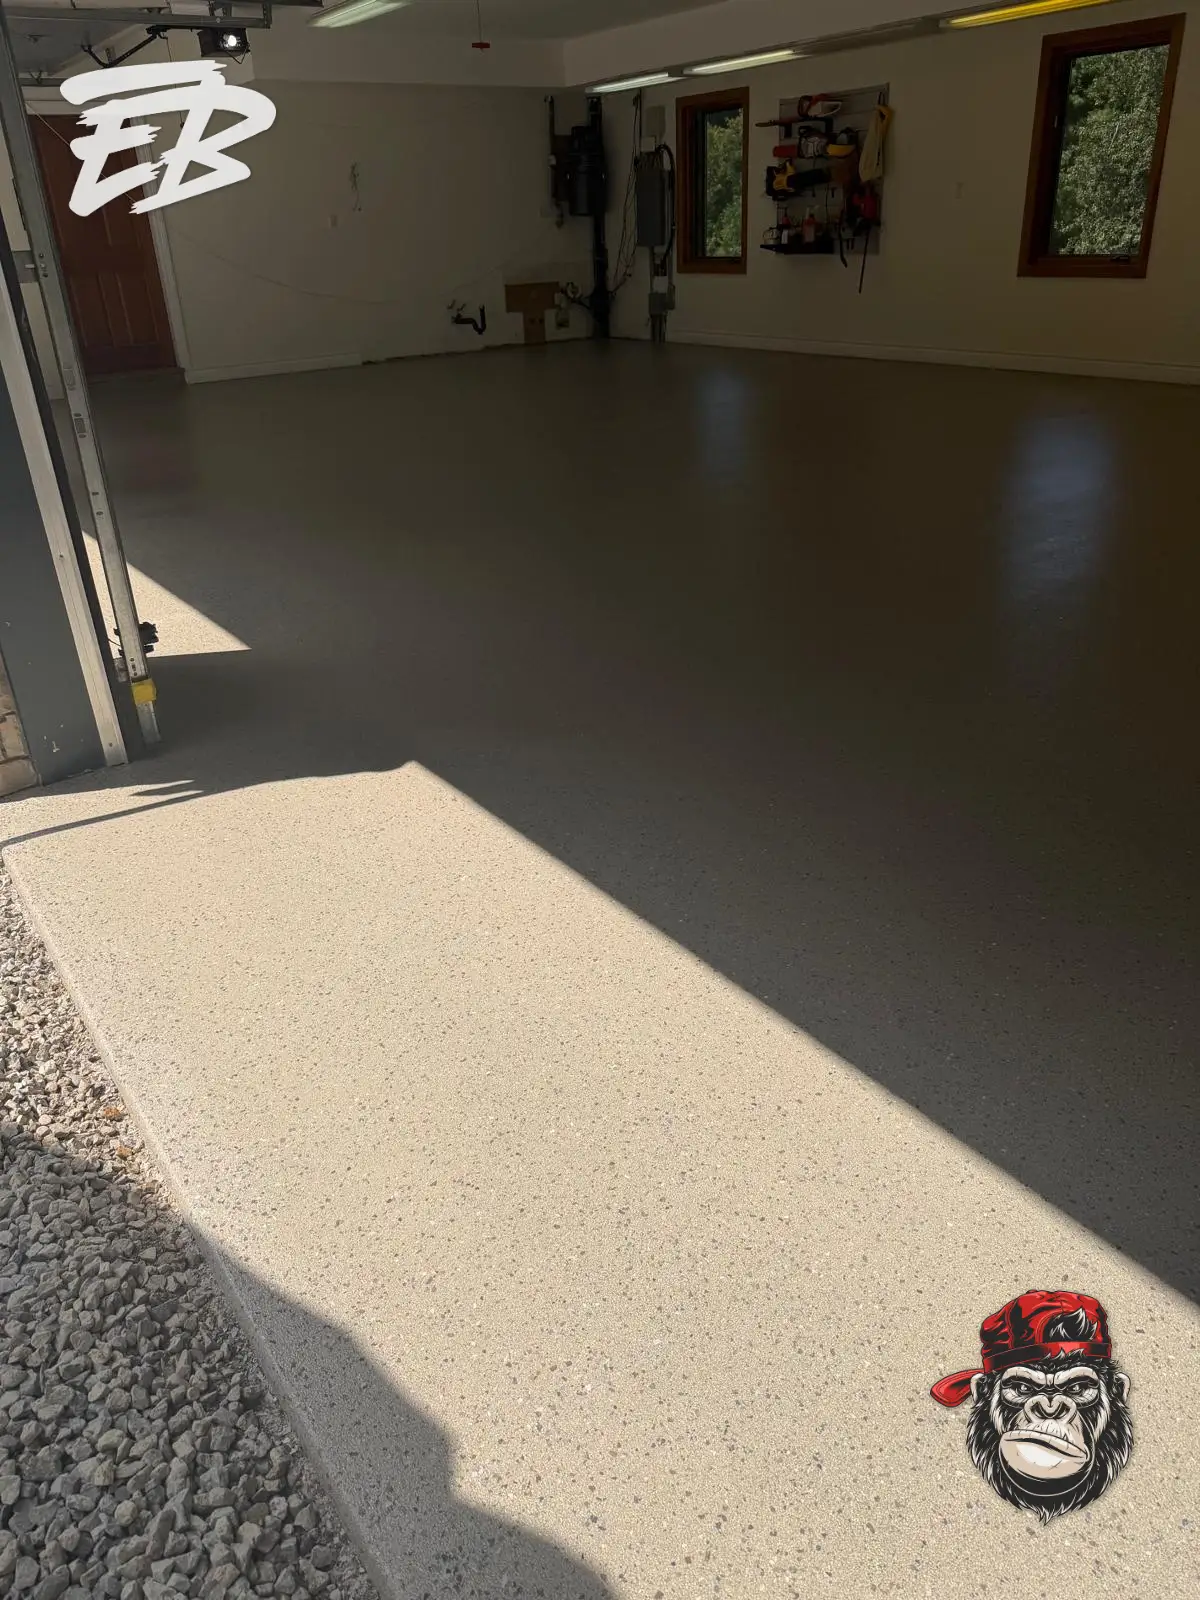
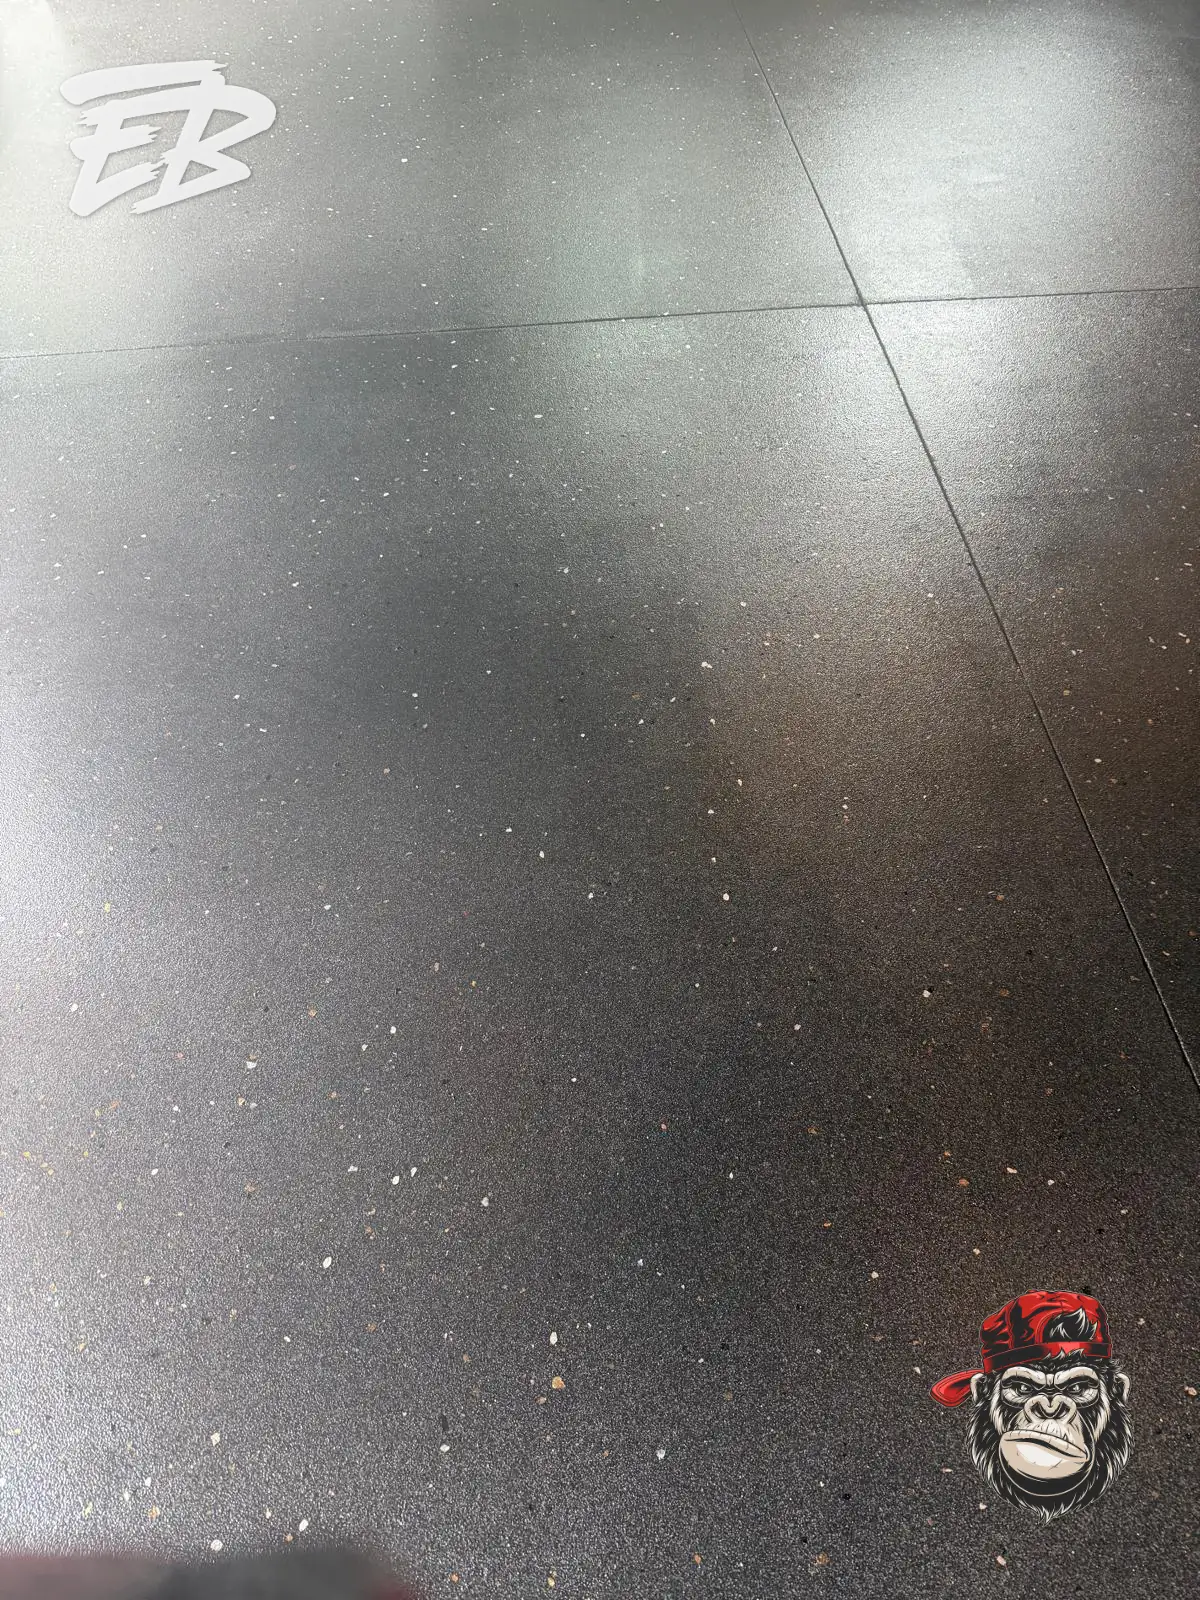
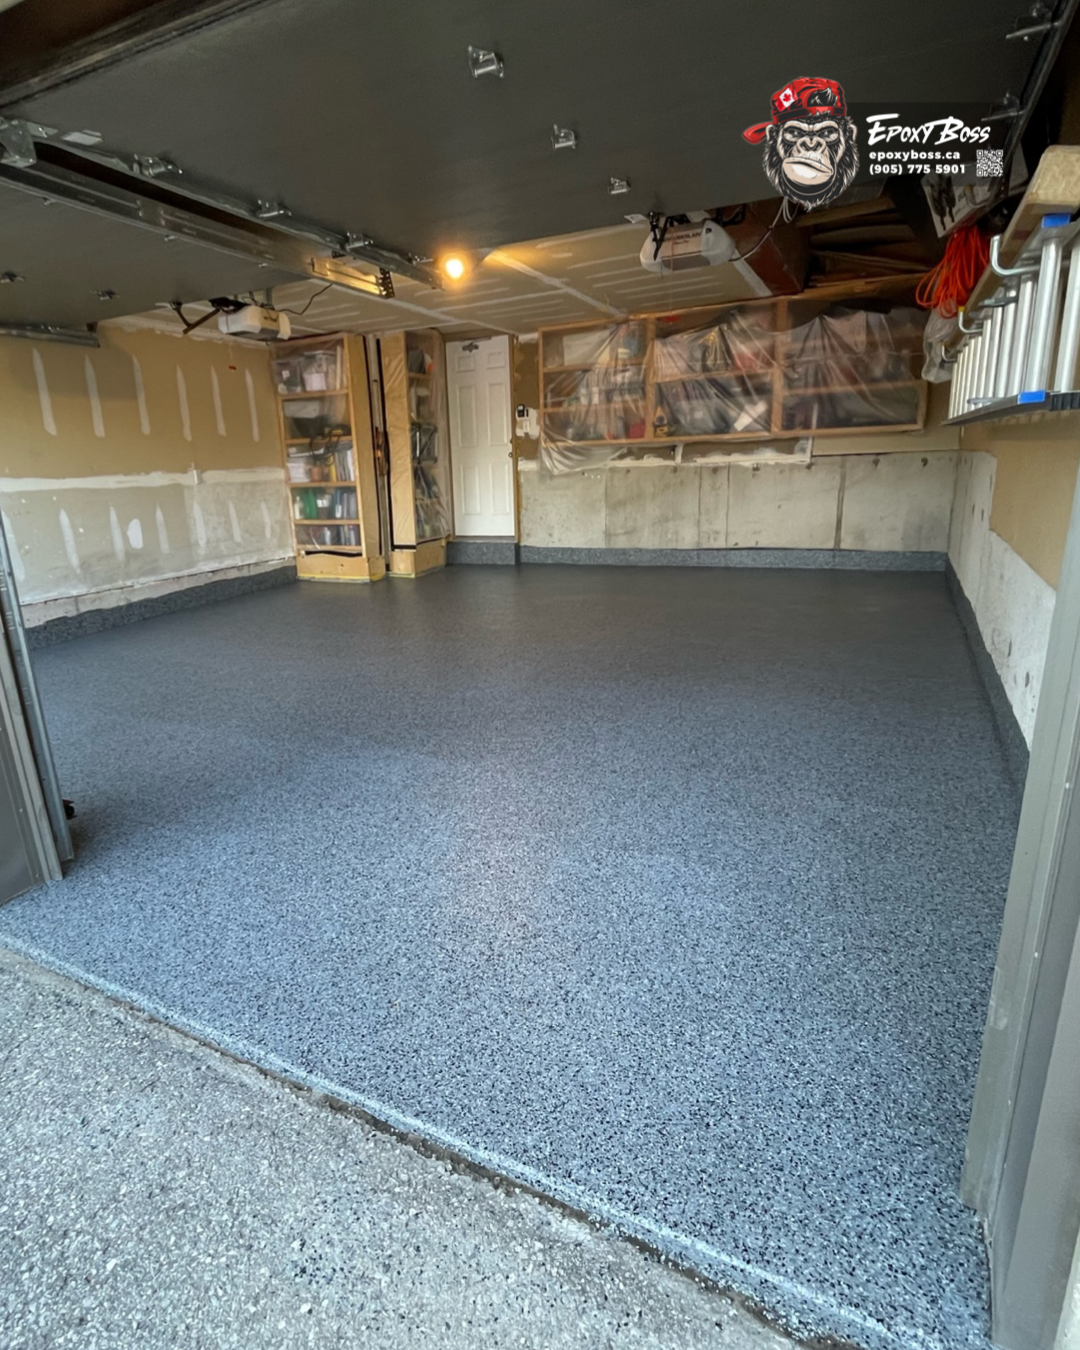
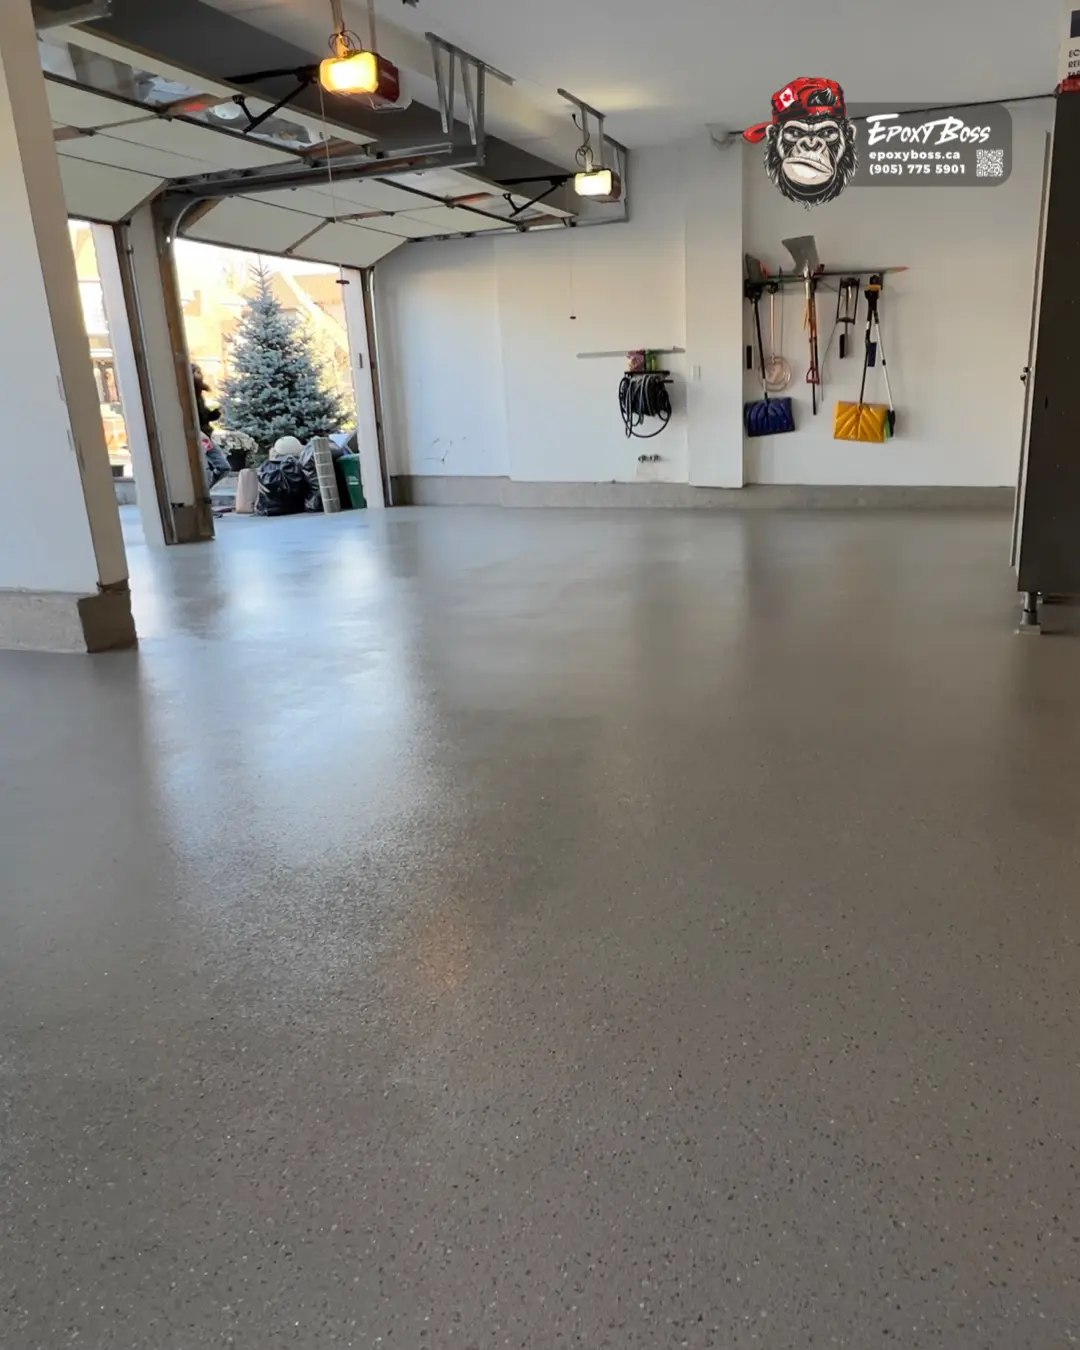
Only days after a decorative flake coating had been installed, this residential garage in Bradford, Ontario, showed signs that the floor needed closer investigation. The approximately 410-square-foot surface had a patchy appearance, noticeable application patterns and areas of inconsistent colour, gloss and texture. More importantly, localized sections remained wet or tacky approximately five days after application. The homeowner contacted Epoxy Boss to understand the condition of the floor and the appropriate corrective approach. Our technical assessment documented the visible defects, recorded the garage dimensions and examined the coating at the entrance and surrounding transitions. The purpose was to determine whether the existing installation could reasonably be retained, repaired in selected areas or removed and replaced. At the garage entrance, the coating appeared to extend across the separation between the concrete slab and adjoining driveway material. This detail became an important part of the remediation recommendation. The original coating also concealed the concrete beneath it, leaving the consistency of the previous mechanical preparation unverified. The combination of distributed cure concerns and widespread finish irregularity made this more than a cosmetic touch-up. Although the tacky areas were consistent with a possible mixing or cure-related defect, the original batch and installation records were not available to establish the precise cause. Our recommendation therefore focused on the documented condition and the limitations of building over the existing material. This Bradford project forms part of our Failed Floor Rescue campaign: a closer look at how a problematic coating is assessed, how the scope of restoration is established and why preparation beneath the finished surface deserves as much attention as the decorative layer above it.
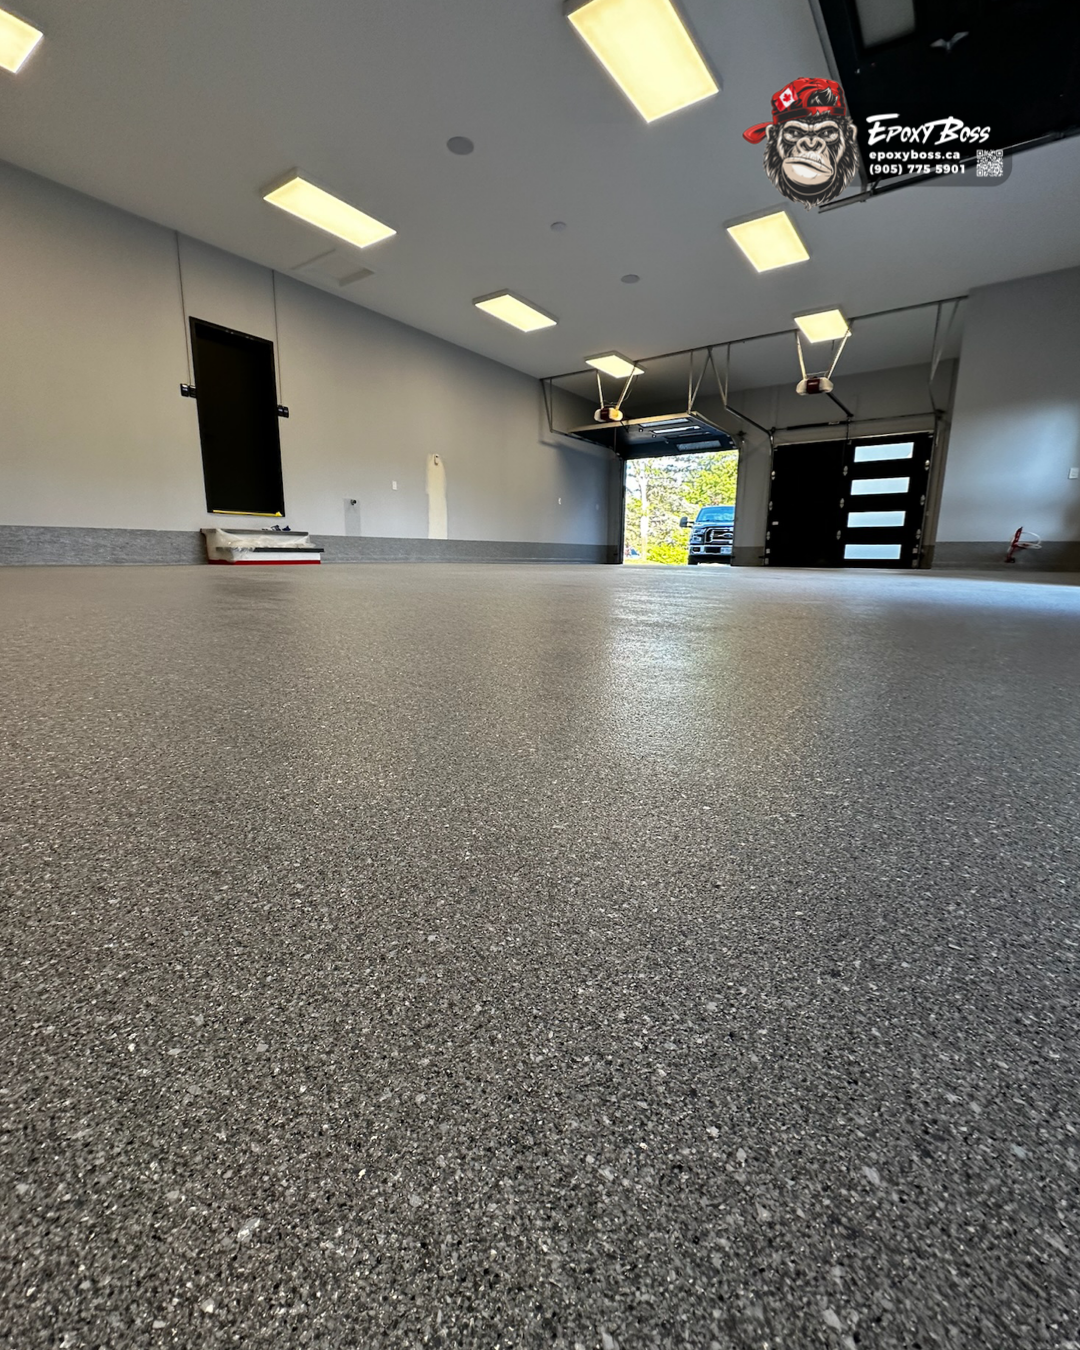
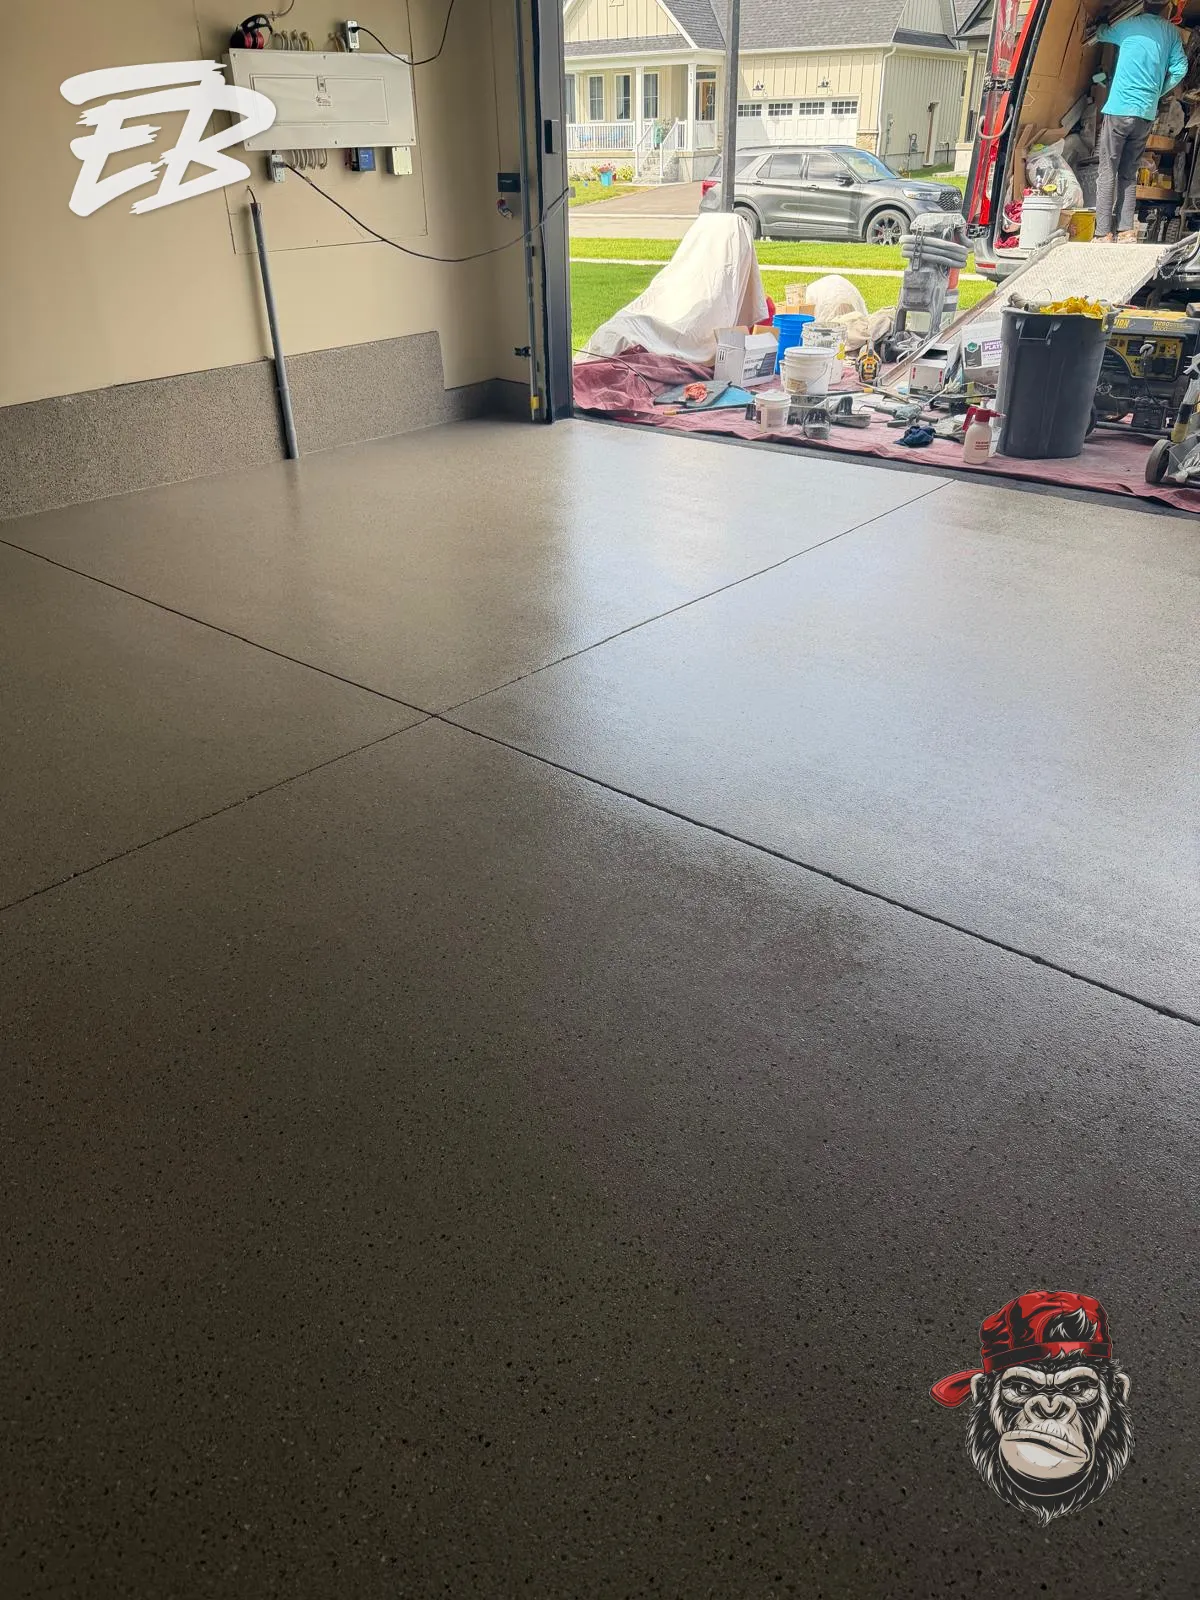
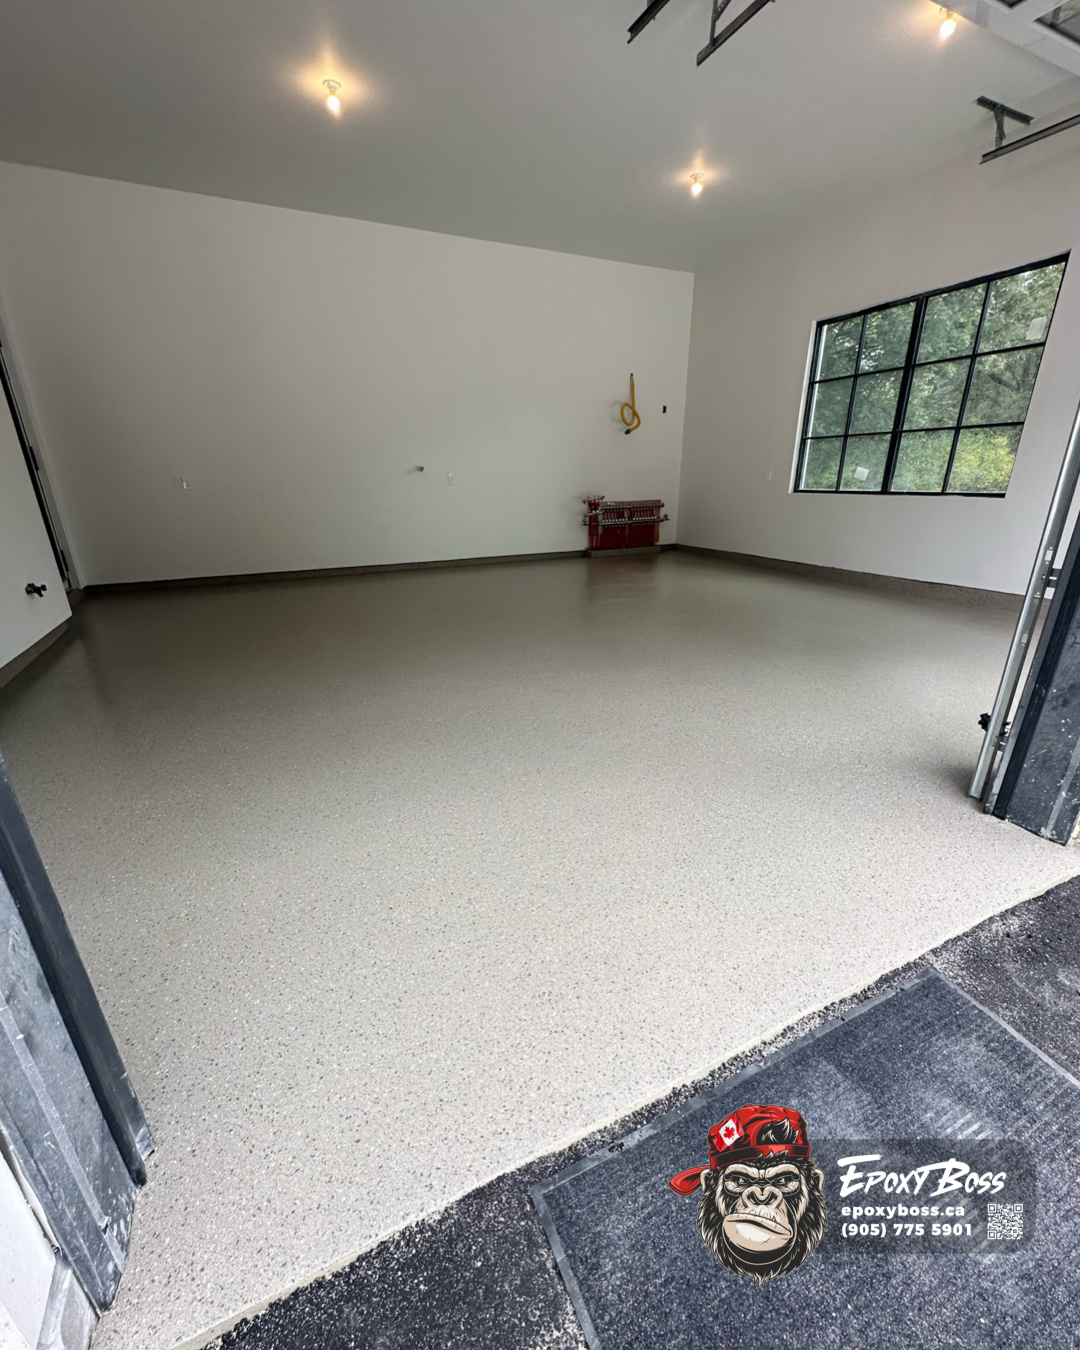
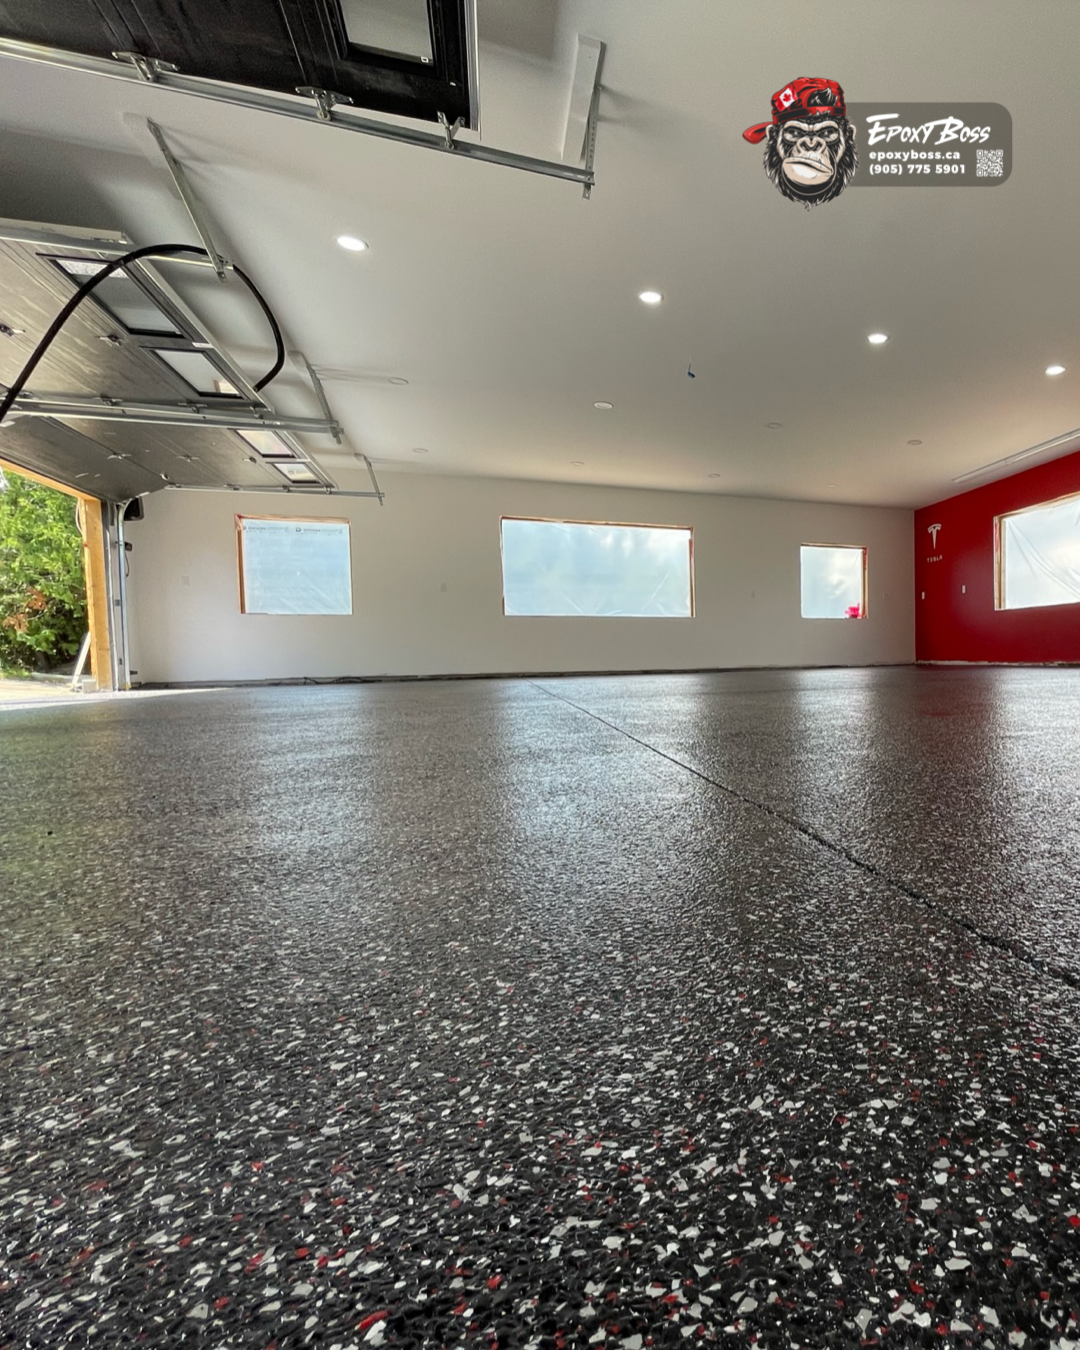
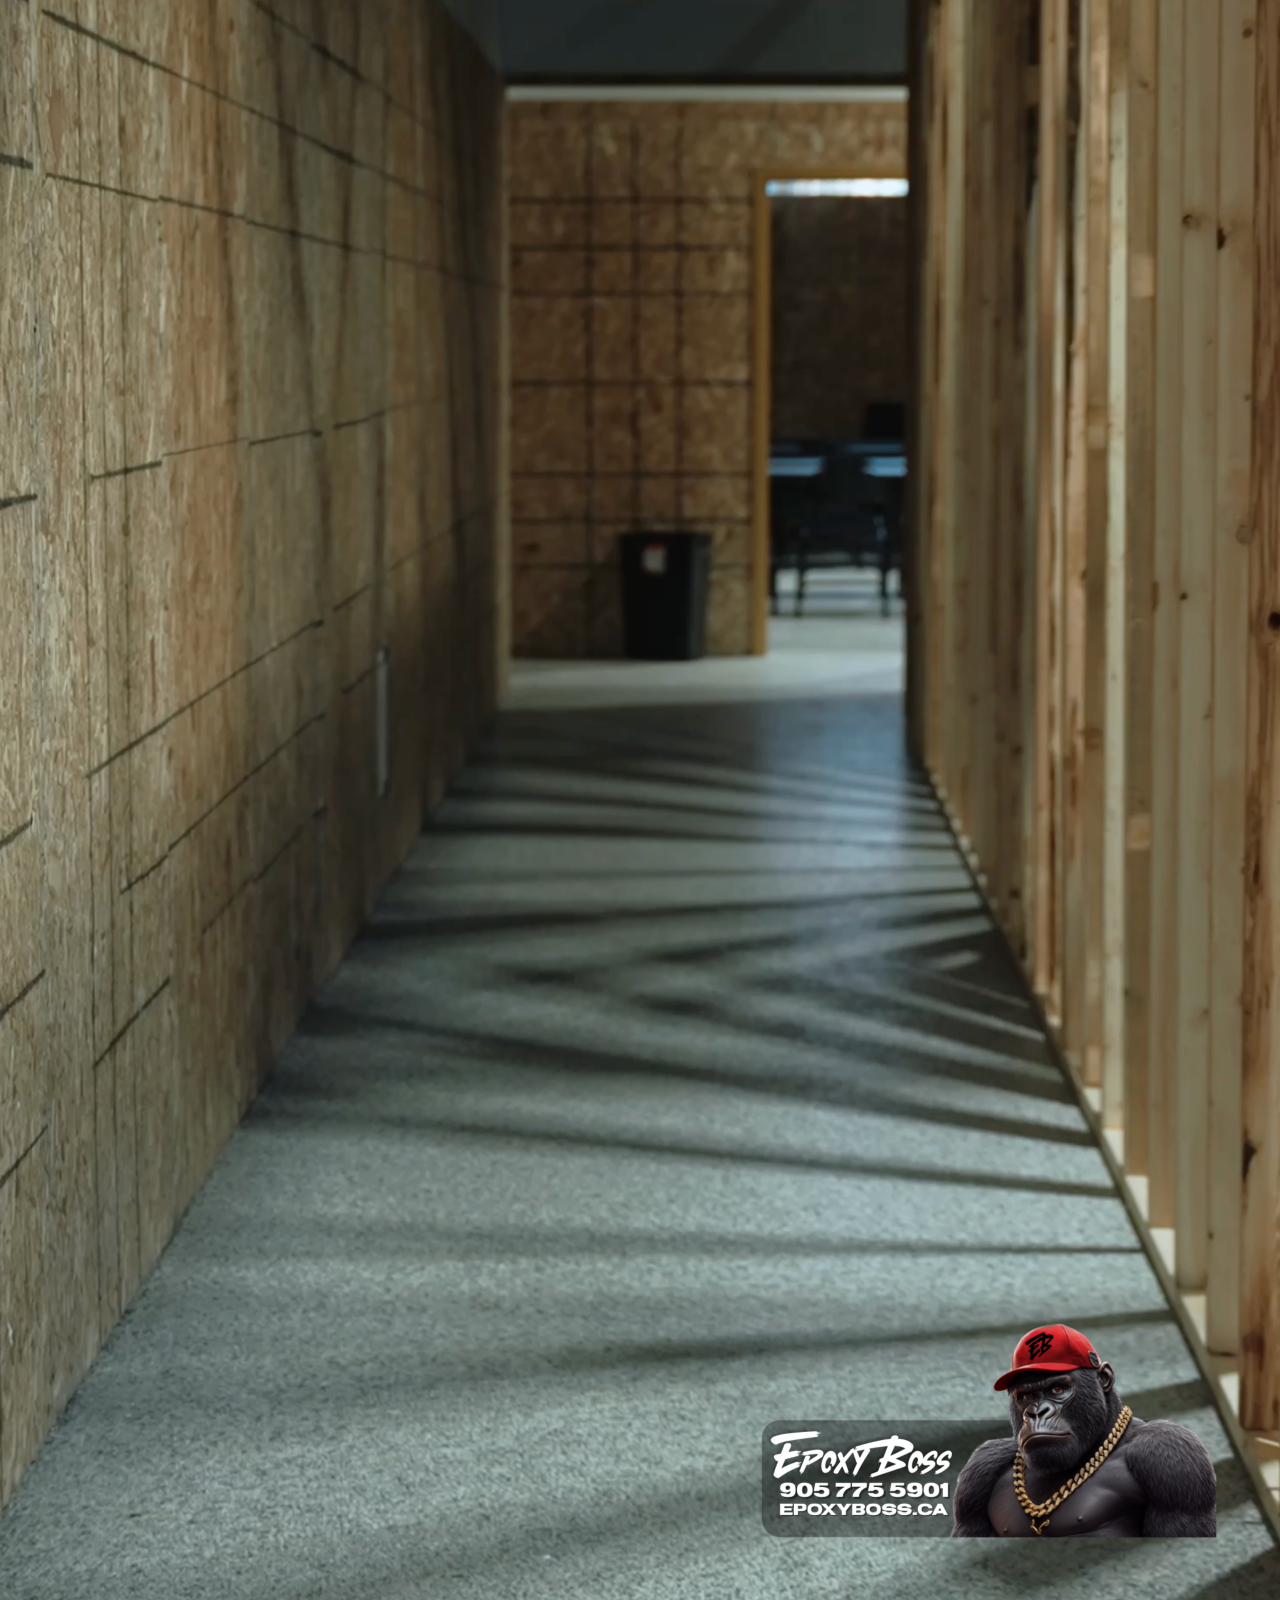
Epoxy Boss recommended complete mechanical removal and replacement of the existing coating. The decision reflected the distribution of the defects and uncertainty about the material that would remain beneath a patch or additional clear coat. The aim was to expose the concrete, establish a suitable foundation and define a replacement system around the garage's actual condition. The removal scope specified suitable mechanical tooling, including specialized PCD tooling where appropriate for the existing resin. After removal, the exposed slab was to be checked for remaining material, weak areas, cracks and surface imperfections. Compatible urethane or polyurea repairs were included where required, with repaired areas prepared to integrate into the surrounding floor. Crack and surface preparation footage from this project shows the affected areas being opened and cleaned ahead of repair. For the replacement floor, the assessment specified complete diamond grinding to a continuous CSP-3-equivalent profile. Particular attention was given to the garage threshold: the proposed detail established a defined separation at the driveway interface and terminated the coating on the prepared concrete side. The replacement design called for a compatible primer and pigmented resin receiver coat, followed by a full broadcast of Armadillo decorative flake. The specified finishing sequence included scraping and vacuuming the cured broadcast before applying a UV-stable polyaspartic protective topcoat. Fine aluminum oxide was included in the specification for additional traction, together with a matching two-inch vertical flake detail around the perimeter. The restoration scope addressed the floor as a complete assembly, including the concrete surface, repairs, coating layers and entrance details. This approach gave the homeowner a defined corrective plan with each stage serving a clear purpose before the next layer covered it.


.webp)

.png)
.png)