2022
410
Sq Ft
Concrete Coating
Garage Floor Coating
A Failed Garage Coating Needed More Than a New Top Layer


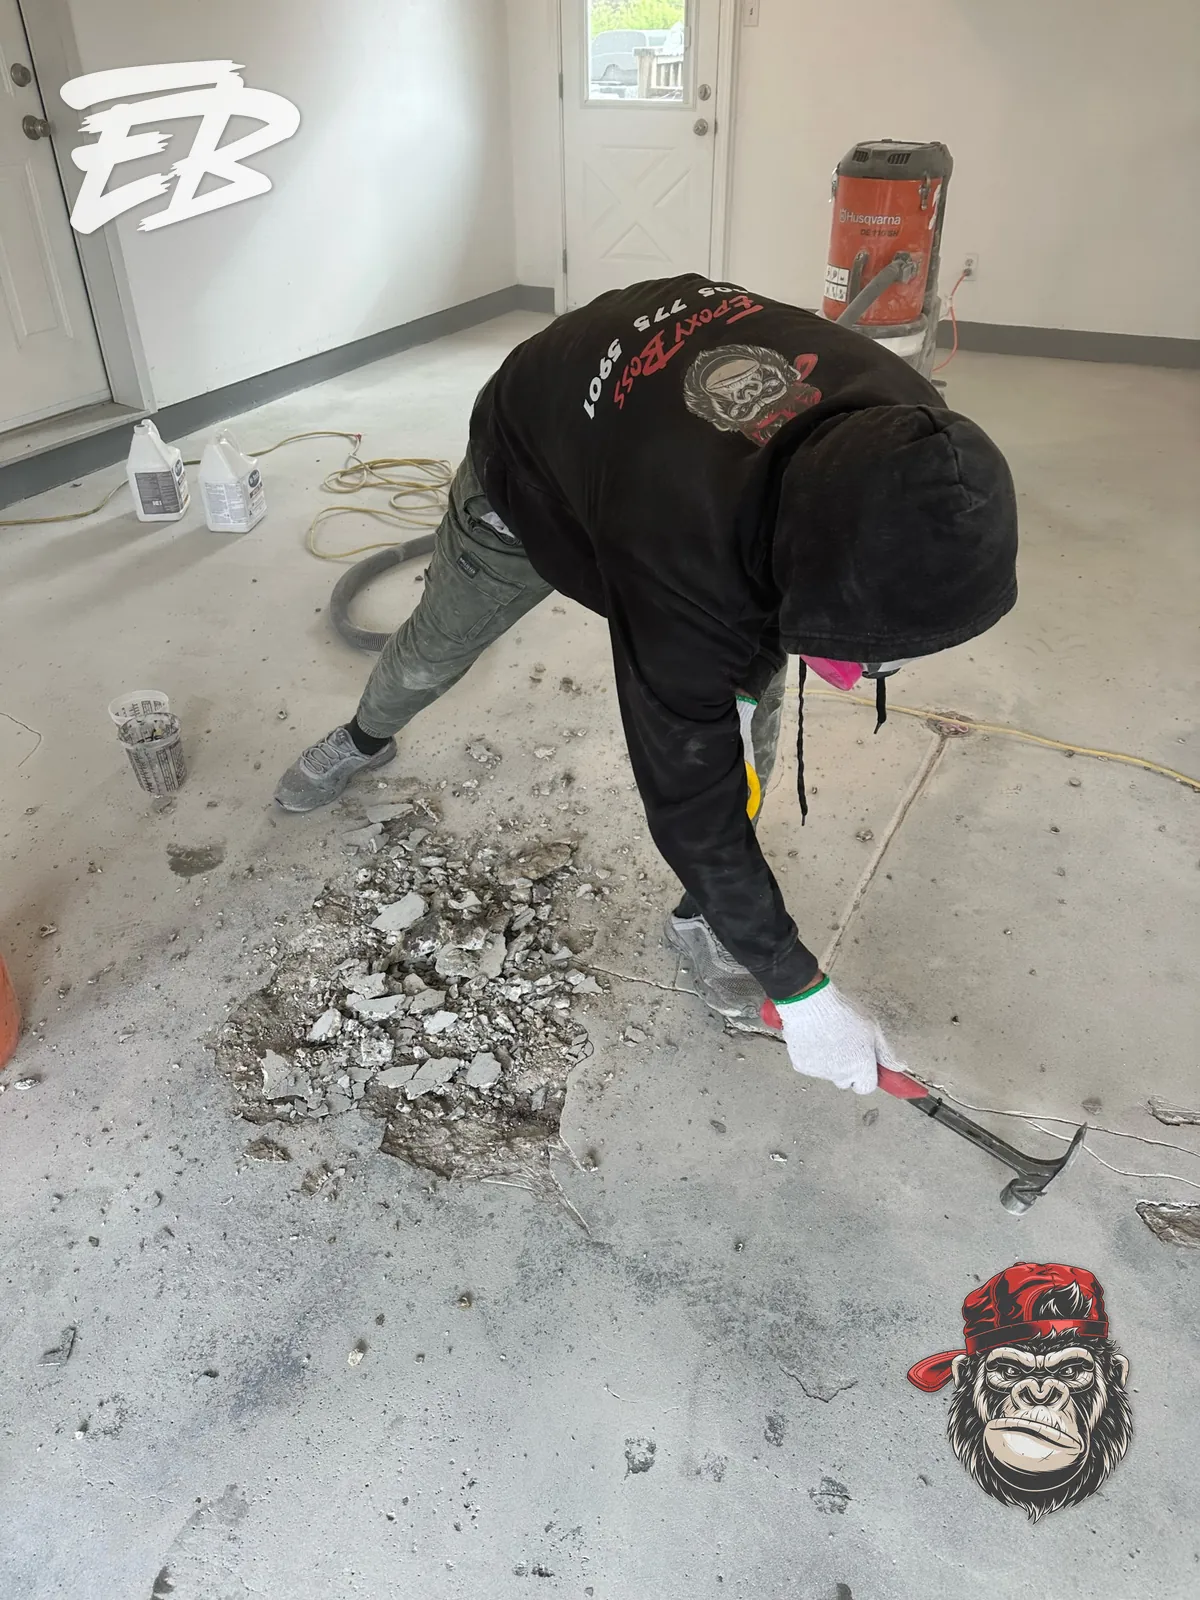
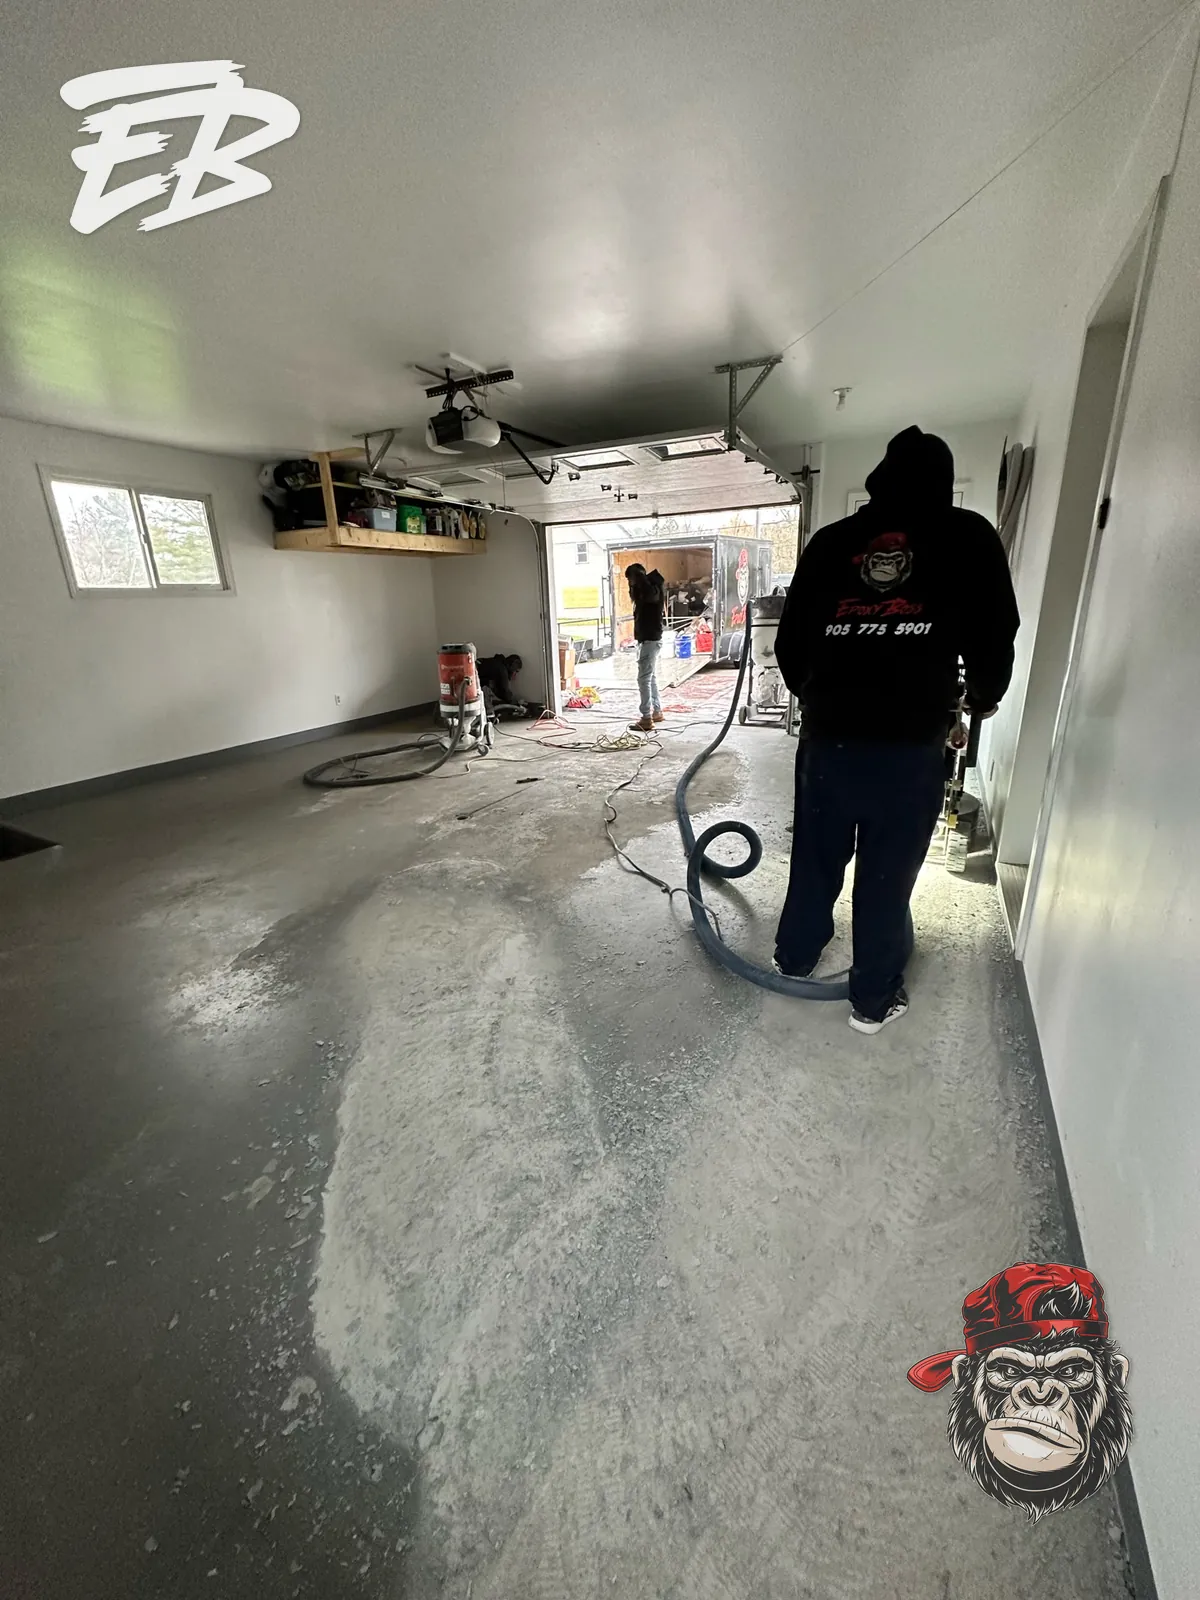
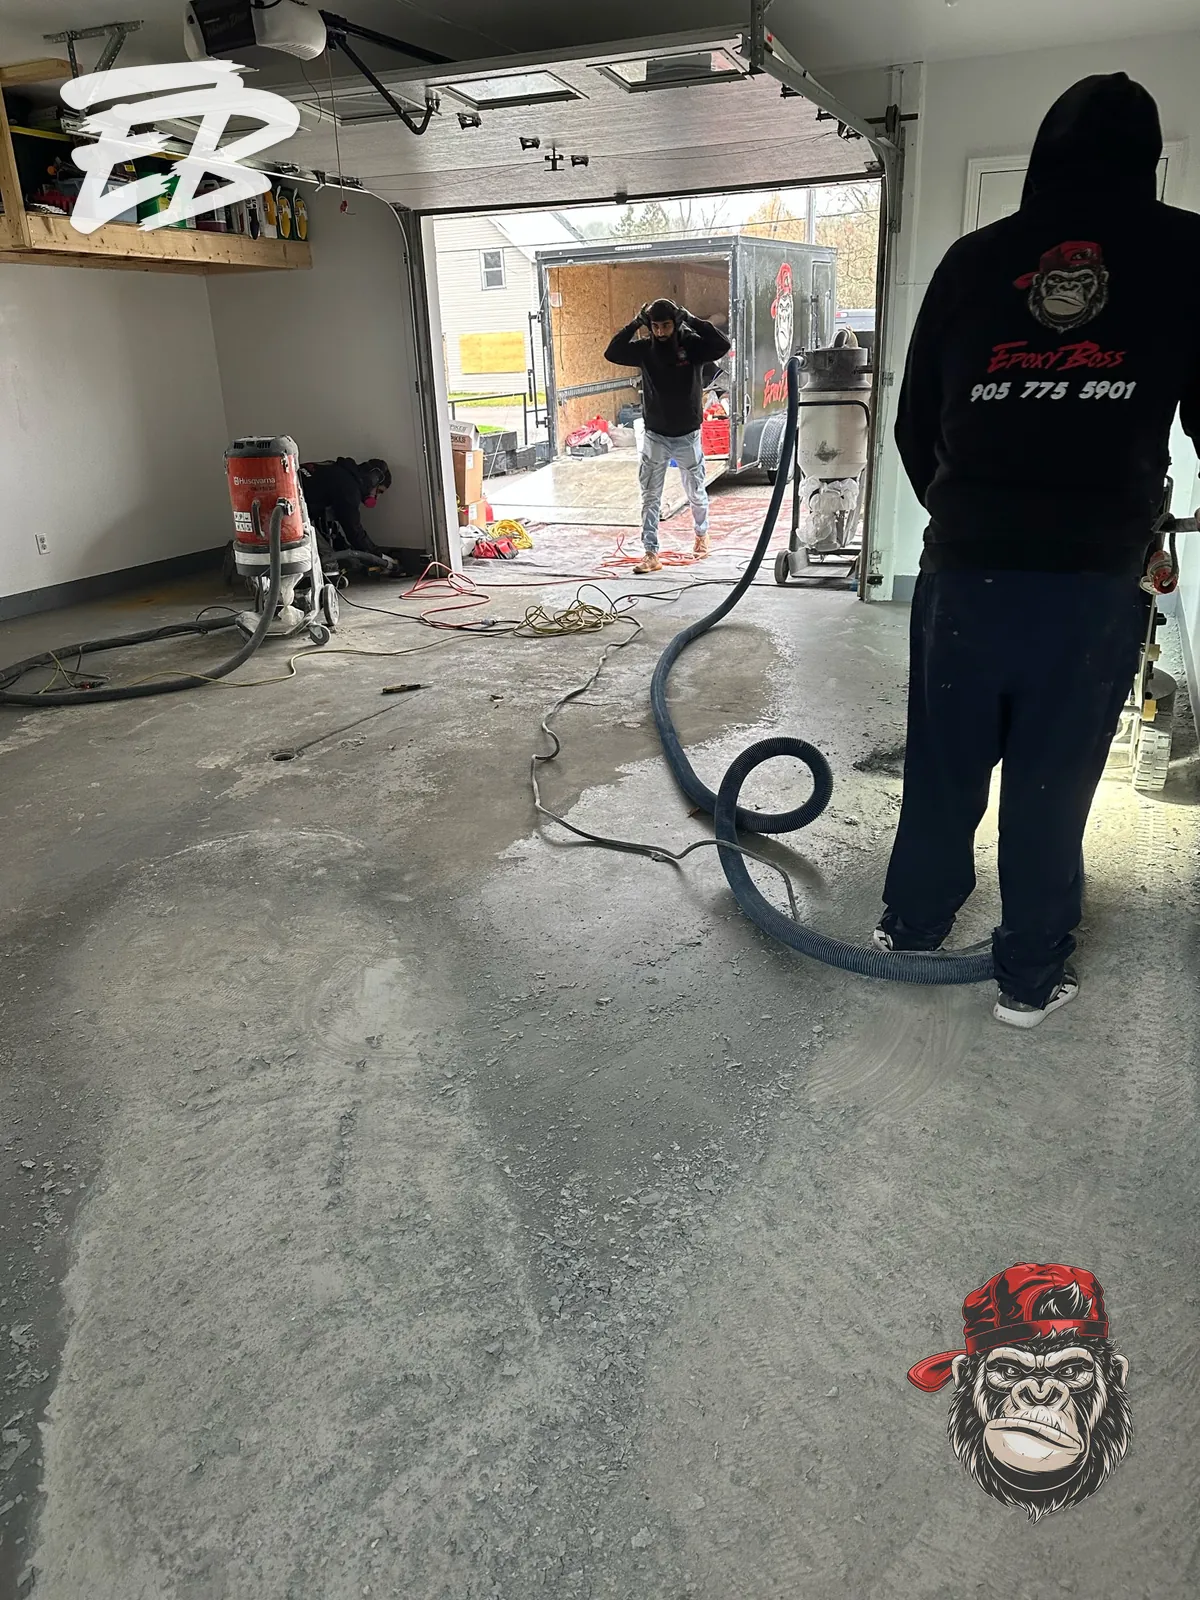
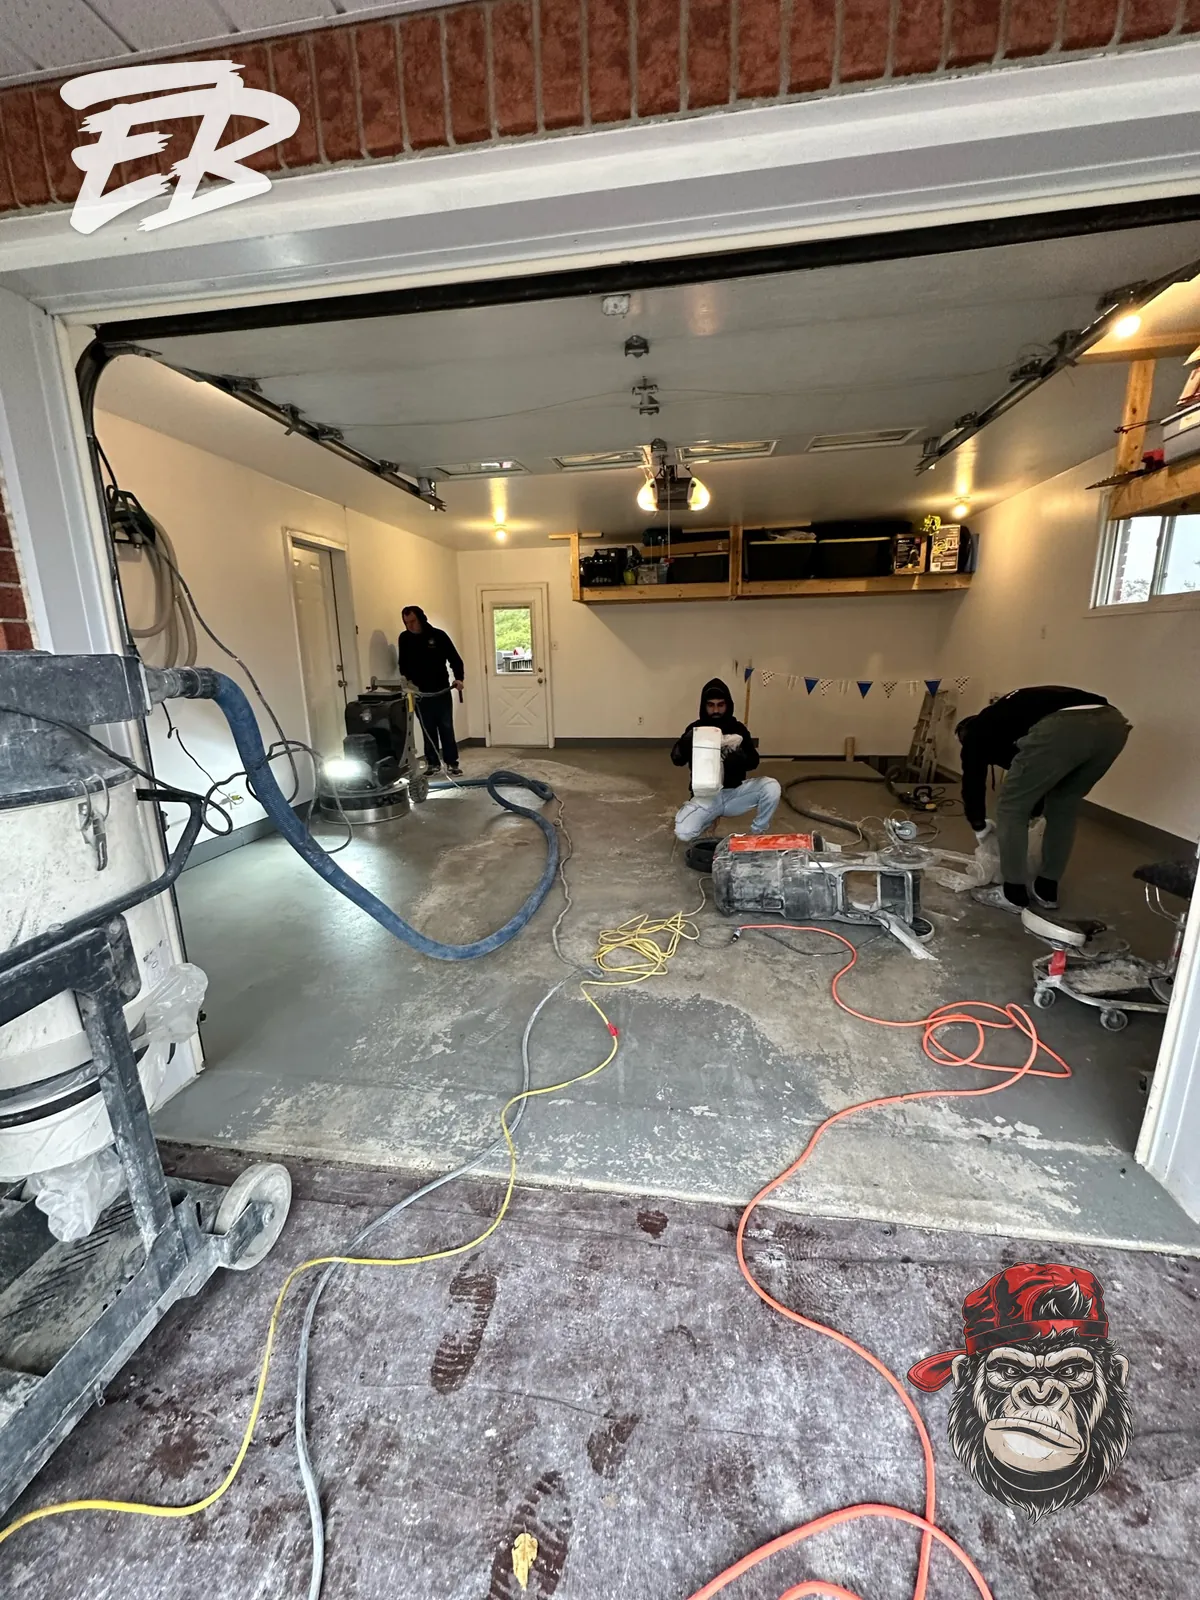
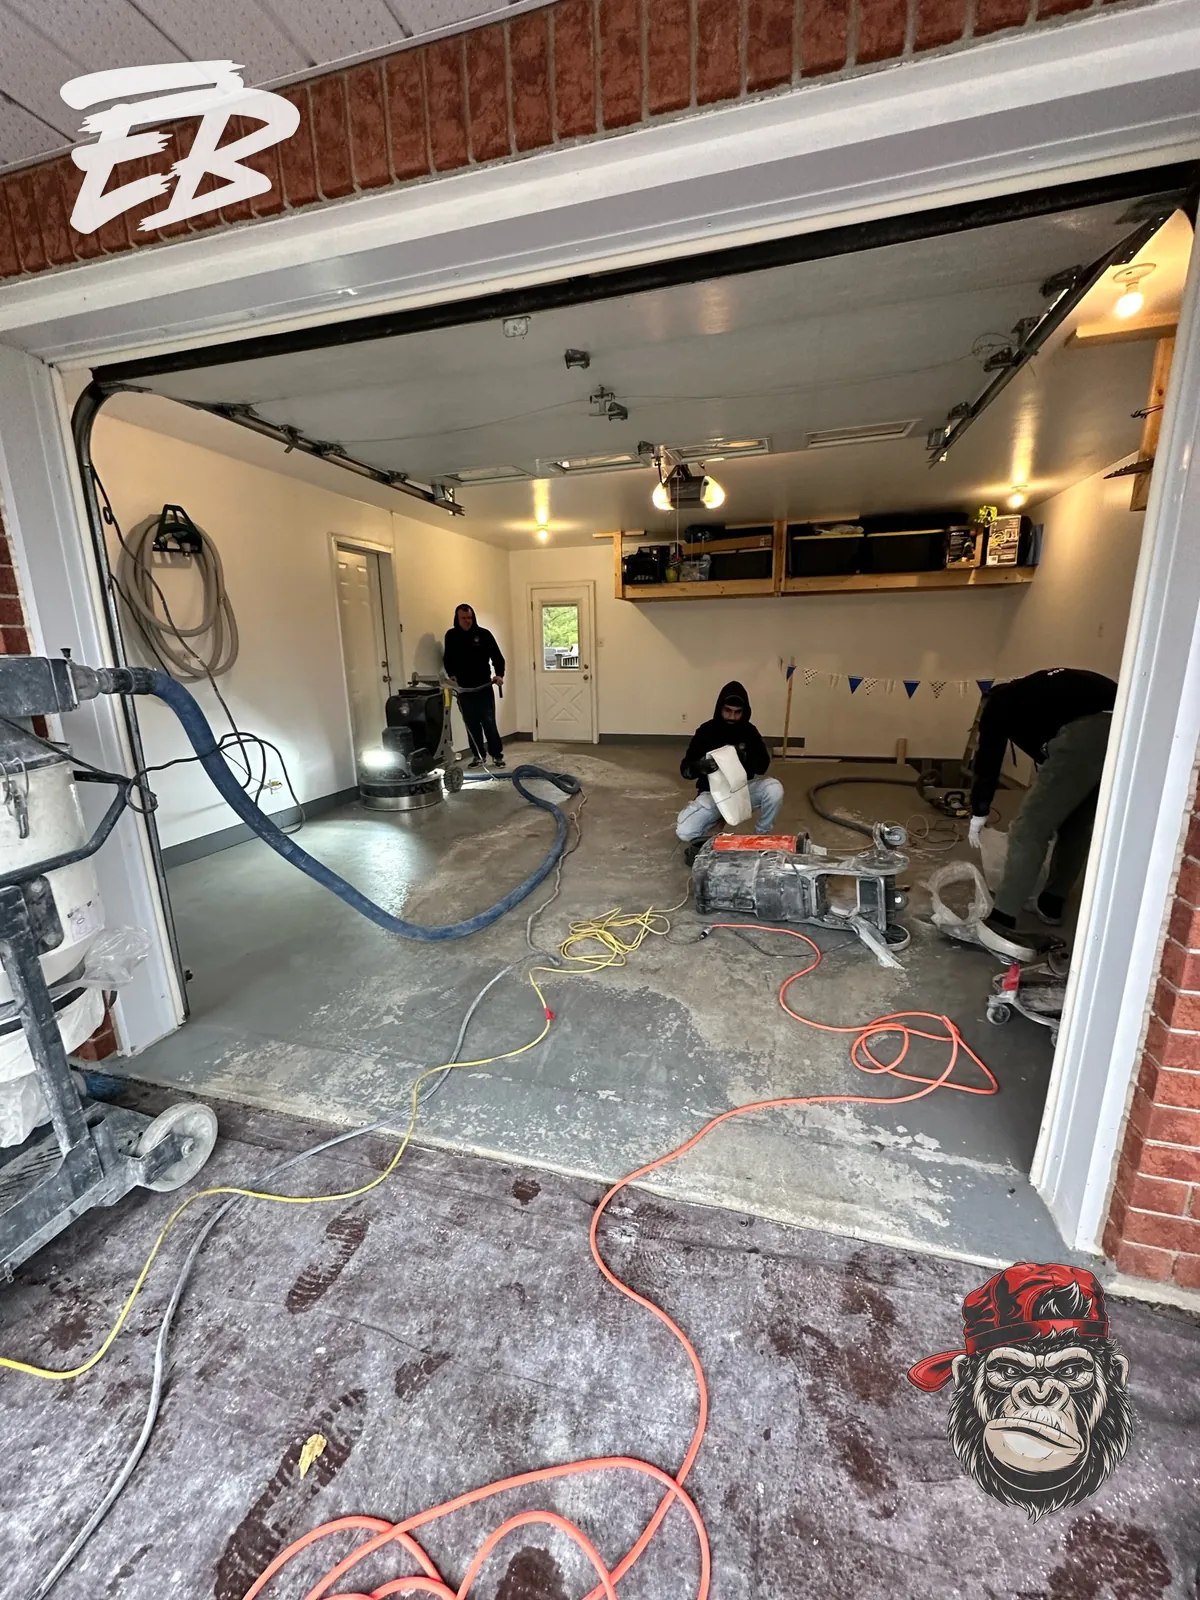
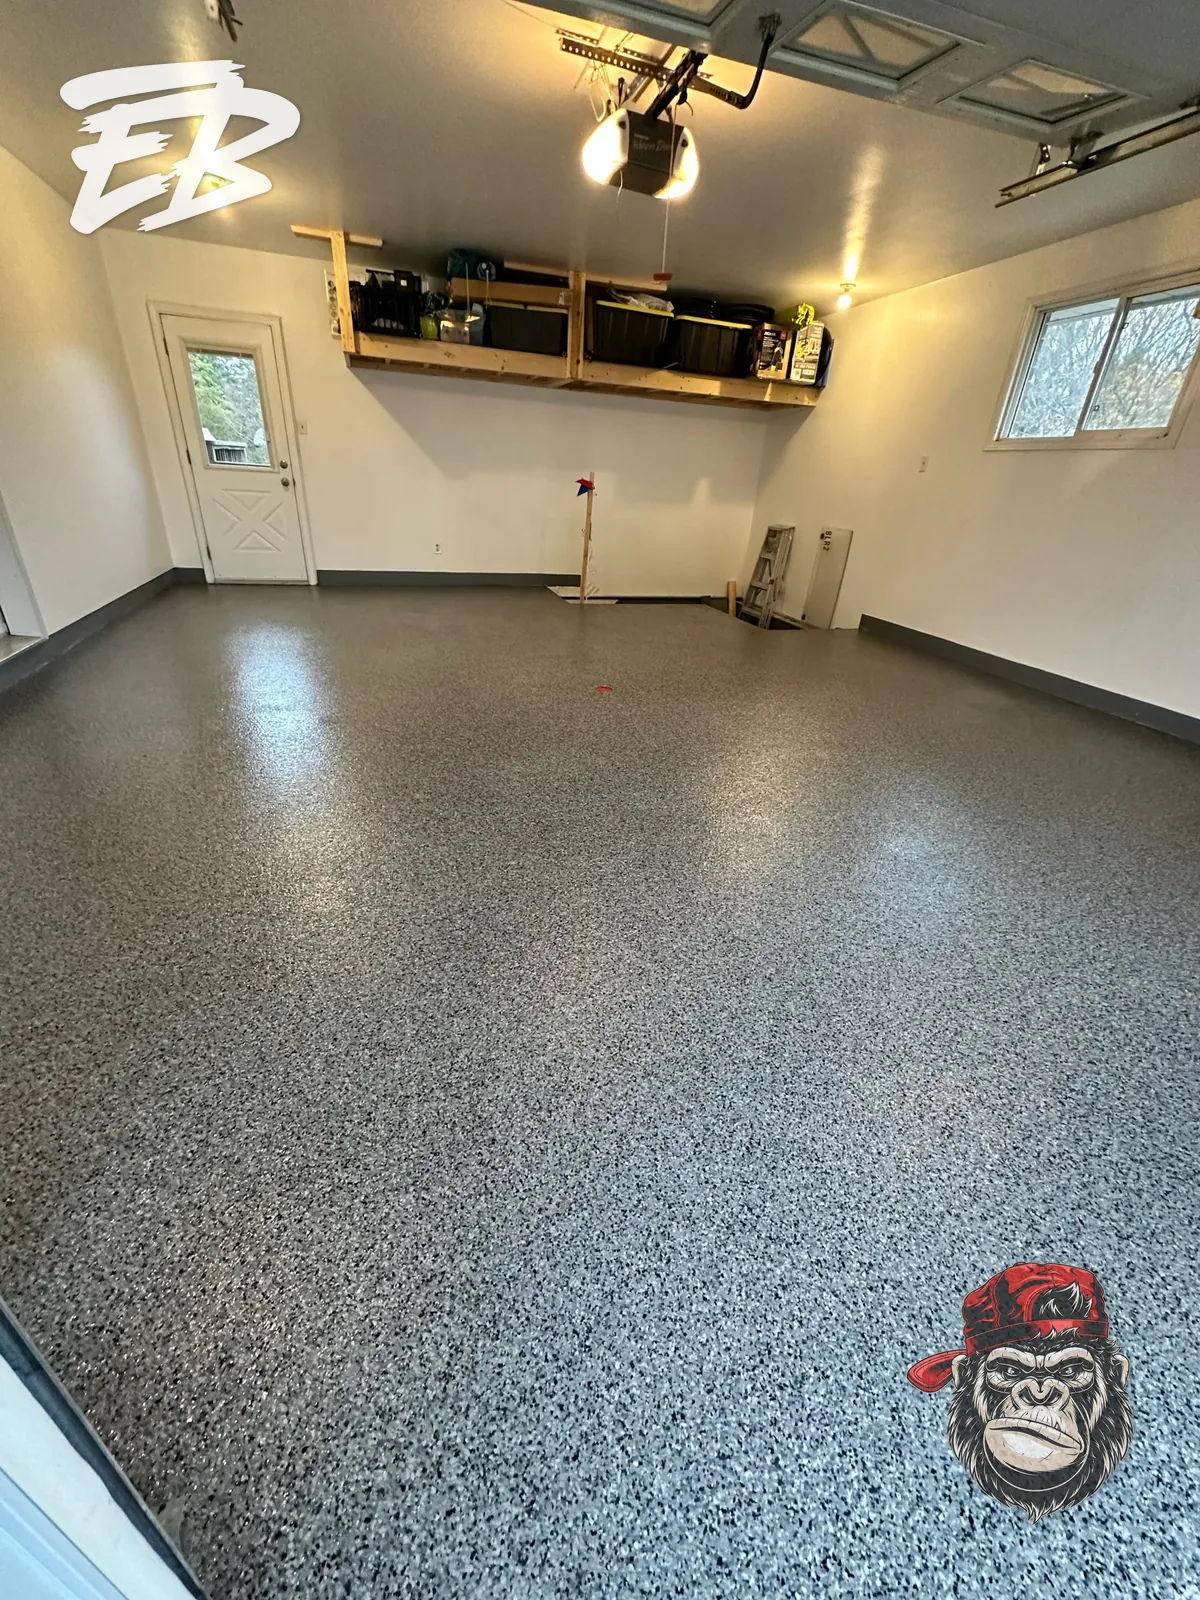
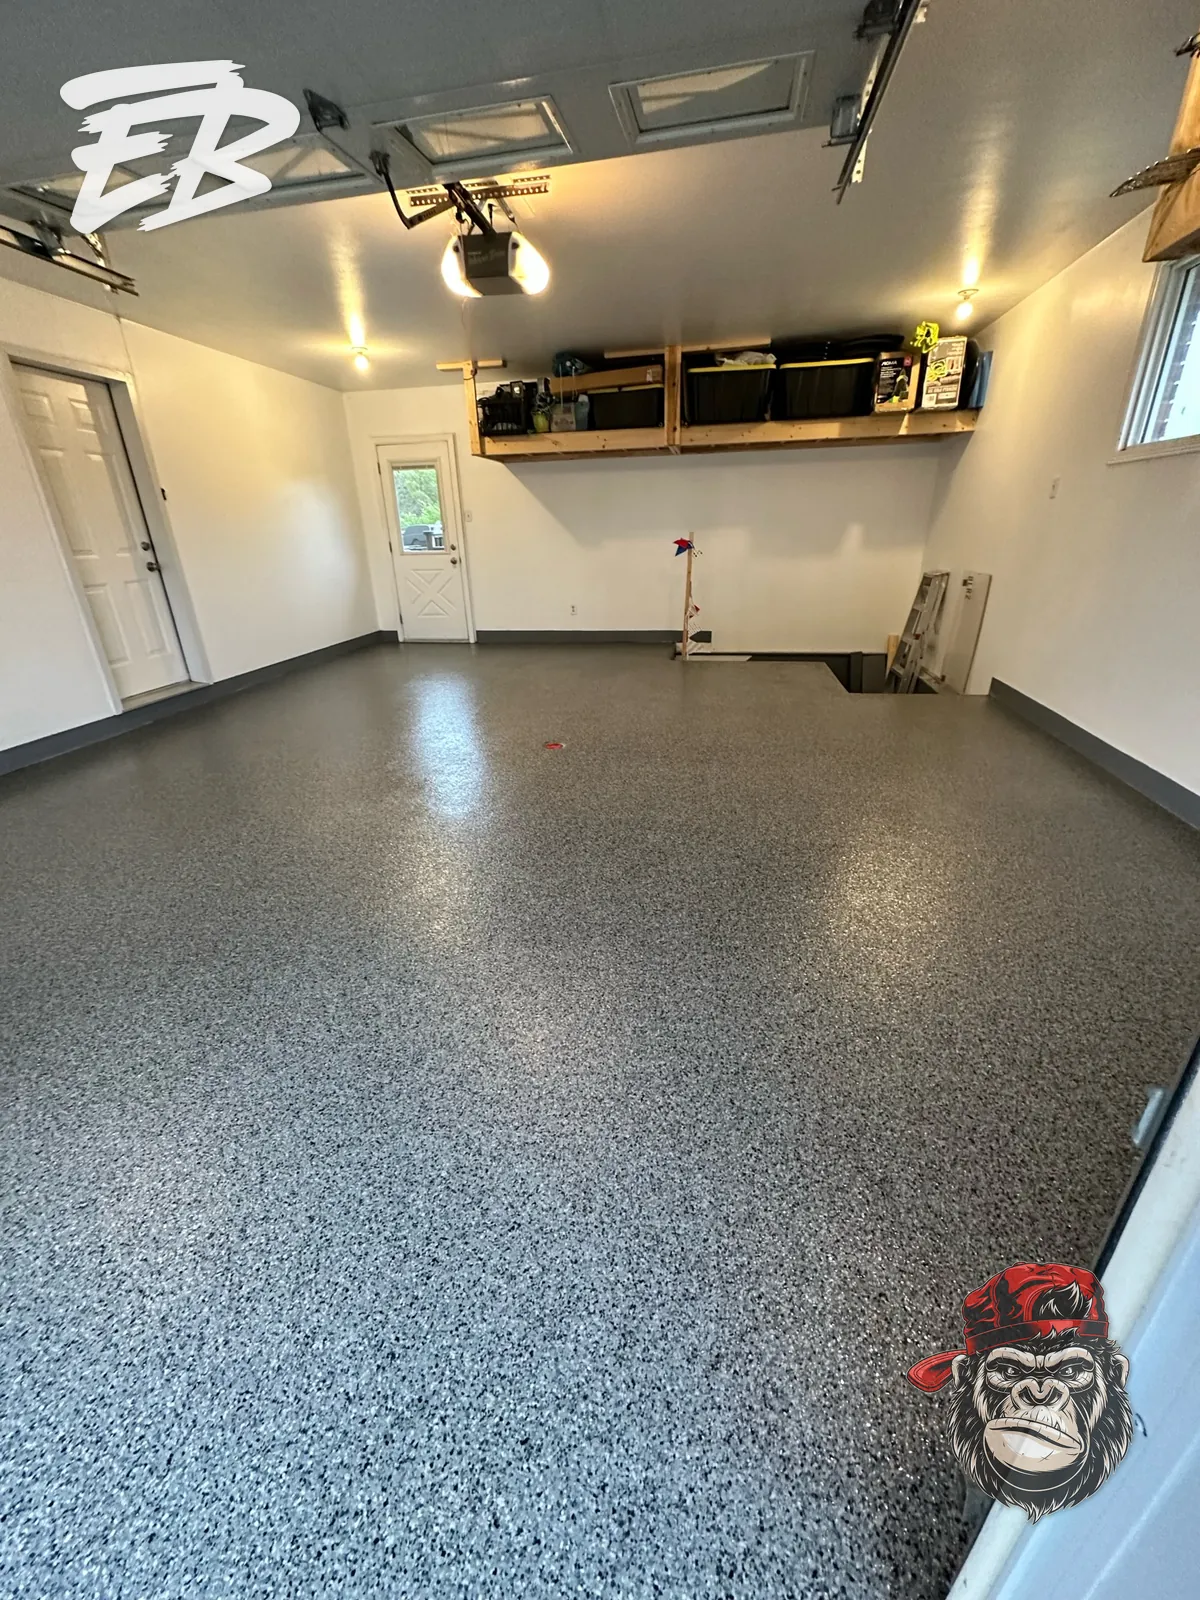
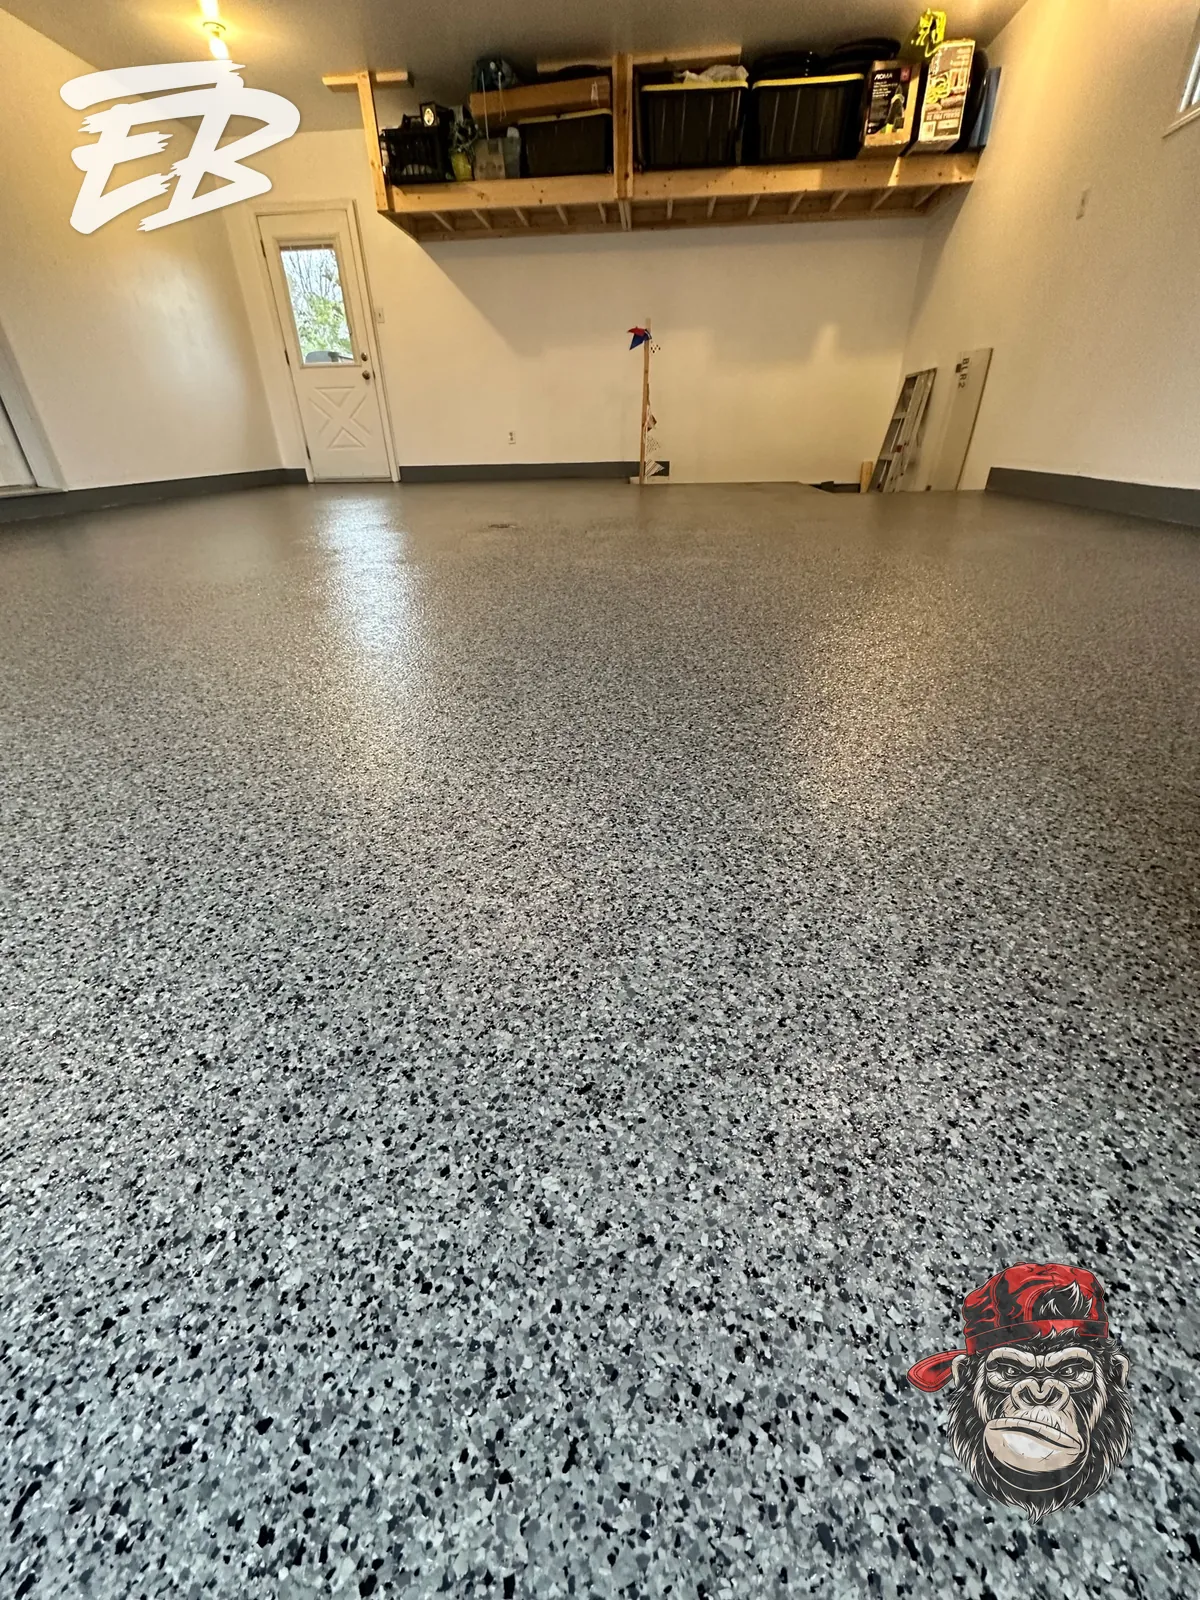
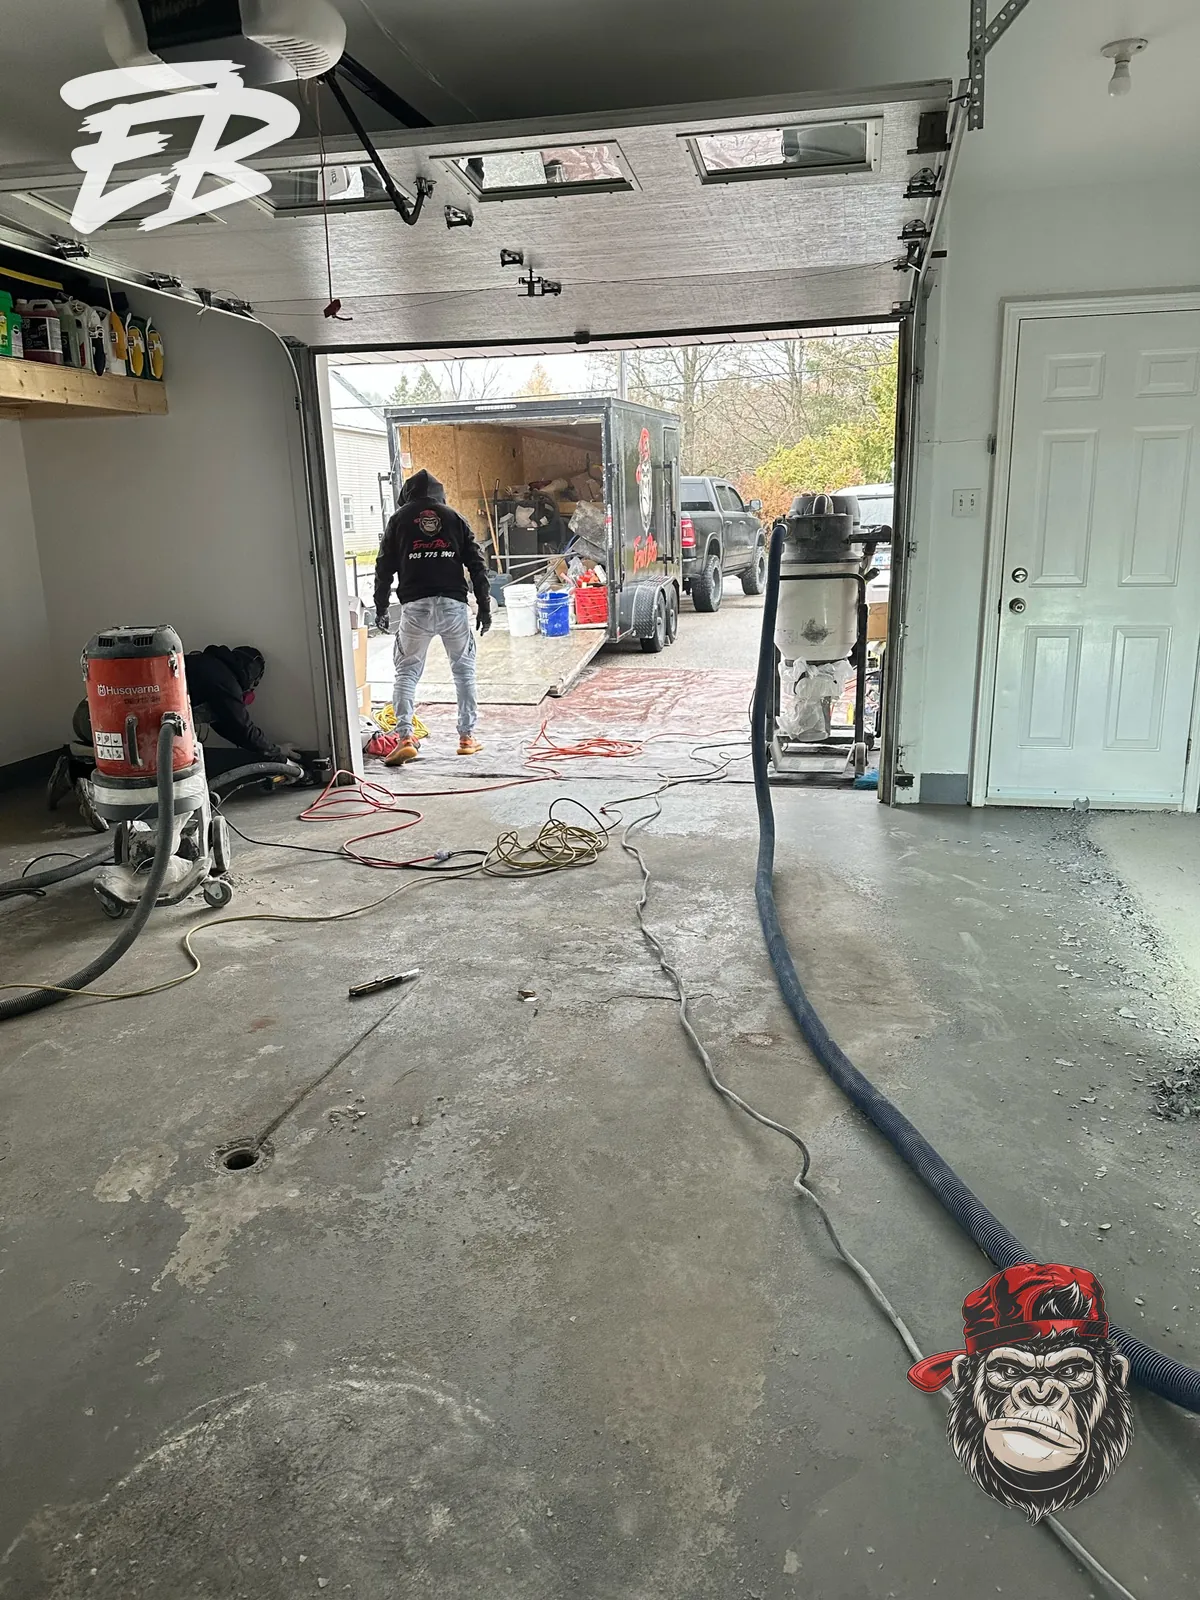
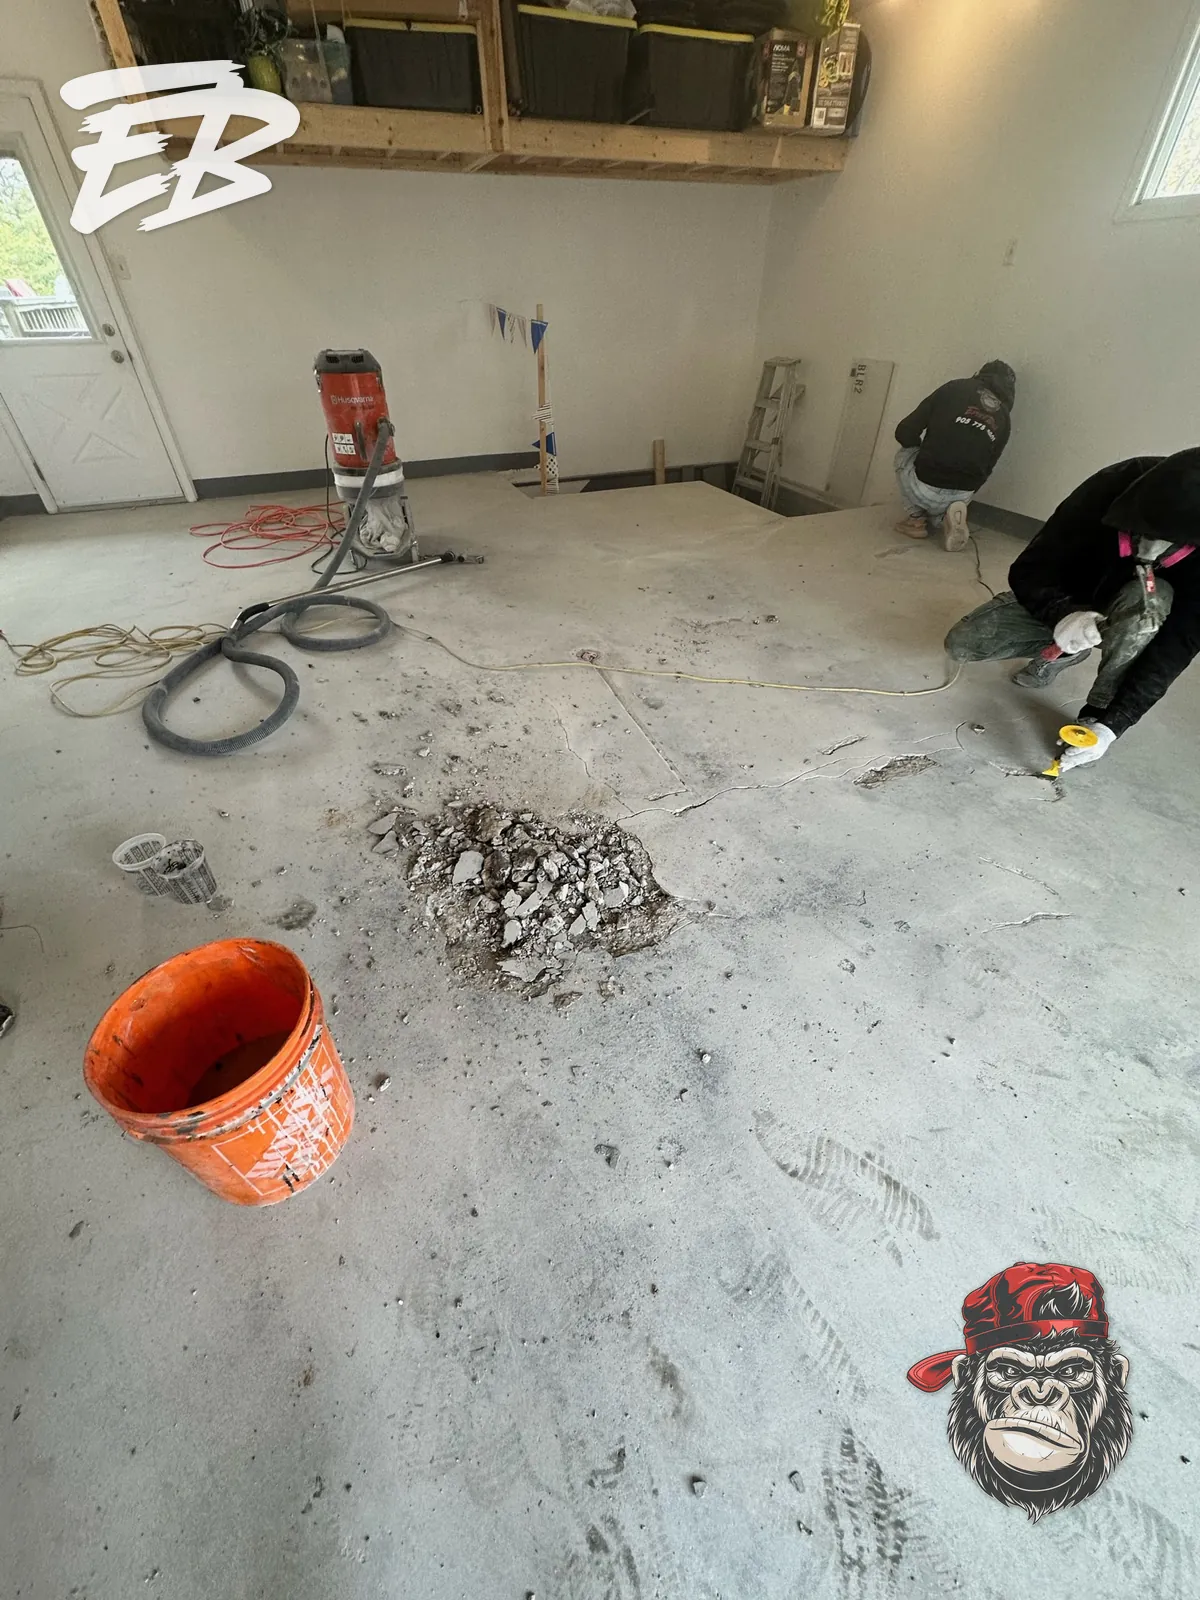
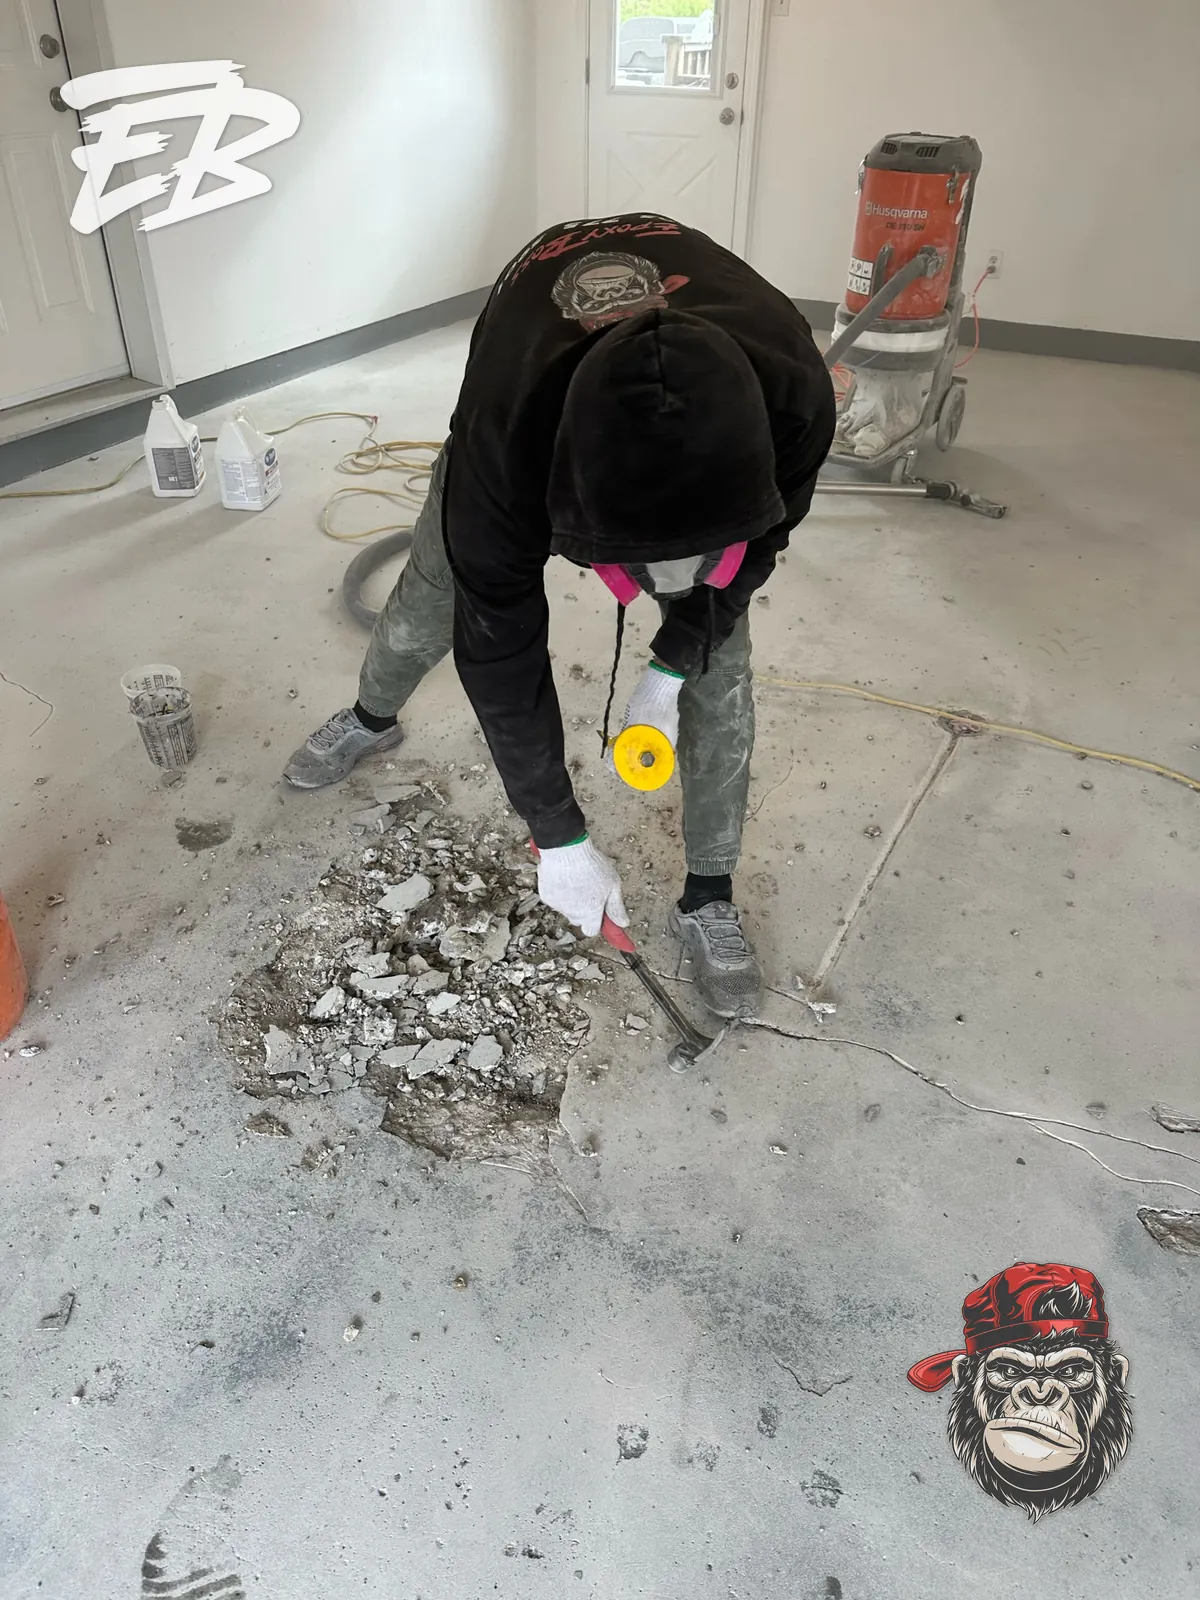
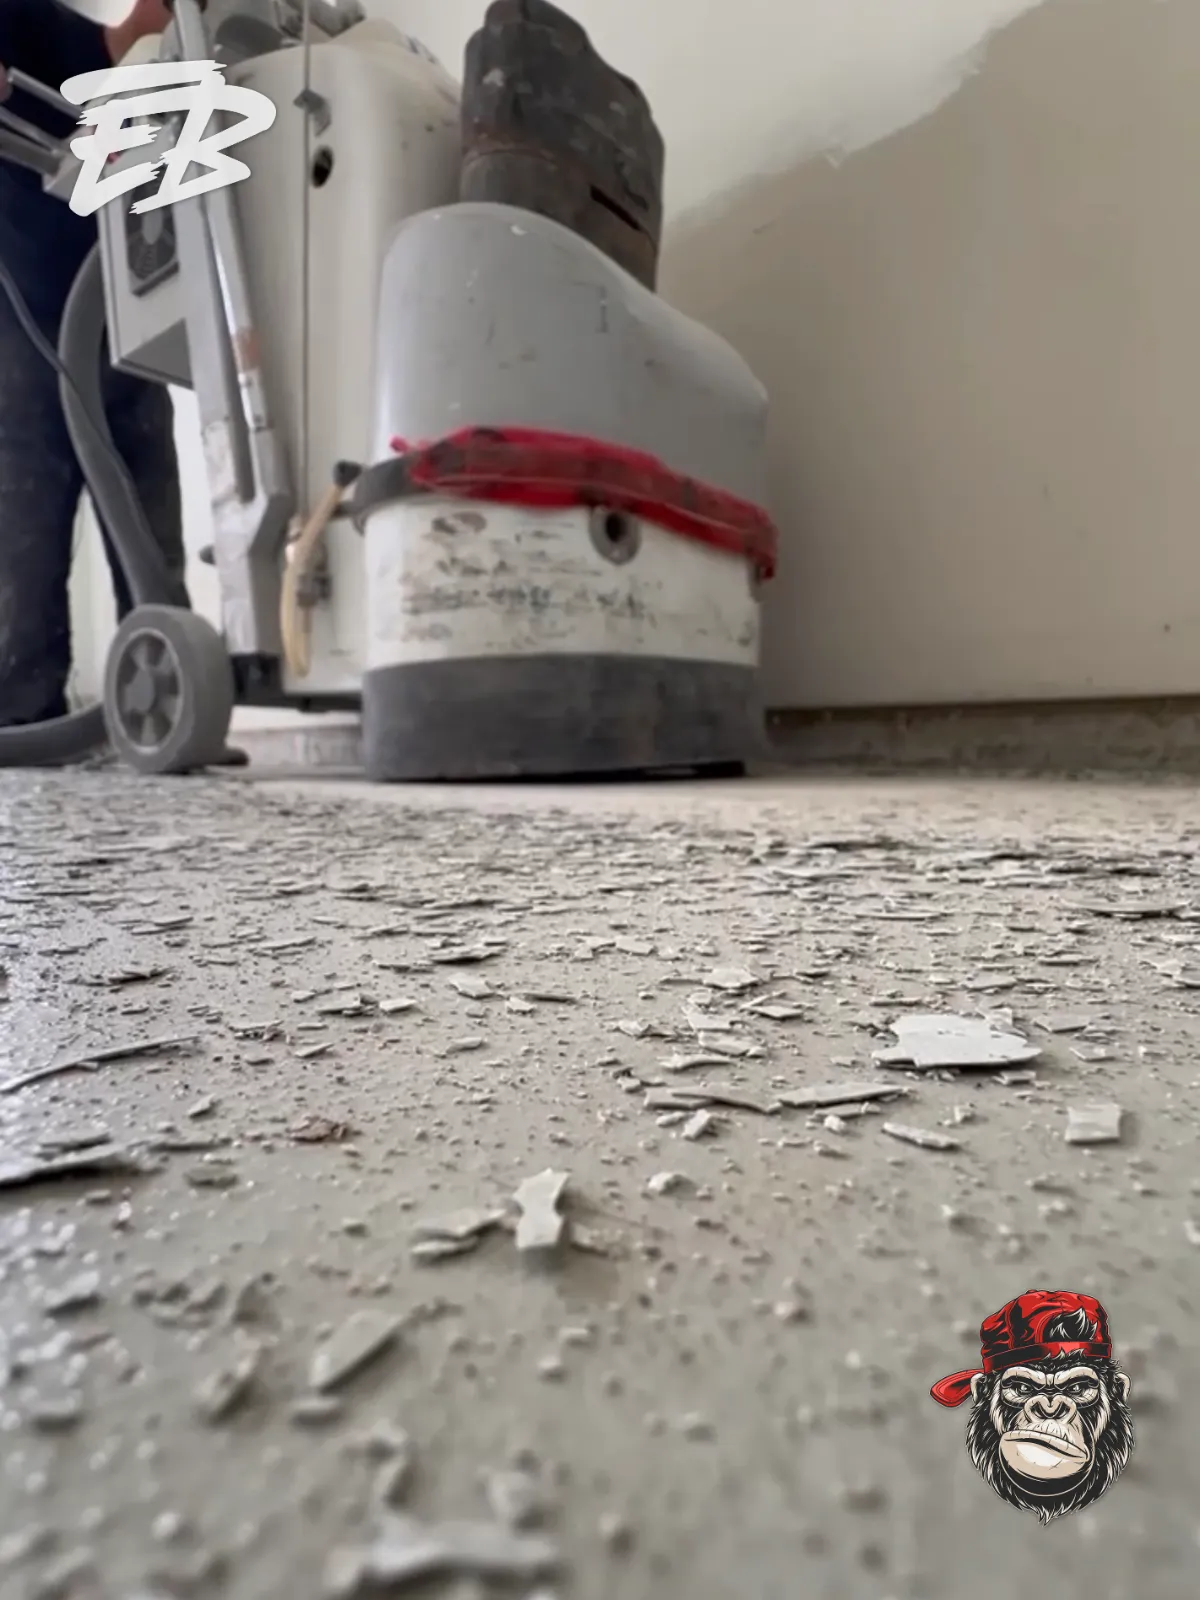
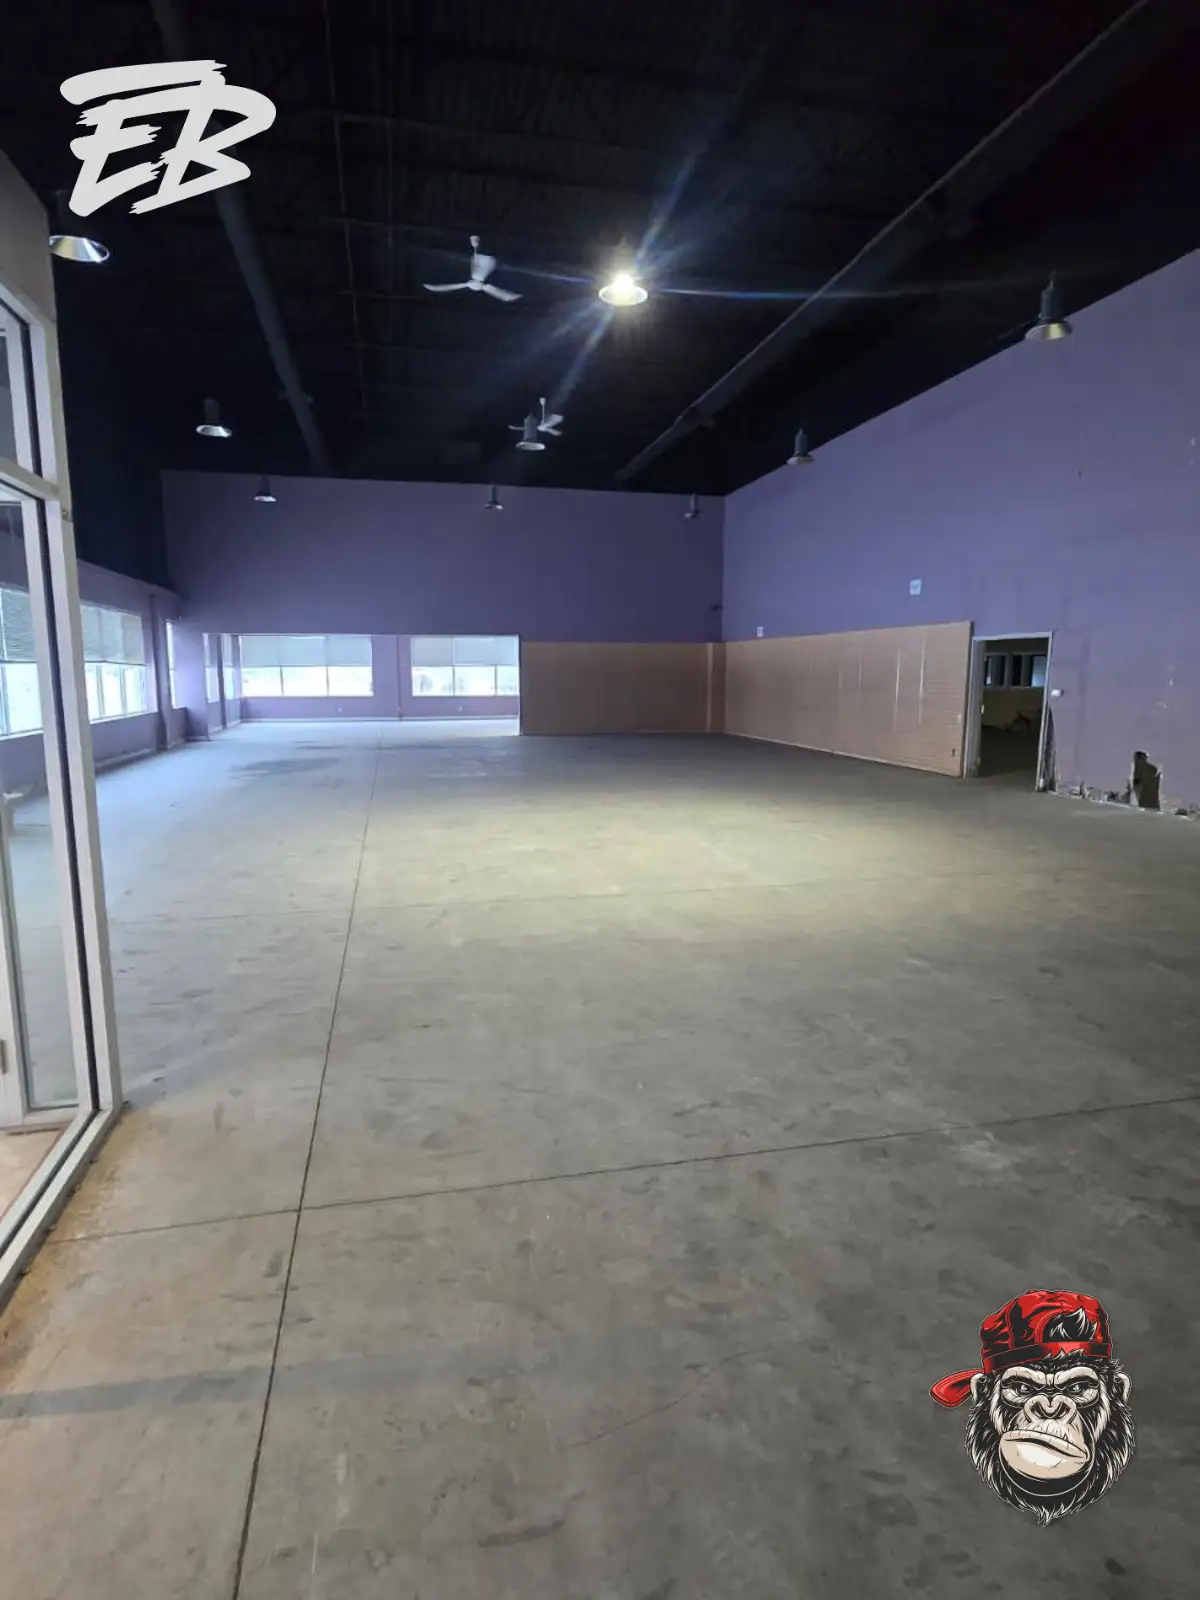
This 420-square-foot Vaughan garage had an unsuccessful previous coating that was no longer a dependable base for another floor finish. The existing system had not performed successfully in the garage environment and was not suited to the seasonal weather exposure the floor needed to handle. The visible condition was only part of the issue. During preparation, Epoxy Boss identified a crack line and areas of damaged or unstable material that needed attention before a new decorative coating could be installed. Recoating directly over a failed layer would have transferred the same weak bond into the replacement floor. This is the key distinction in failed-floor restoration: the first decision is not which flake colour to use. It is whether the existing coating and the concrete beneath it can support a new system. In this case, the correct starting point was full removal of the unsuccessful coating, followed by preparation of the concrete substrate and repair of the surface conditions exposed during that work.
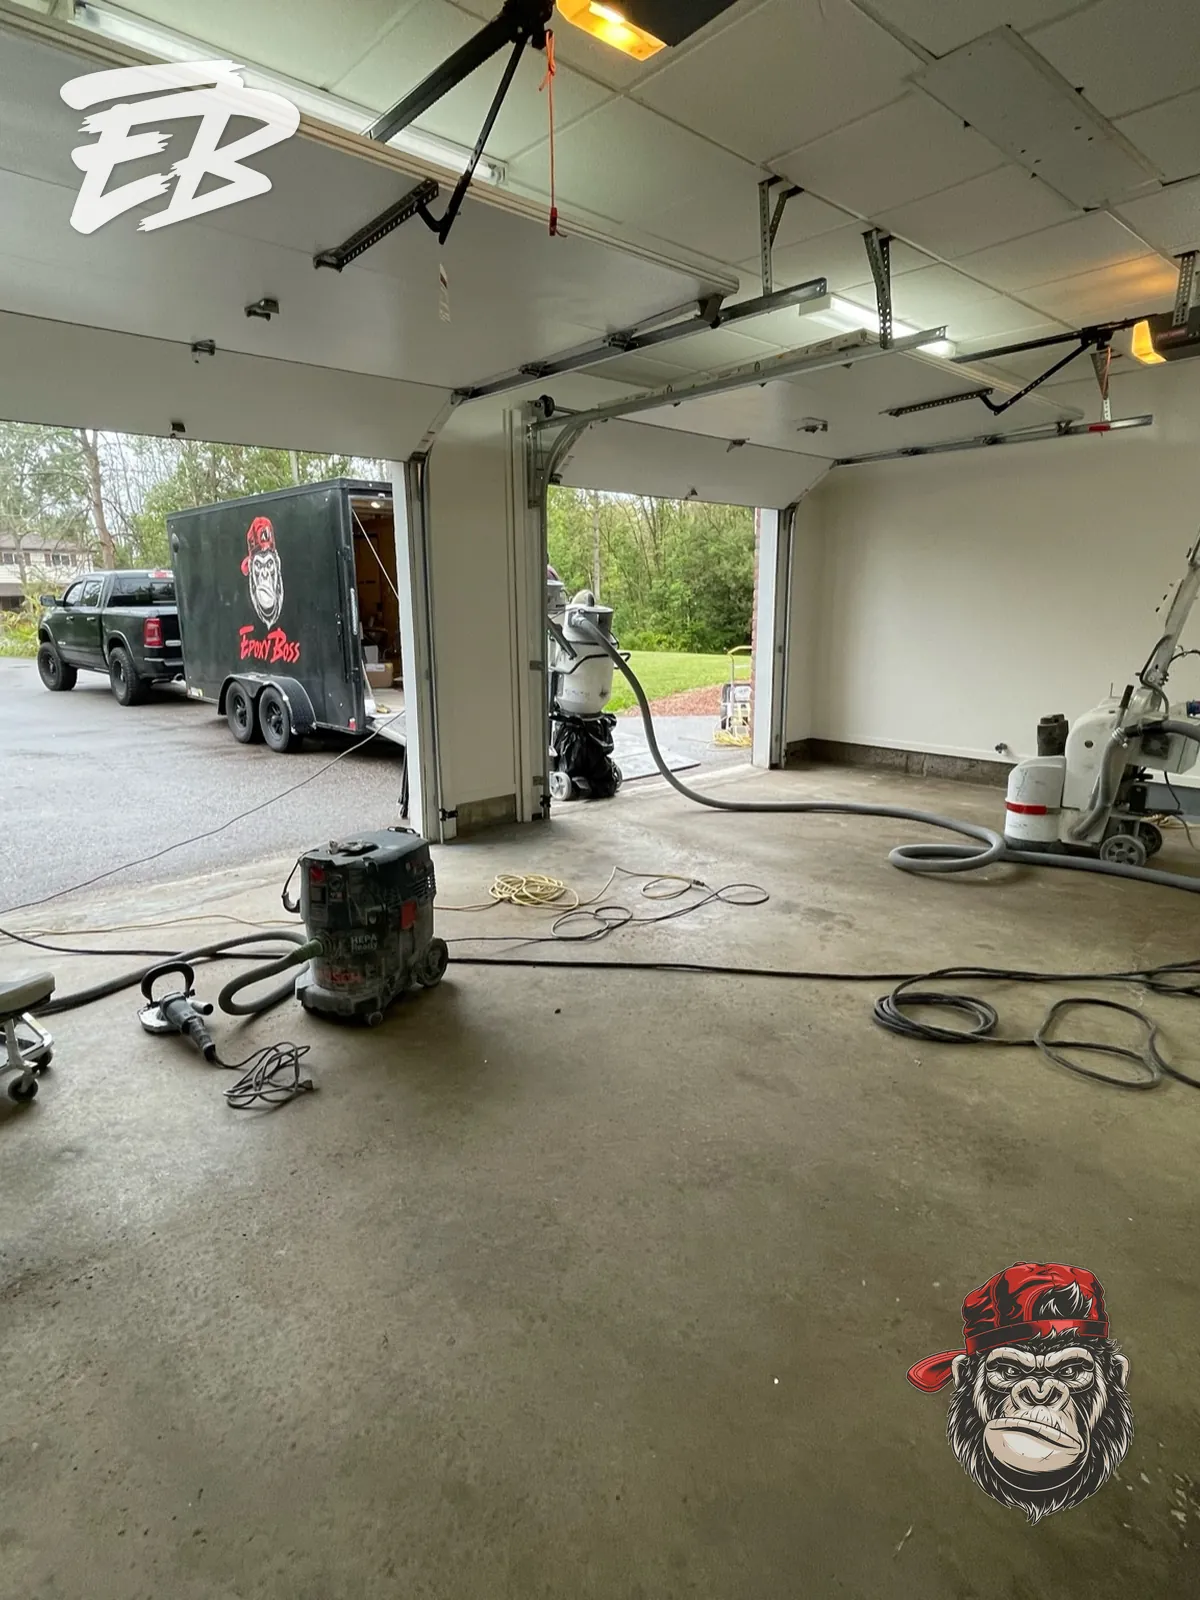
A failed garage coating can show peeling, cracking, discolouration, uneven wear, or localized damage. Those symptoms do not always have the same cause, but they do require an assessment before a new layer is applied. For this Vaughan garage, the old finish could not be treated as a sound base coat. Epoxy Boss removed the failed material so the team could work from the actual concrete surface rather than covering an unresolved coating failure. This reflects the Epoxy Boss process: inspect the condition, remove unstable material, prepare the substrate, address repair details, install the compatible system, protect the finished surface, and complete quality control. The decorative finish is important—but it comes after the substrate is ready to receive it.
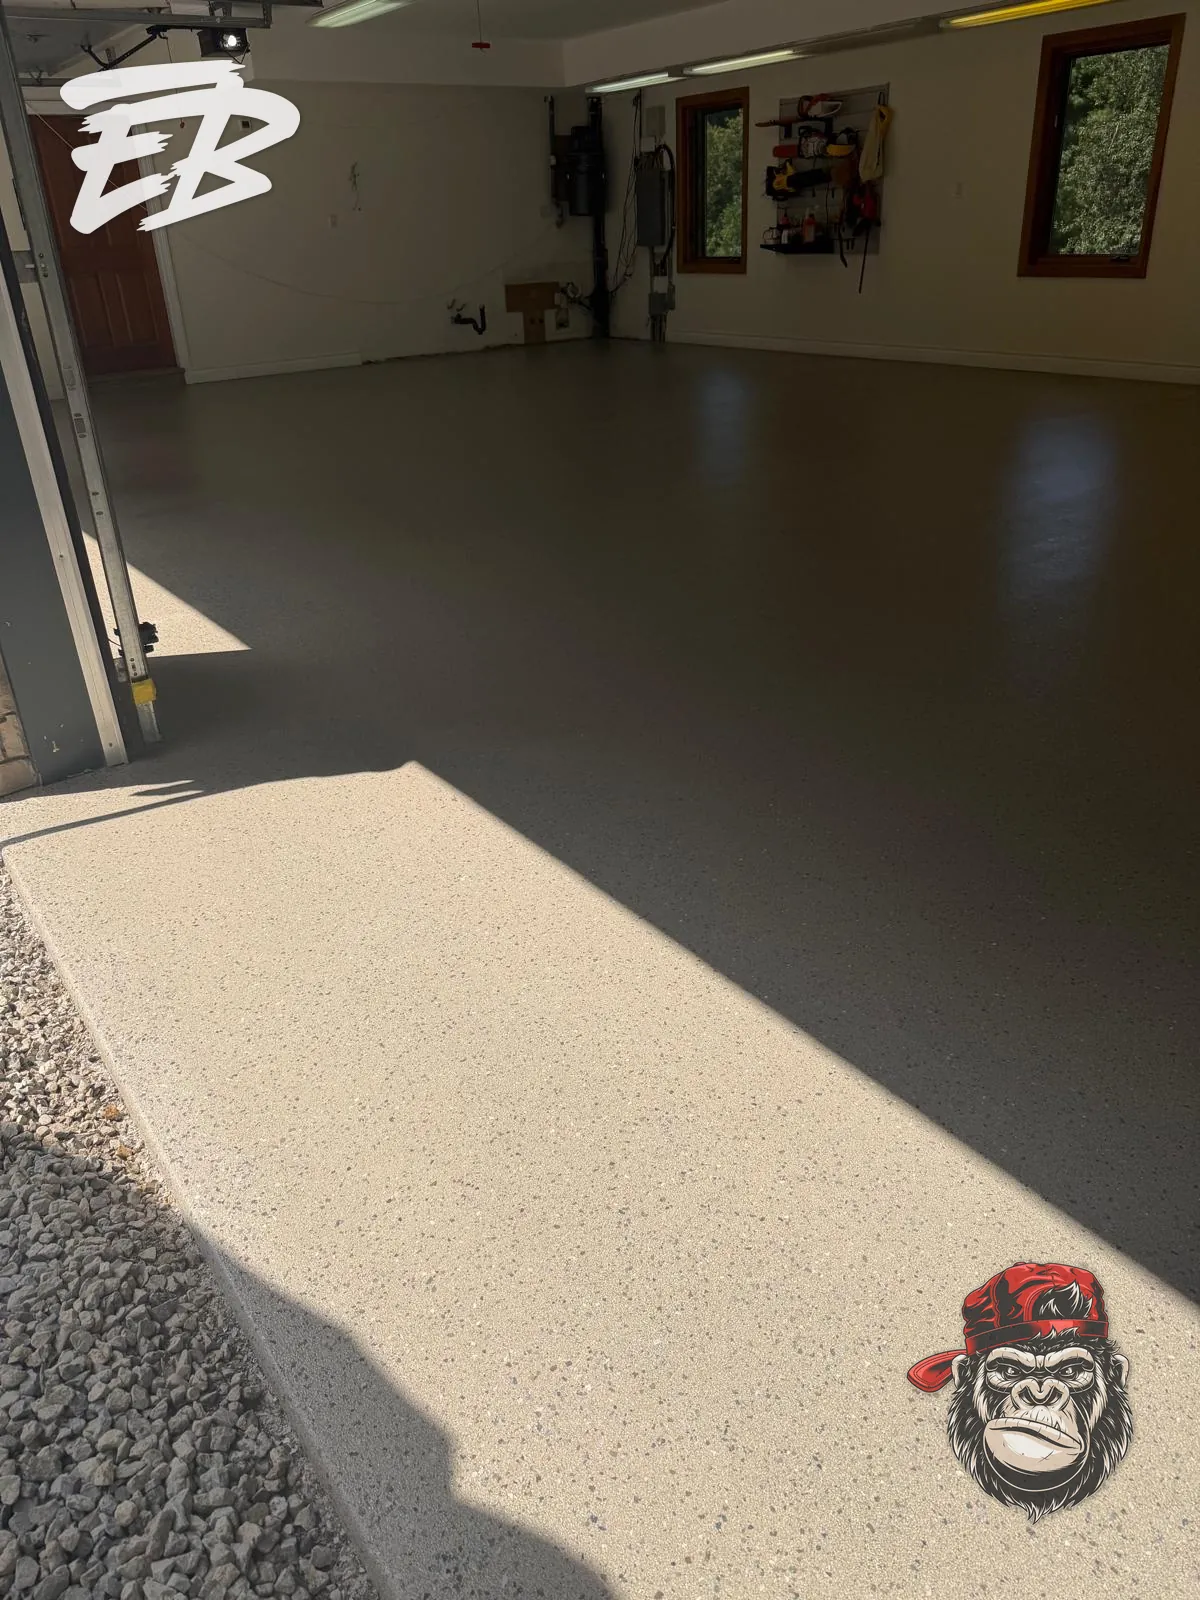
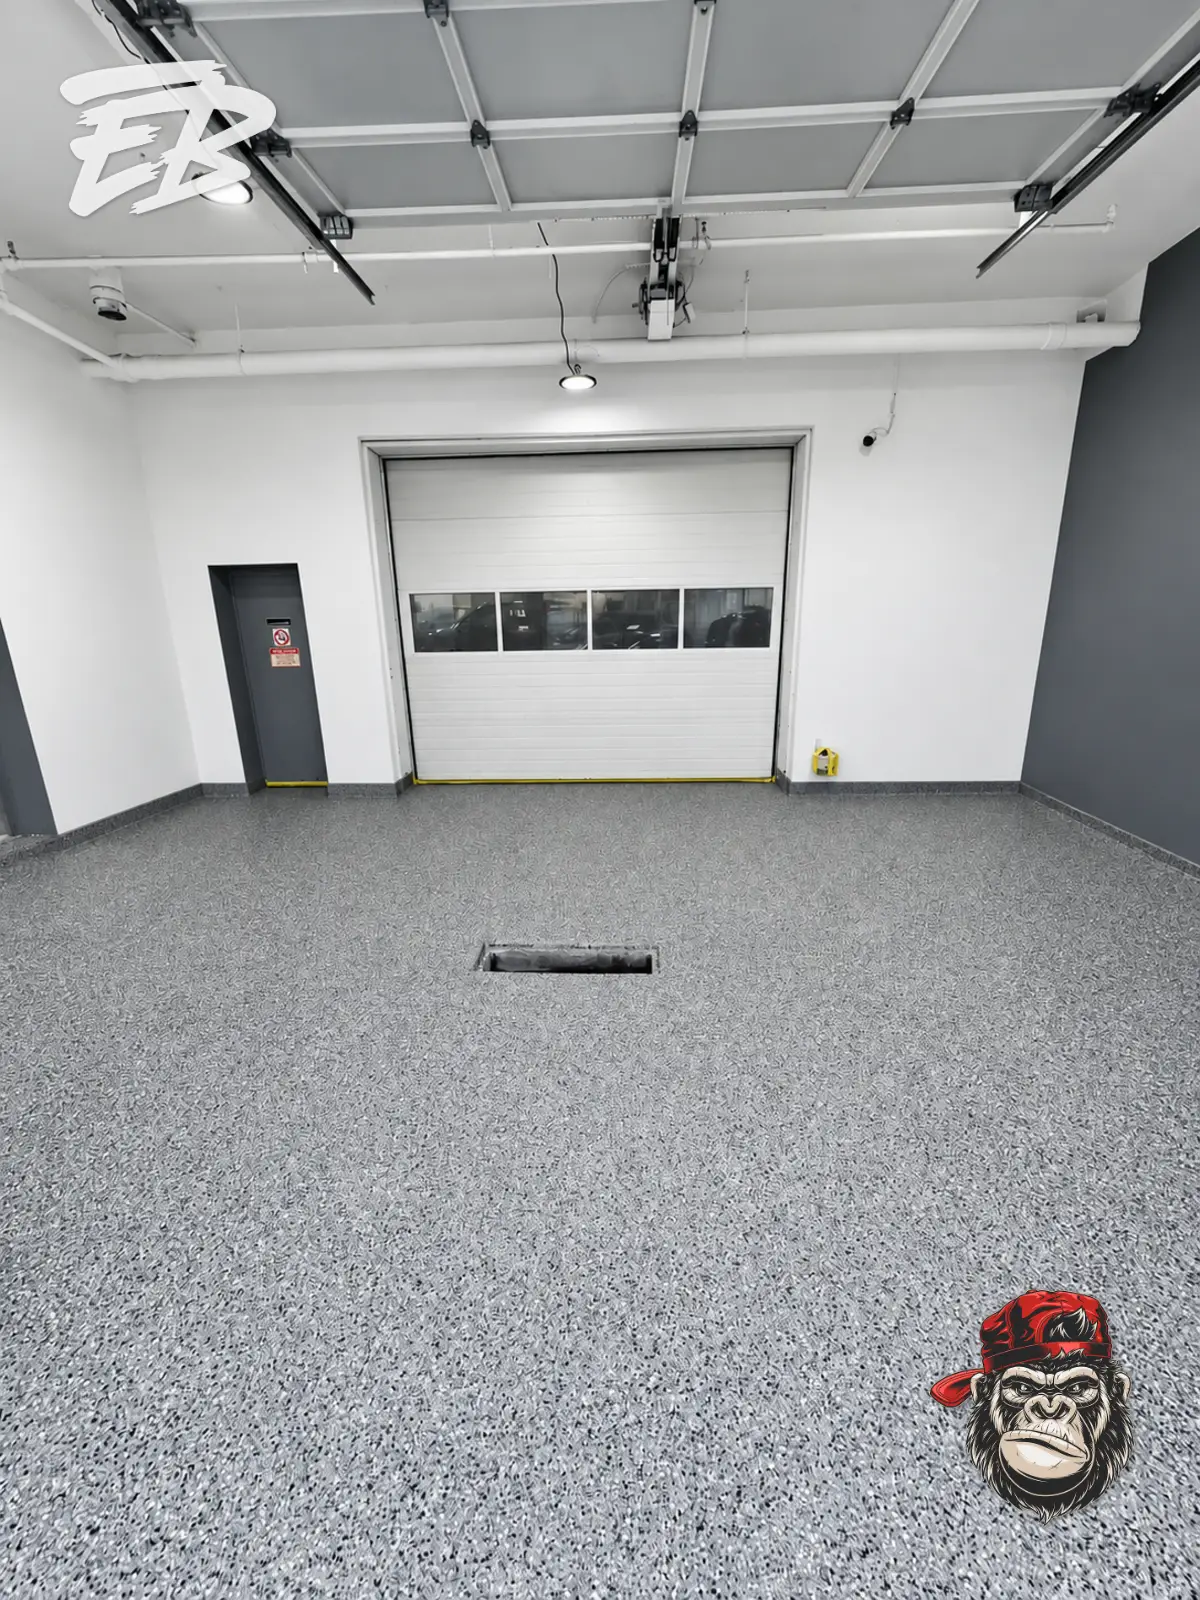
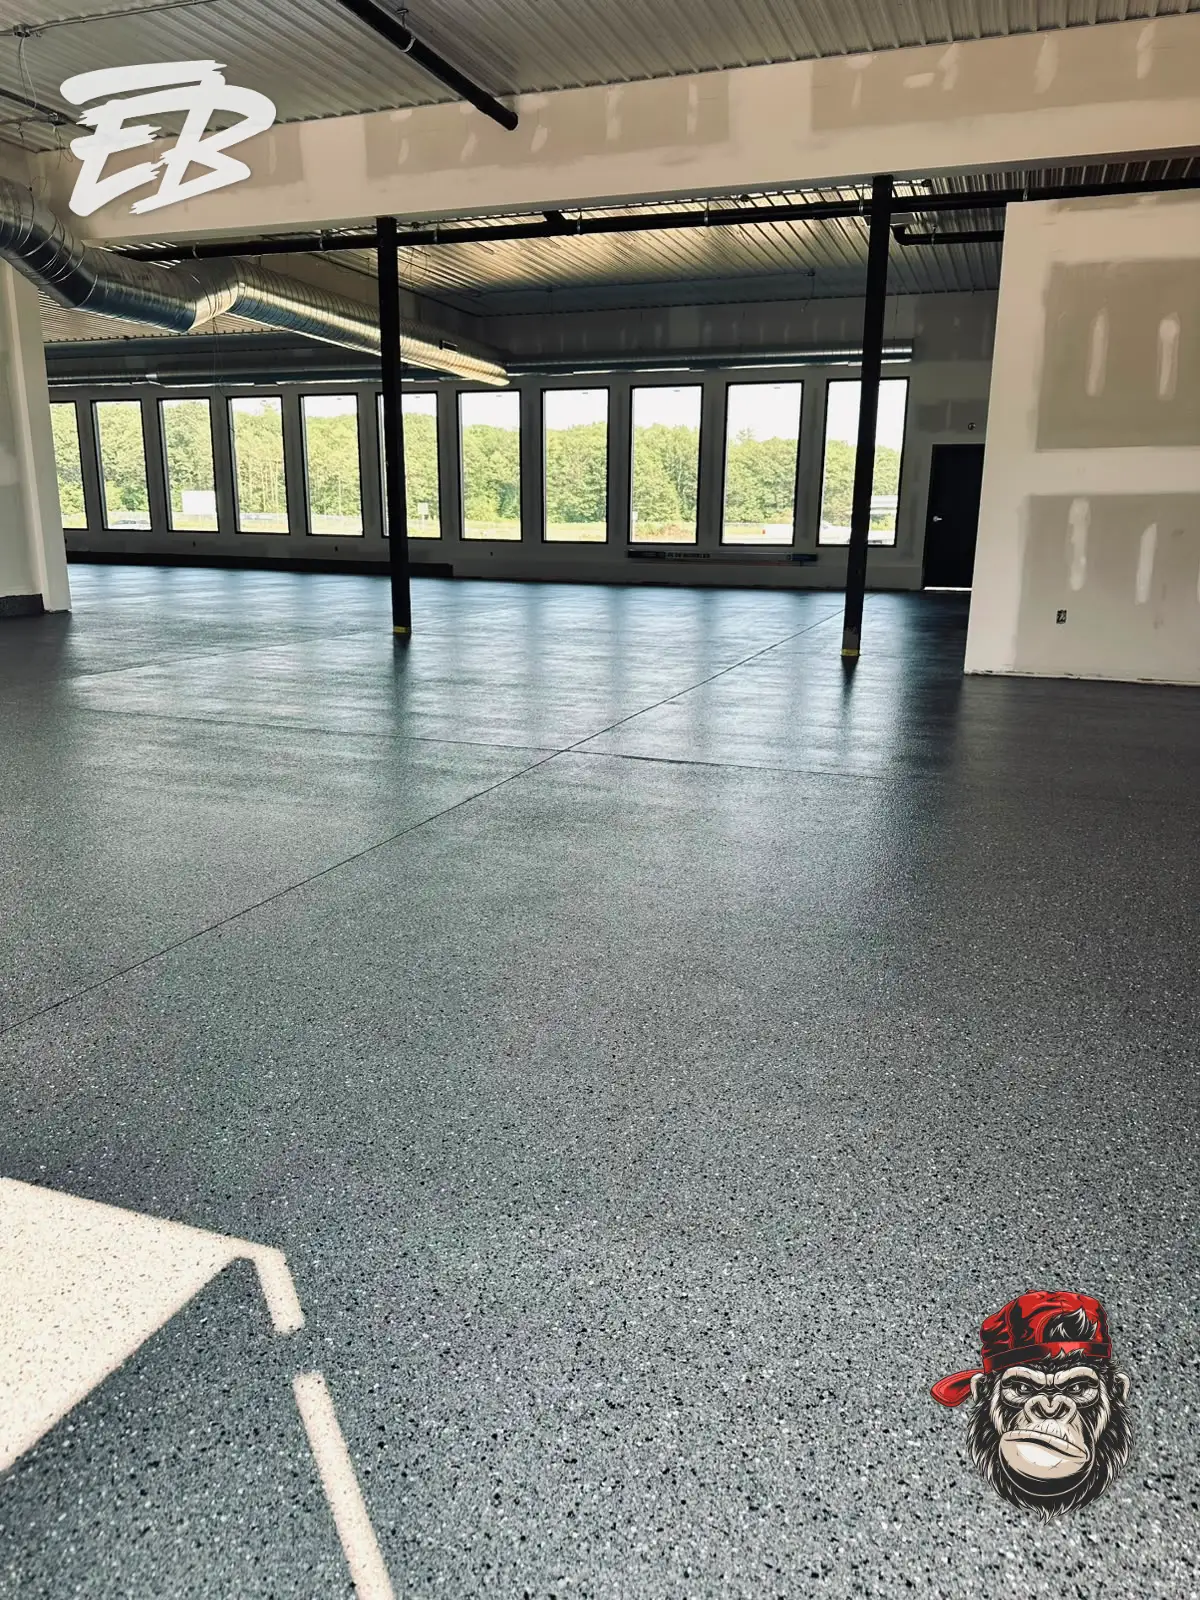
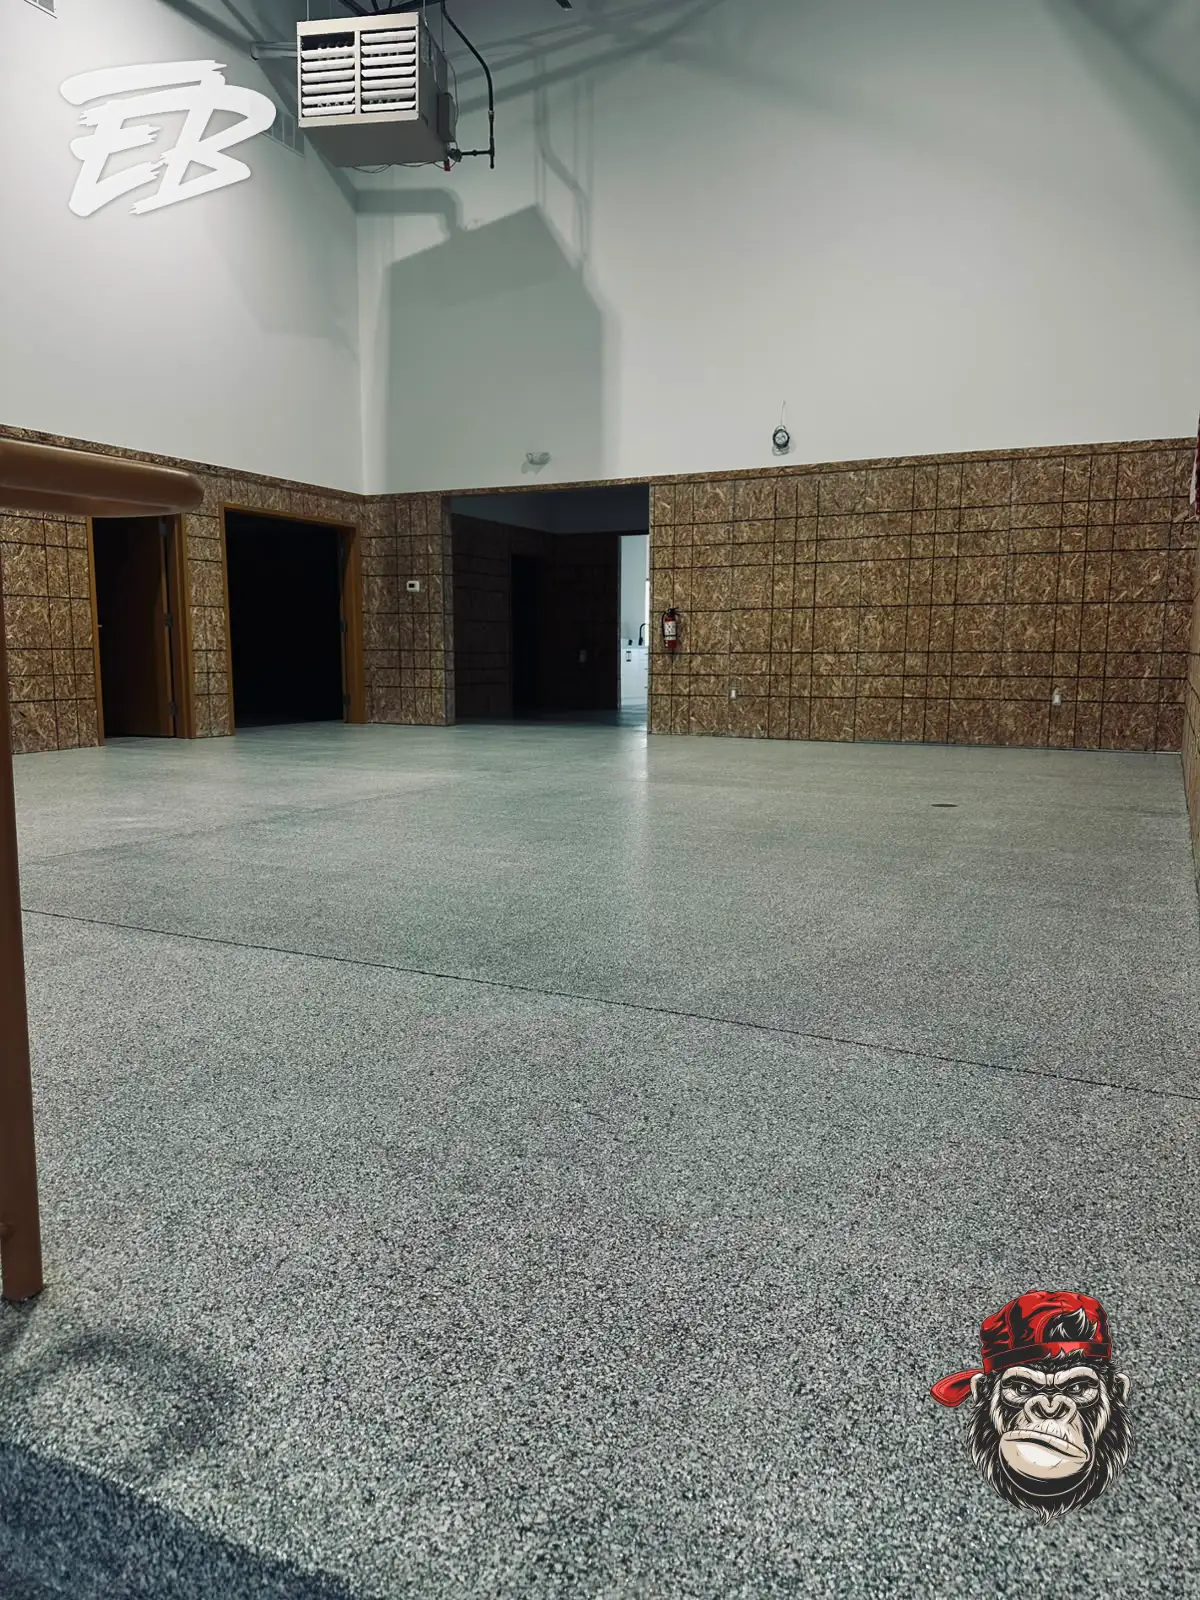
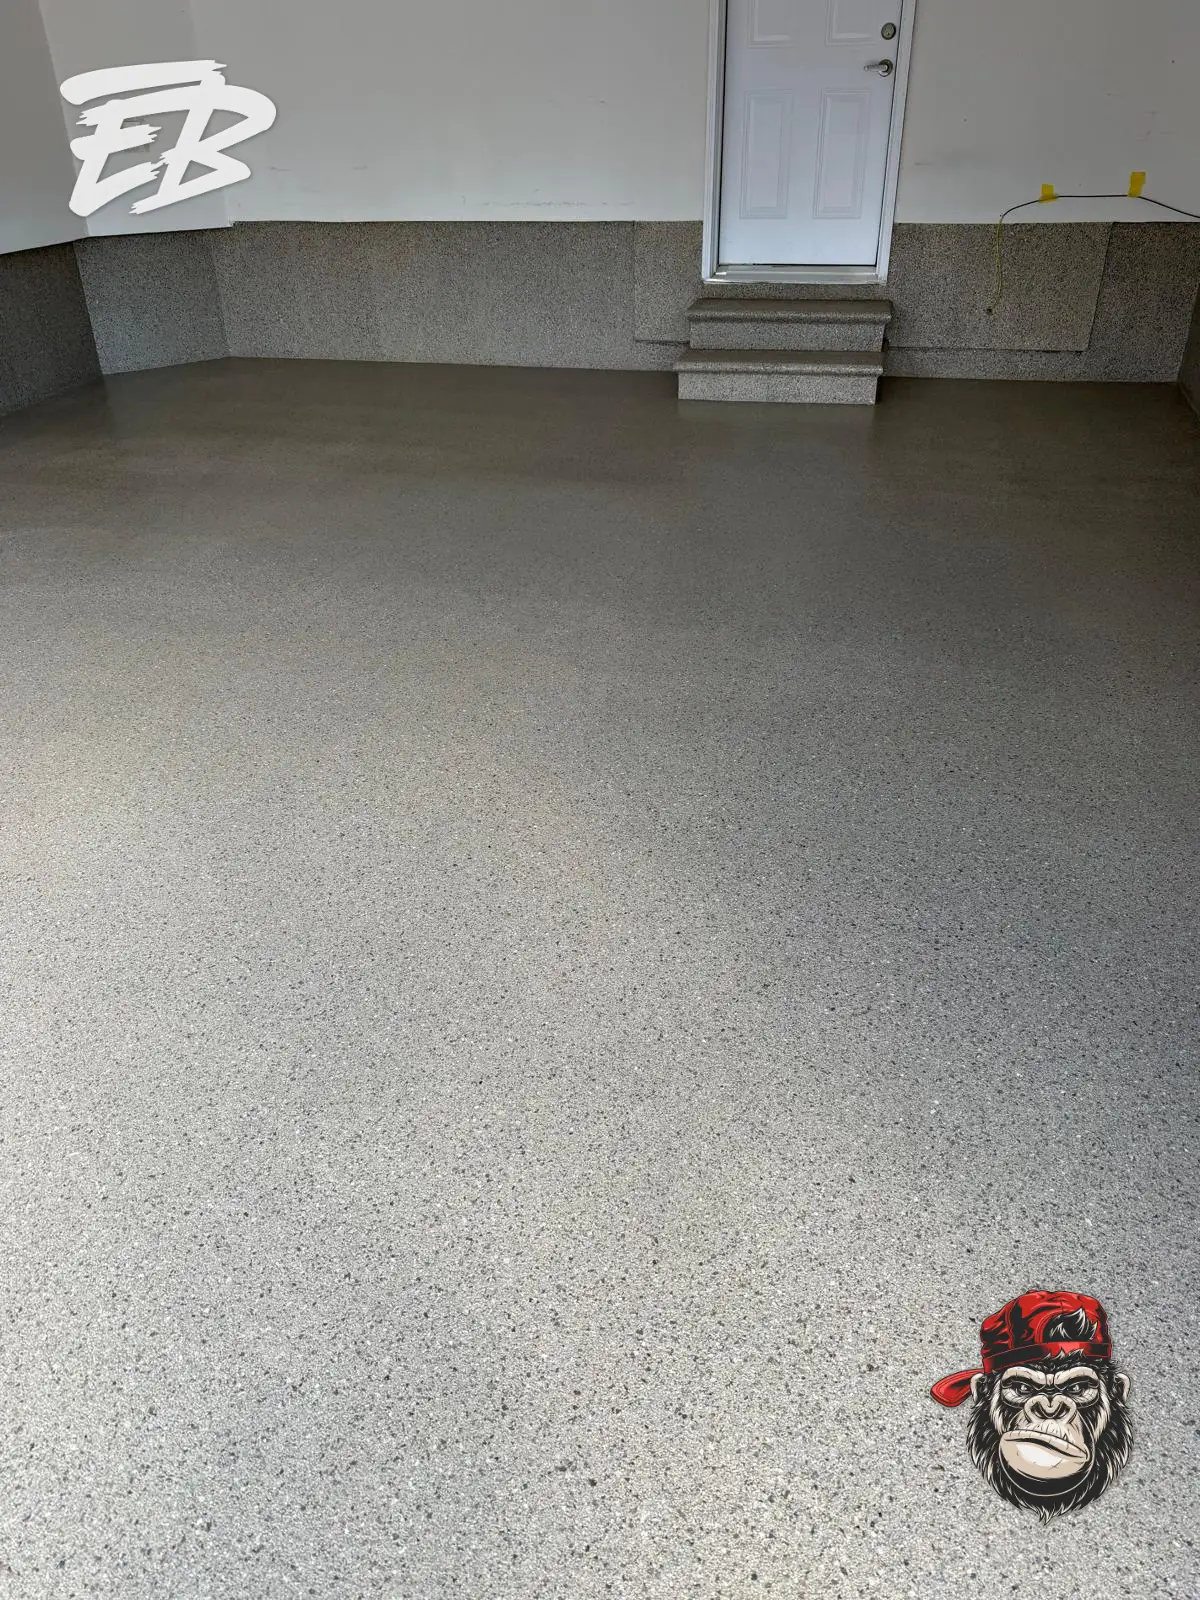
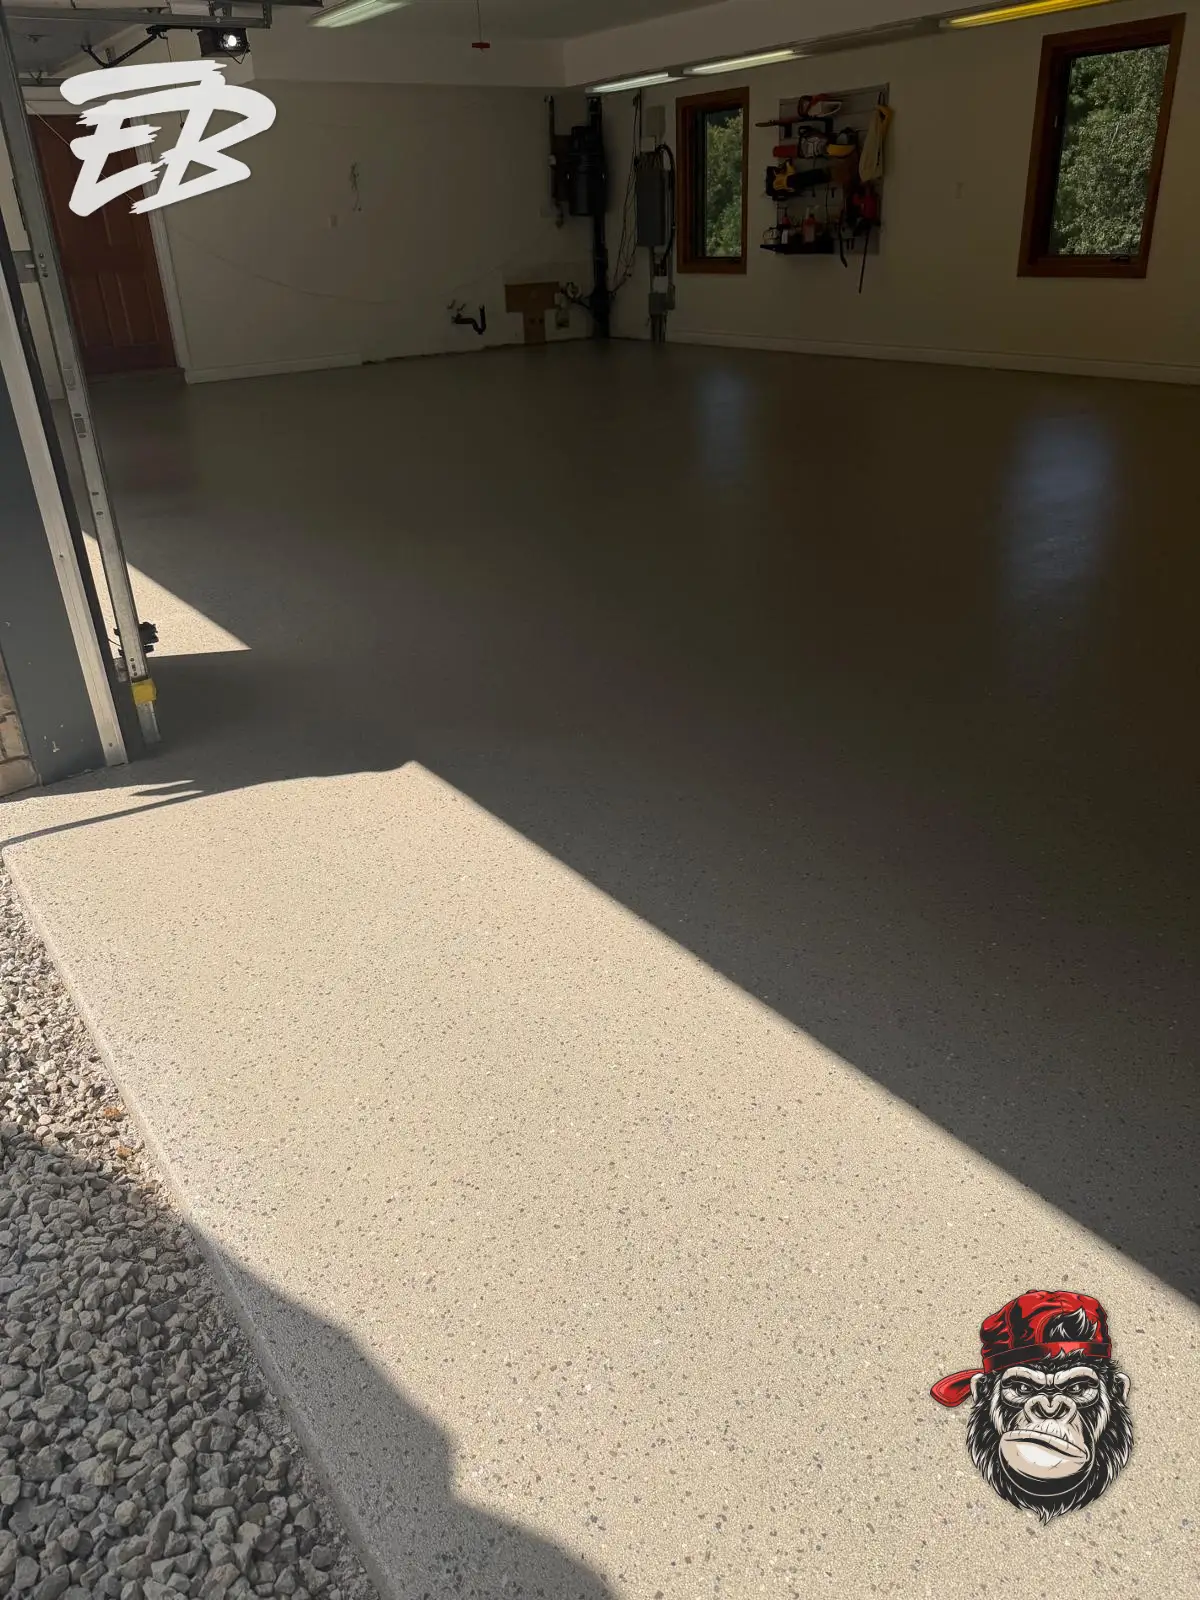
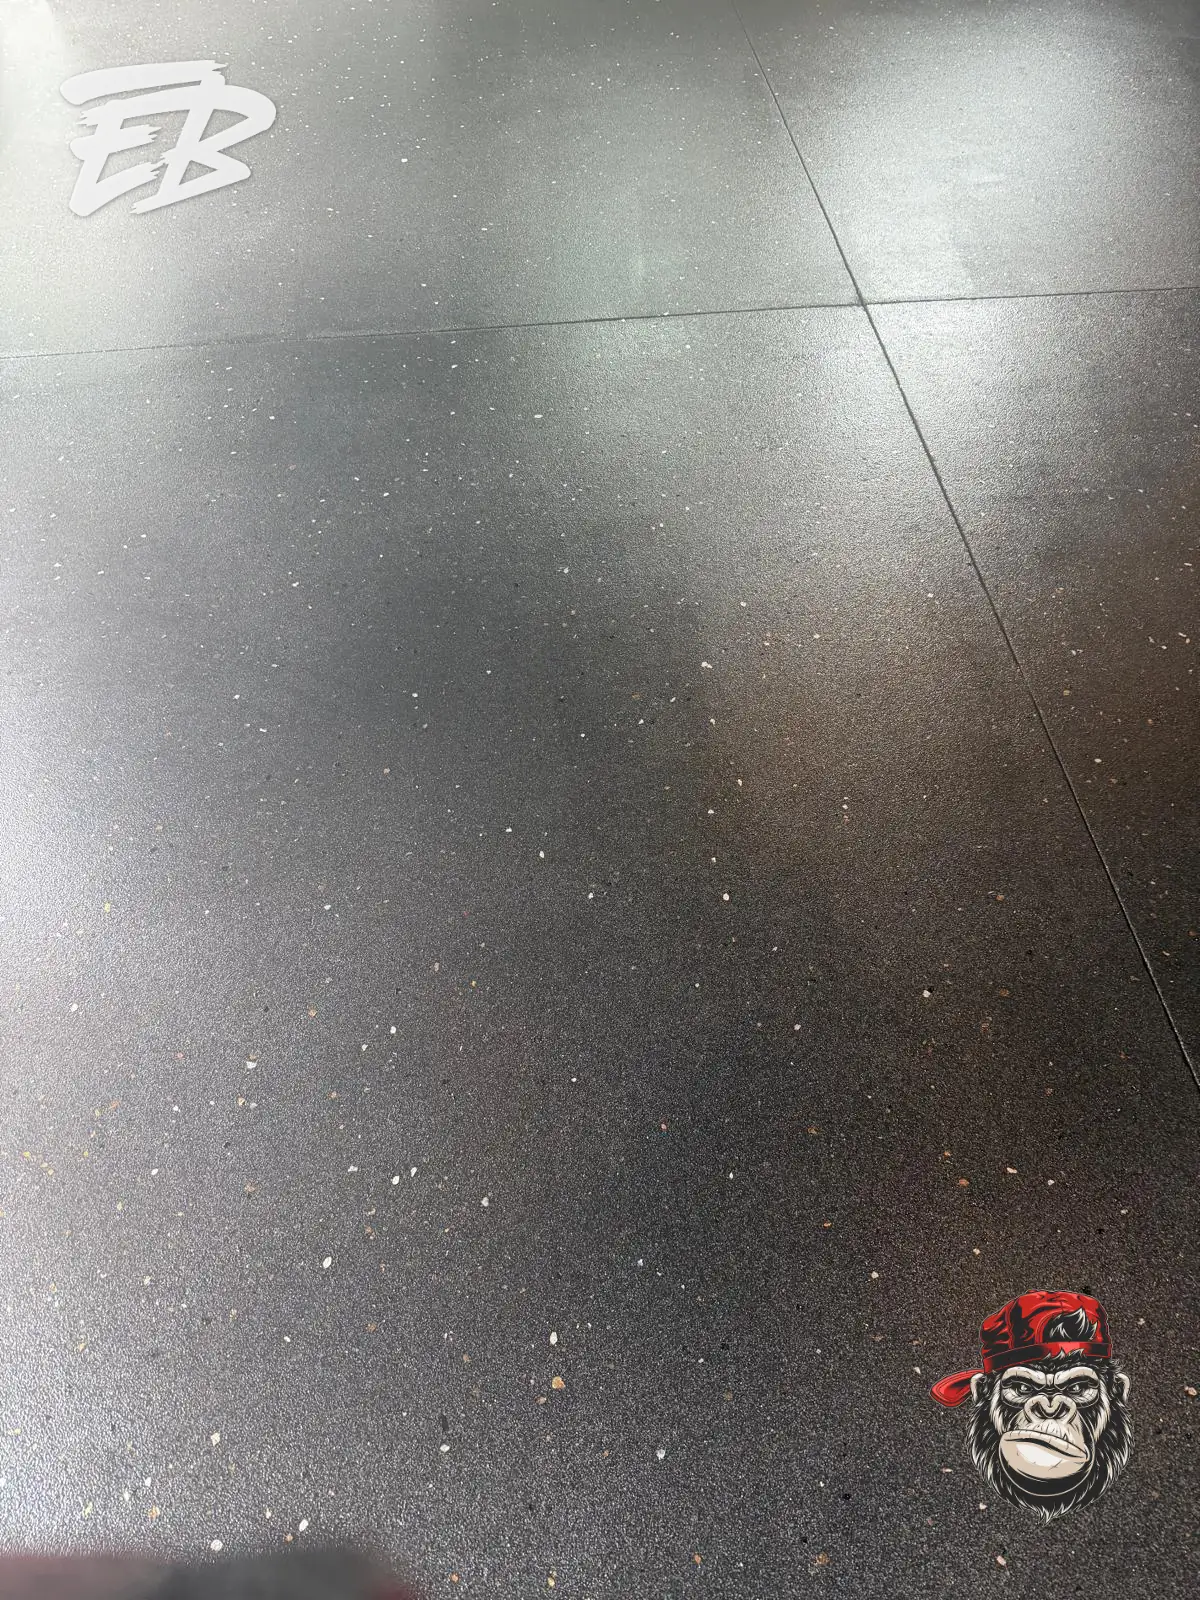
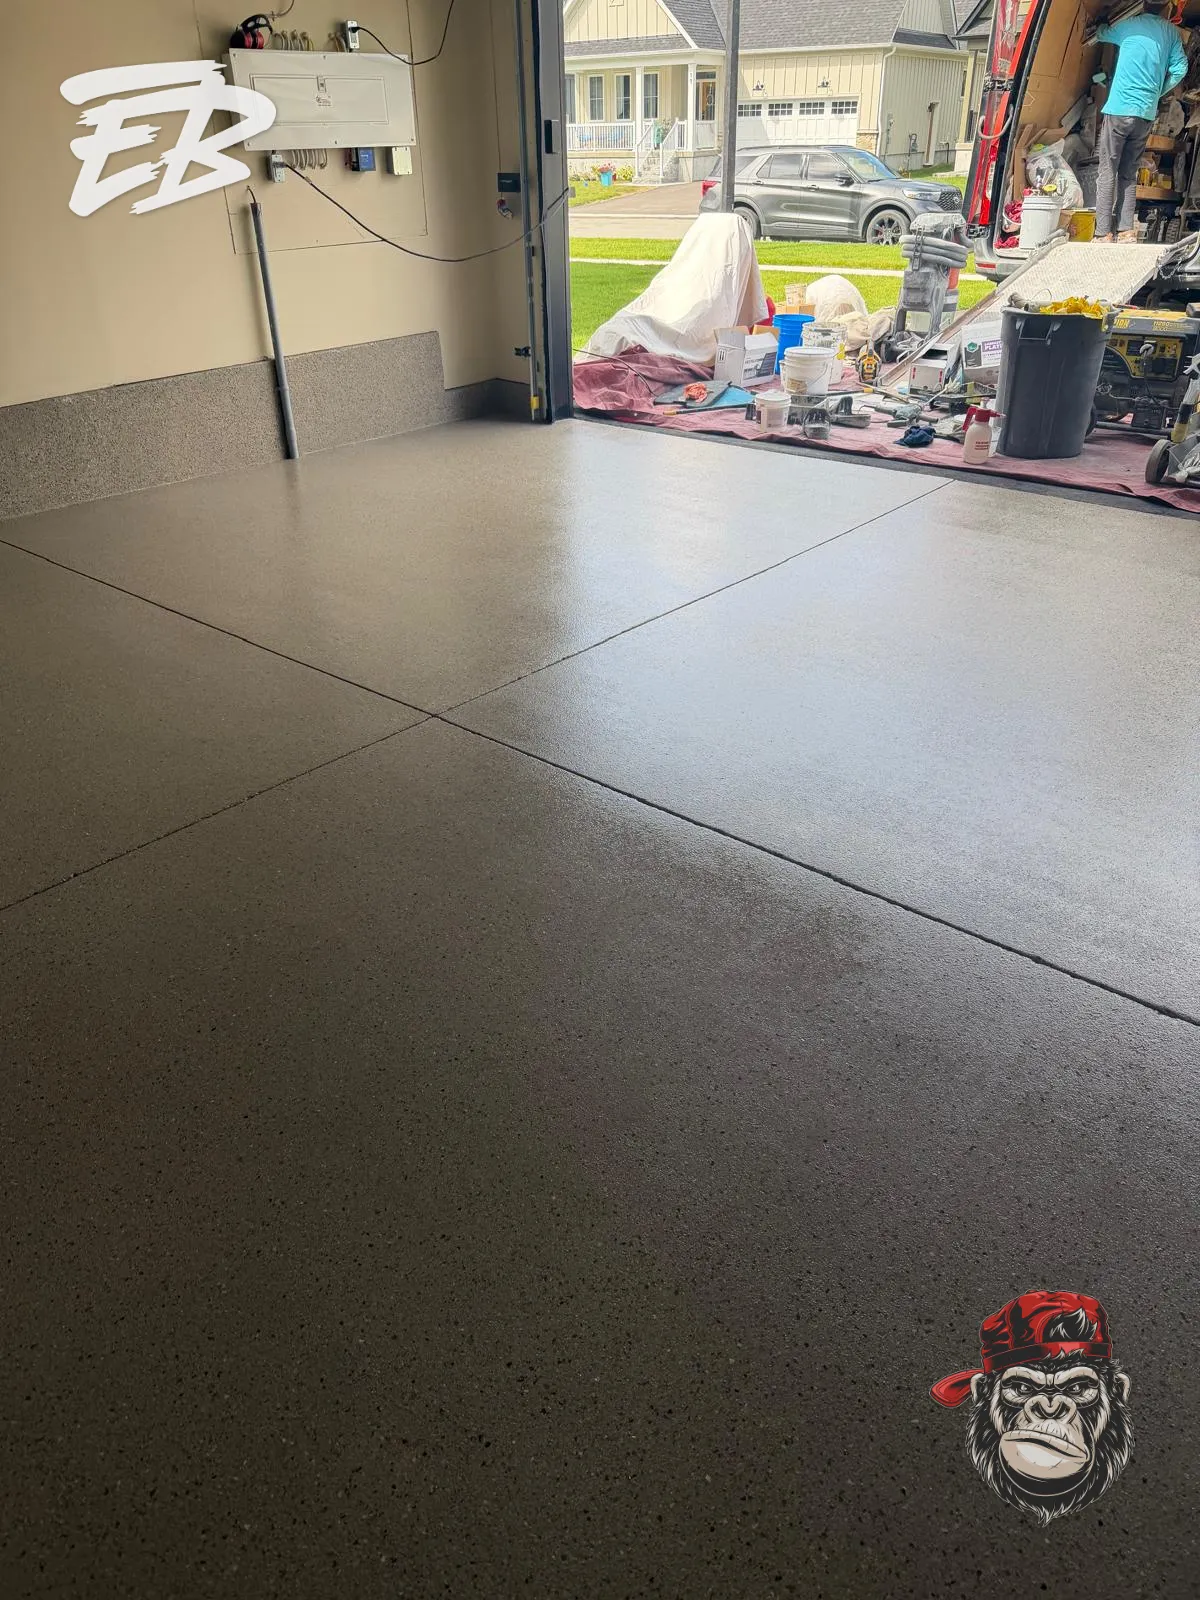
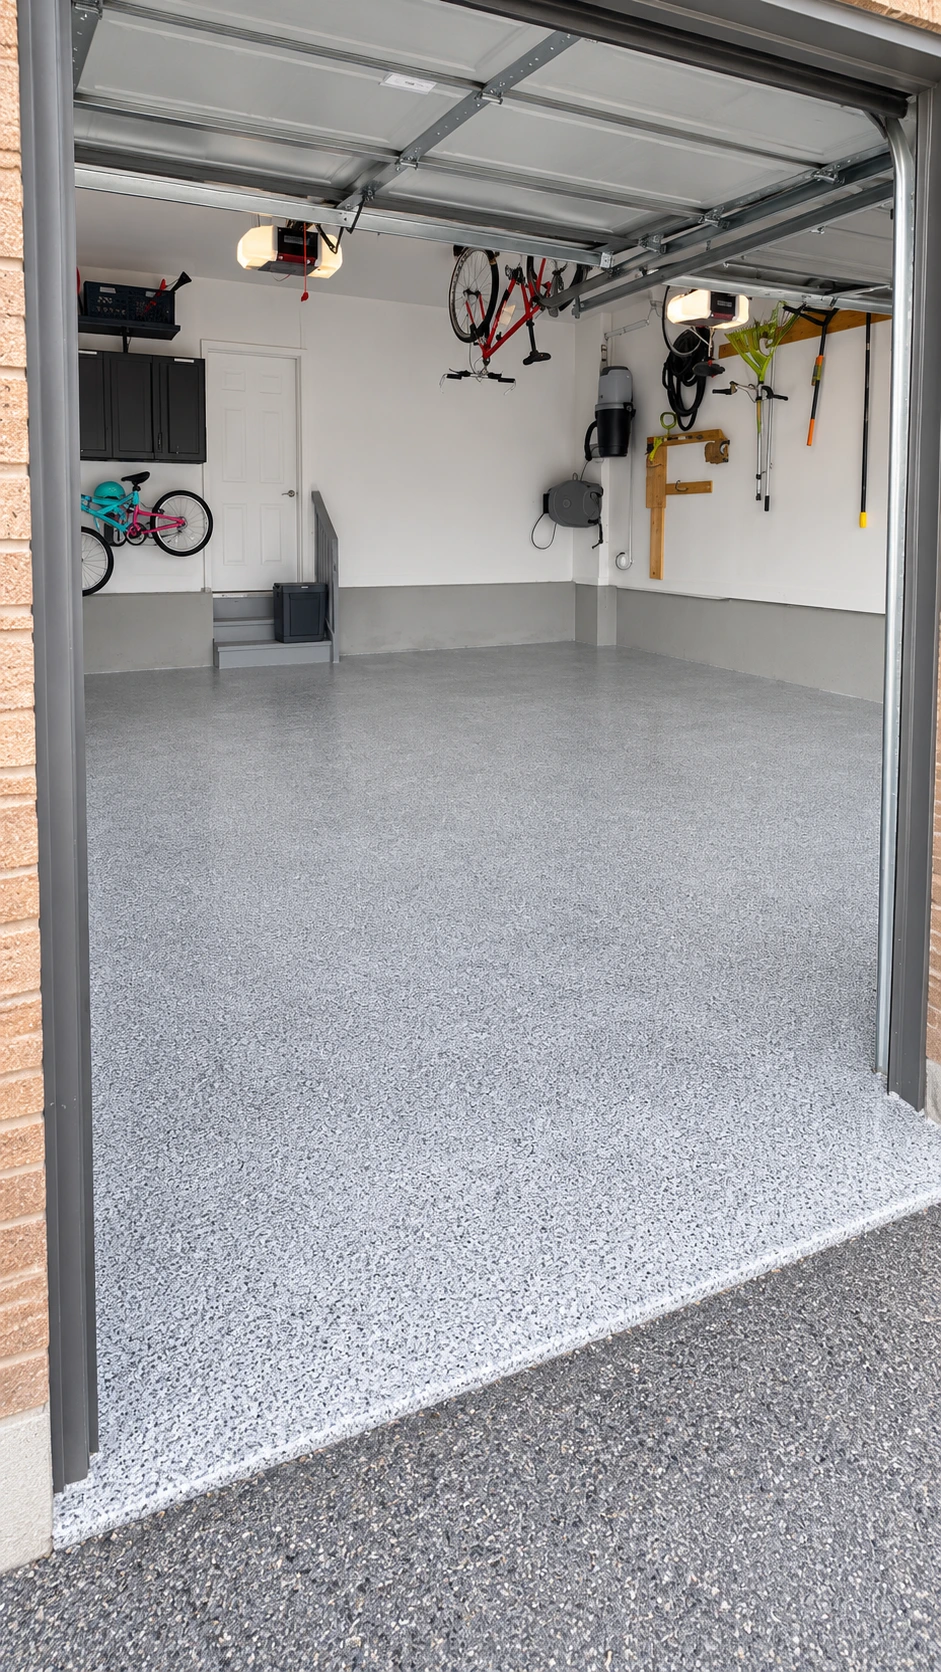
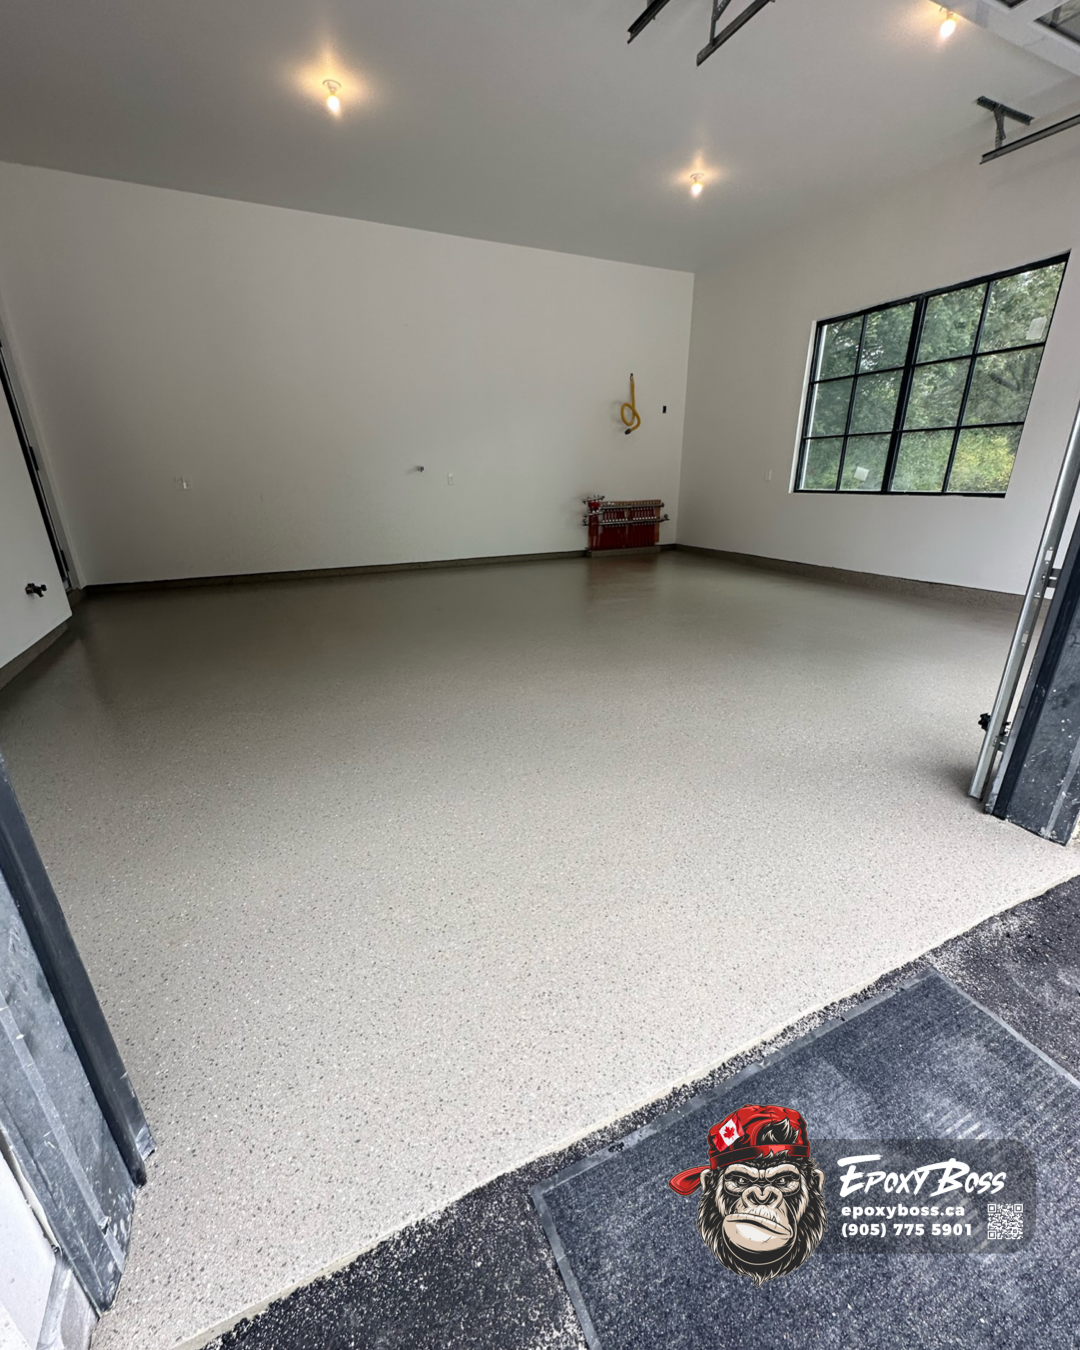
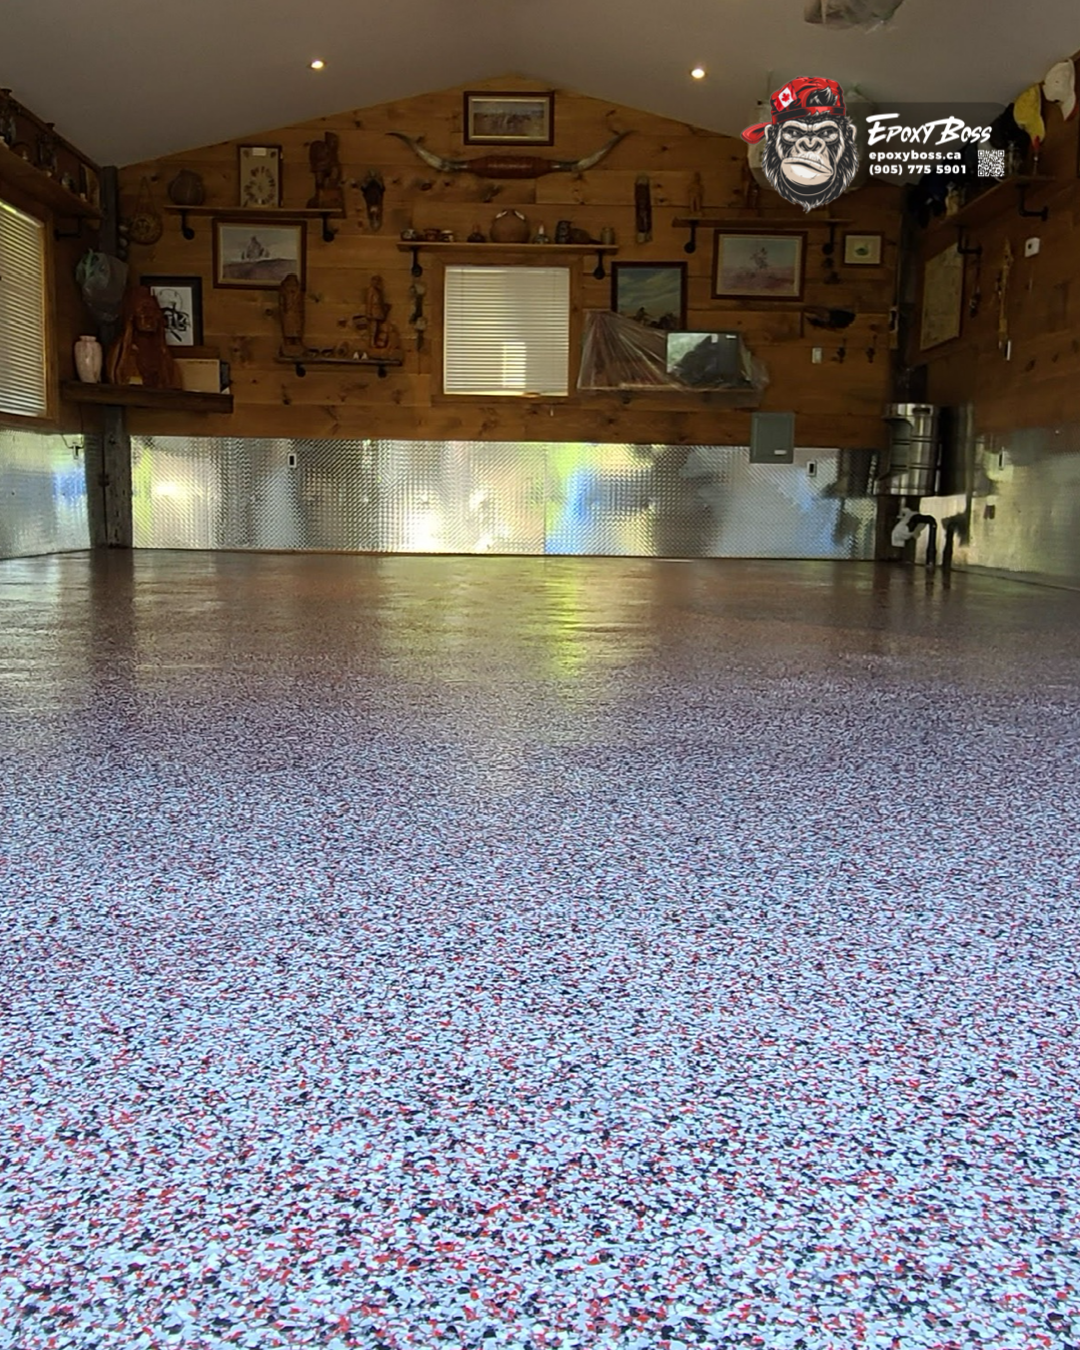
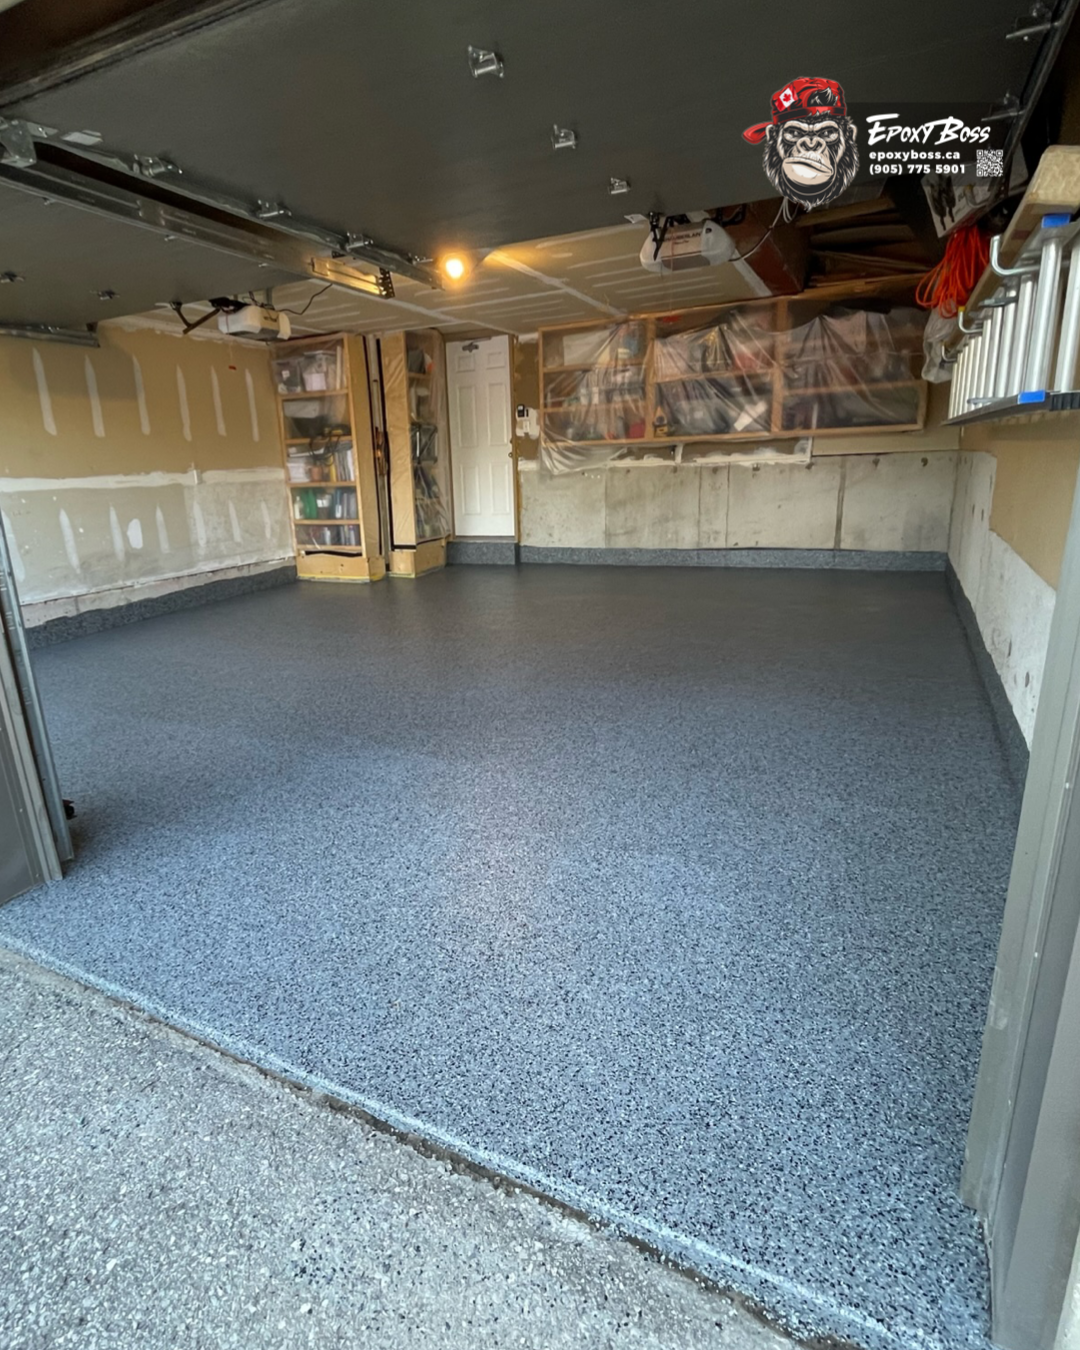
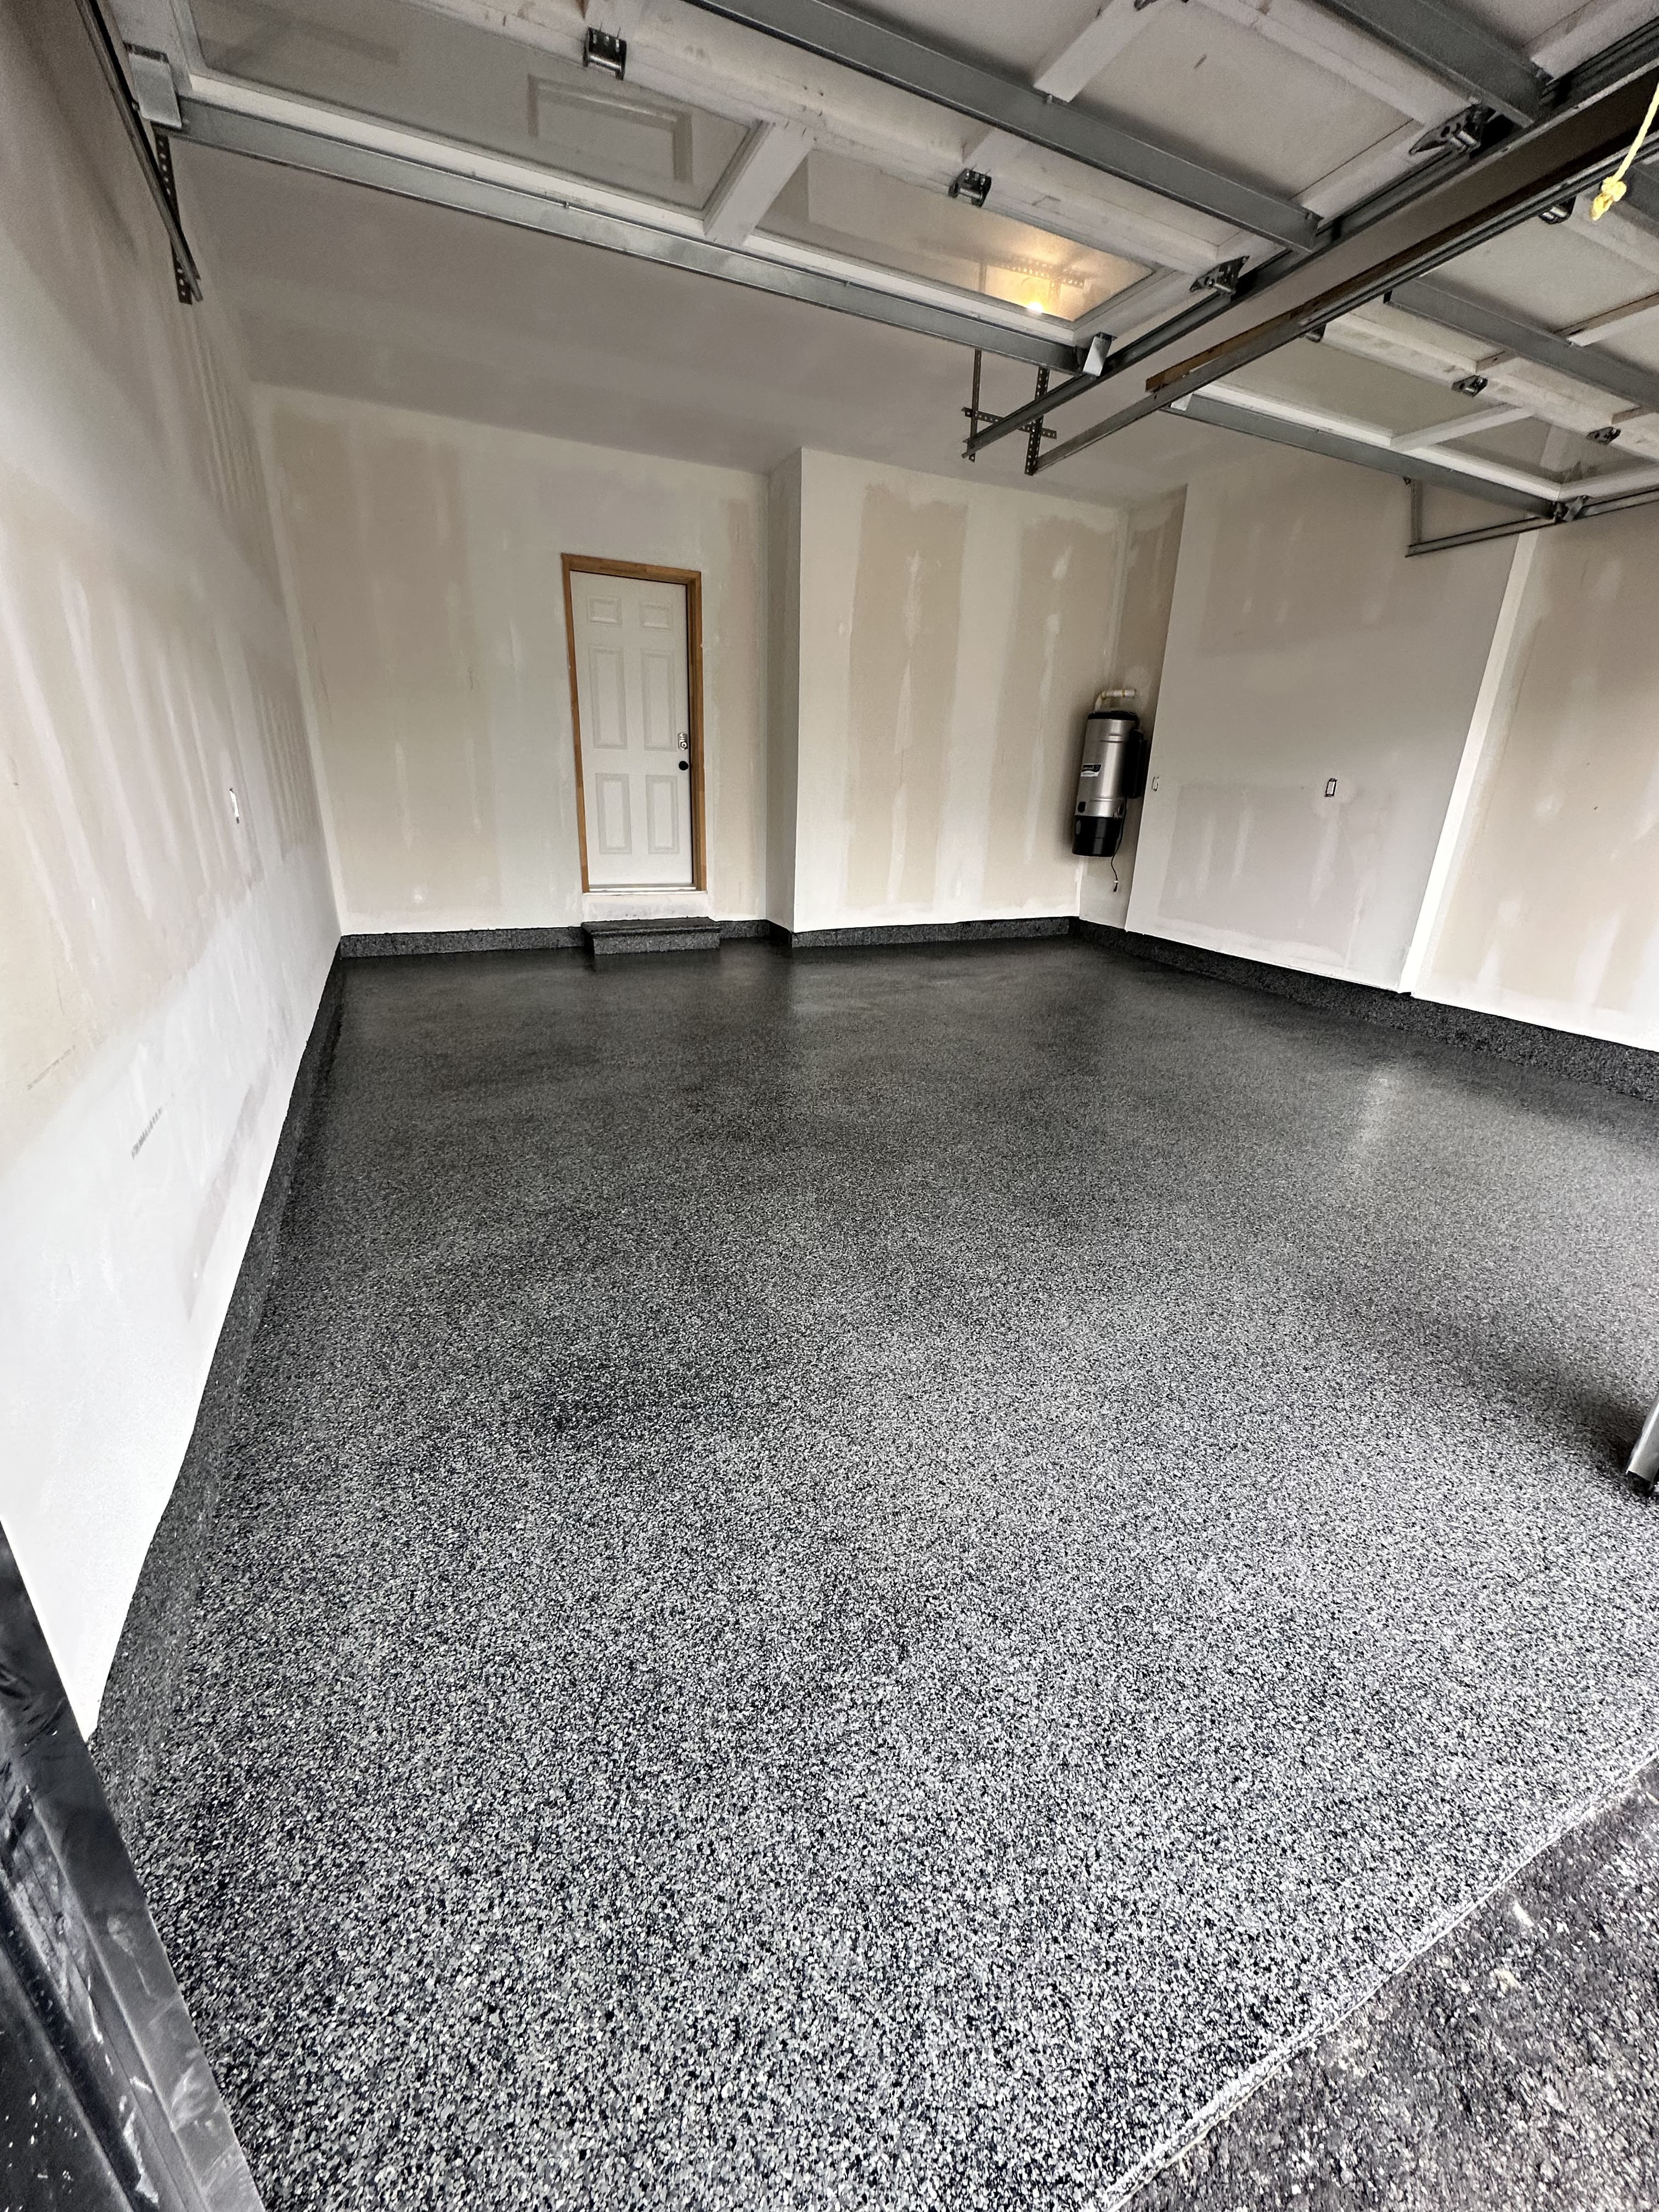
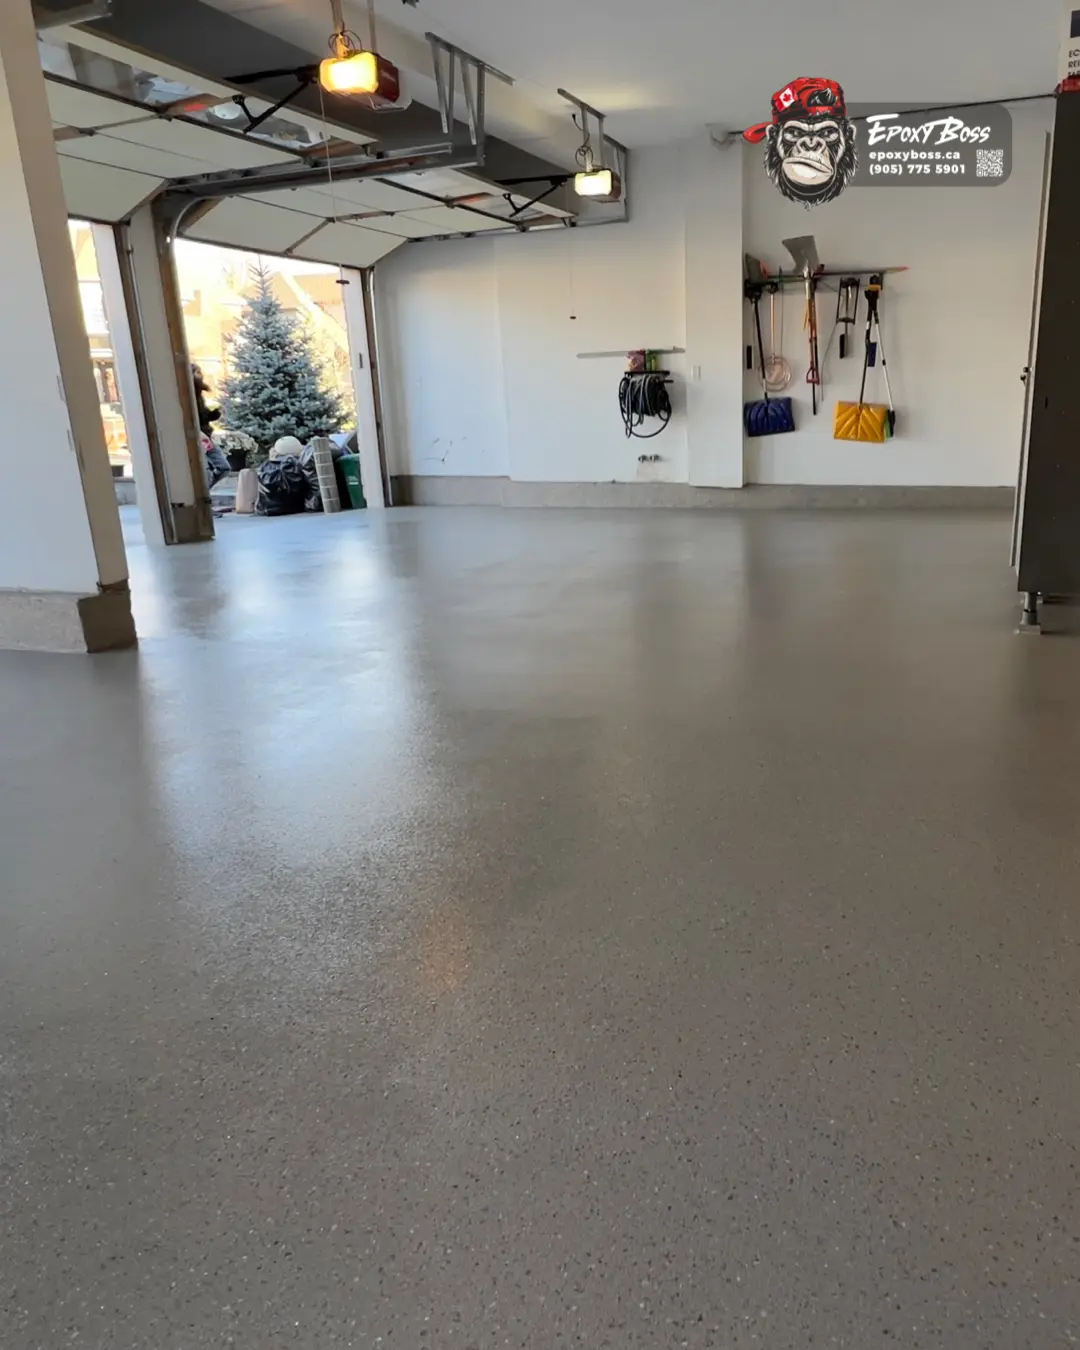
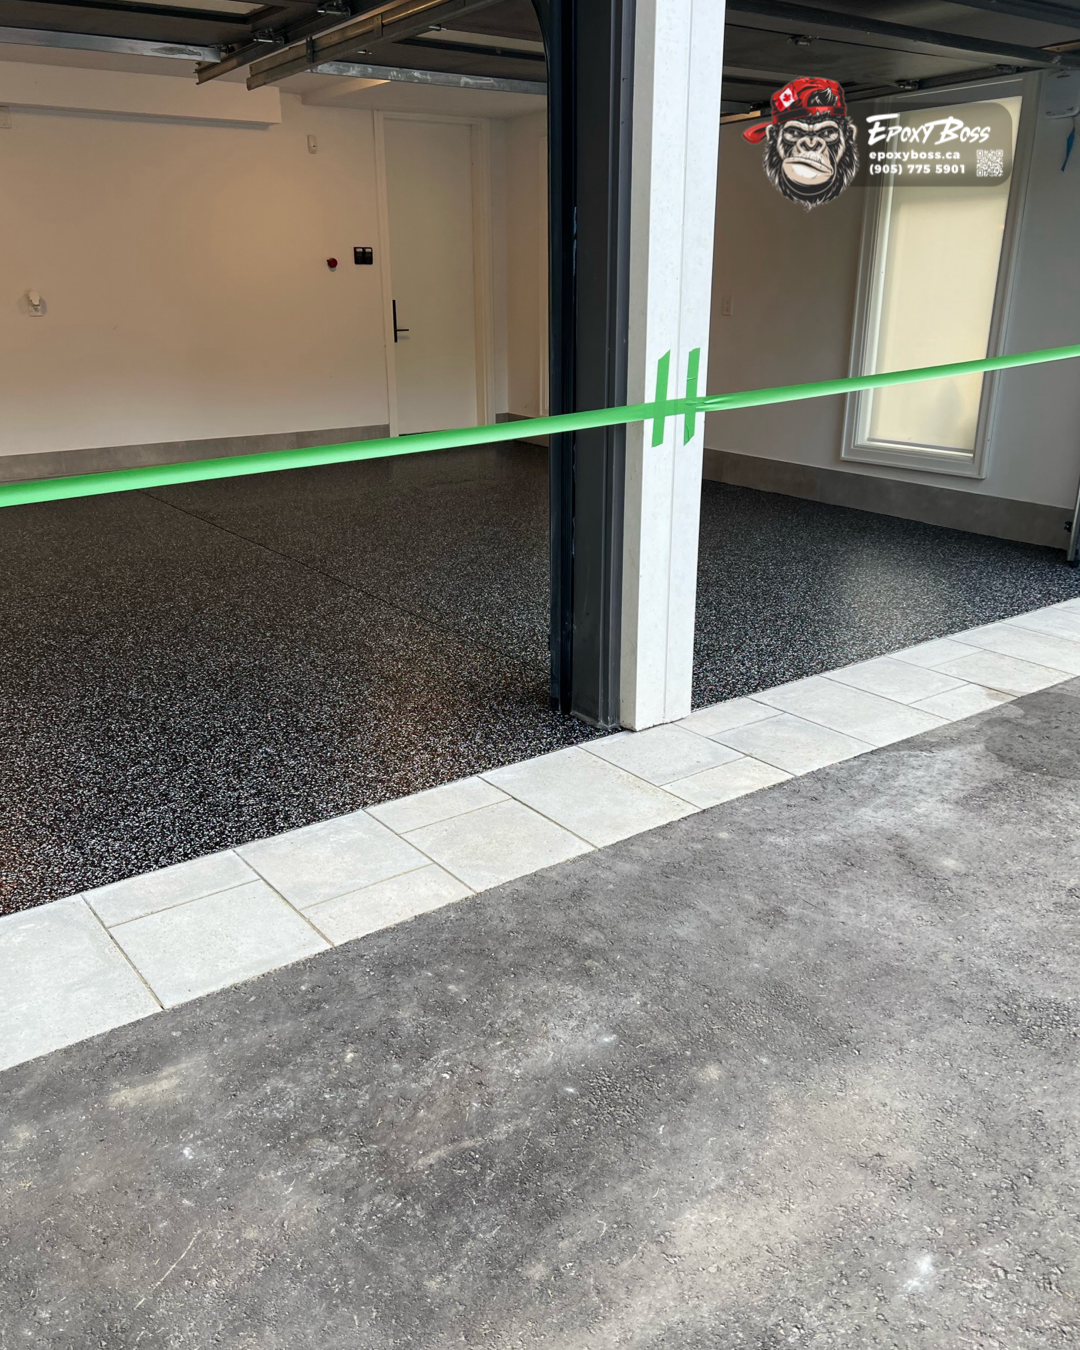
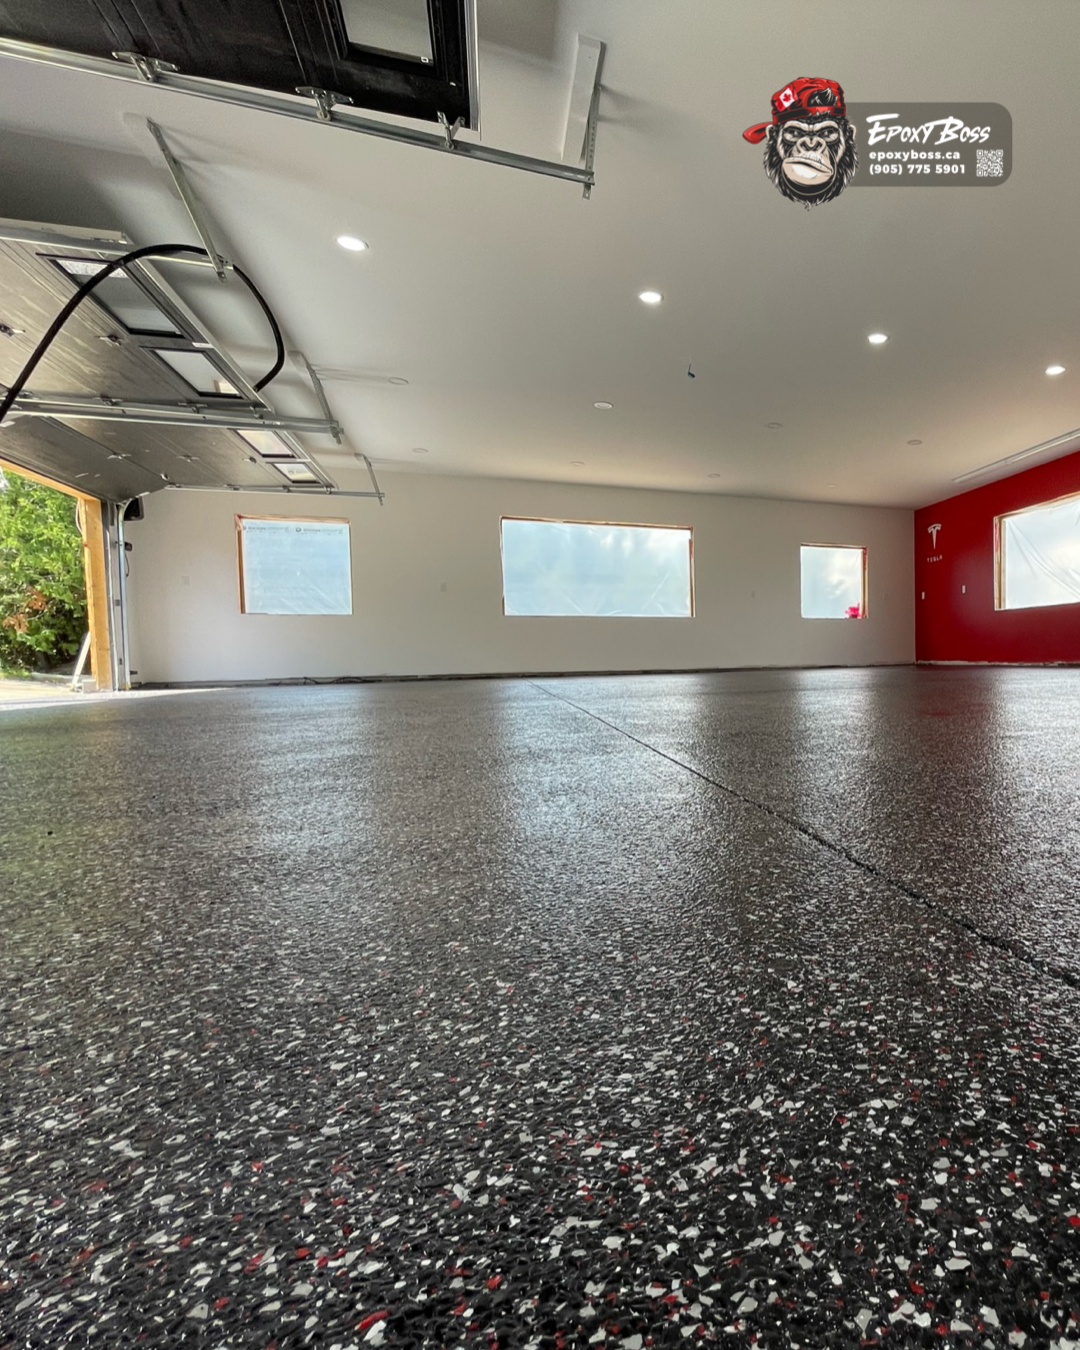
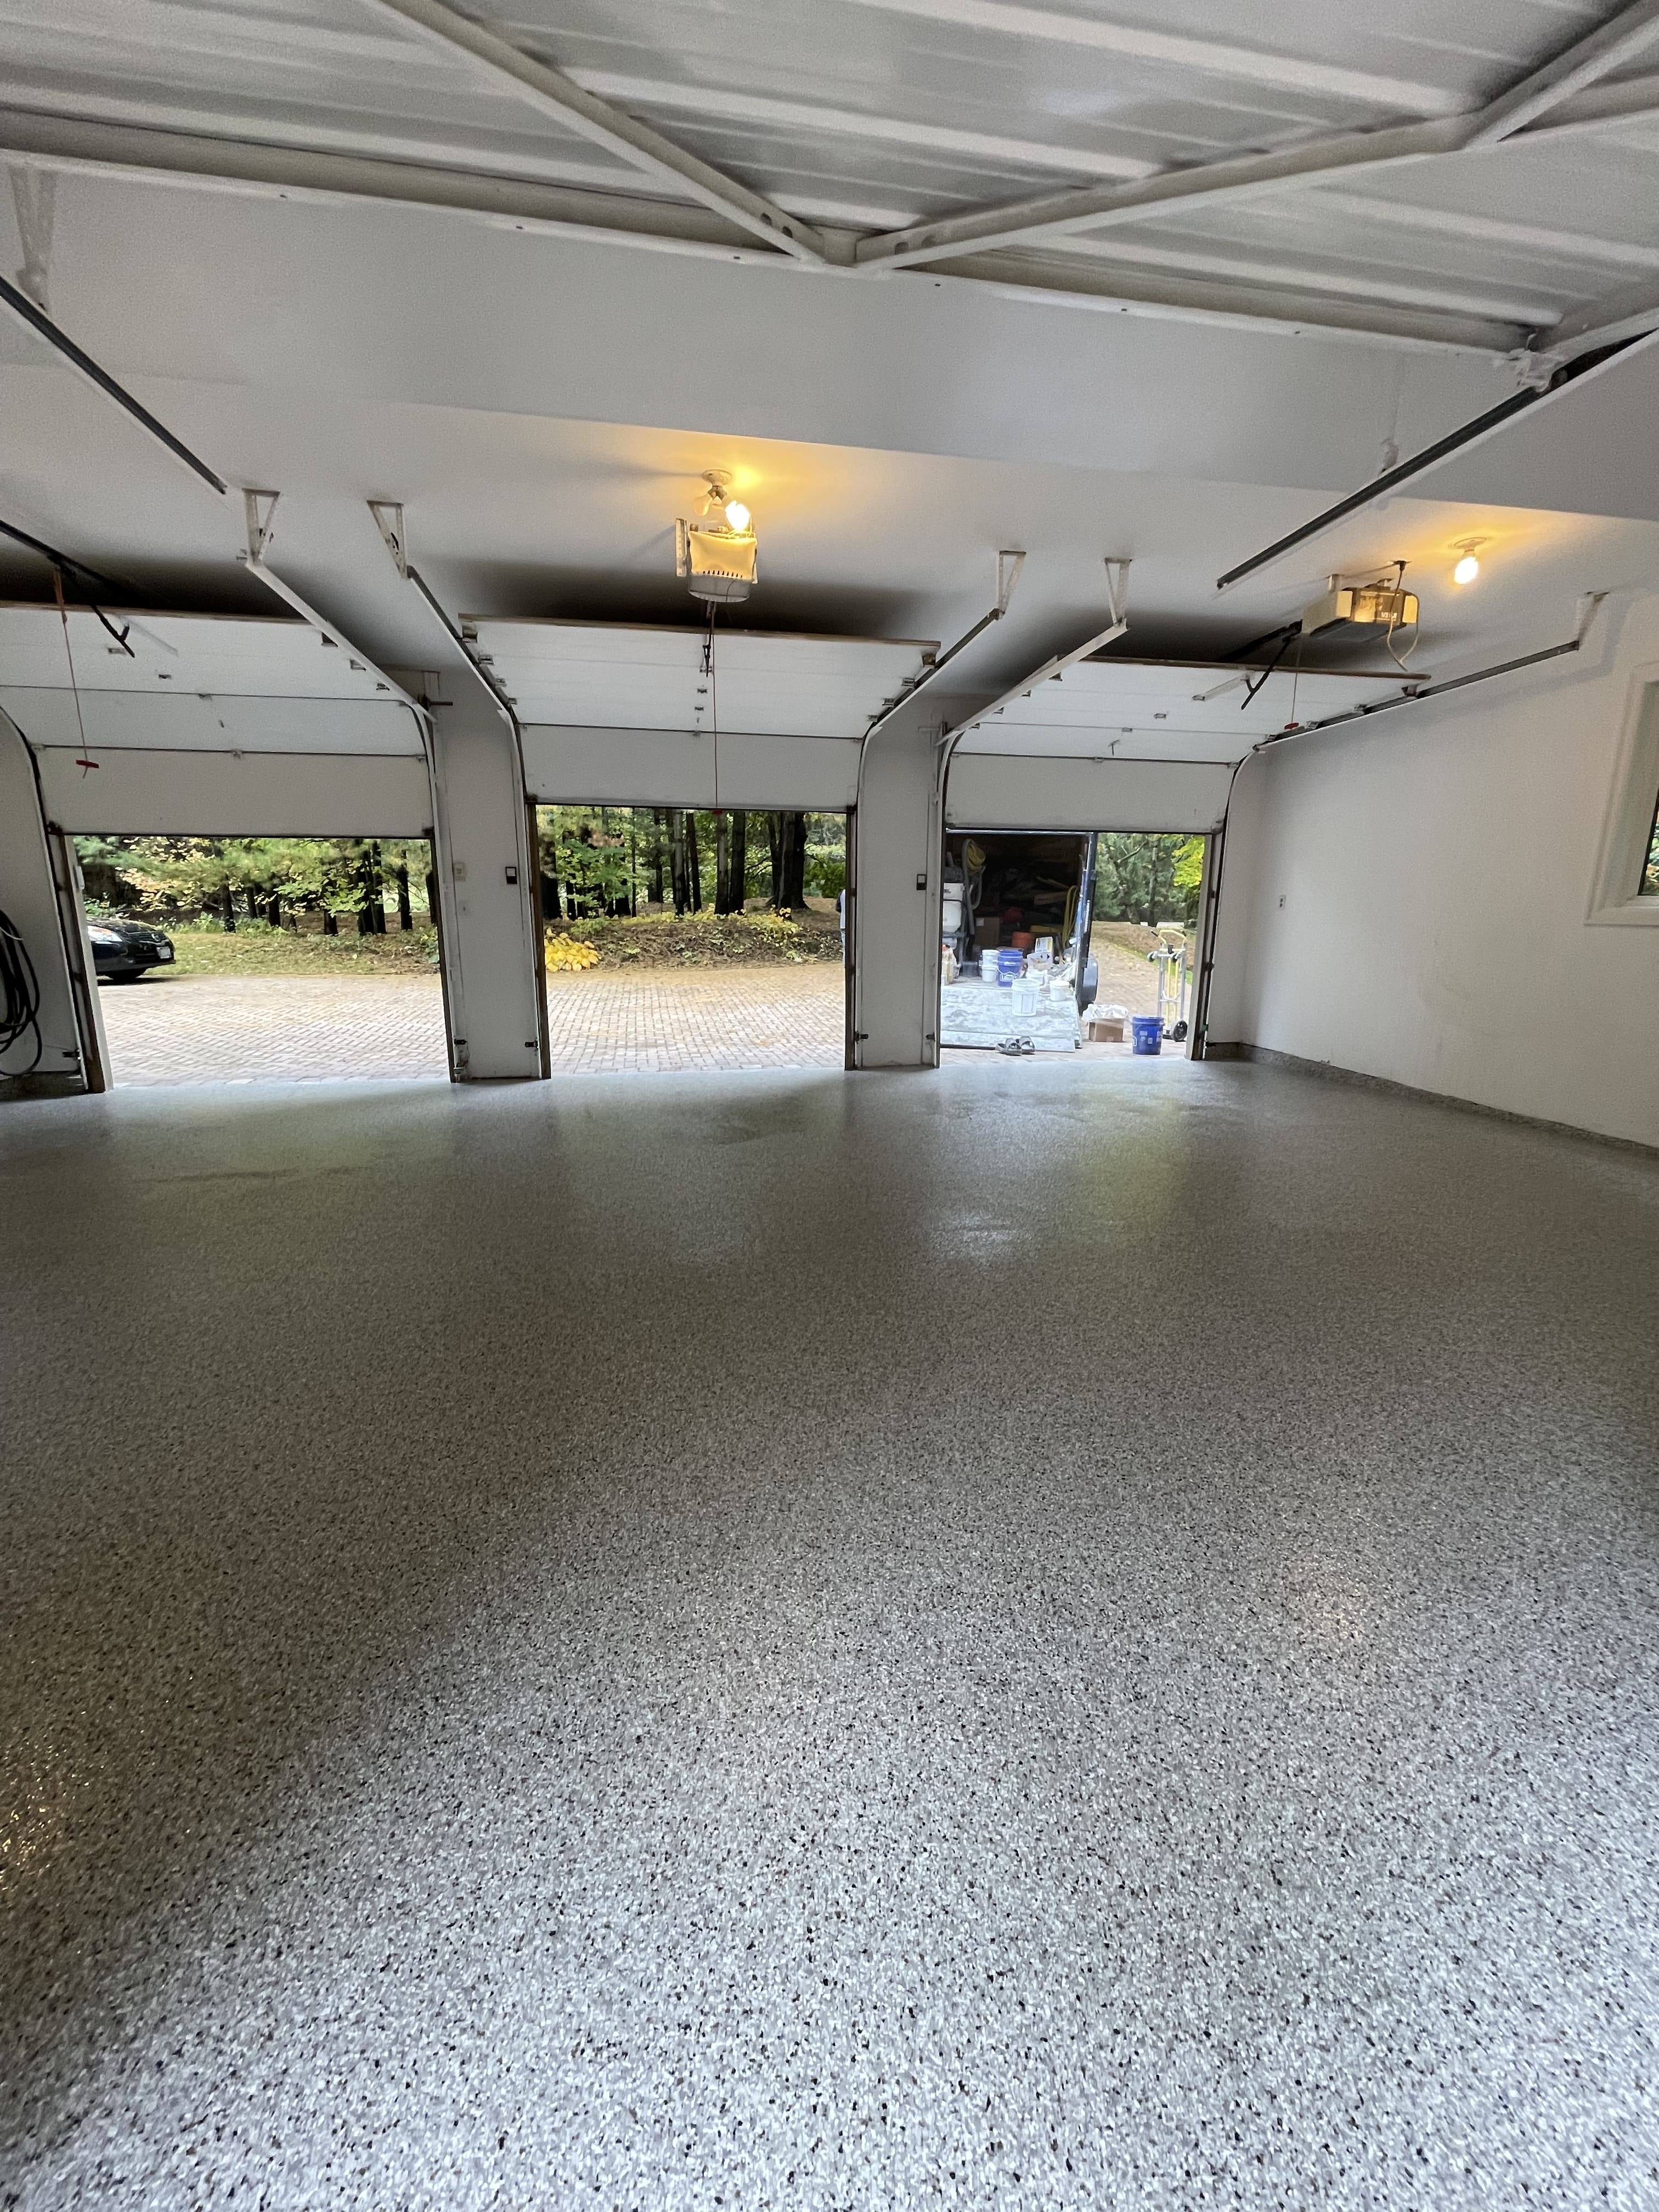
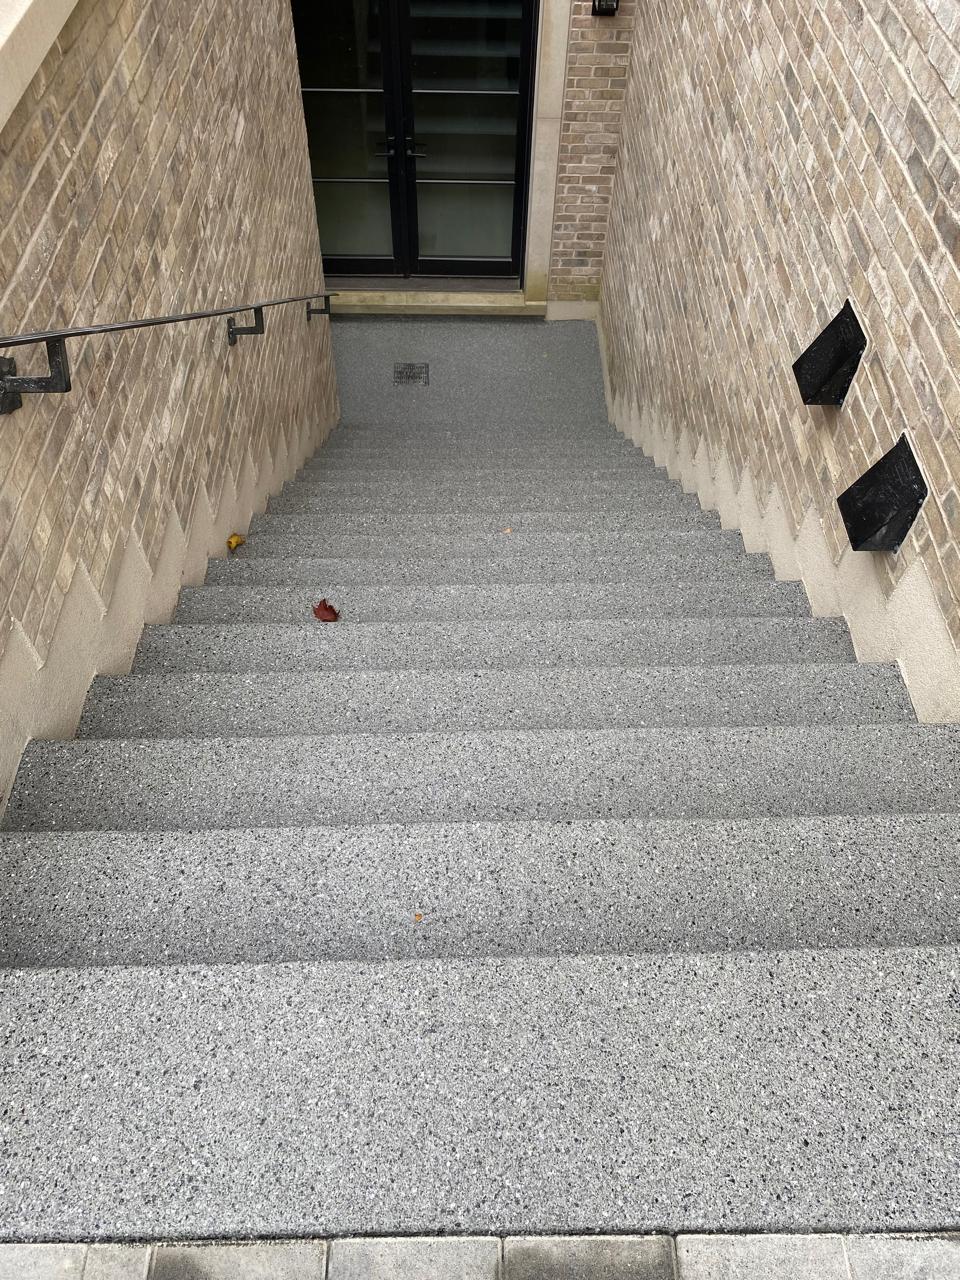
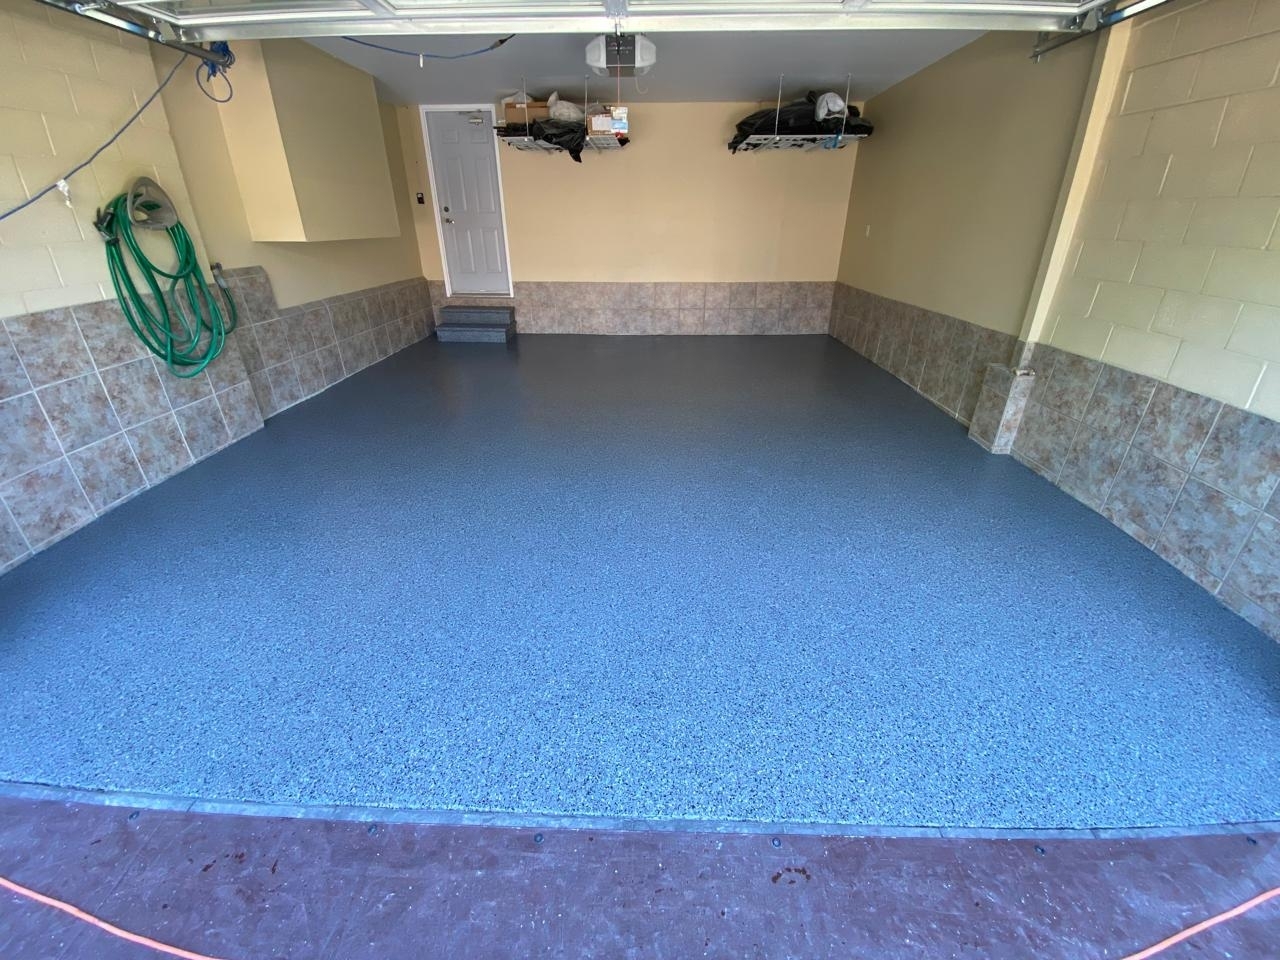
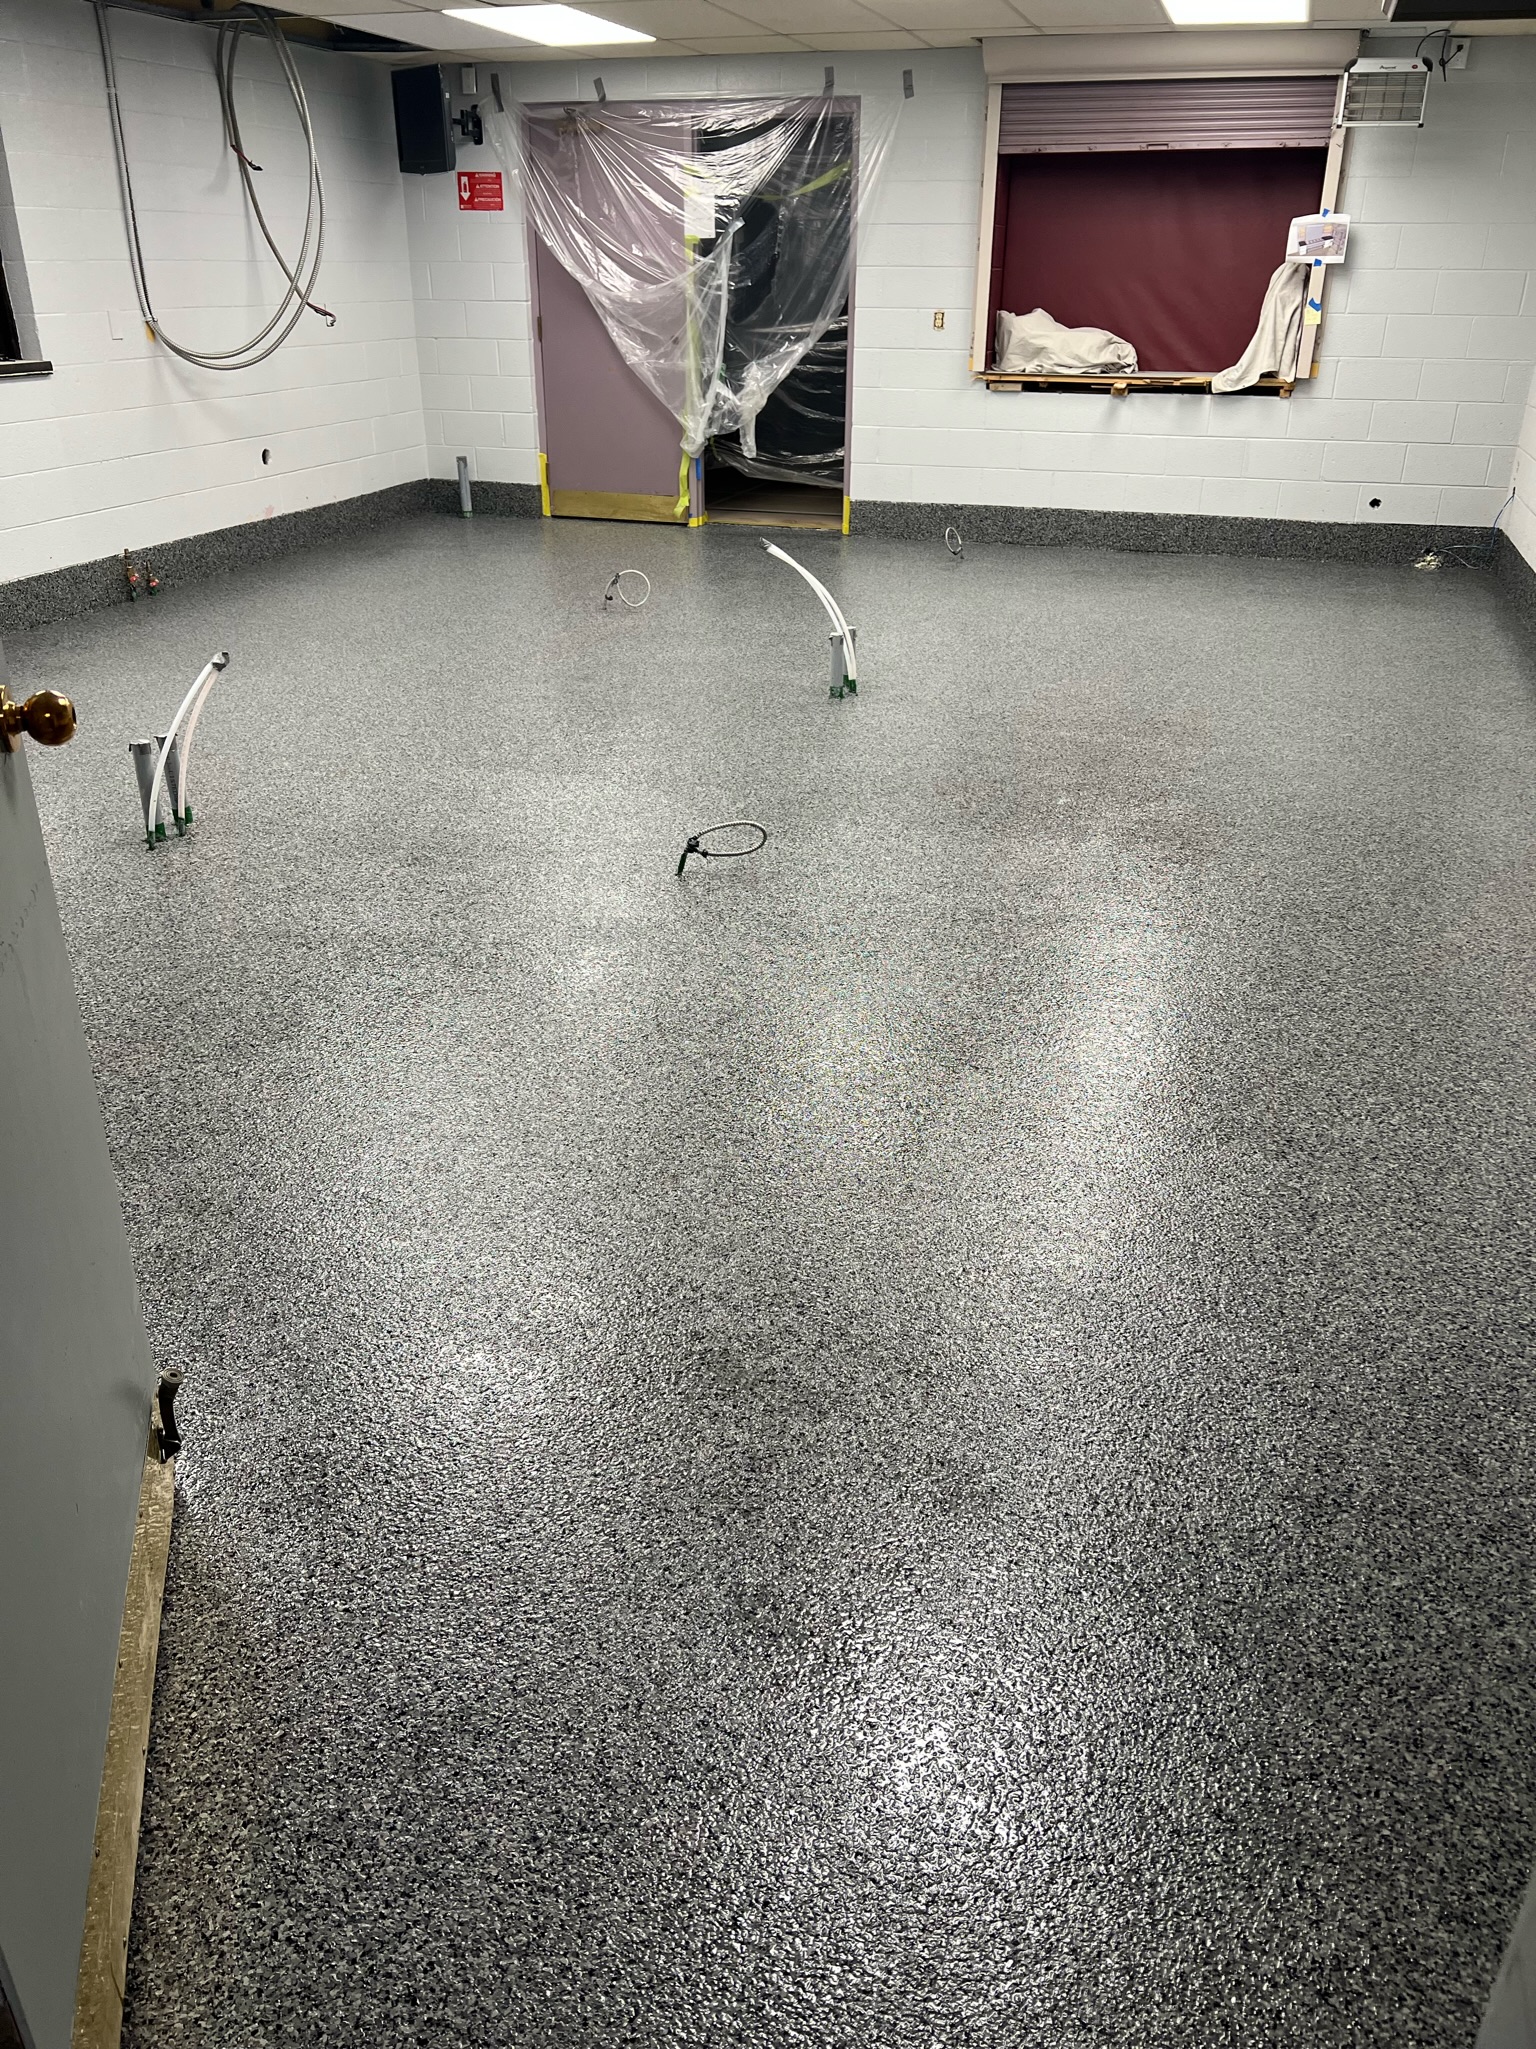
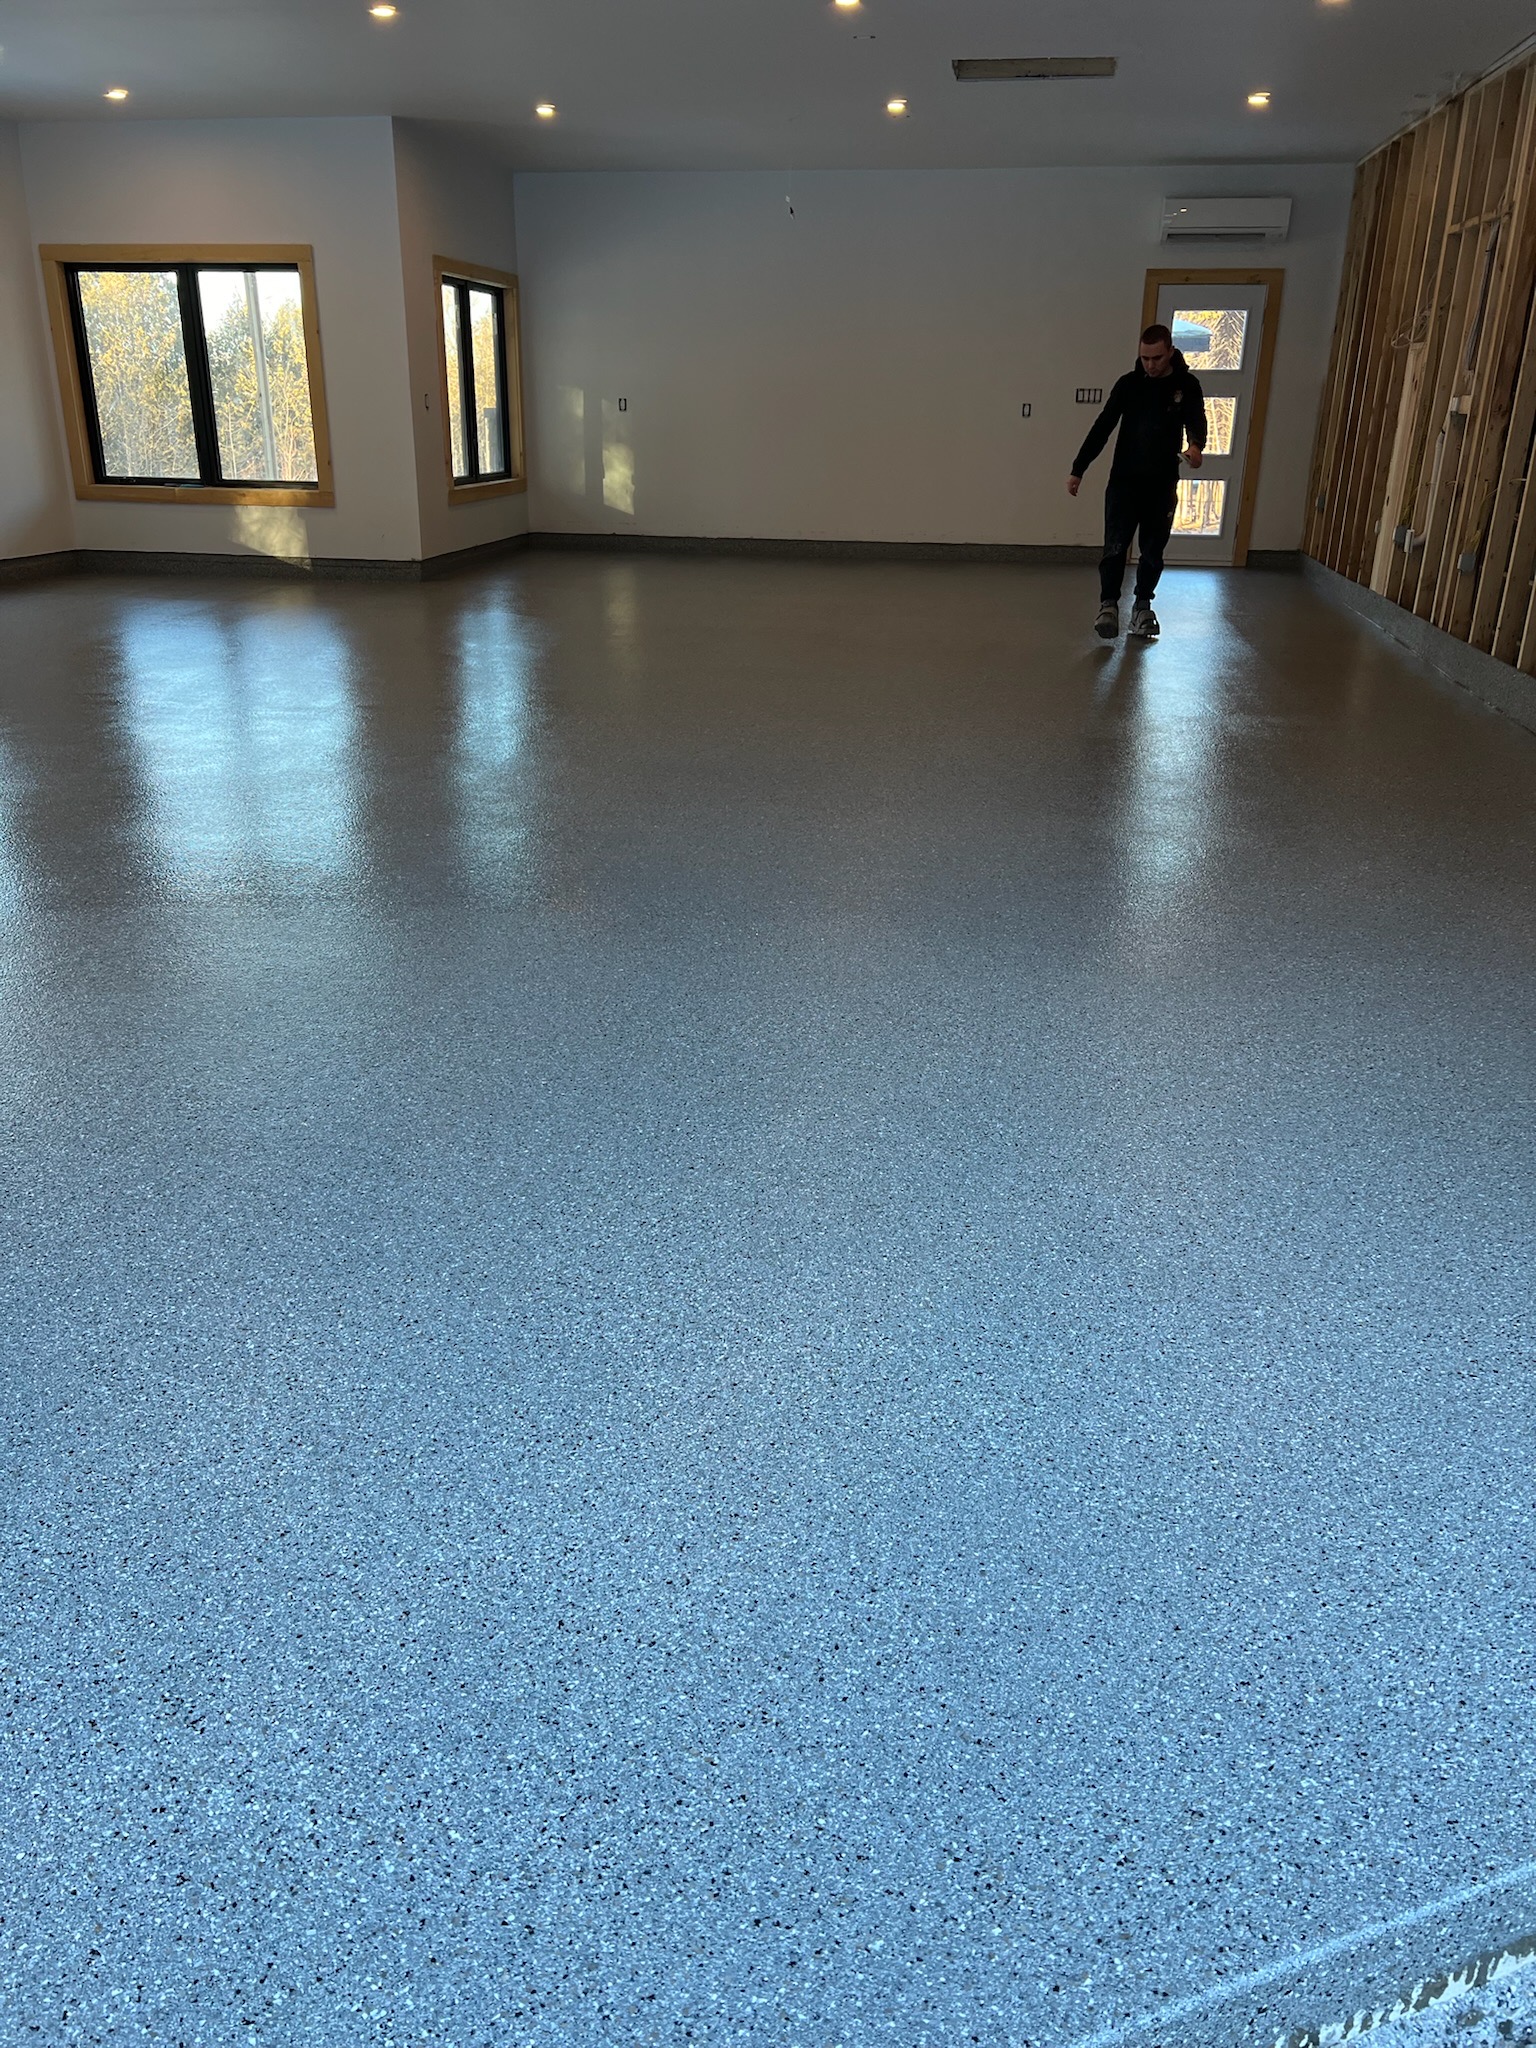
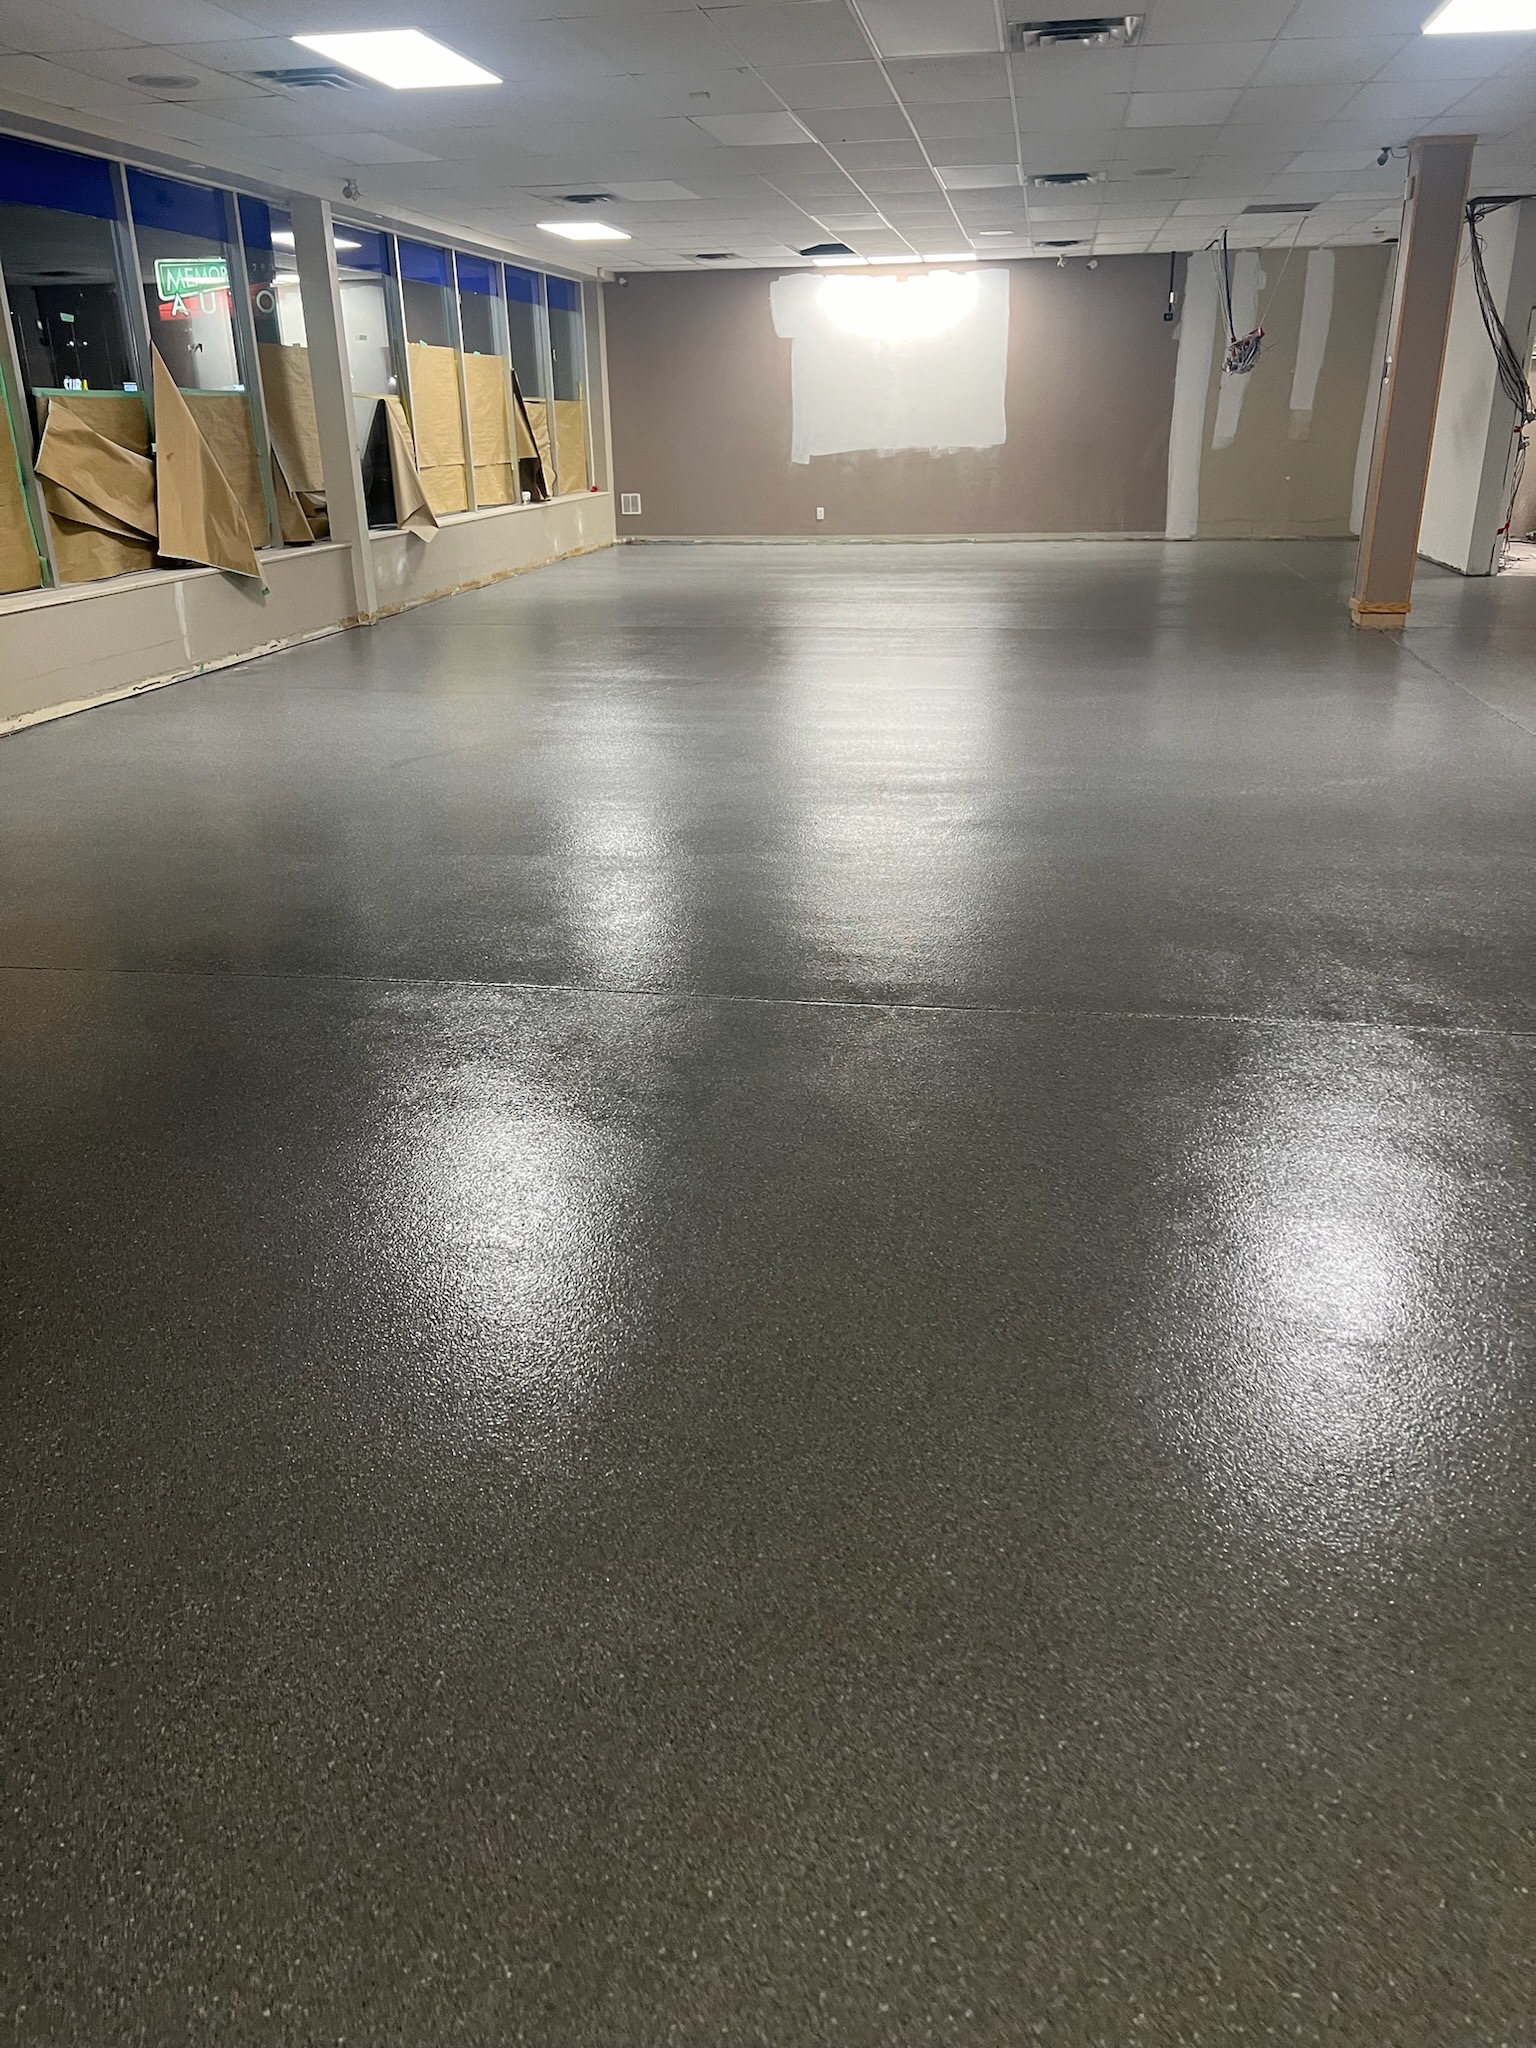
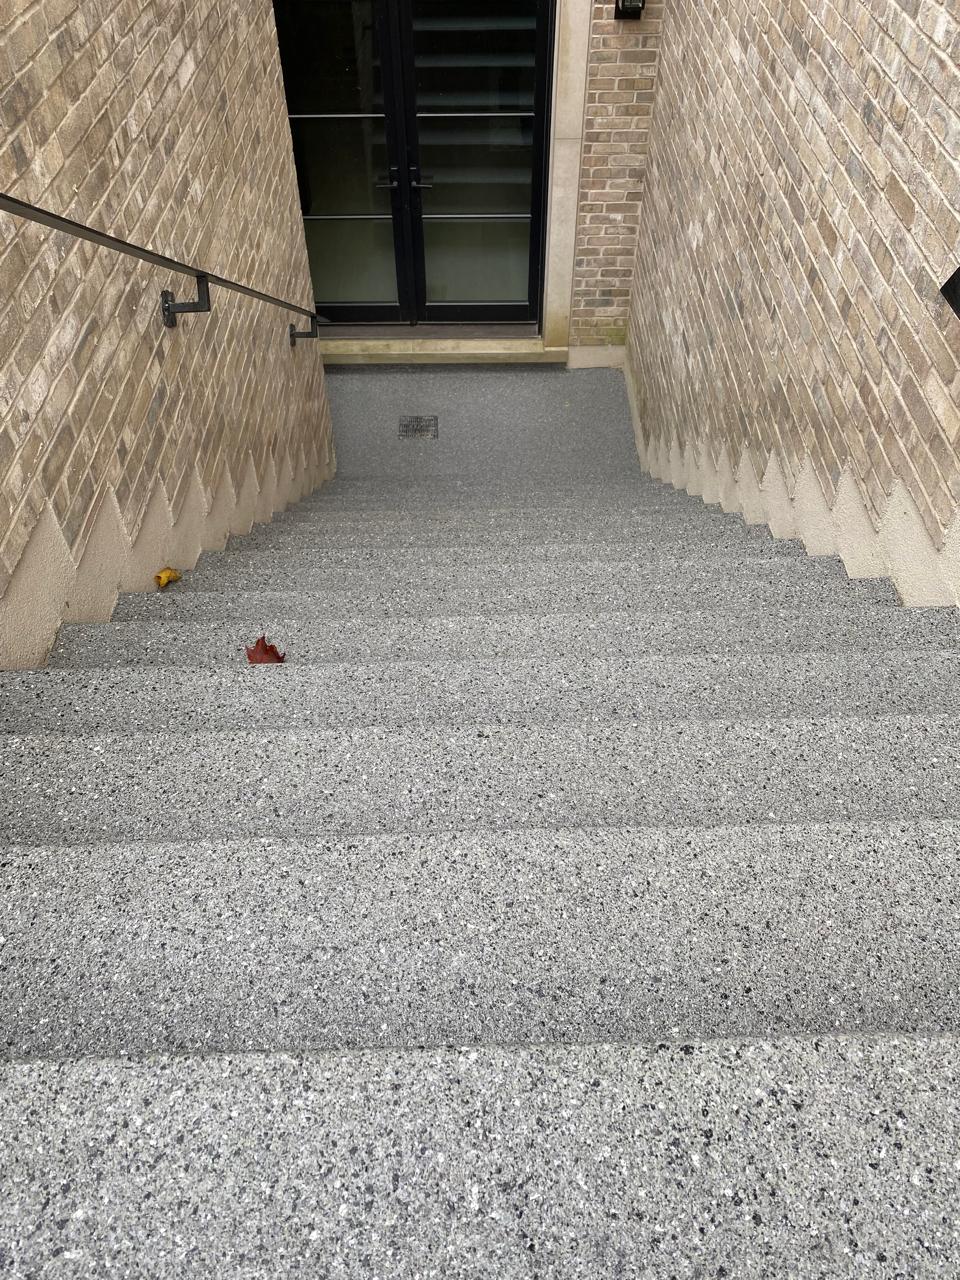
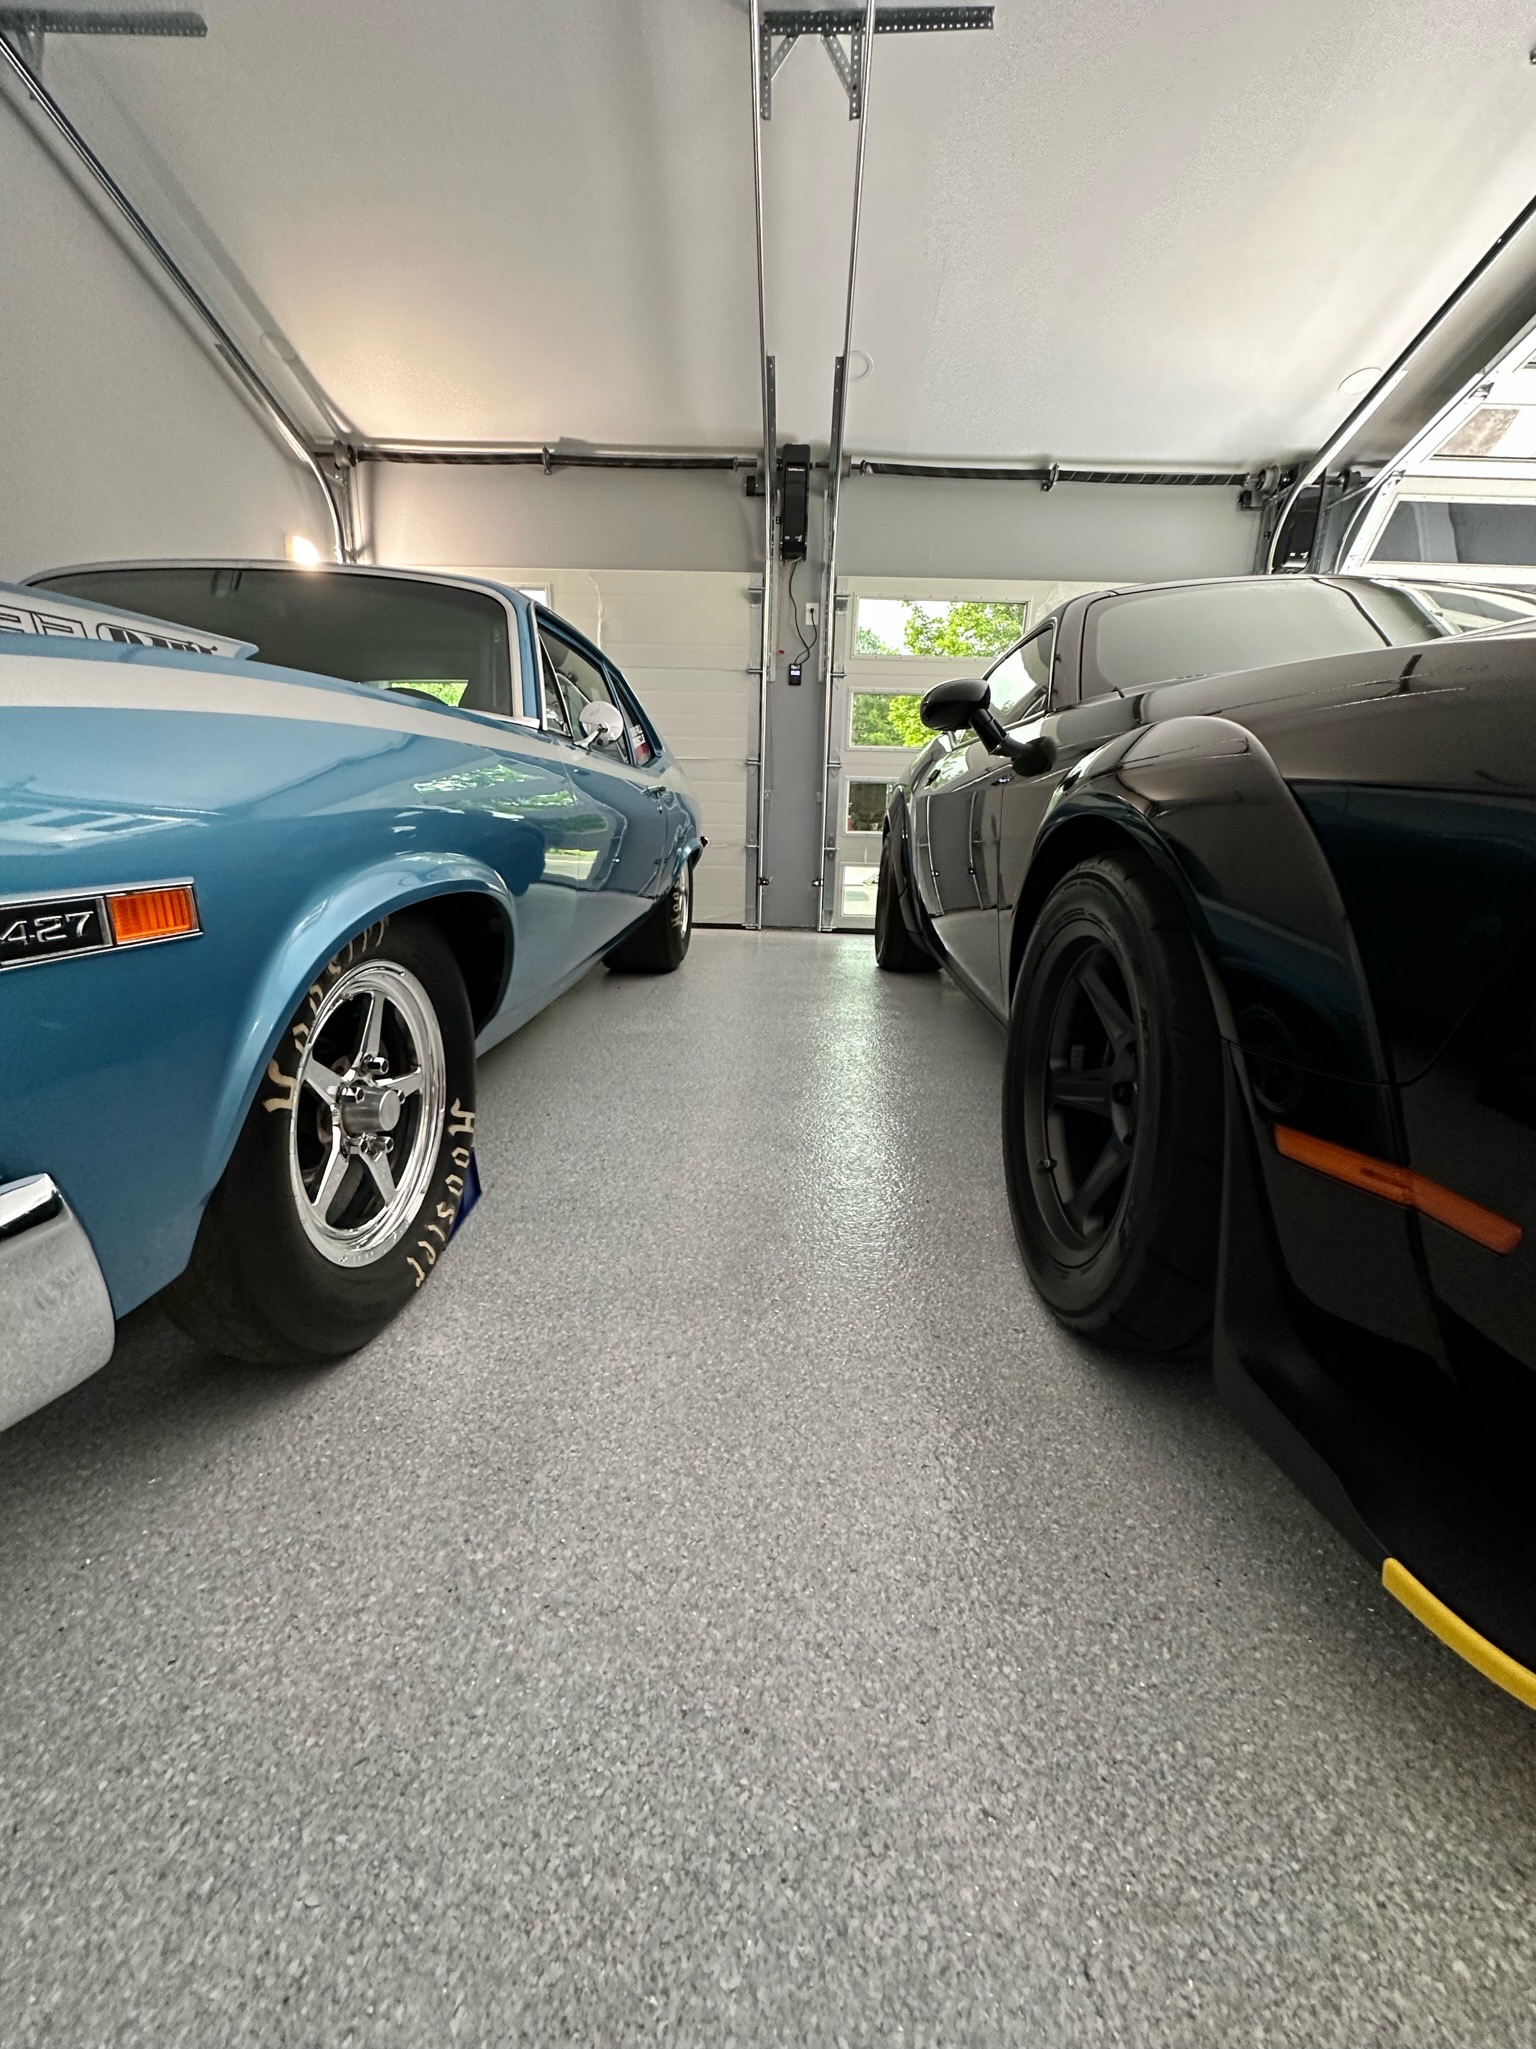
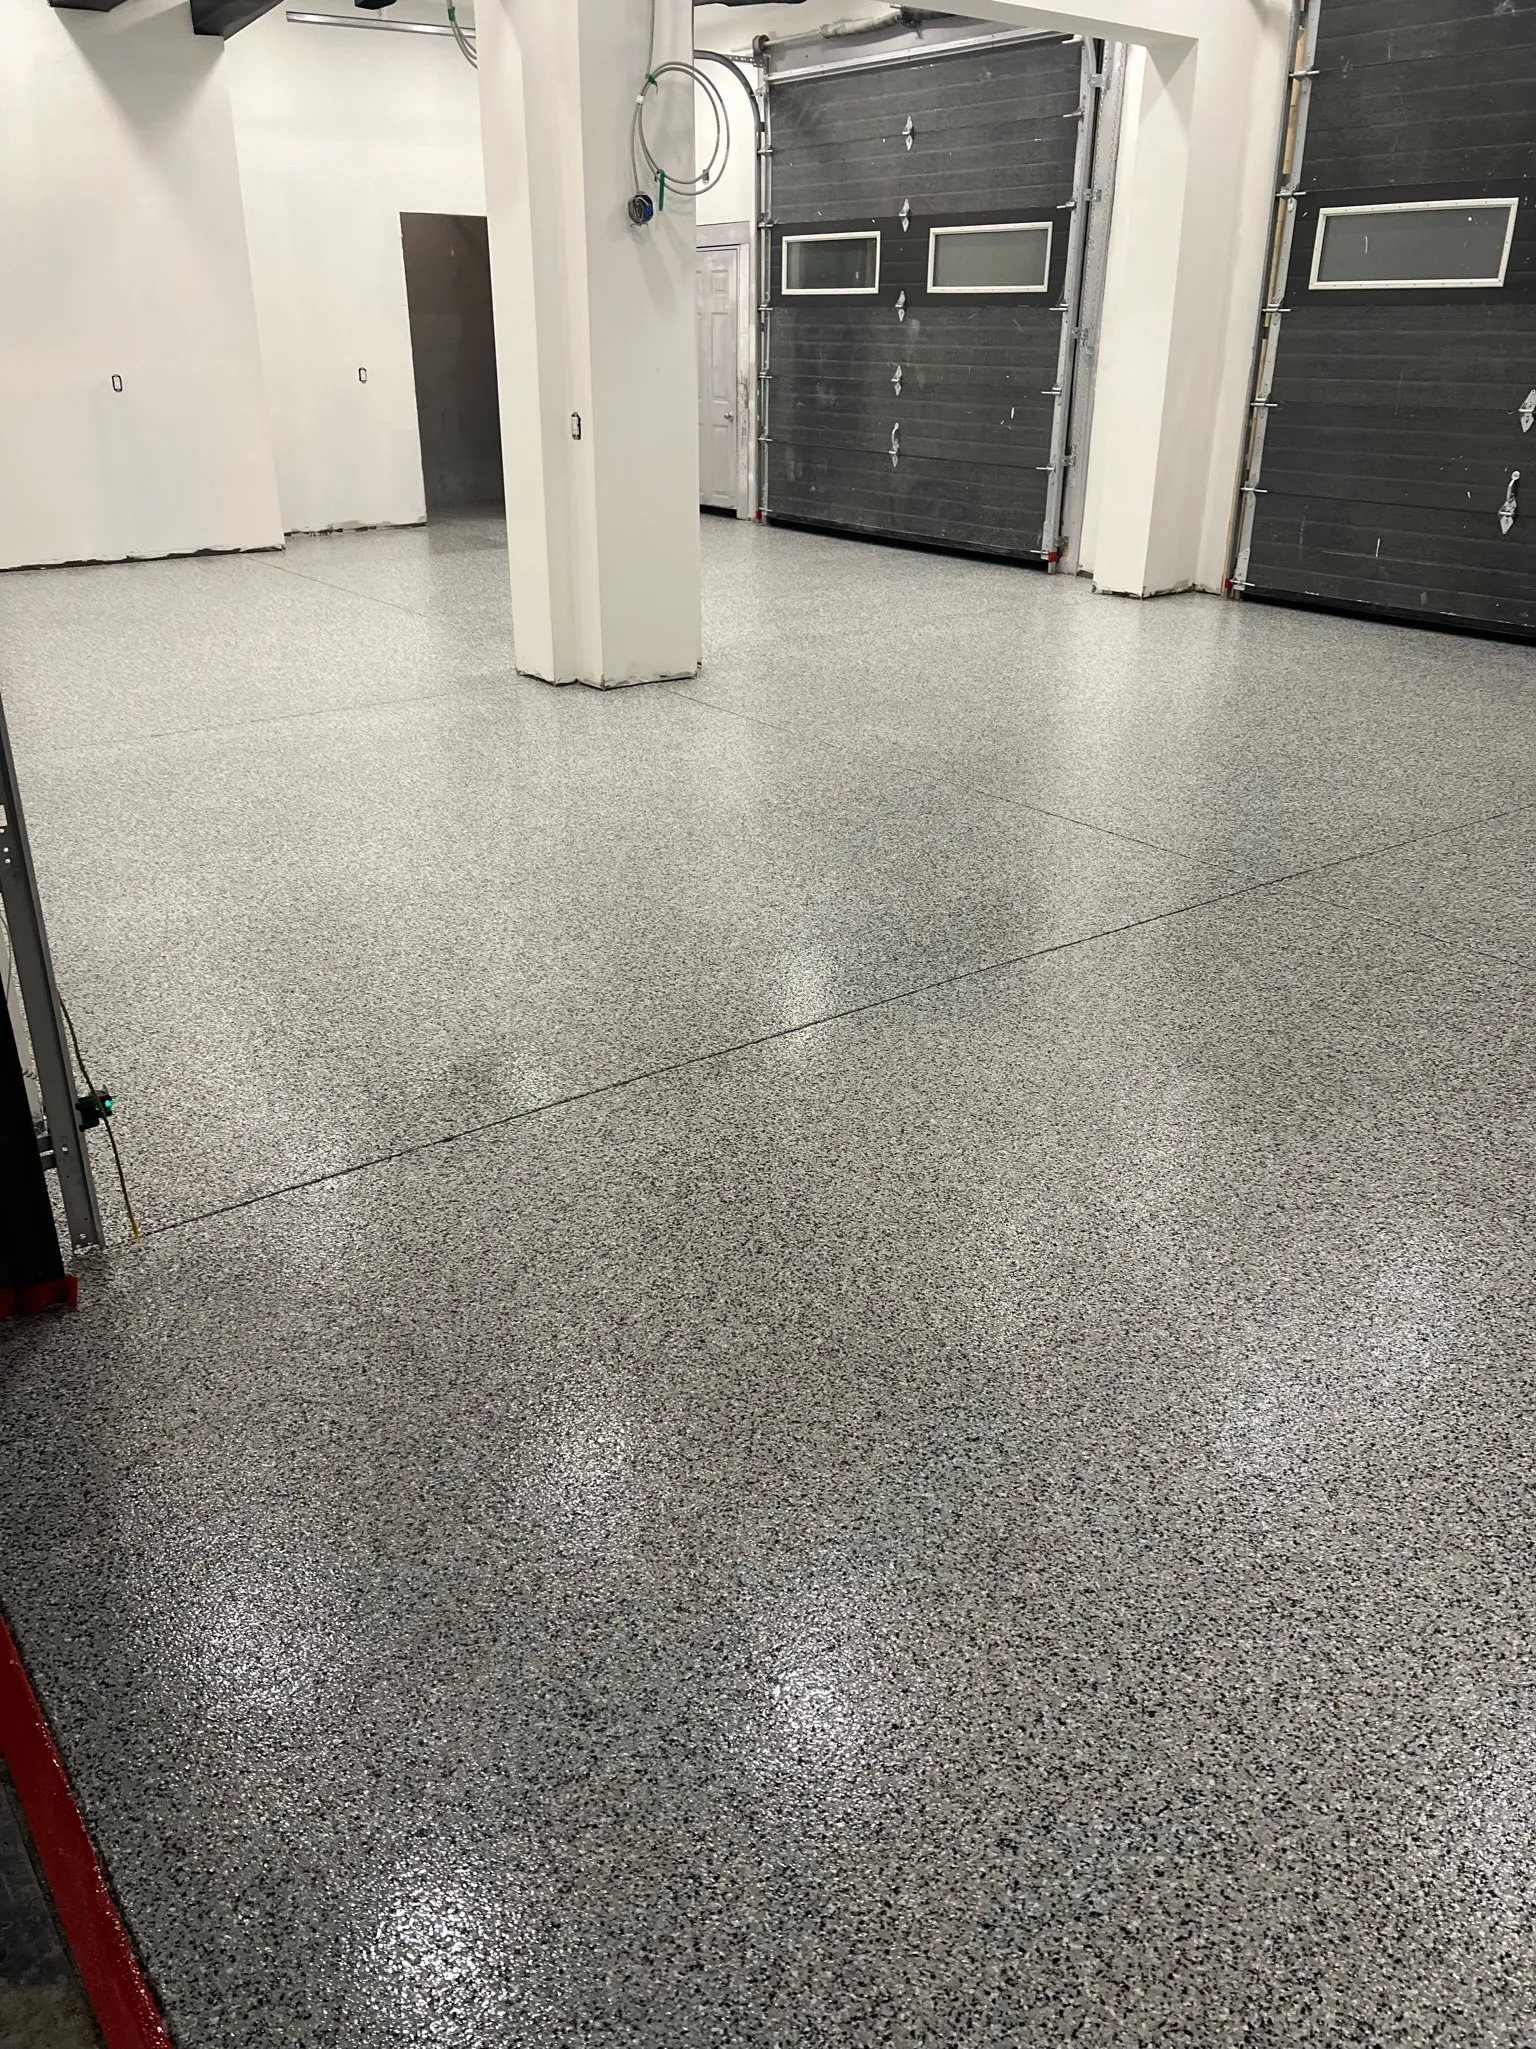
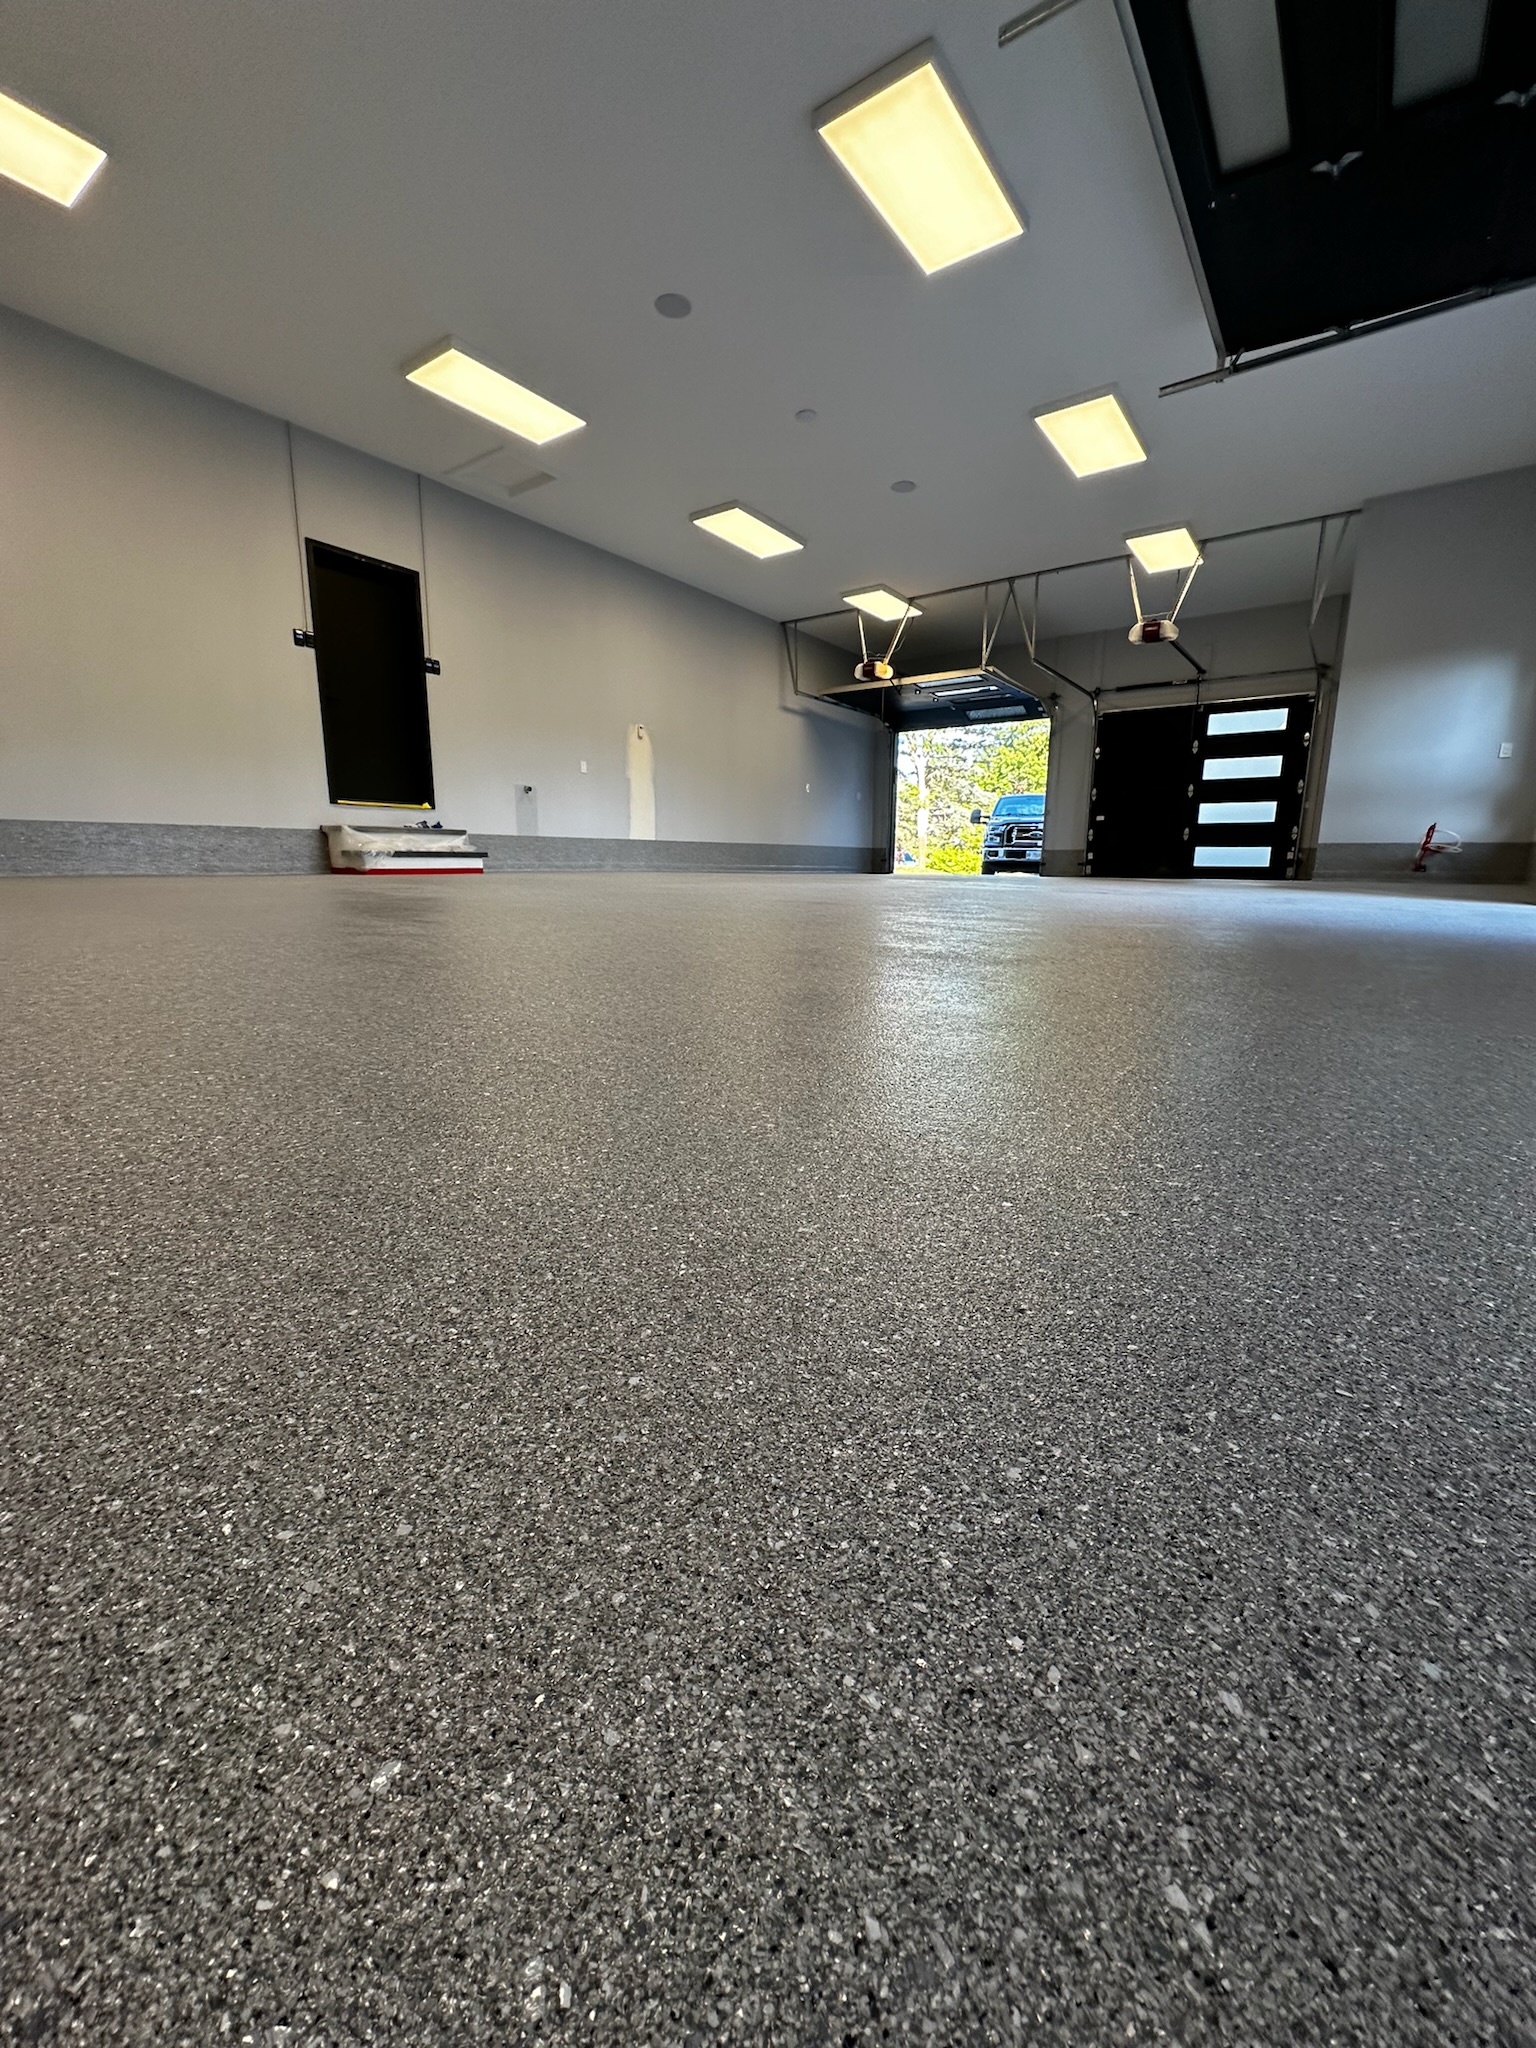
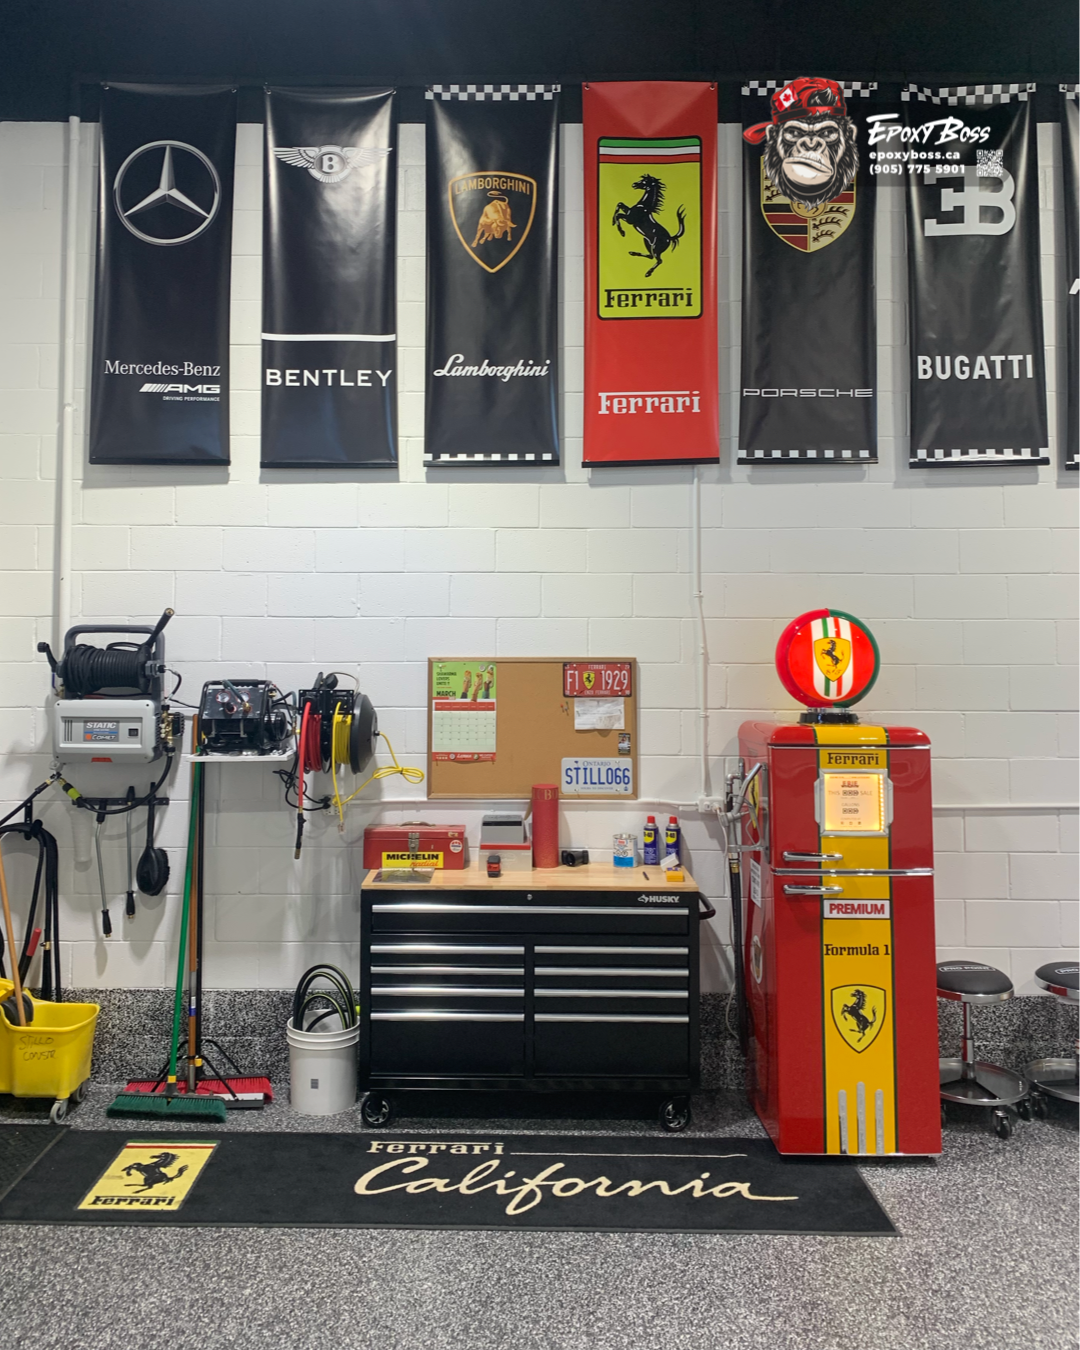
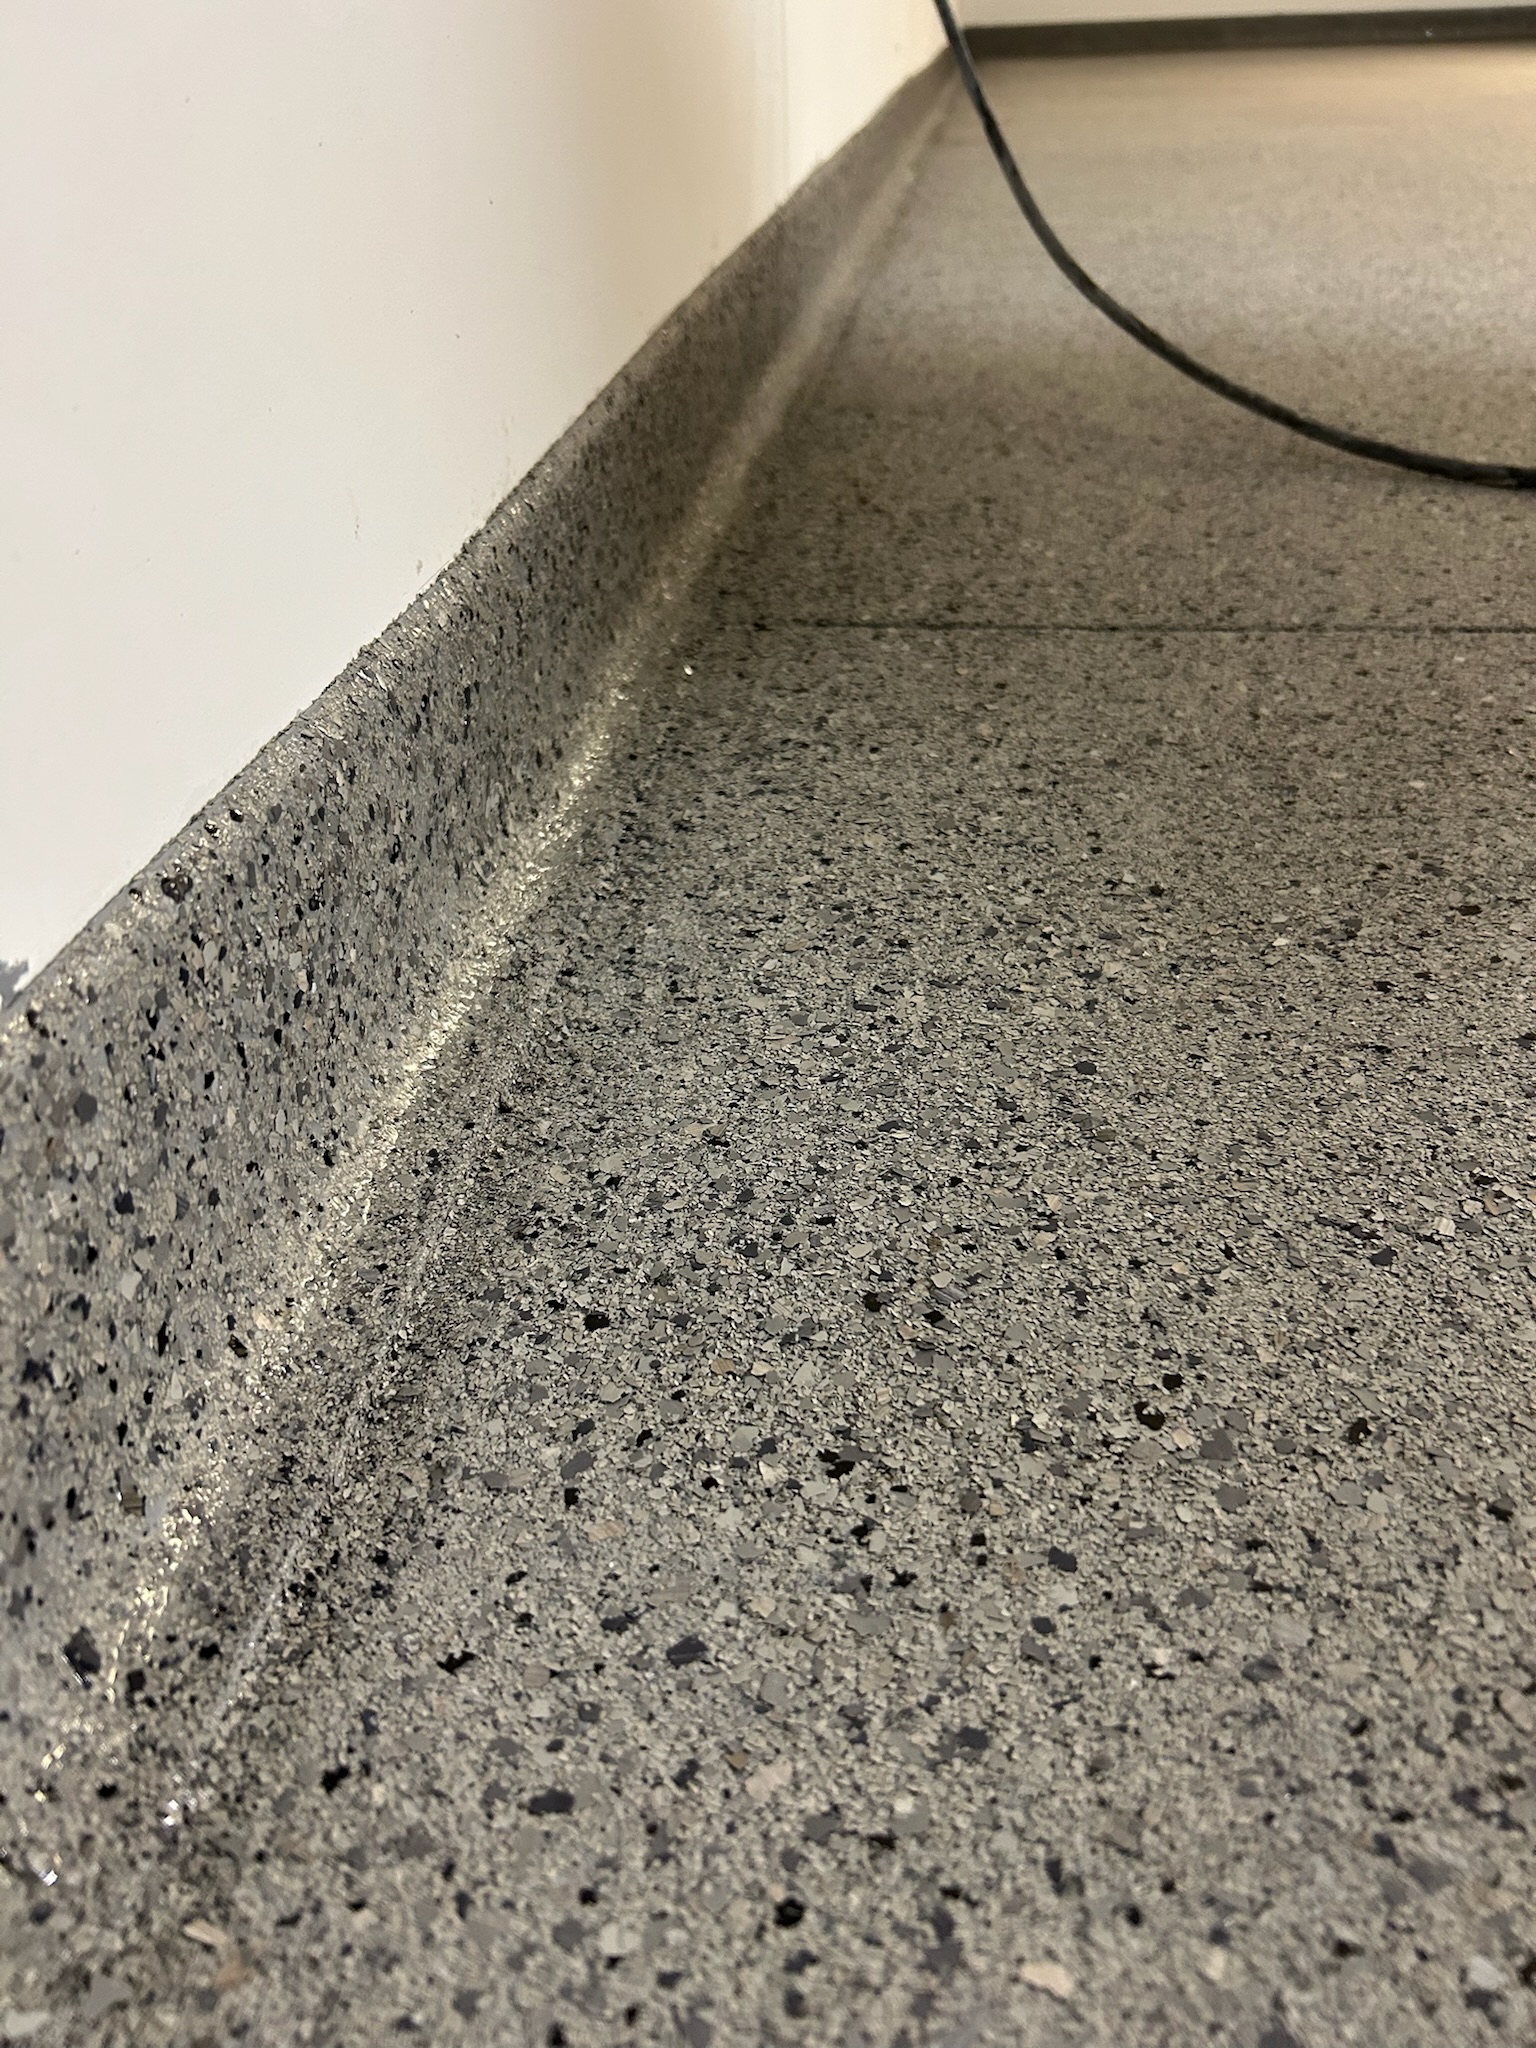
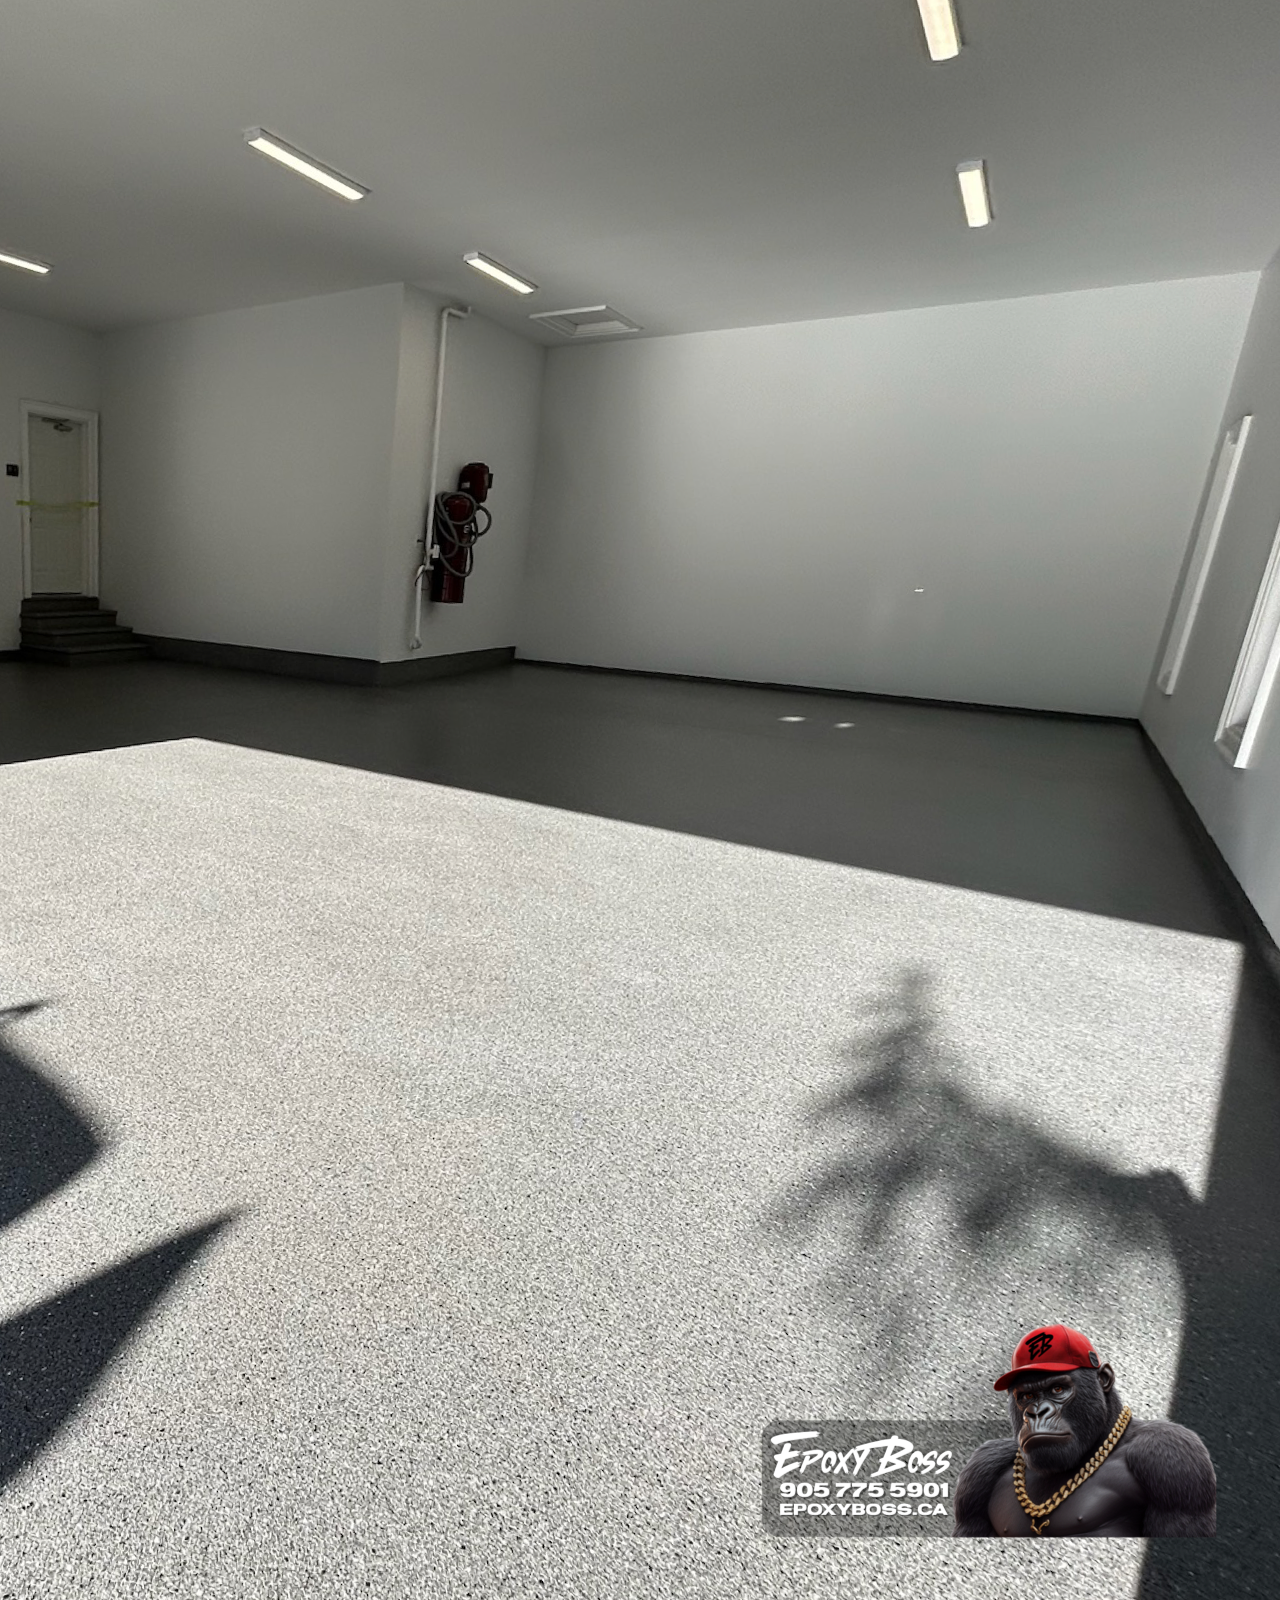
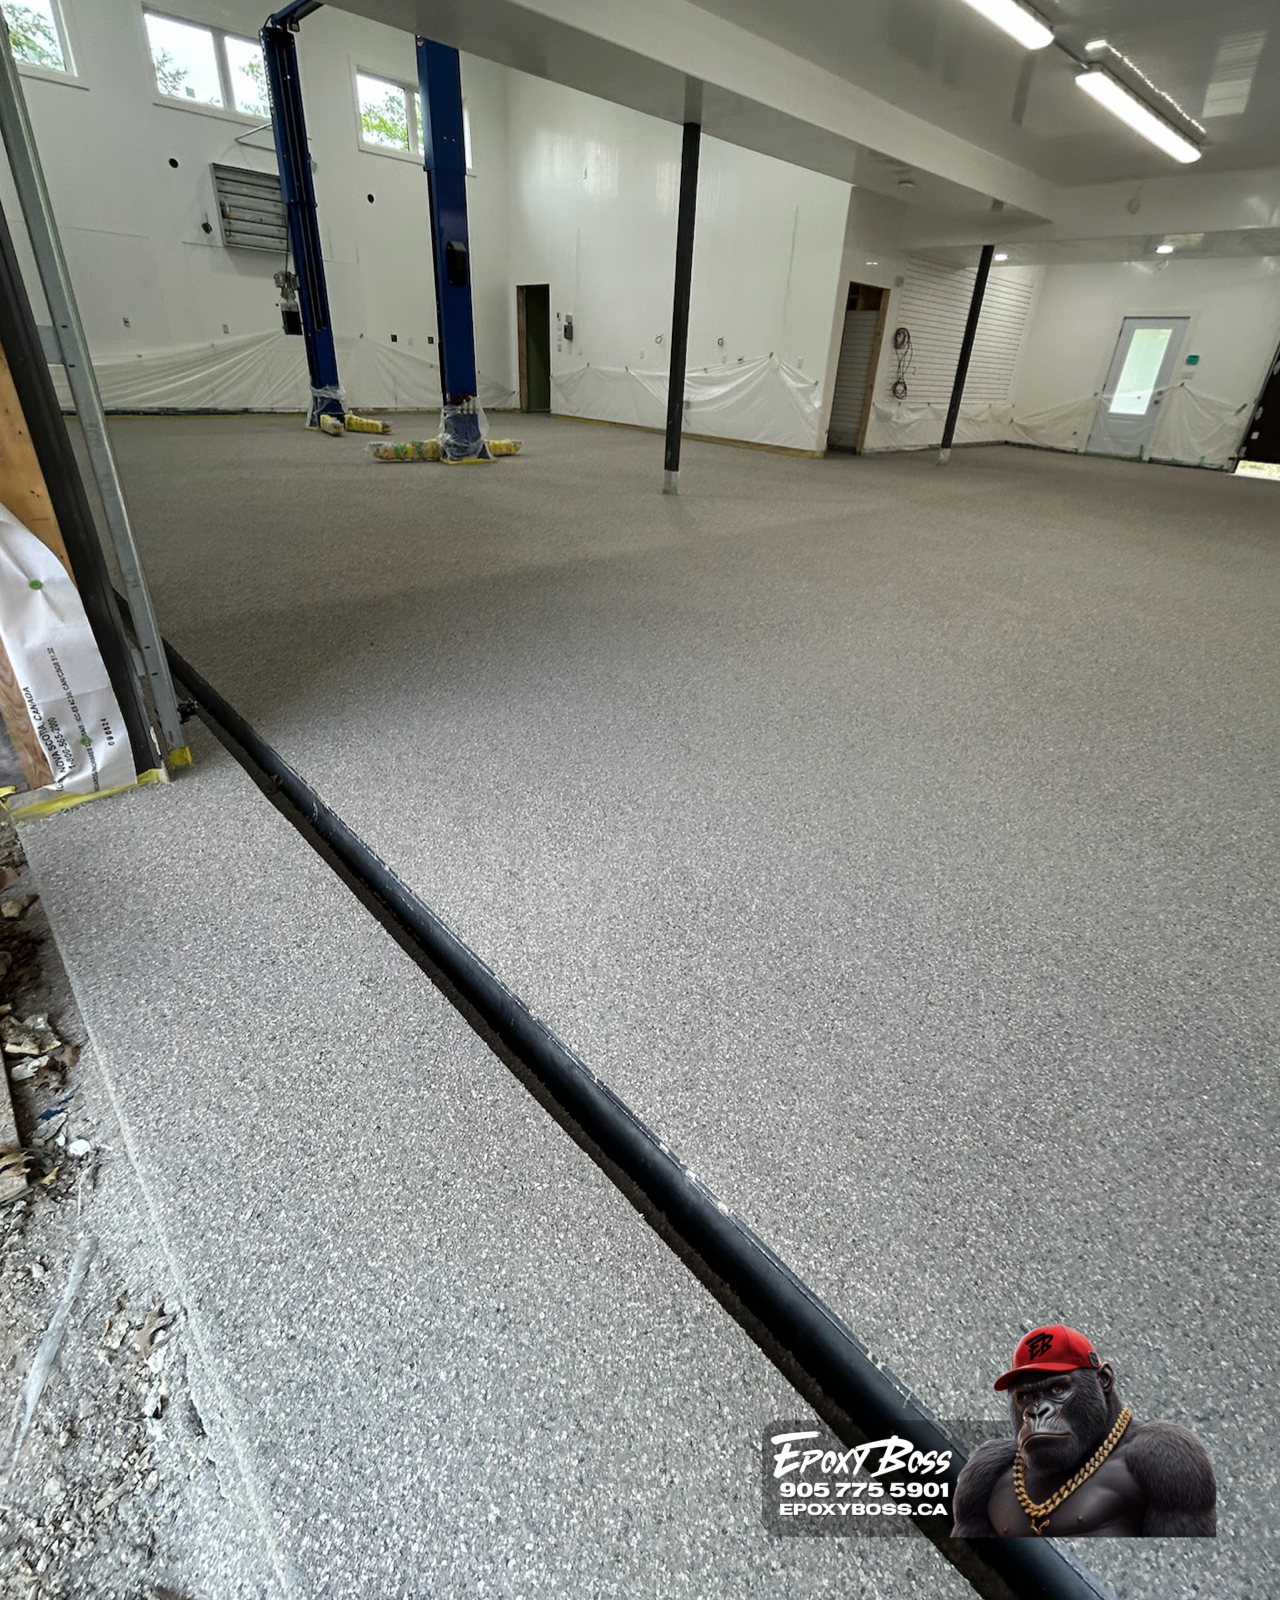
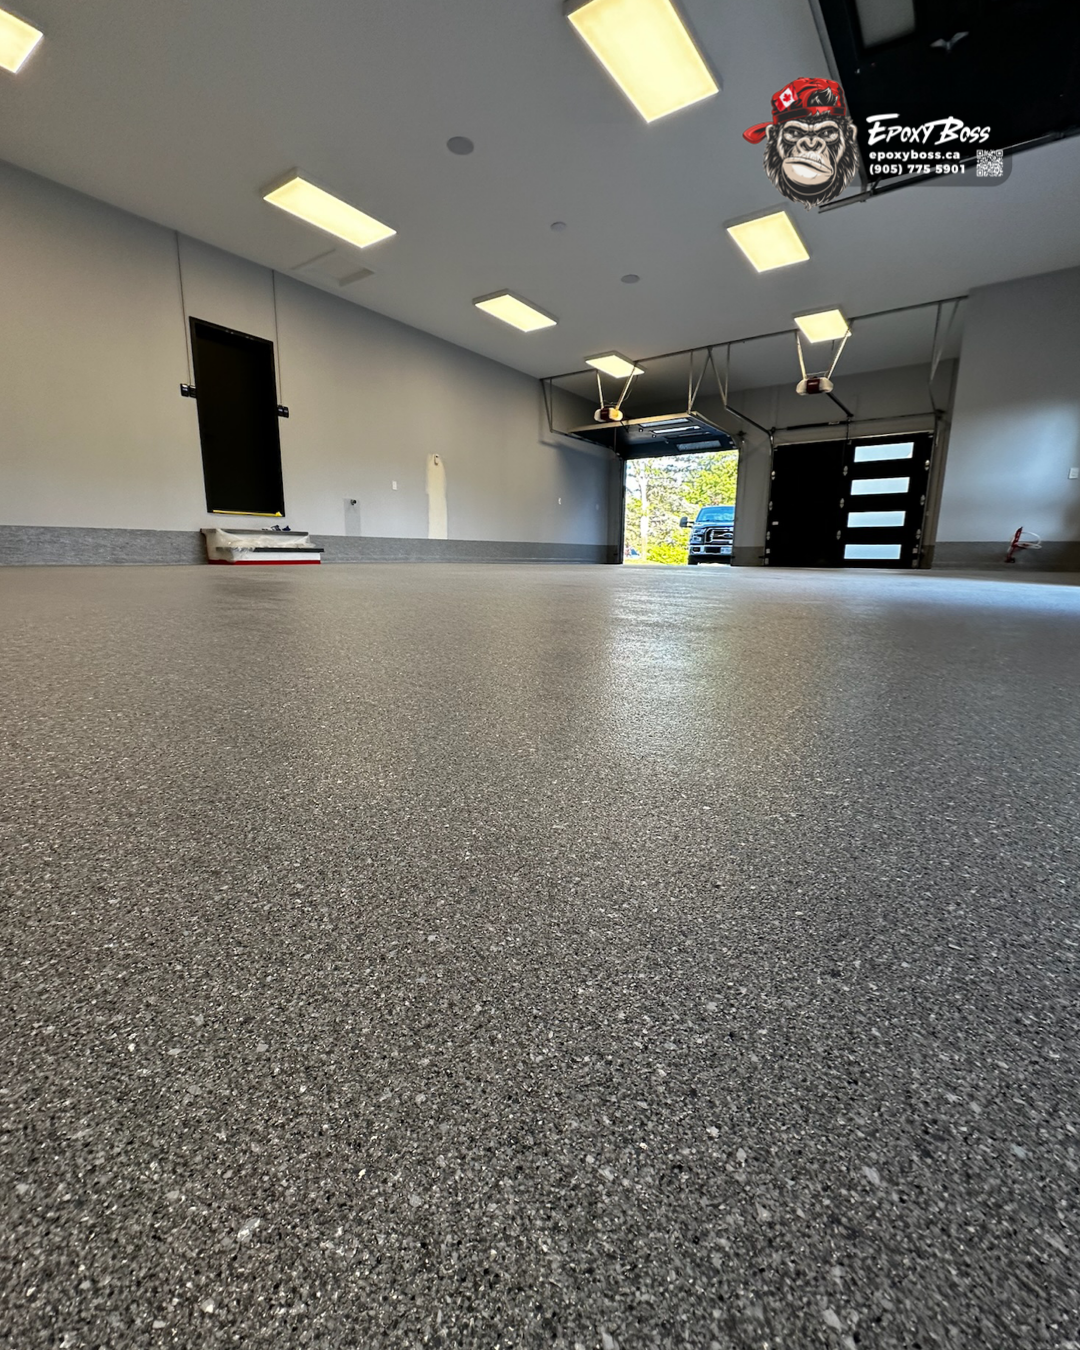
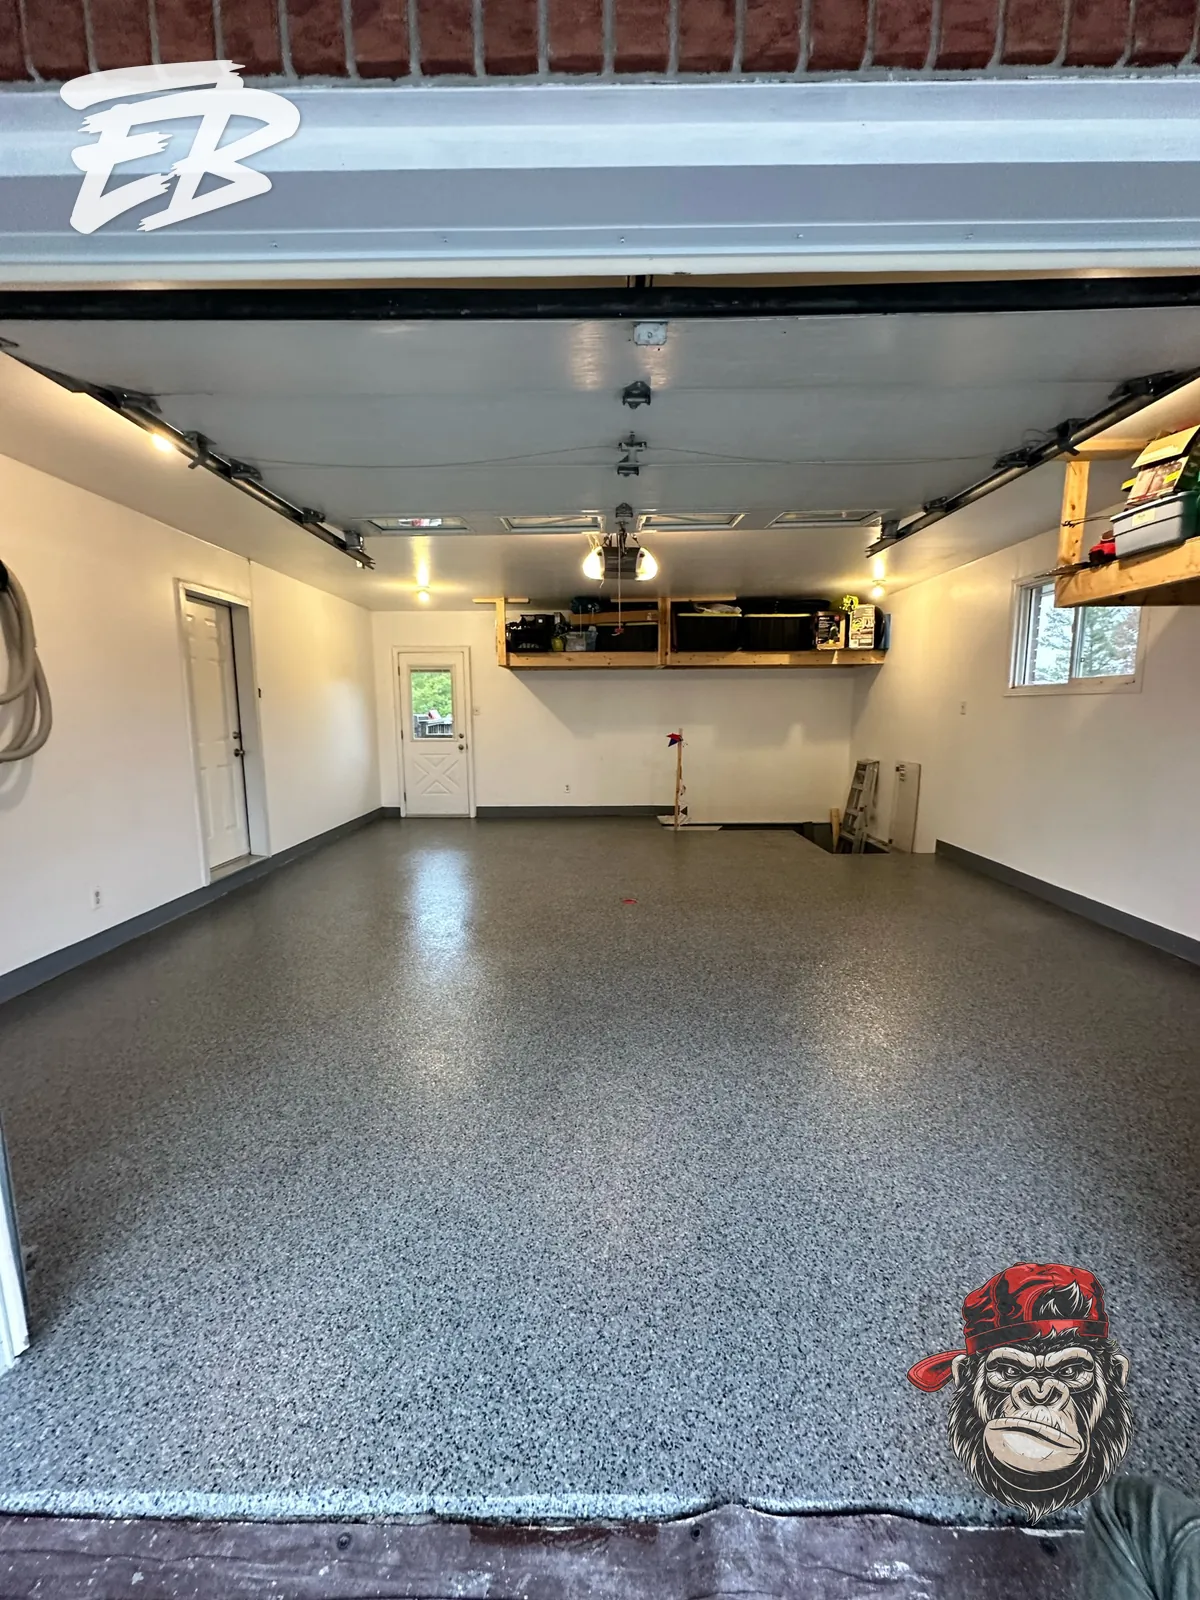
After the unsuccessful previous coating was removed, the Epoxy Boss team prepared the garage concrete for a new resinous flooring system. The visible crack and damaged areas were addressed as part of the preparation scope, allowing the new floor to be built on a more consistent, properly prepared substrate. The replacement system used a full-broadcast Raven flake finish with black, grey, and white variation. Decorative flakes were installed across the garage floor for full coverage, then the system was completed with a polyaspartic protective finish. Matching vertical flake coverage was also carried up the lower wall perimeter, creating a more continuous transition between the floor and surrounding walls. The finished floor changed the garage from a space defined by a failed prior coating into a clean, unified, full-flake system. More importantly, the new appearance was built on removal, preparation, repair, and system compatibility—not on covering the previous problem.
The completed Vaughan project demonstrates when garage floor resurfacing becomes a full restoration project. When an old coating has failed, the durable route may be removal to the concrete, repair of visible defects, mechanical preparation, and installation of a new compatible flooring system. For homeowners with peeling, cracked, lifting, or uneven garage coatings, the useful first step is to document the full floor, the worst affected area, and a close-up of any crack or loose edge. Epoxy Boss can then determine whether the floor may be suitable for localized repair, full removal, or a complete rebuilt system.