(905) 775-5901Talk to an estimator
From Floor Nightmare to Flake-Tastic Perfection: The Orillia Retail Rescue
2024
2,800
Sq Ft
Concrete Coating
Retail

From Floor Nightmare to Flake-Tastic Perfection: The Orillia Retail Rescue
Epoxy Boss logo

Project Details

Gallery

Gallery

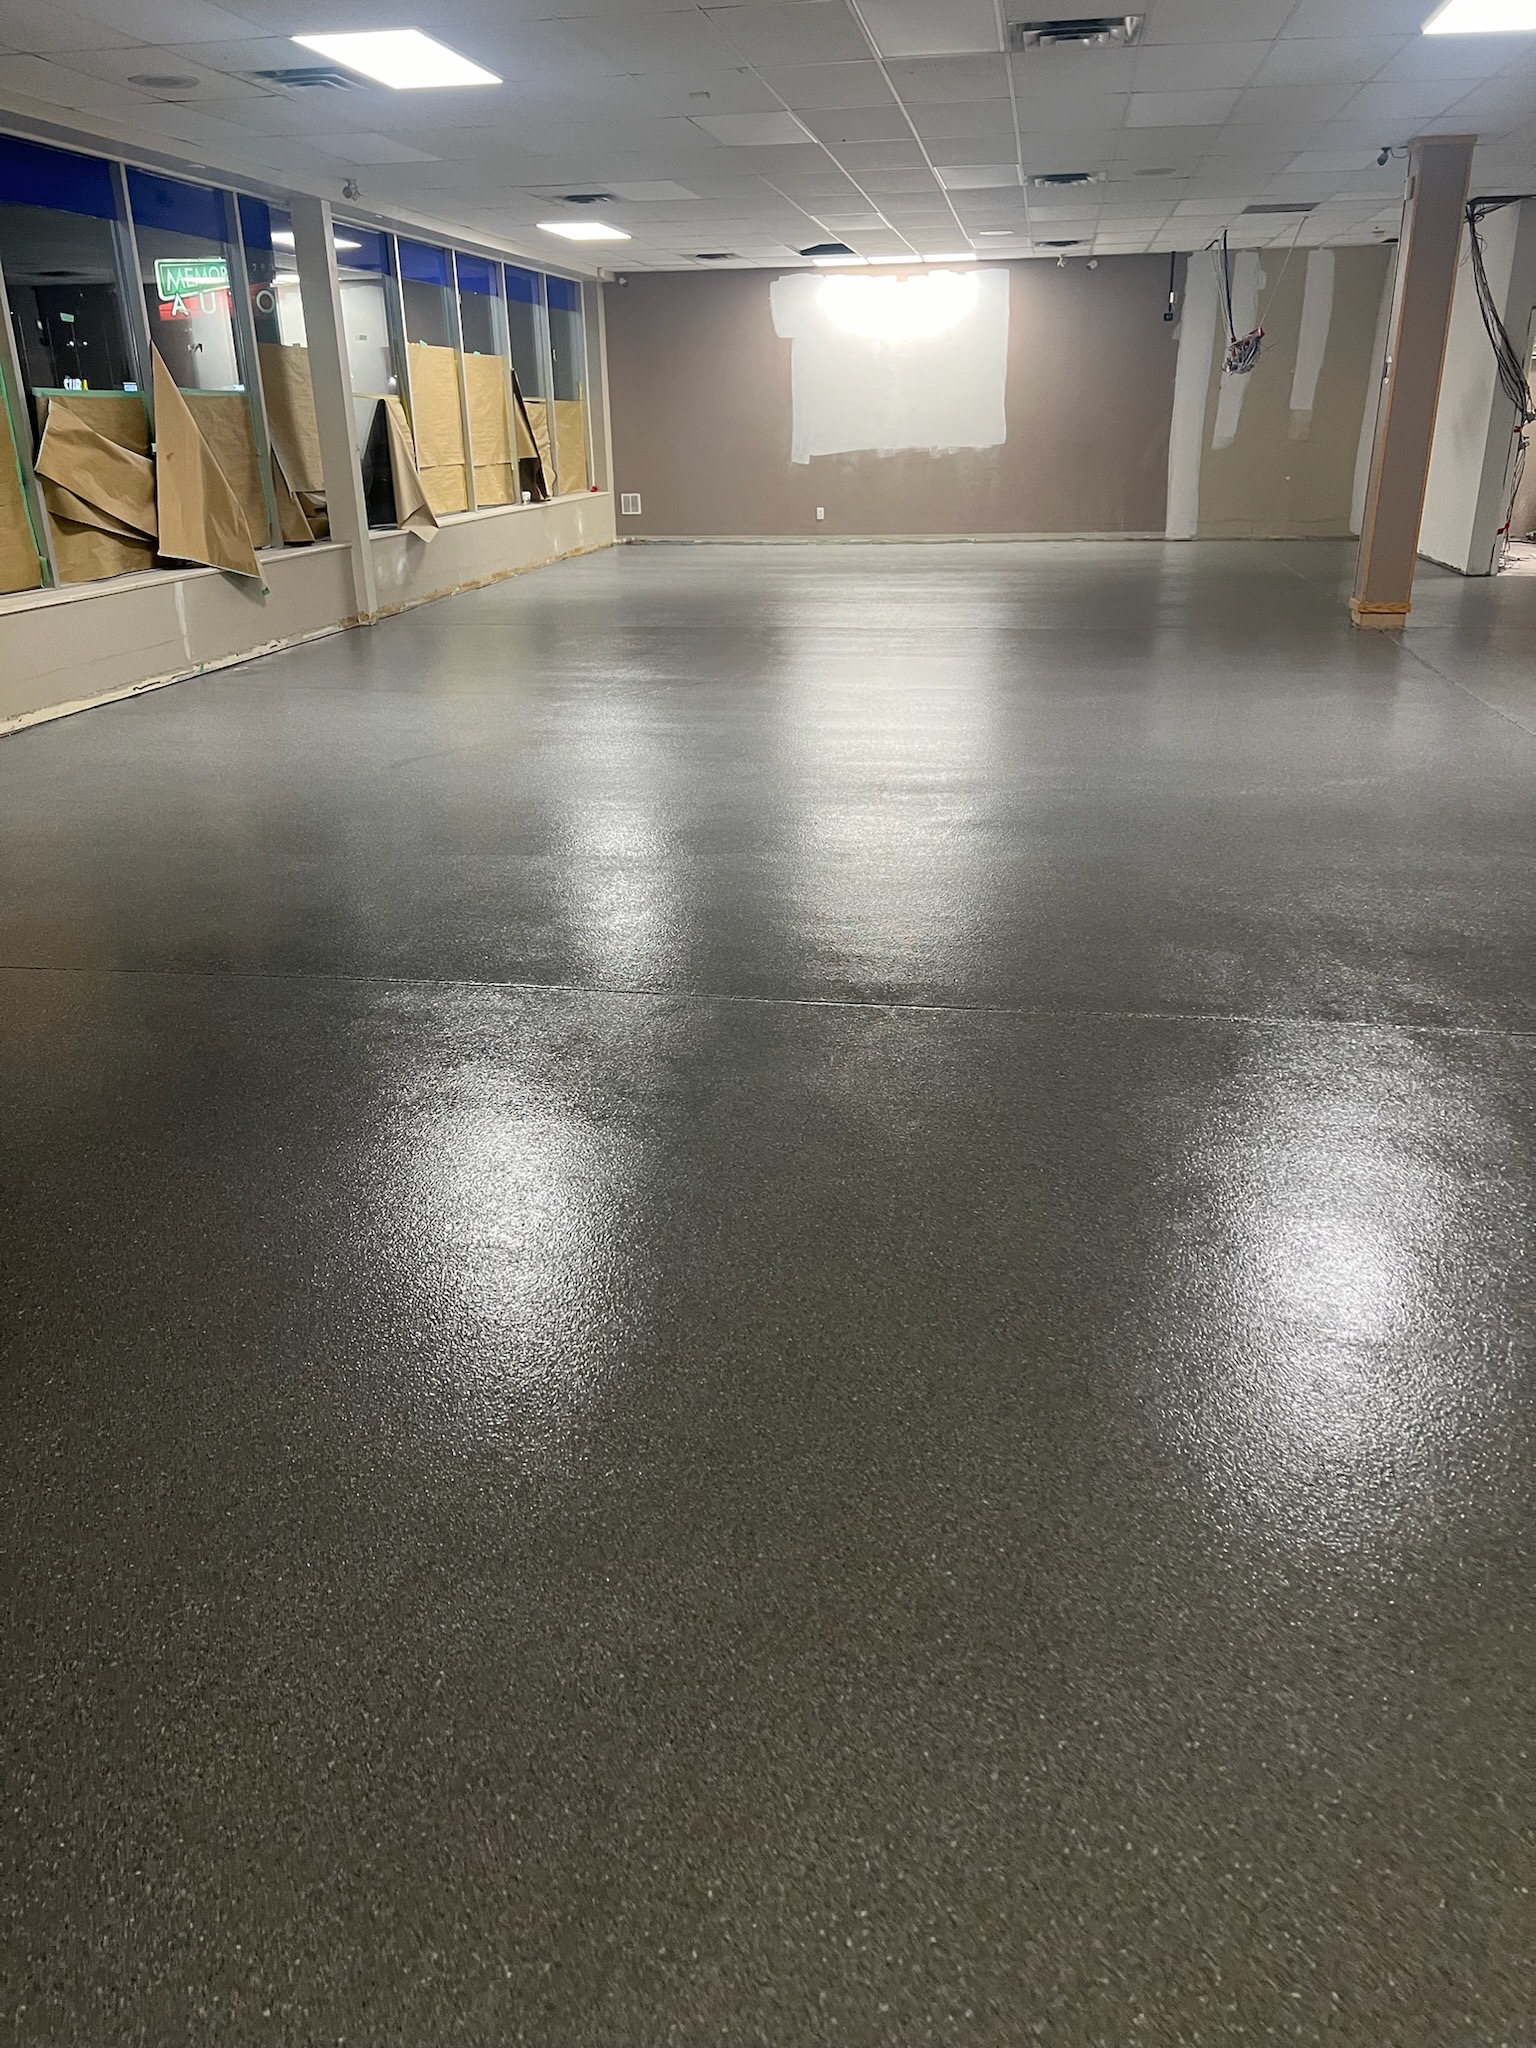
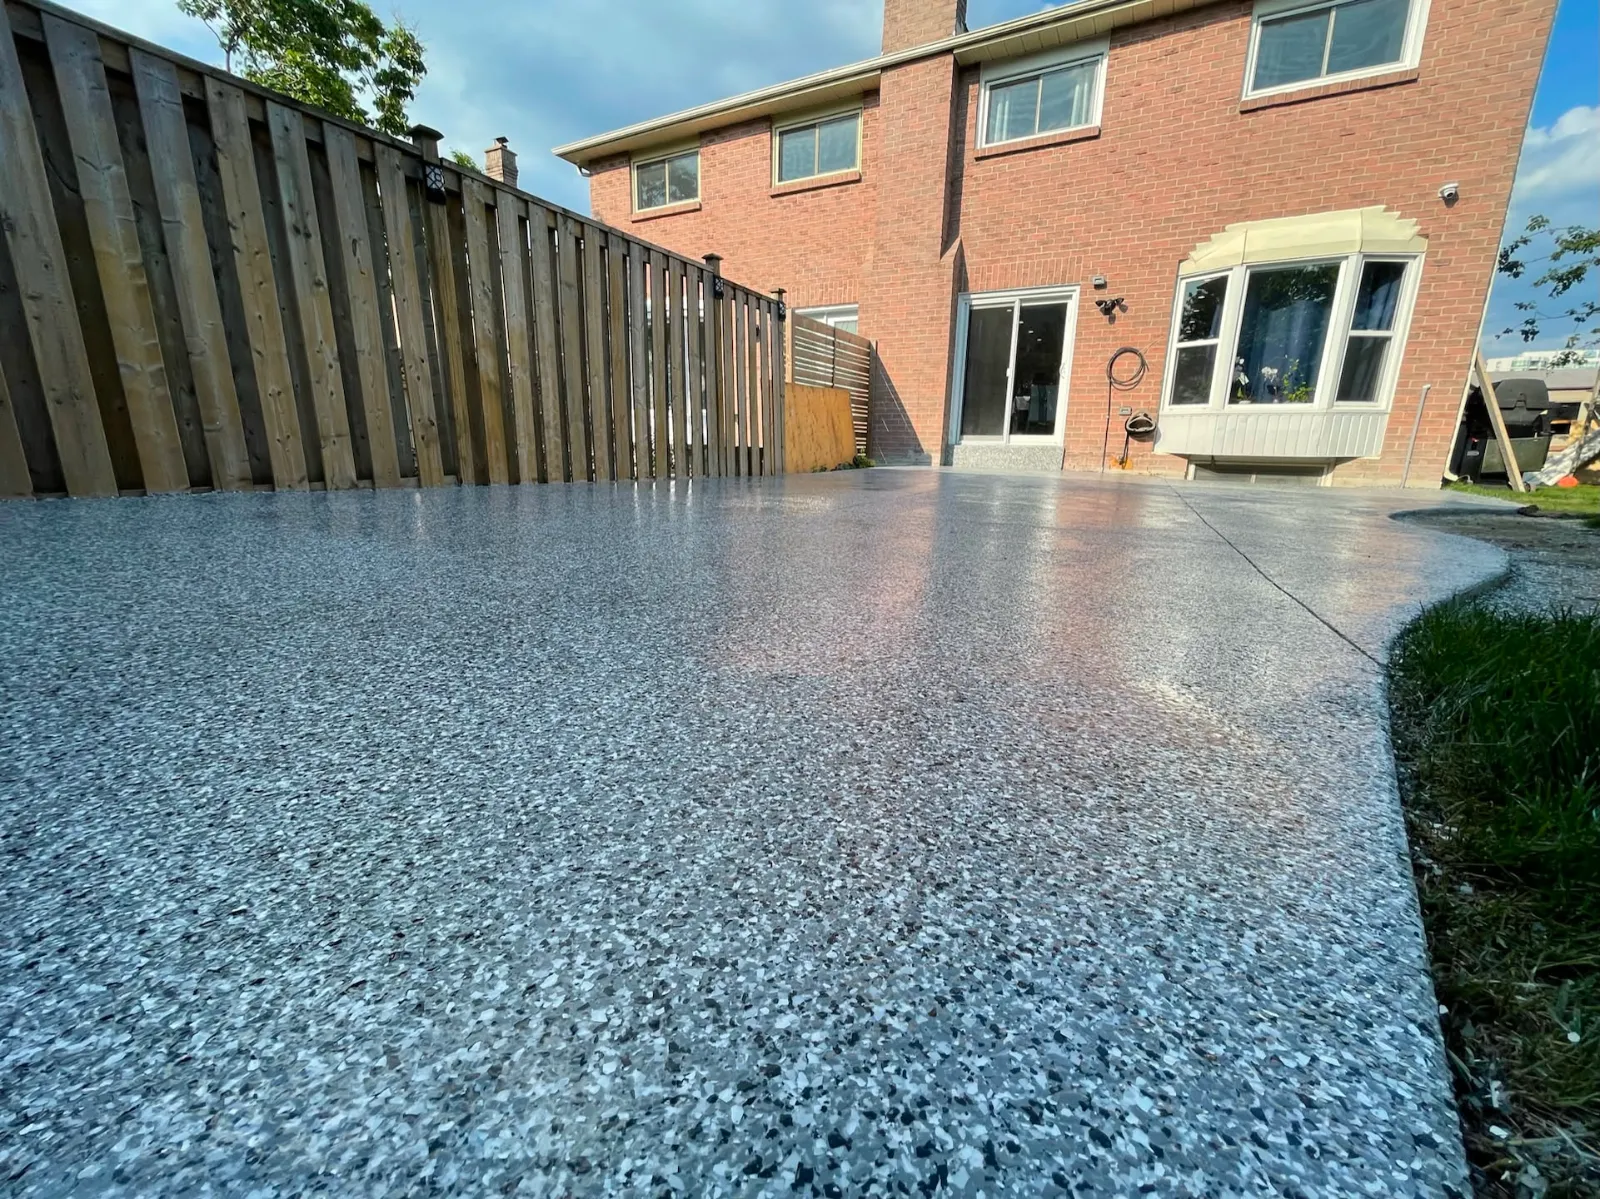
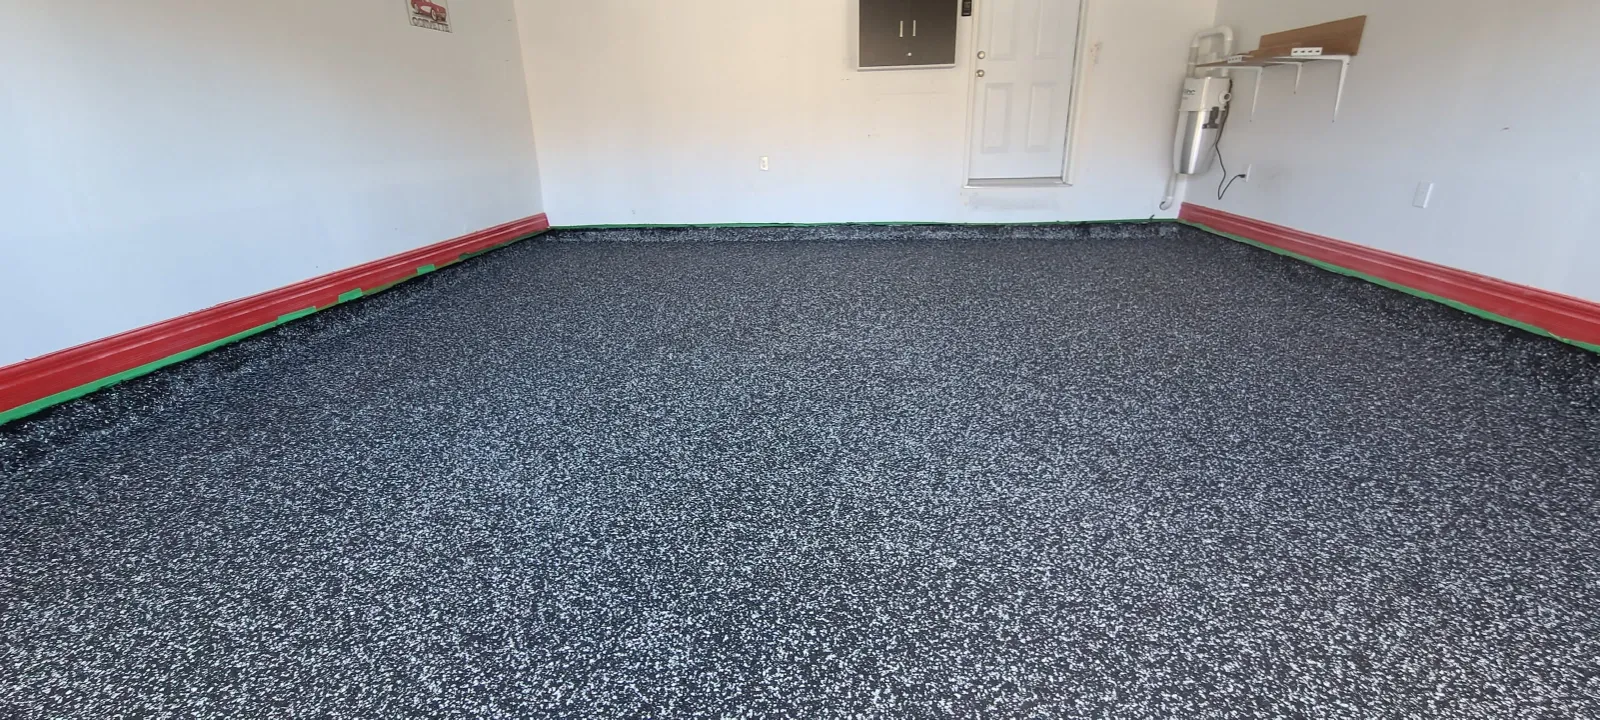
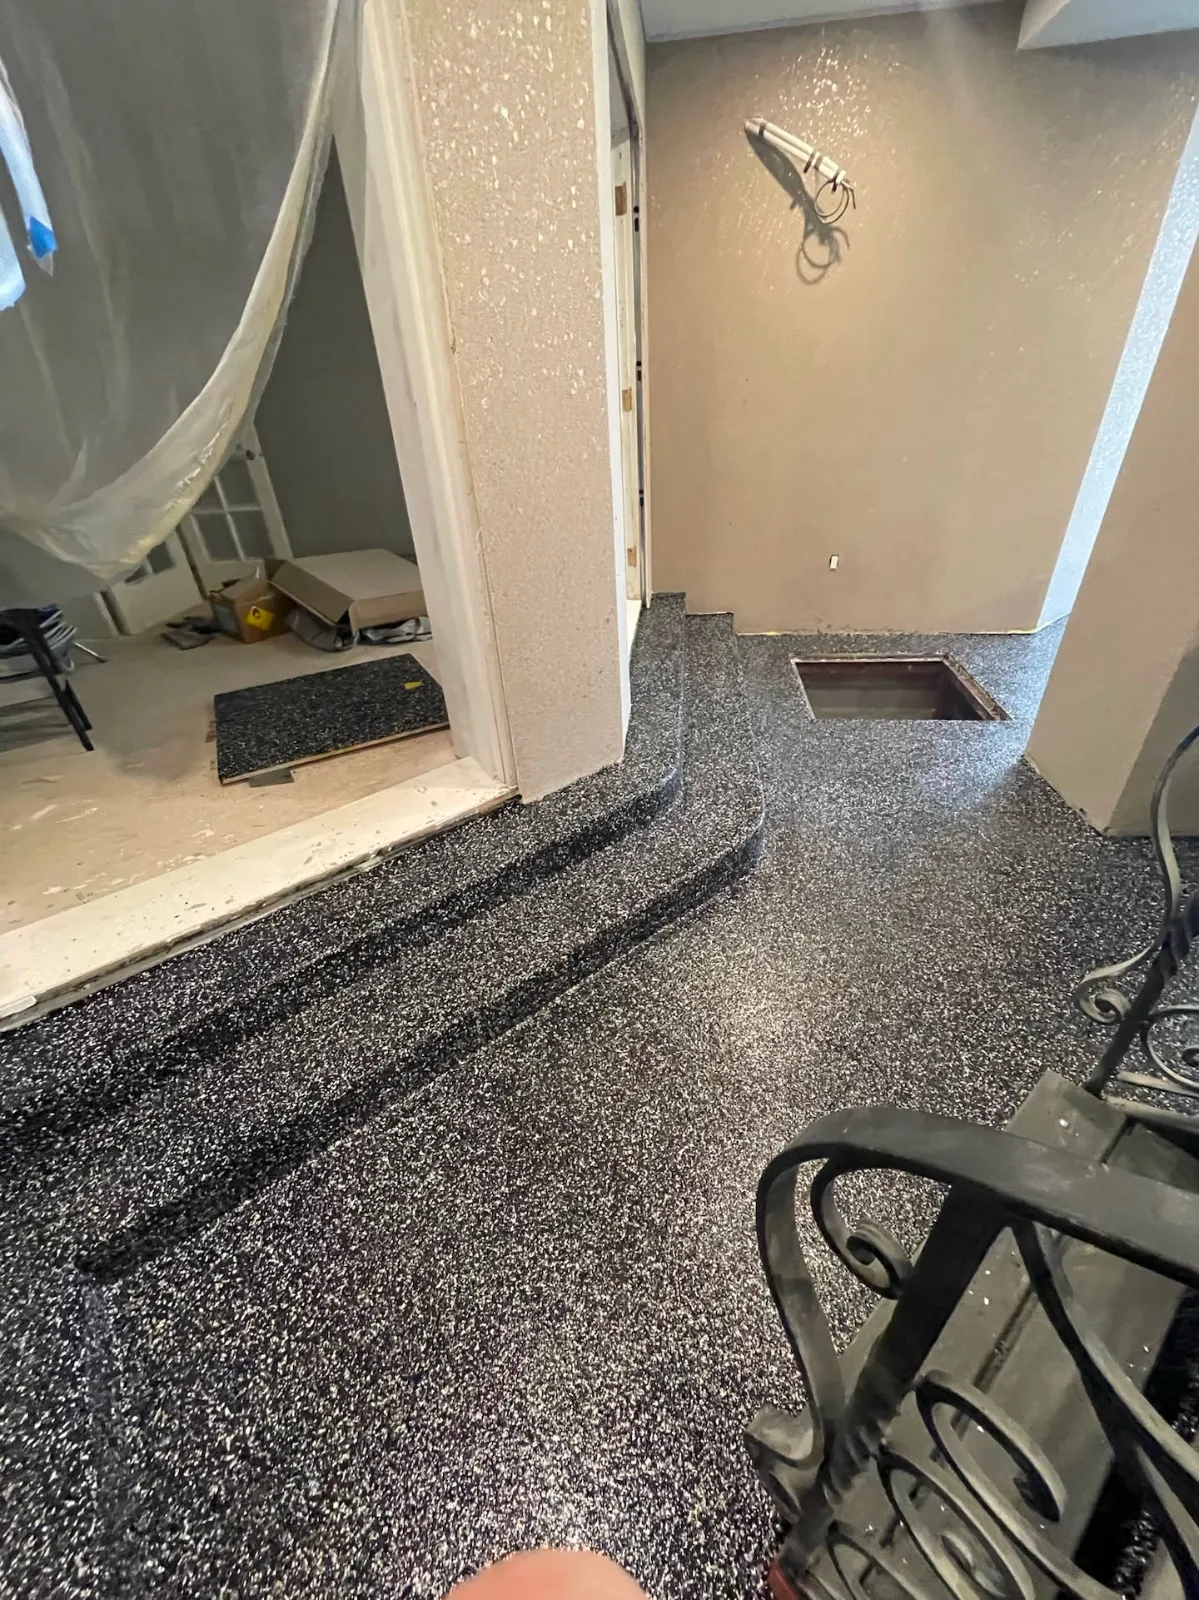
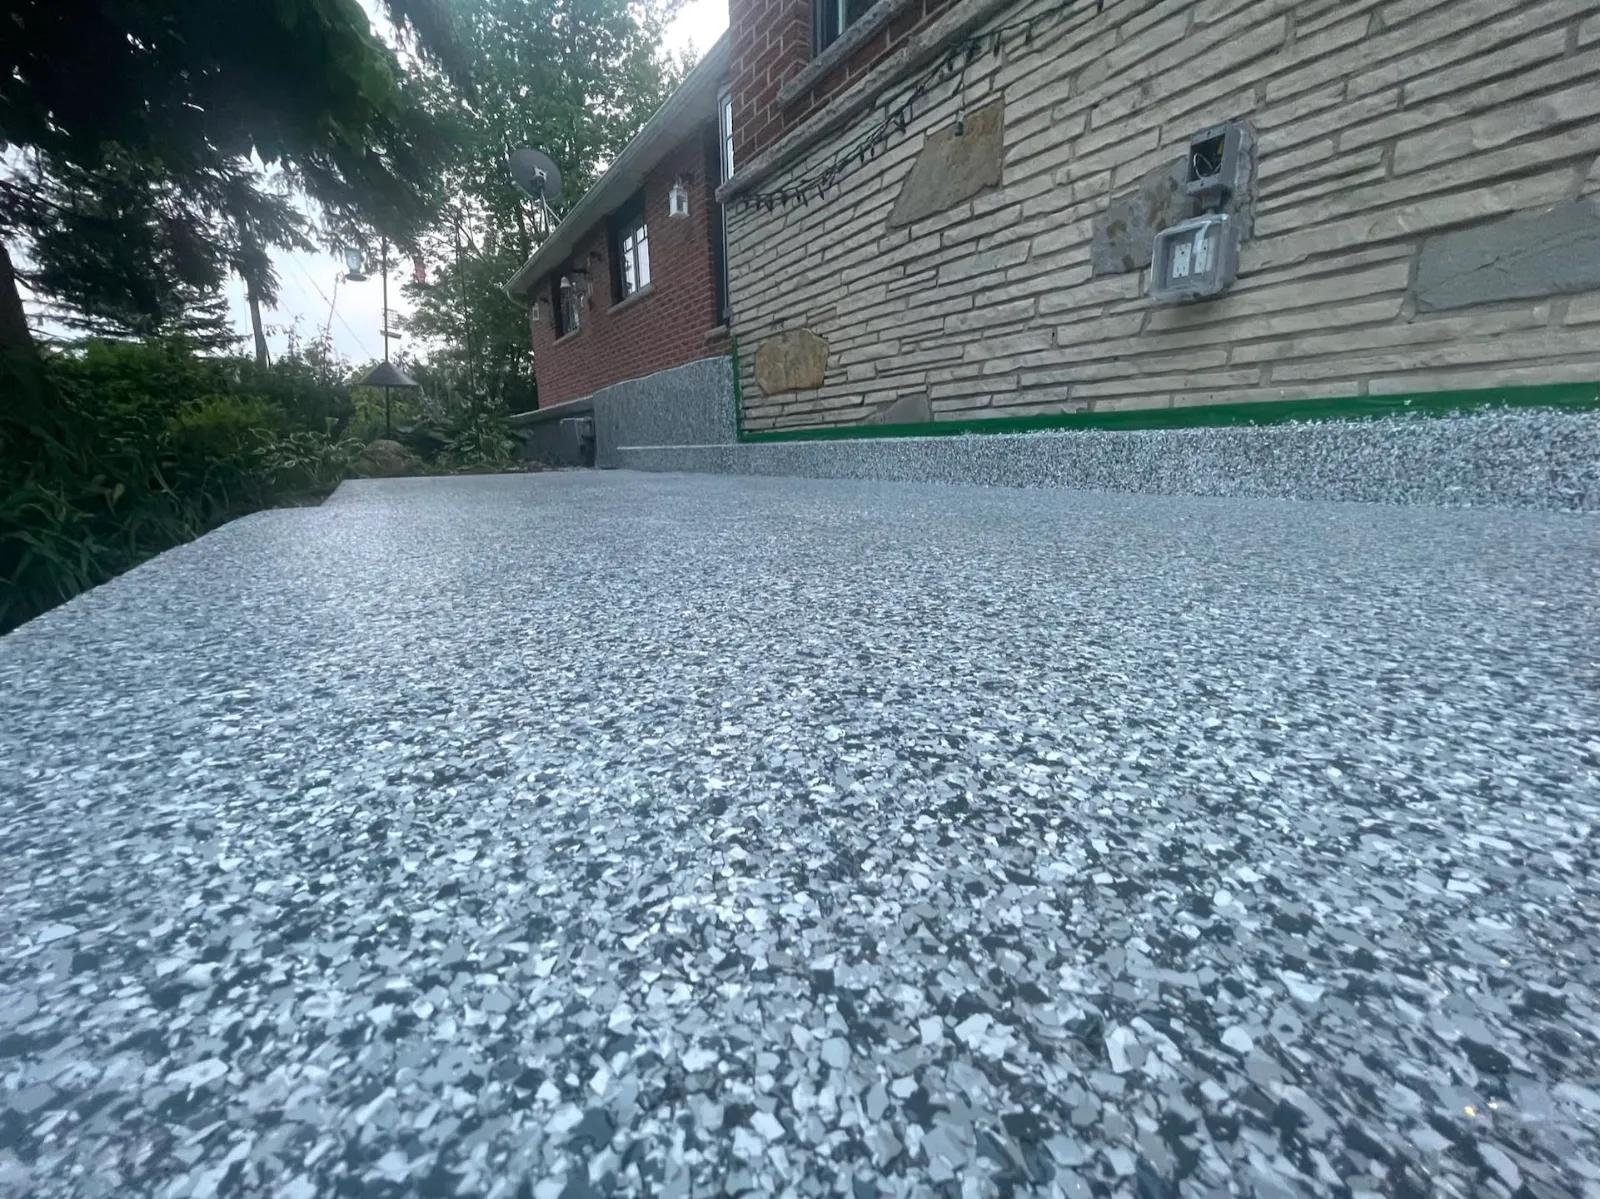
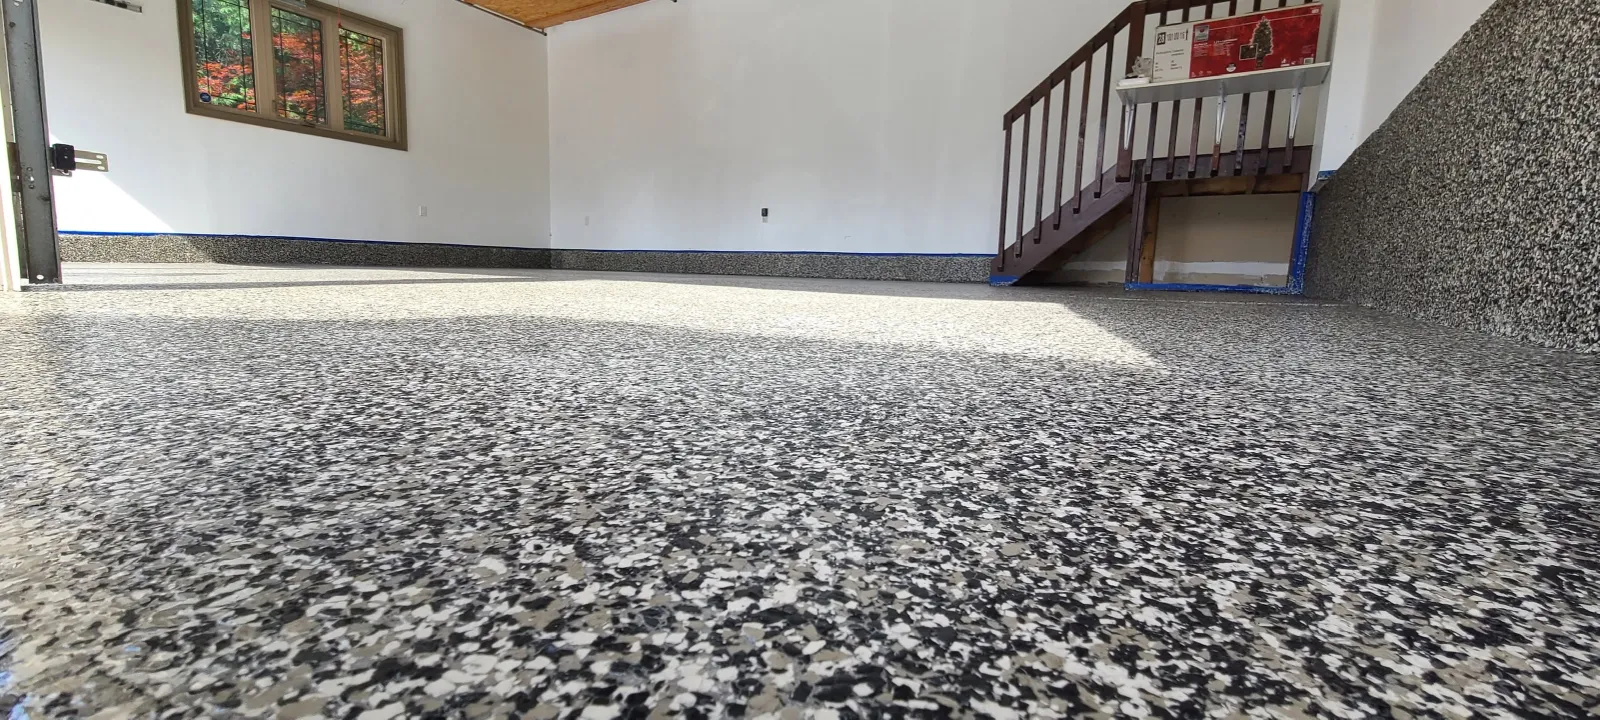
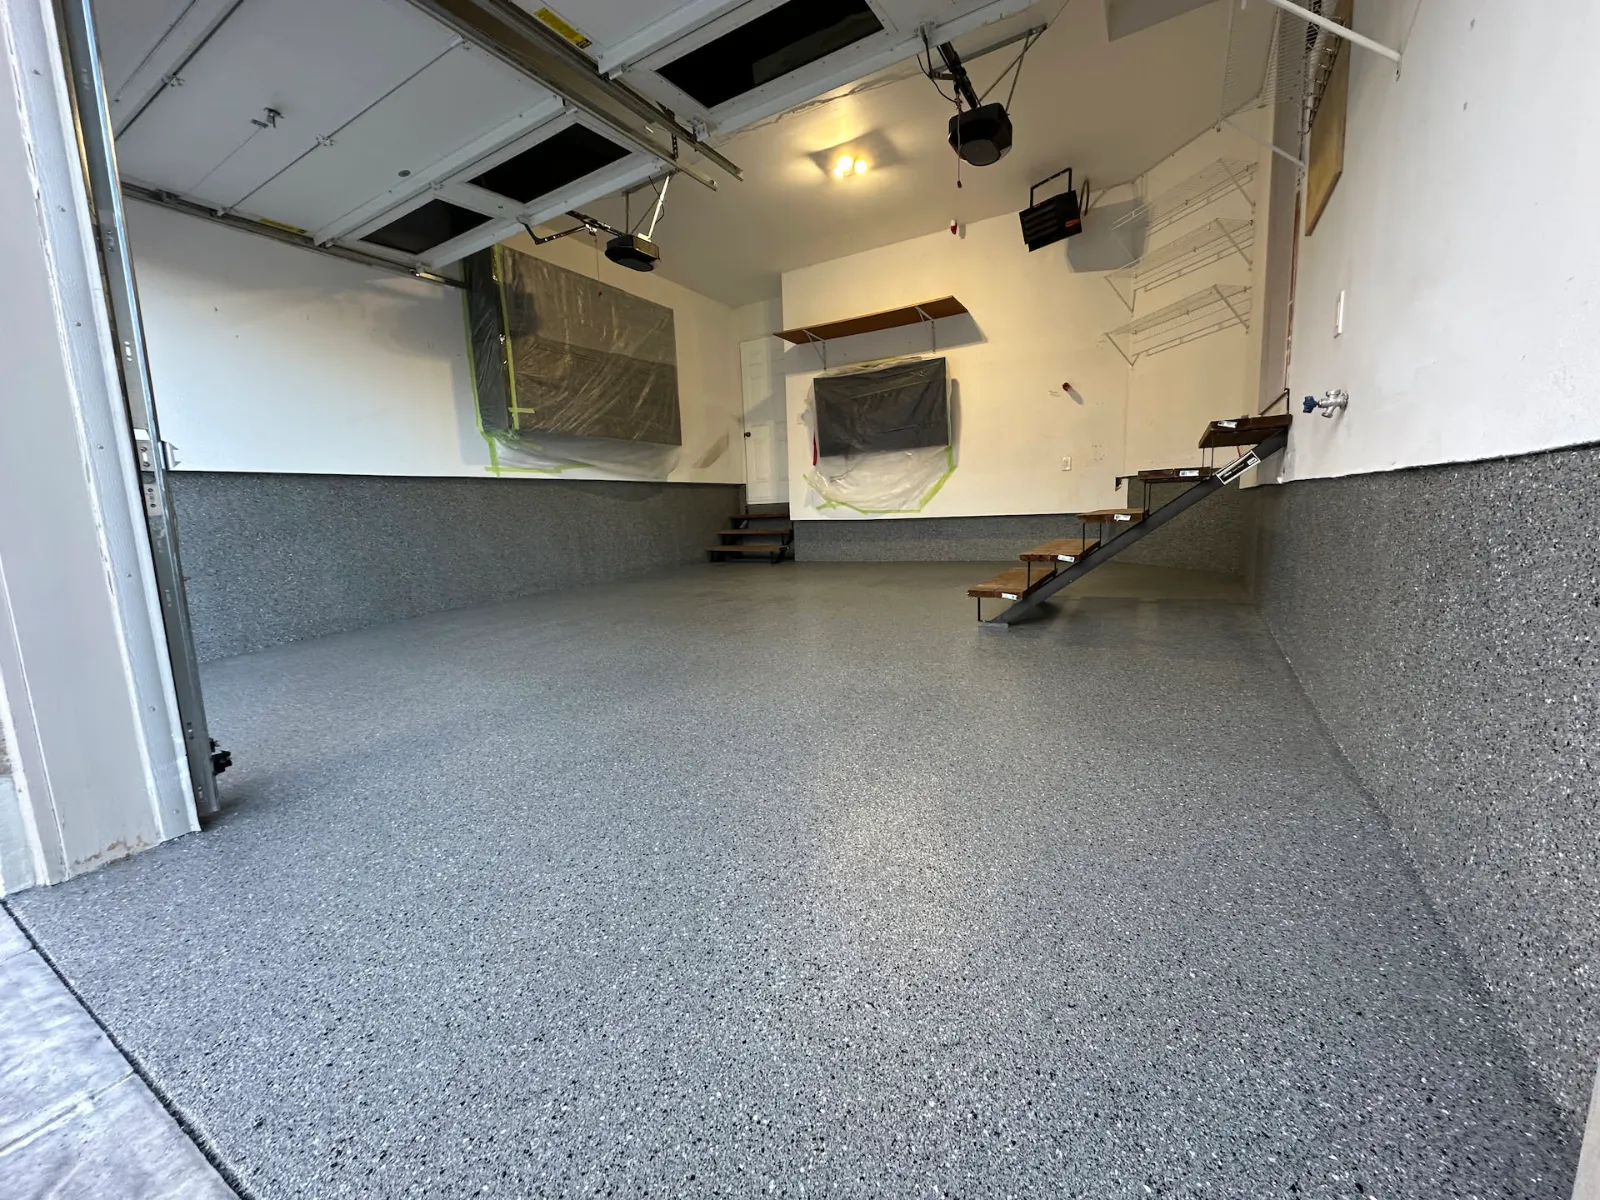
Retail flake floor installed by Epoxy Boss in Orillia, Ontario
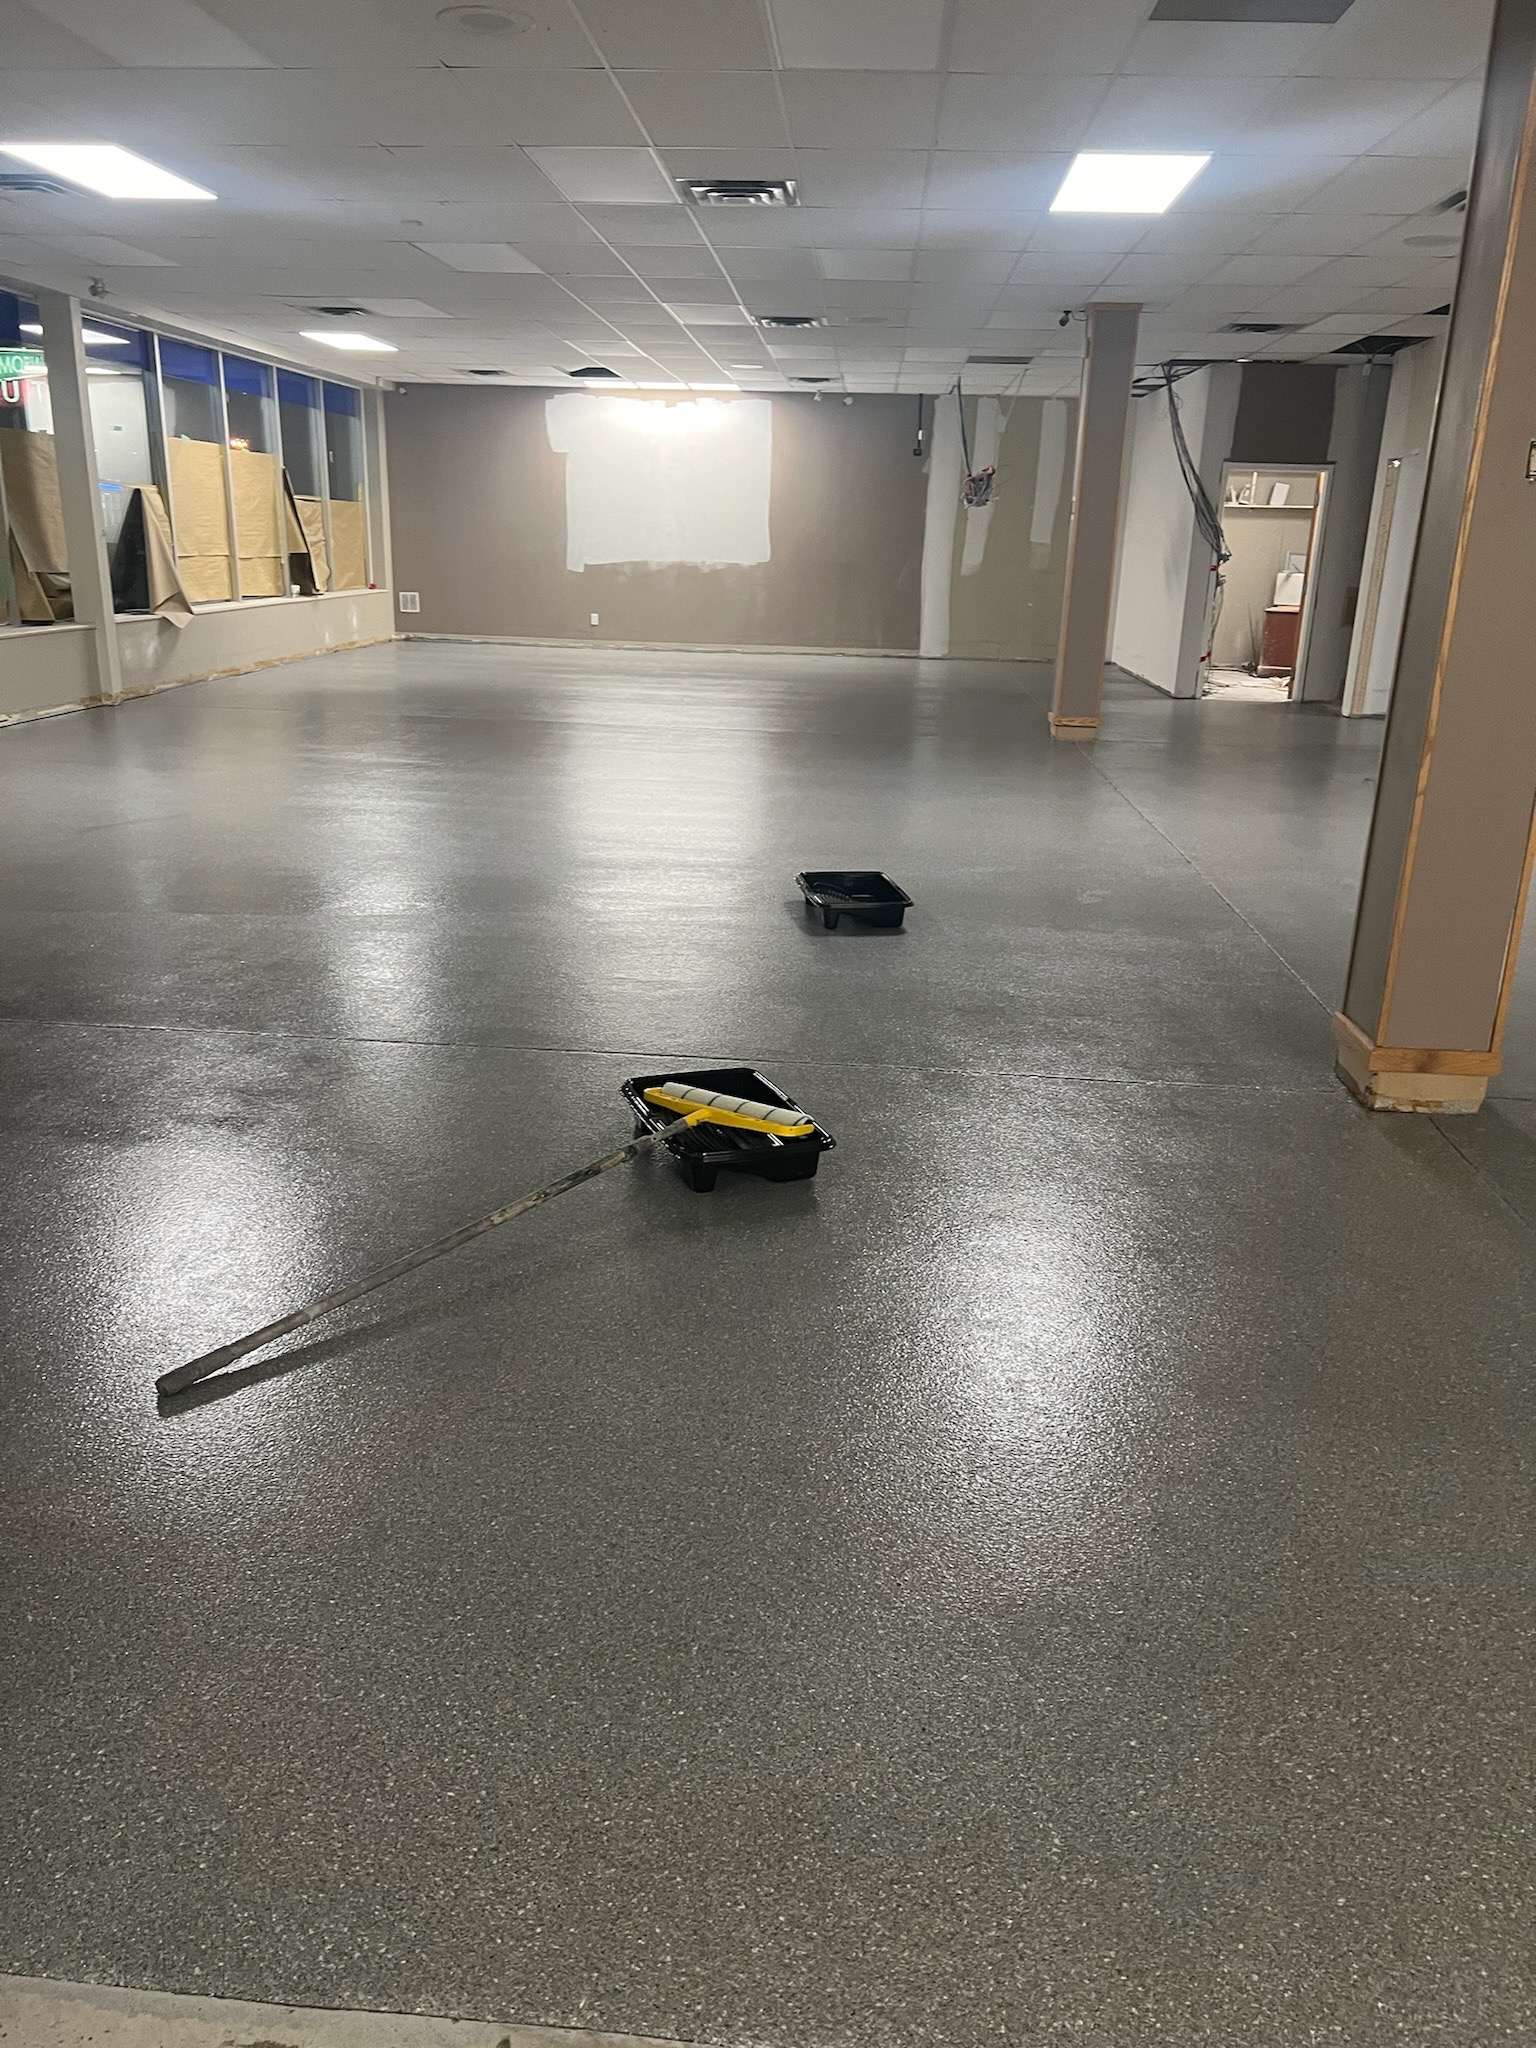
Retail flake floor completed by Epoxy Boss in Orillia
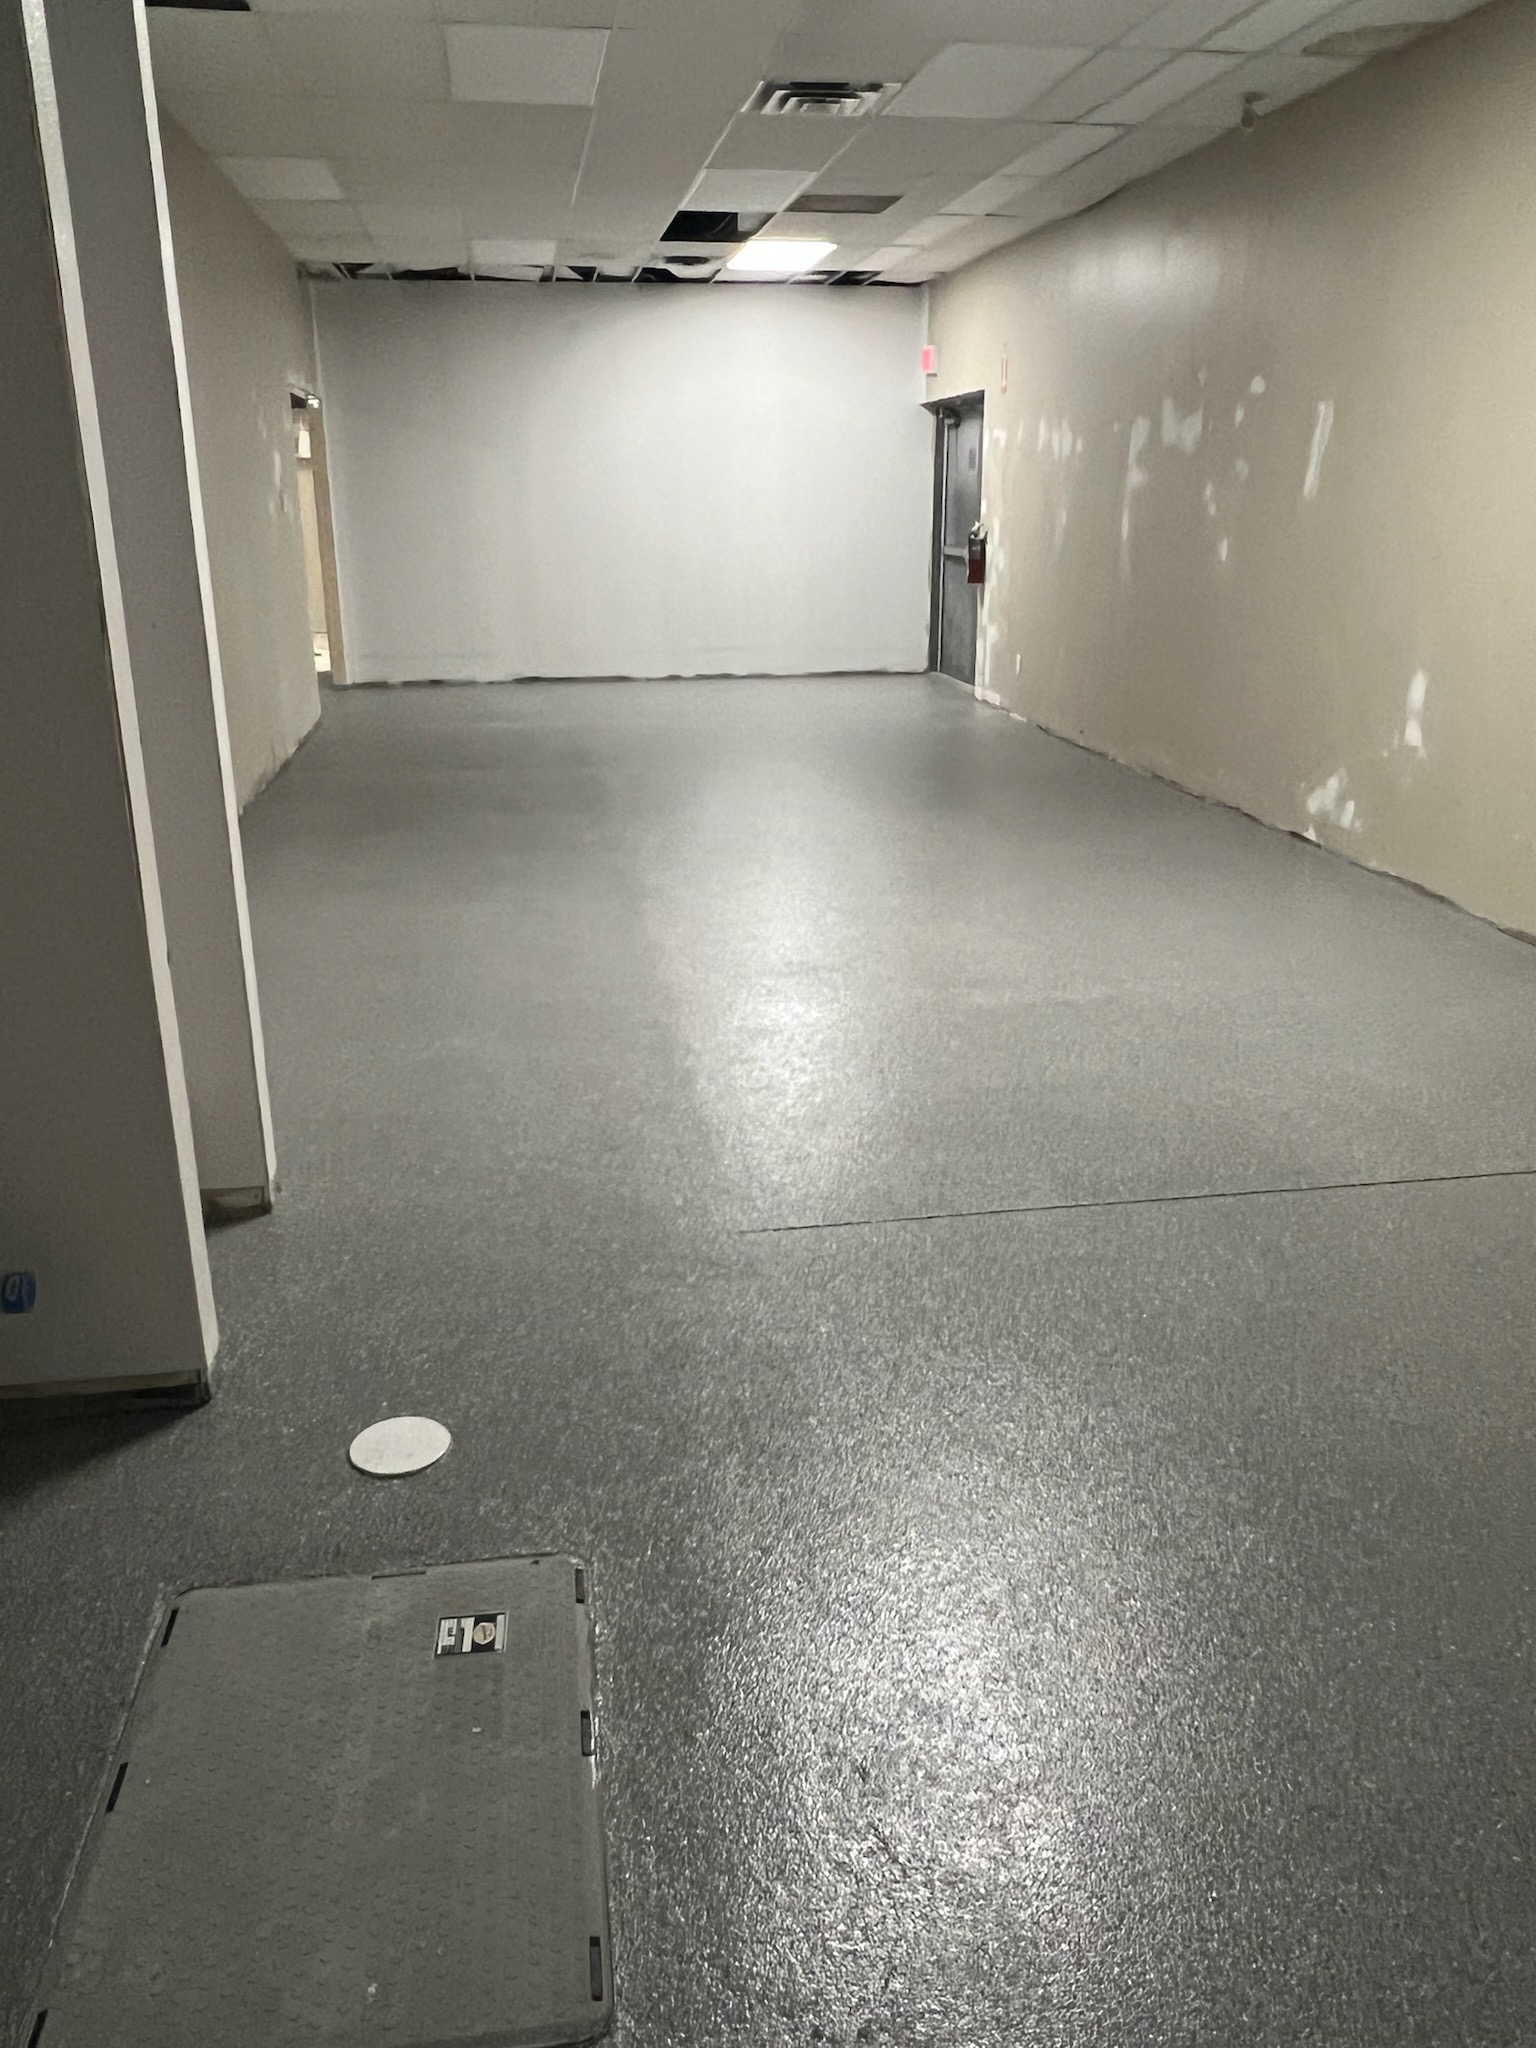
Orillia retail flake floor by Epoxy Boss, Ontario
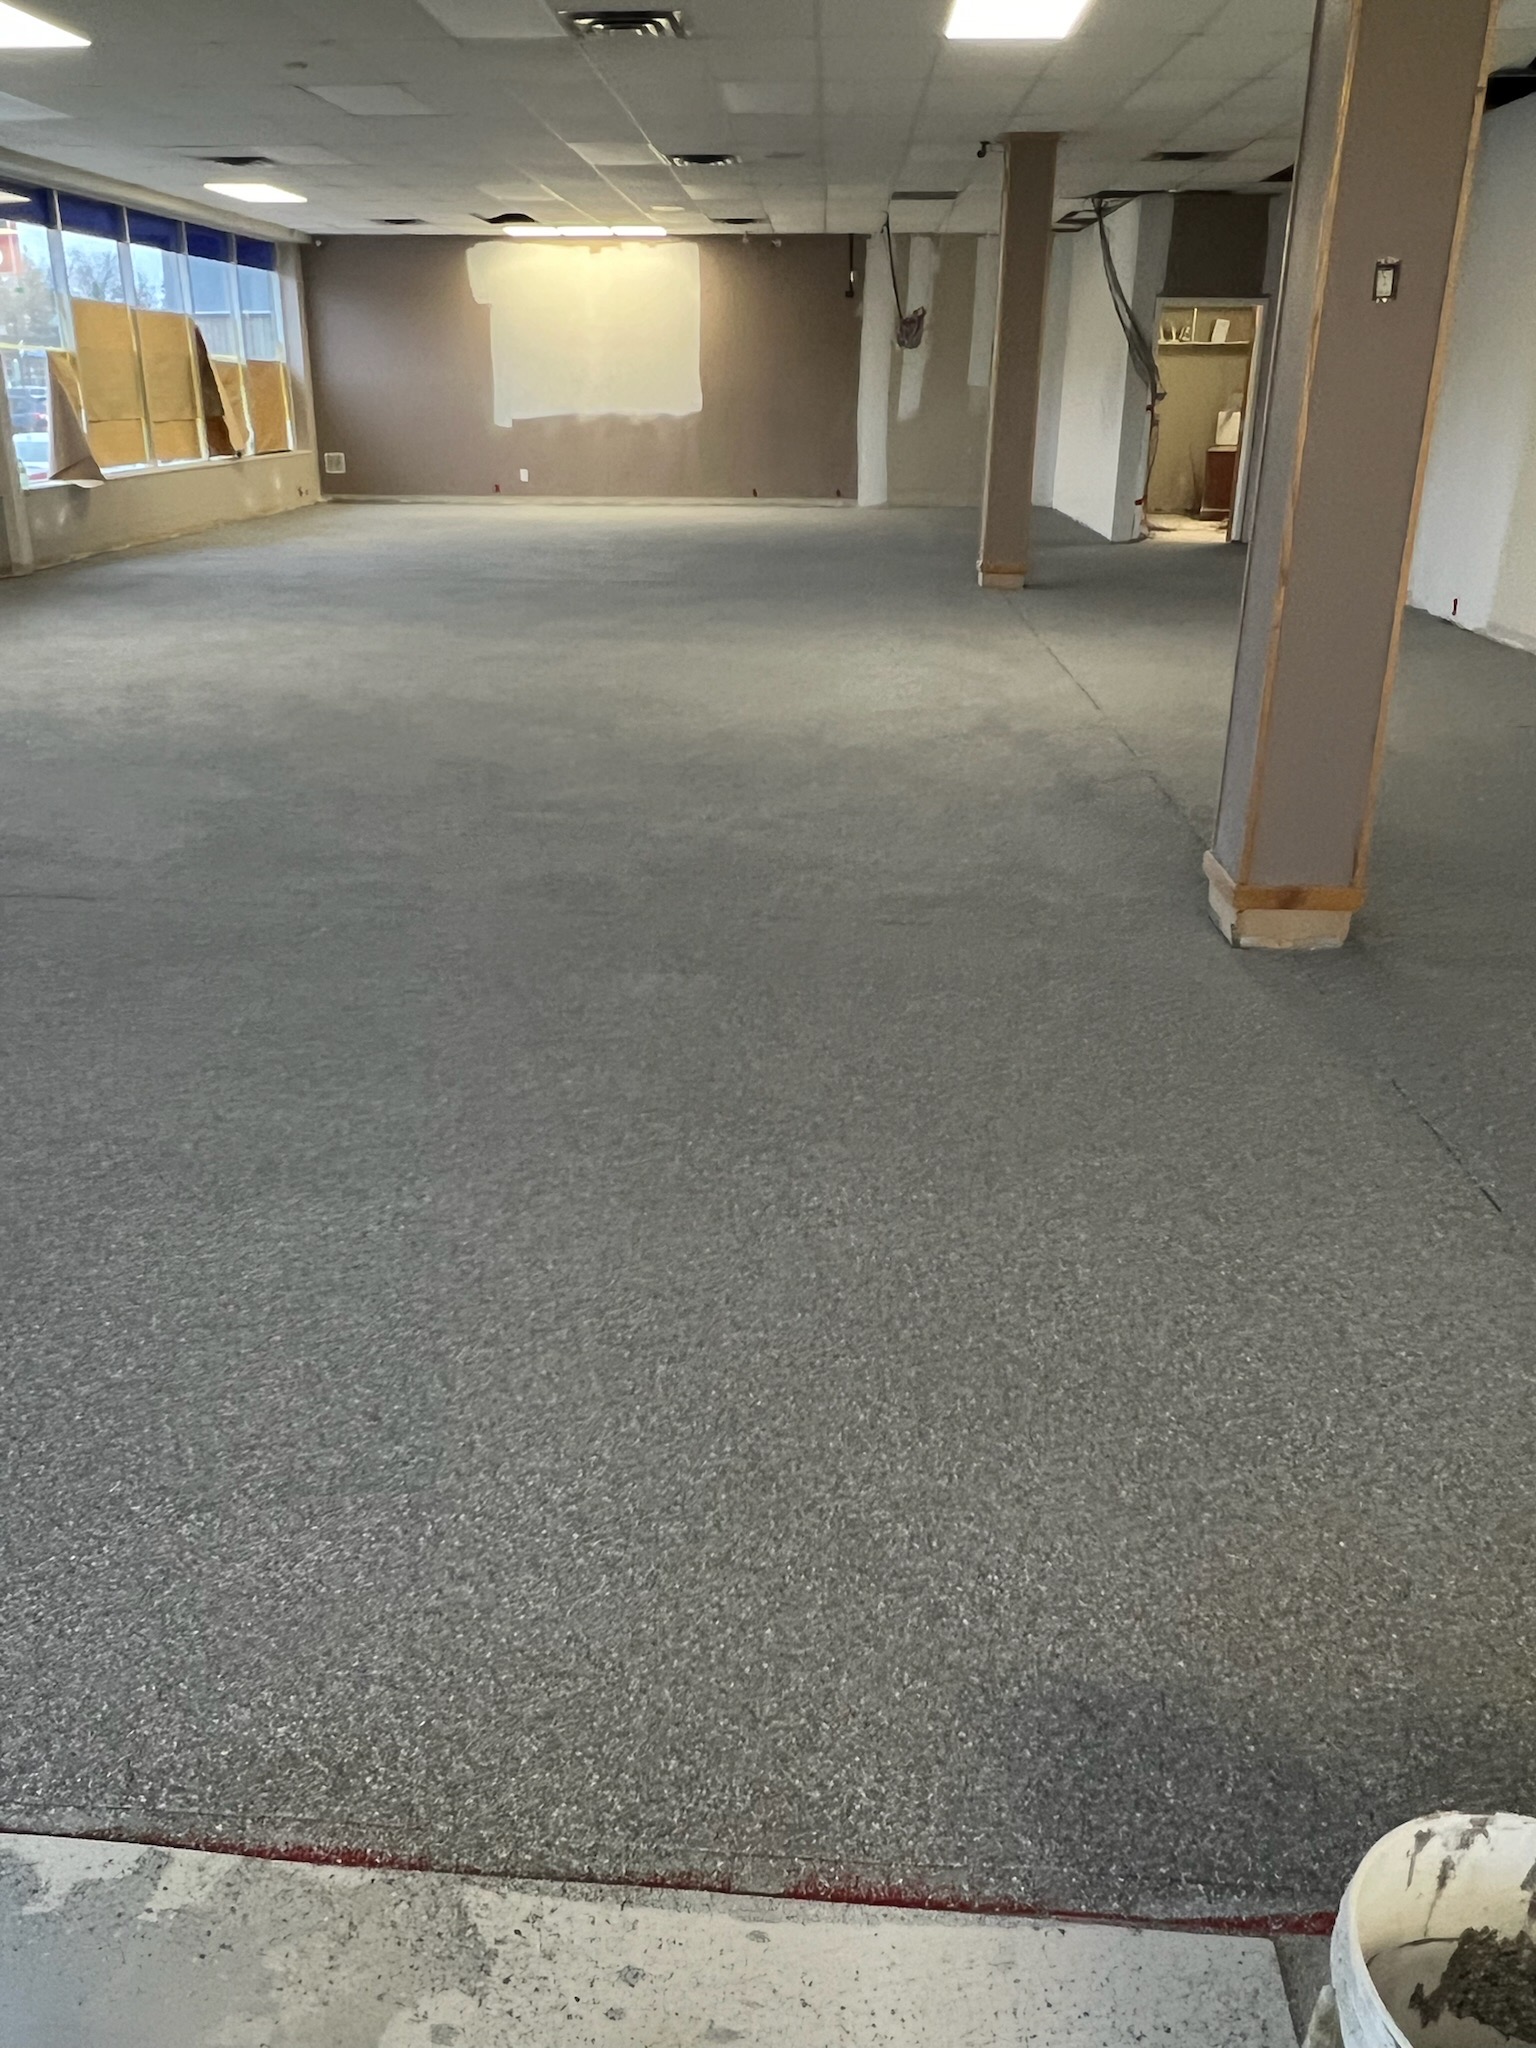
Work on the retail flake floor in Orillia by the Epoxy Boss crew
Retail flake floor by Epoxy Boss, Orillia, Ontario
Retail flake floor installed by Epoxy Boss in Orillia, Ontario
Retail flake floor completed by Epoxy Boss in Orillia
Orillia retail flake floor by Epoxy Boss, Ontario
Work on the retail flake floor in Orillia by the Epoxy Boss crew
Retail flake floor by Epoxy Boss, Orillia, Ontario
Retail flake floor installed by Epoxy Boss in Orillia, Ontario
Retail flake floor completed by Epoxy Boss in Orillia
Orillia retail flake floor by Epoxy Boss, Ontario

Description

Problem & Solution: From Worn-Out to Wow-Worthy!

The Problem:

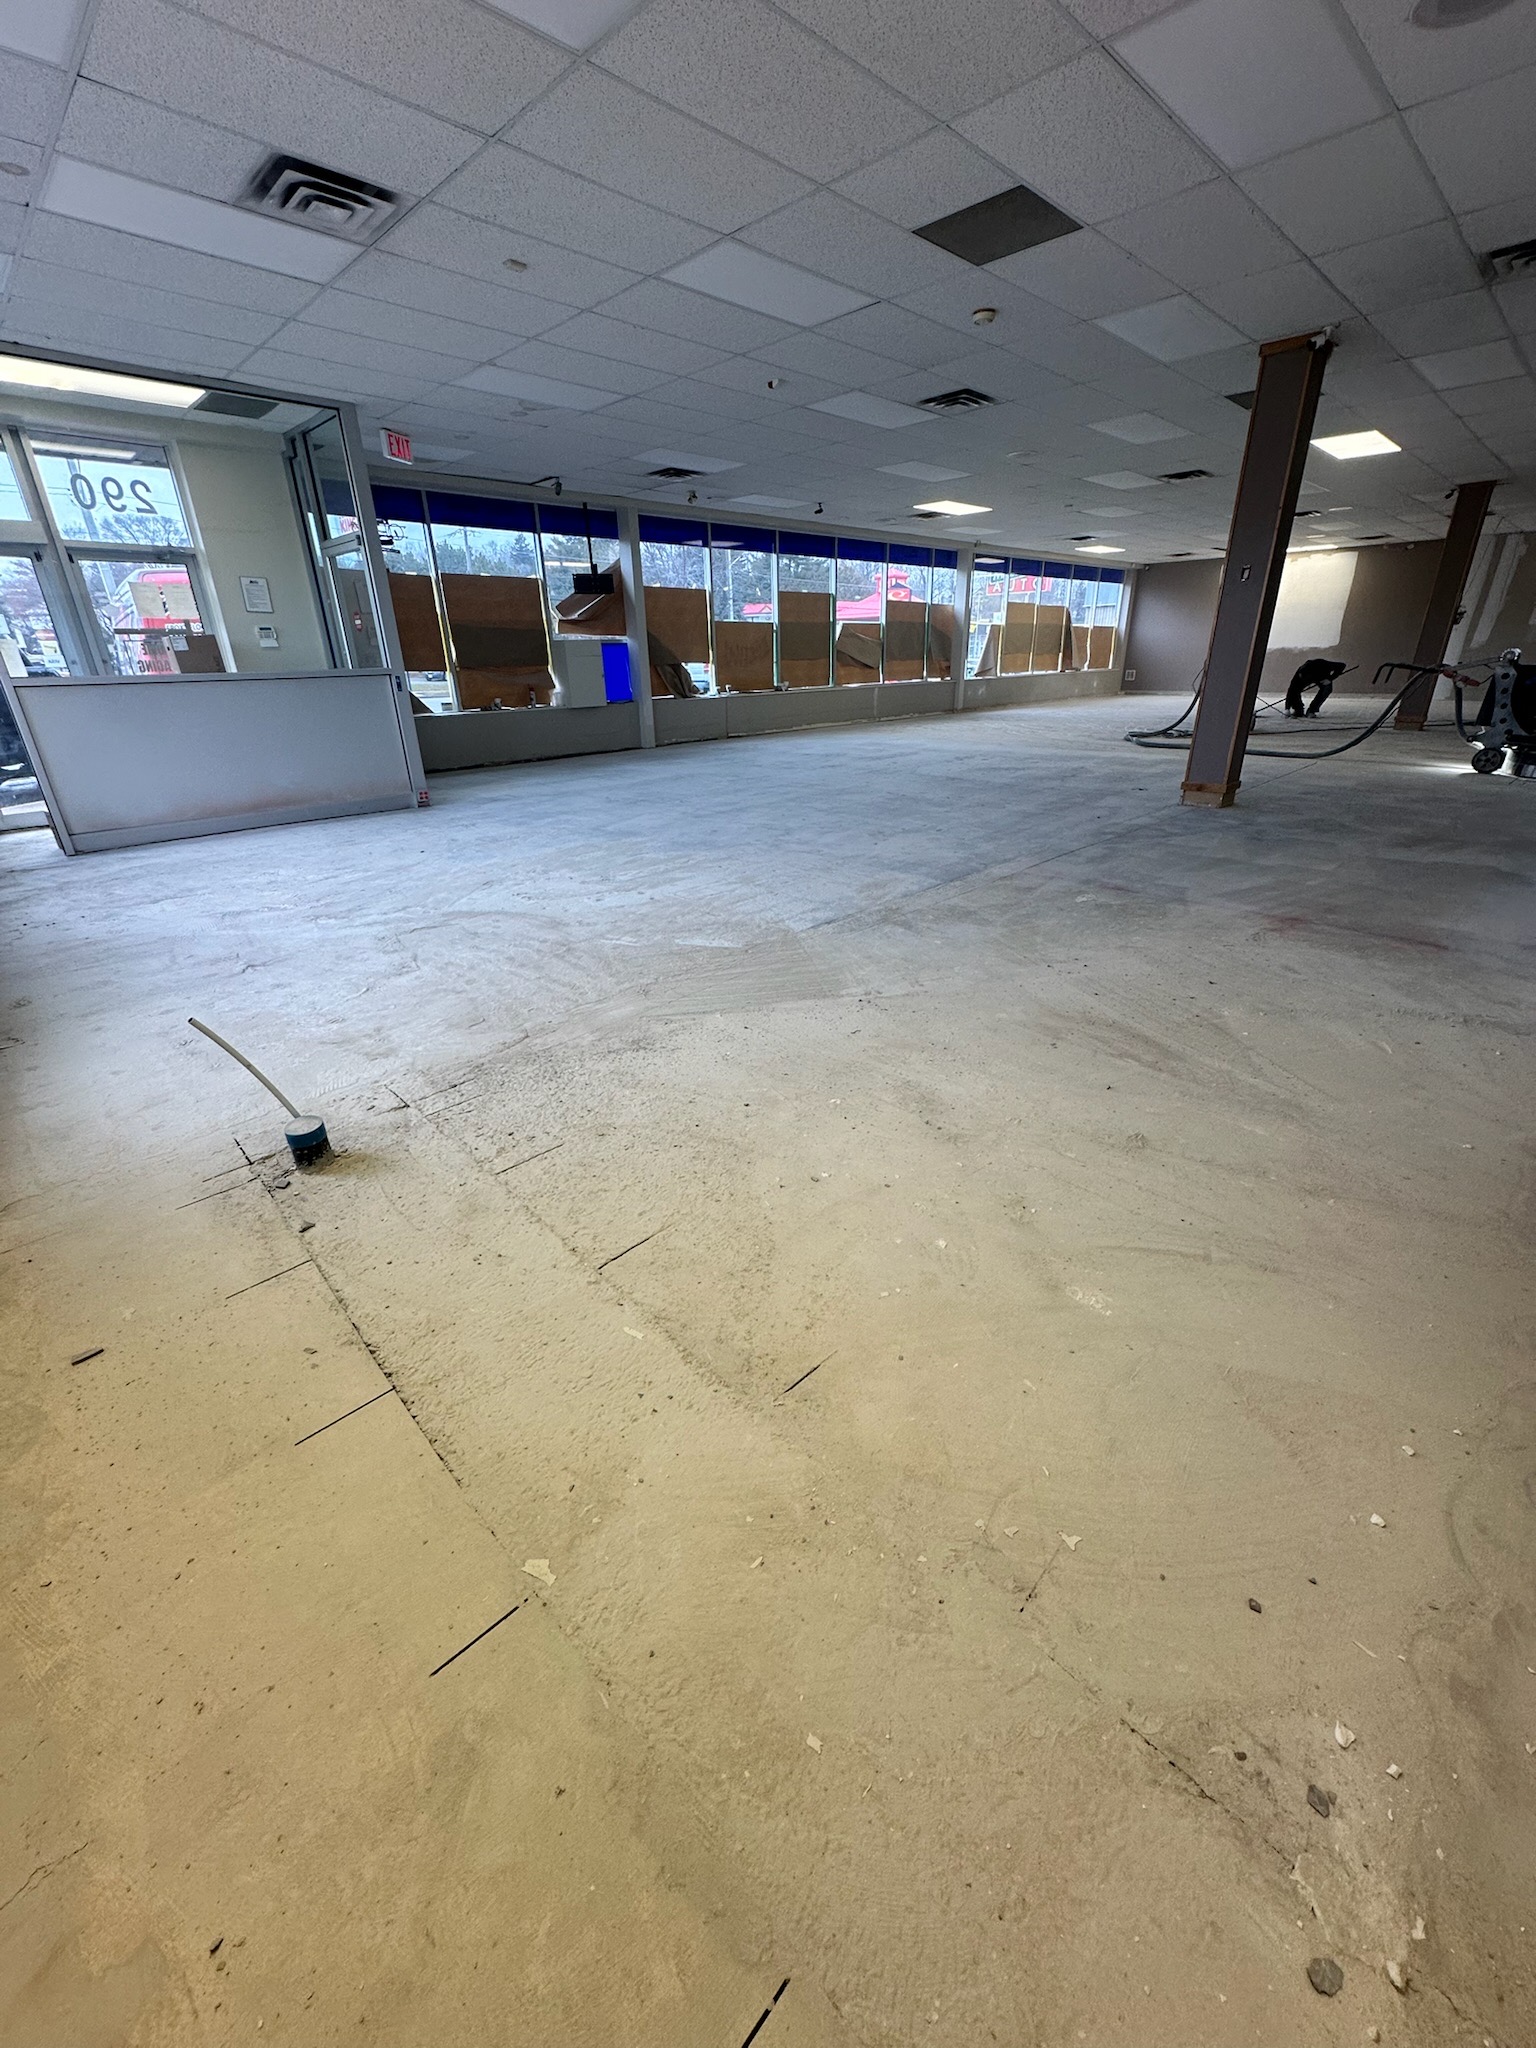
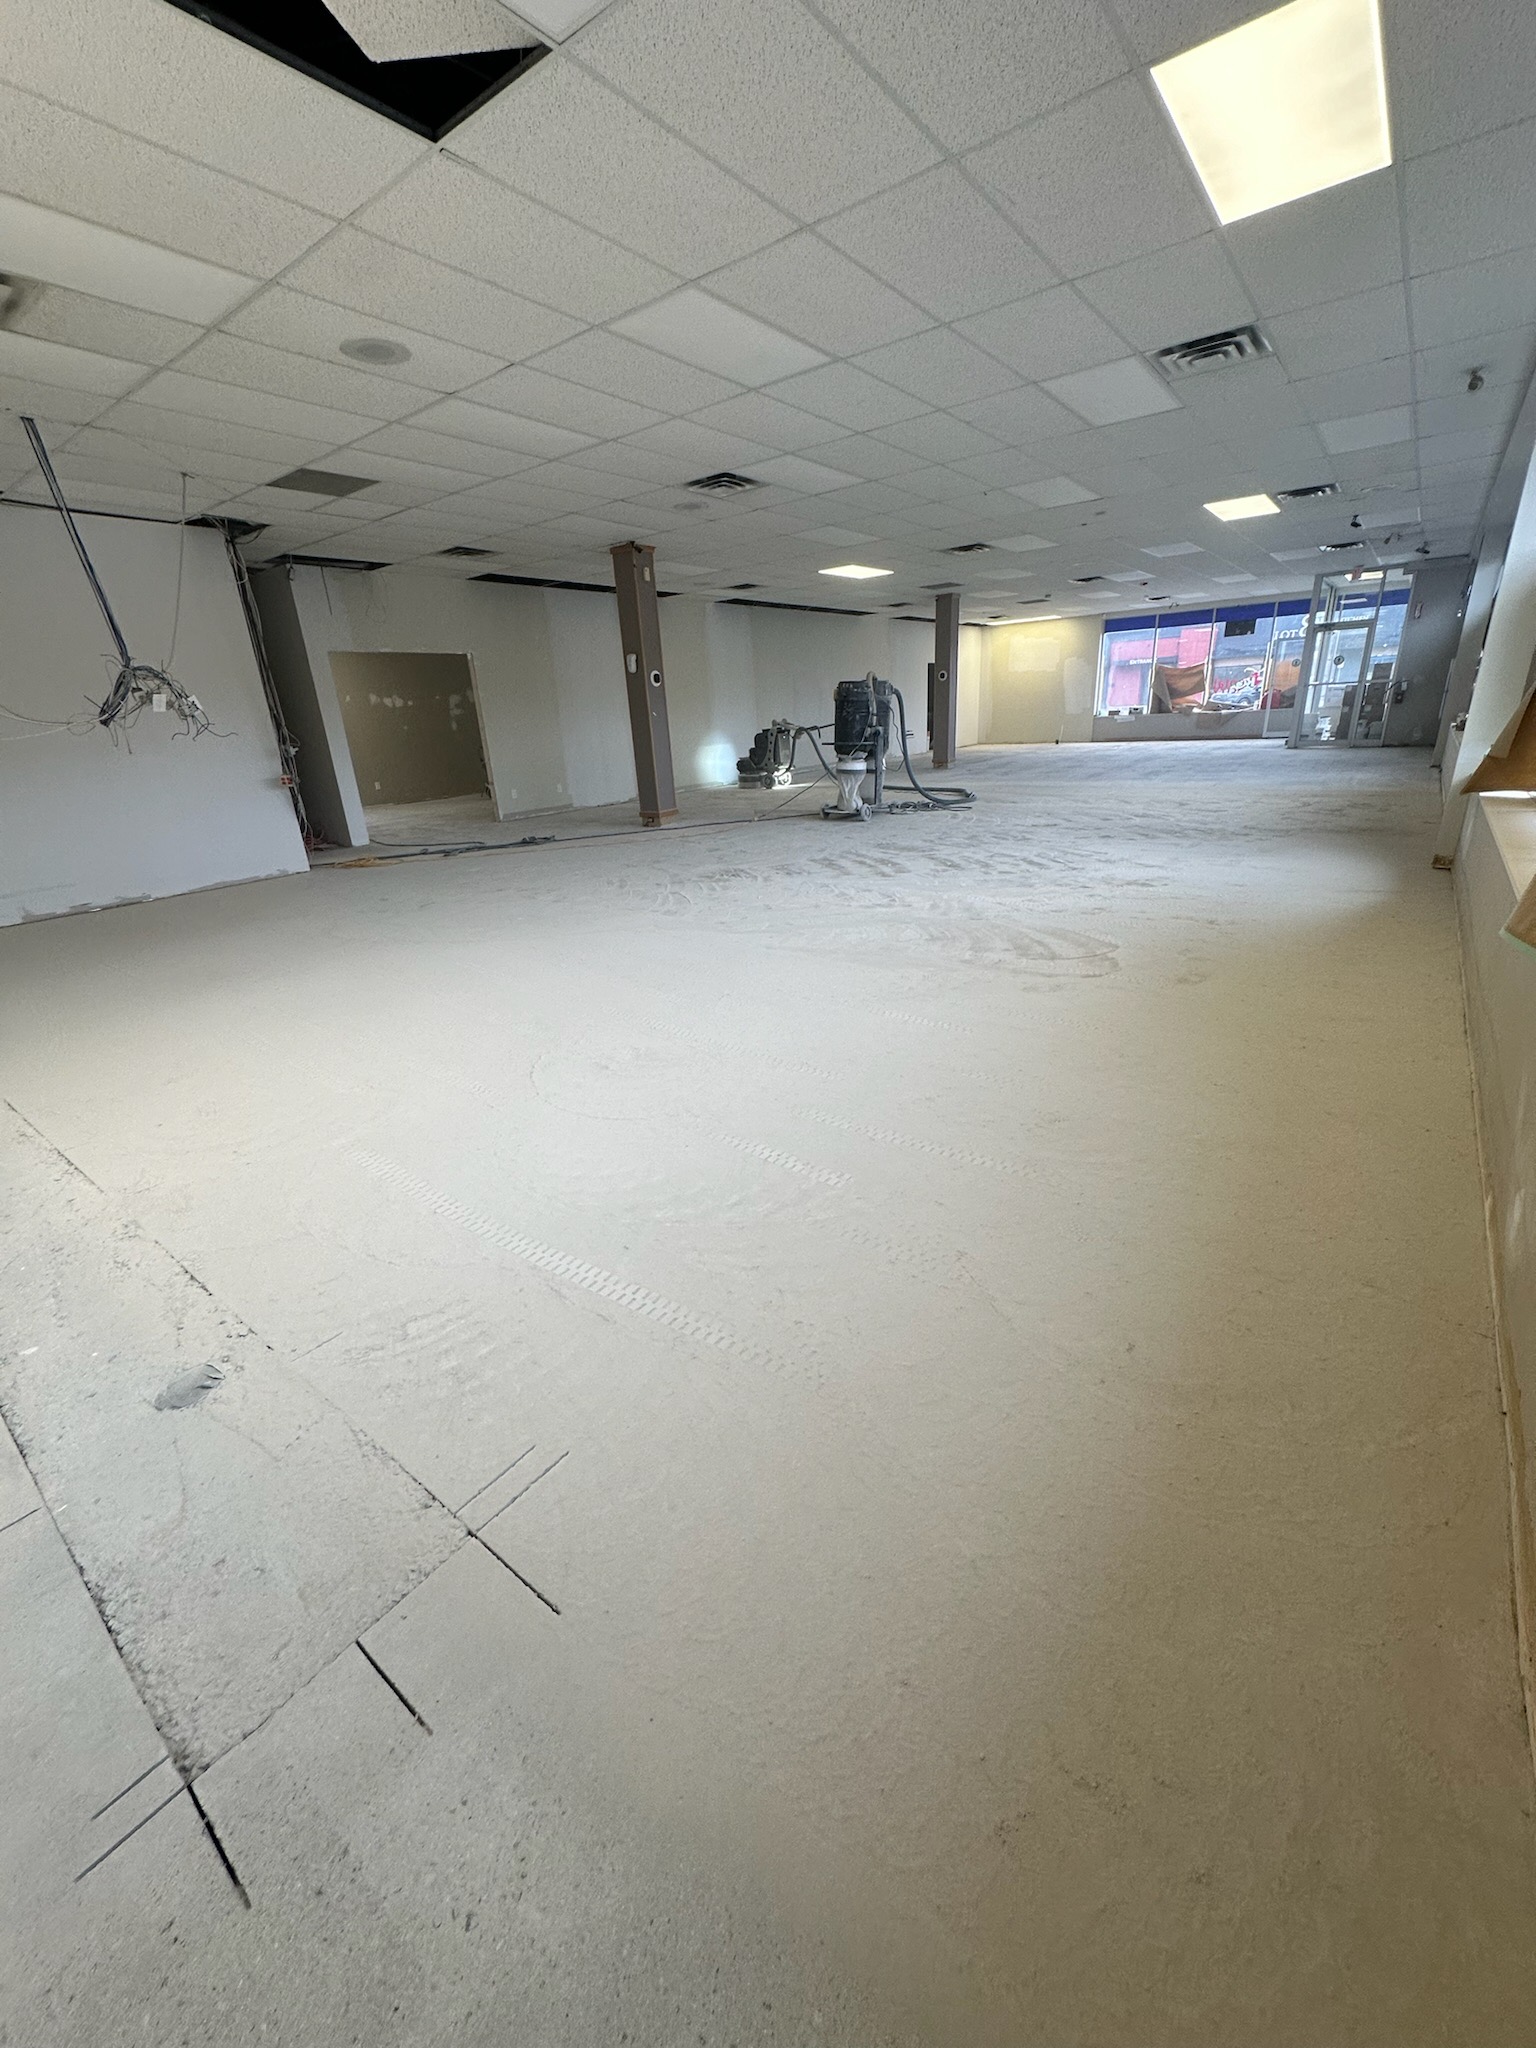
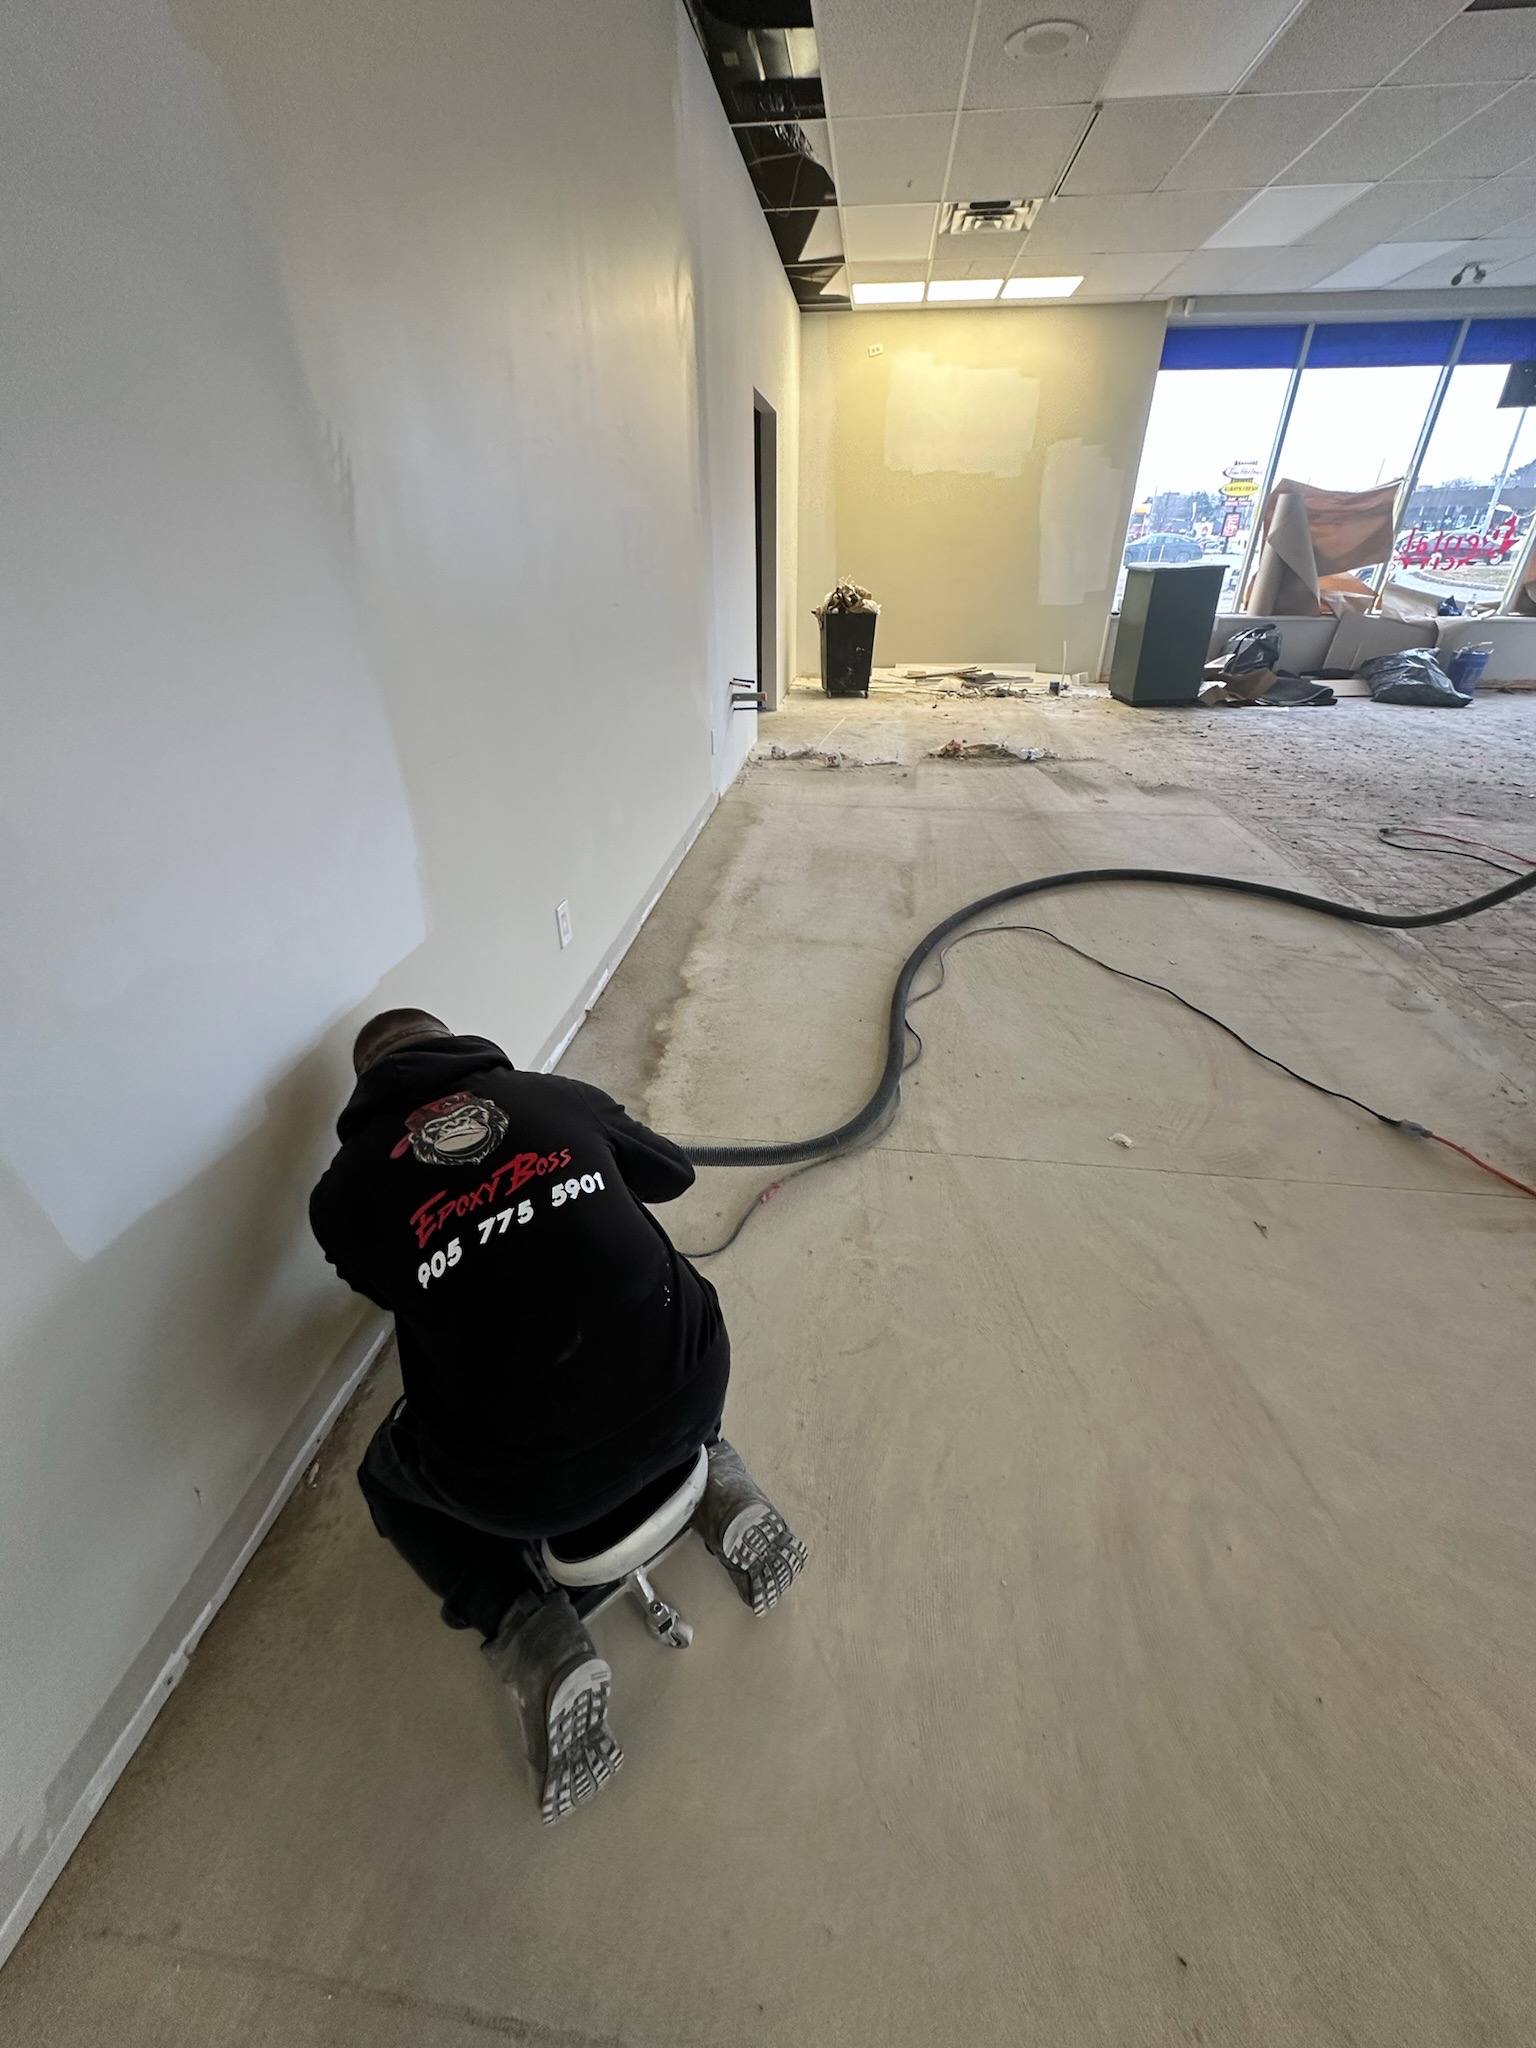
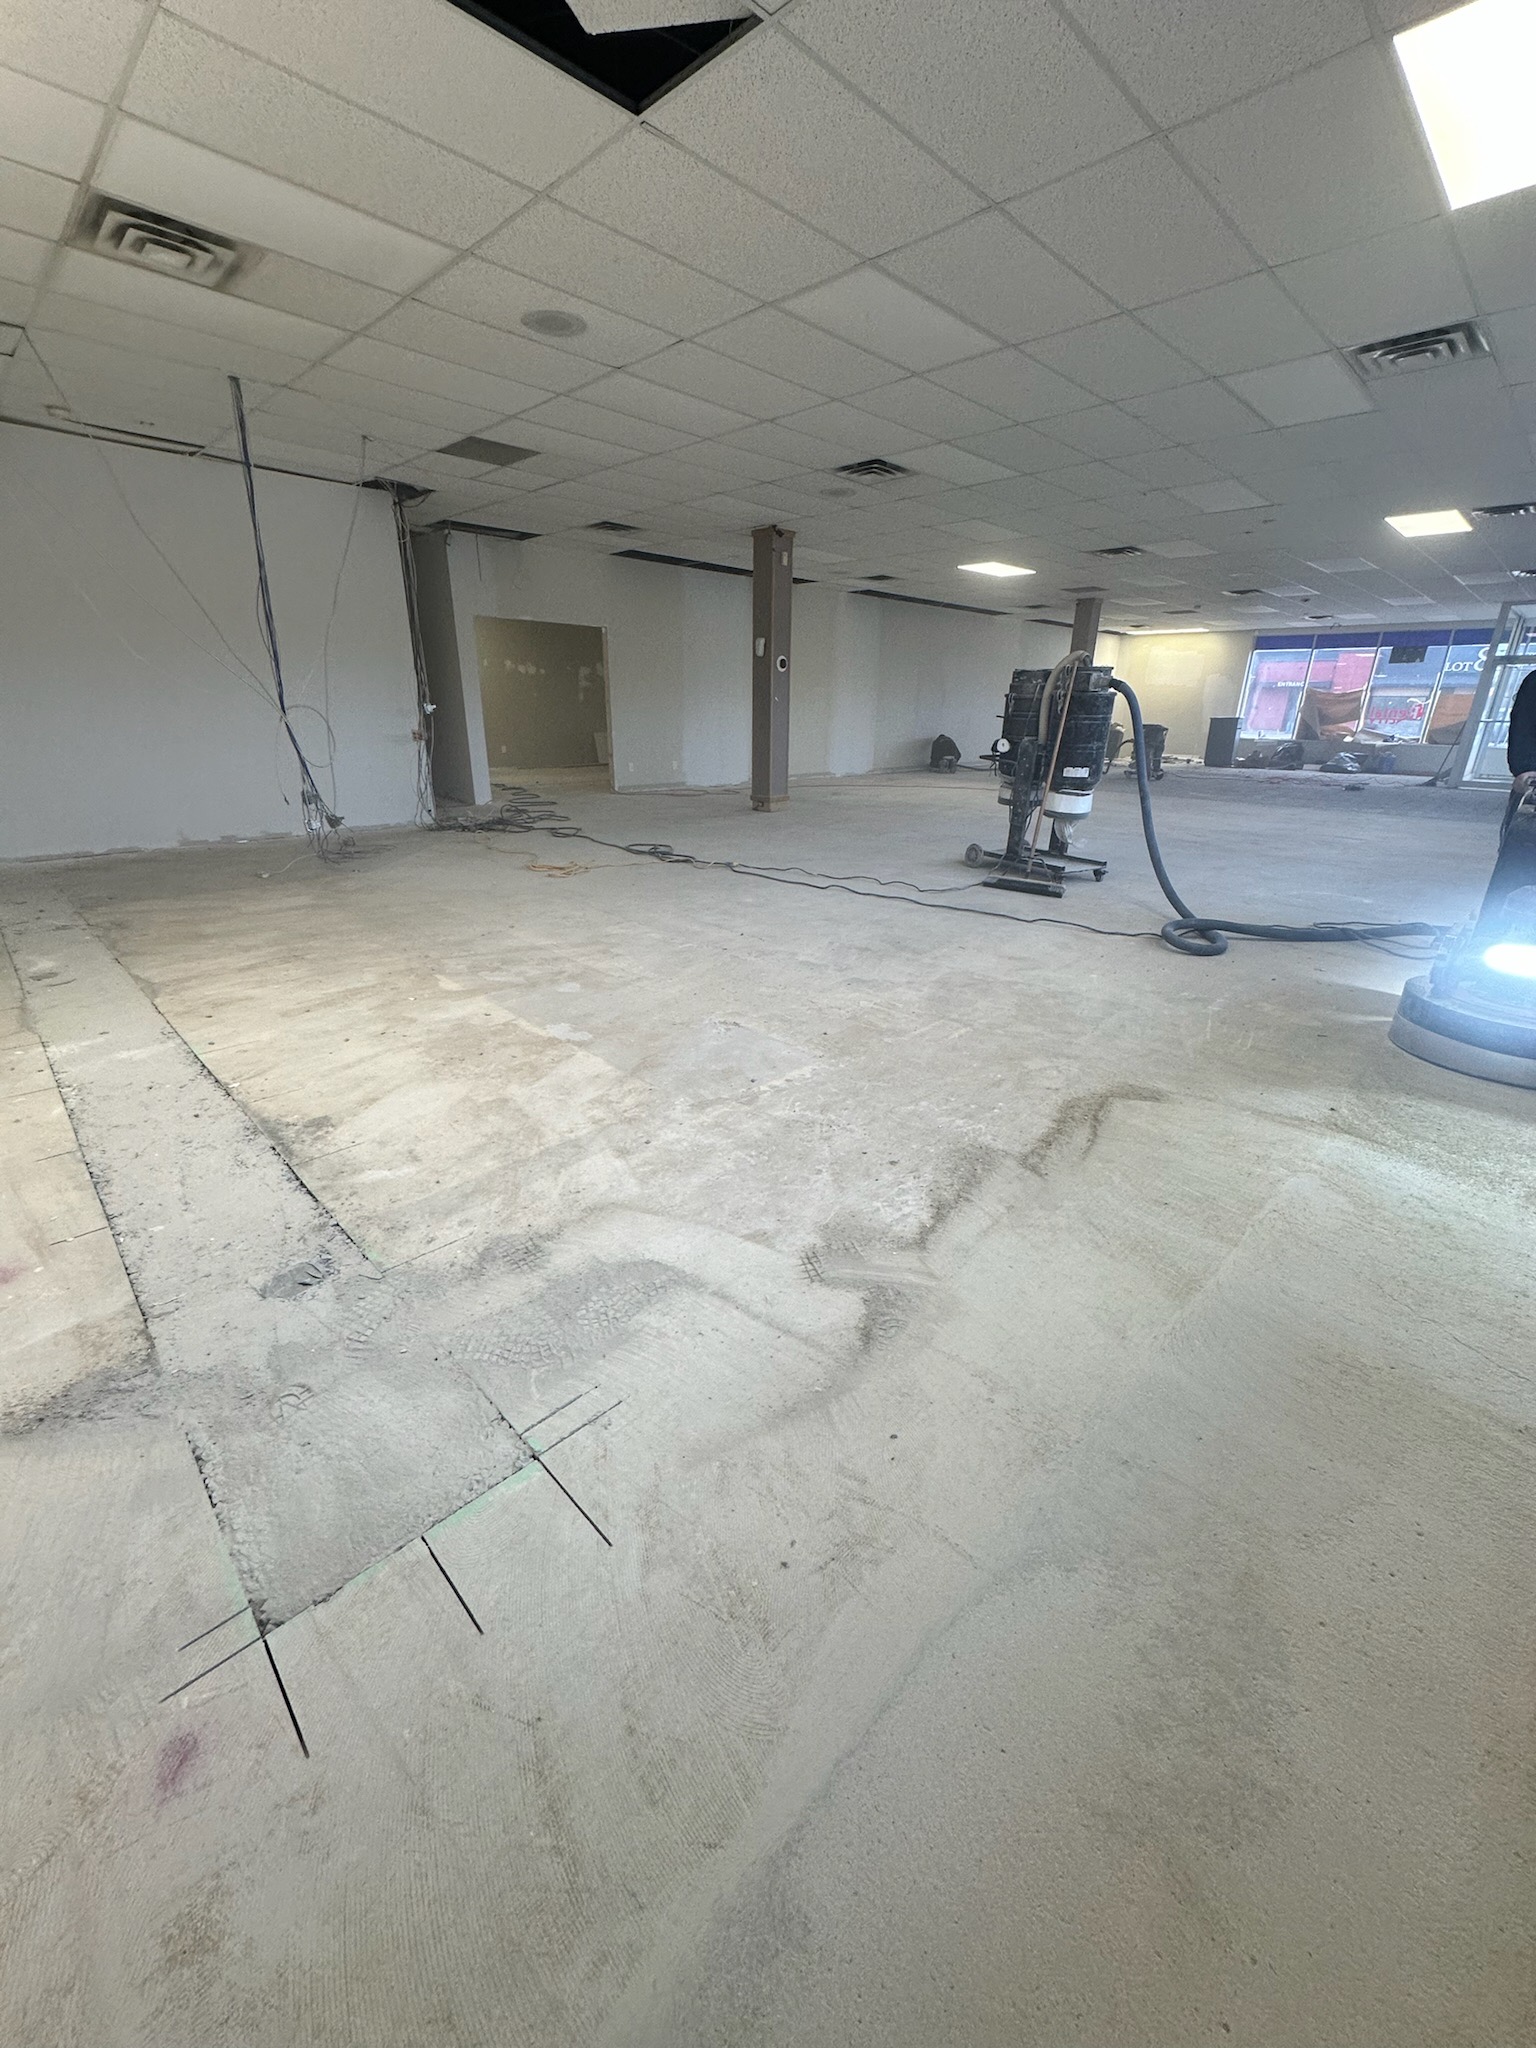
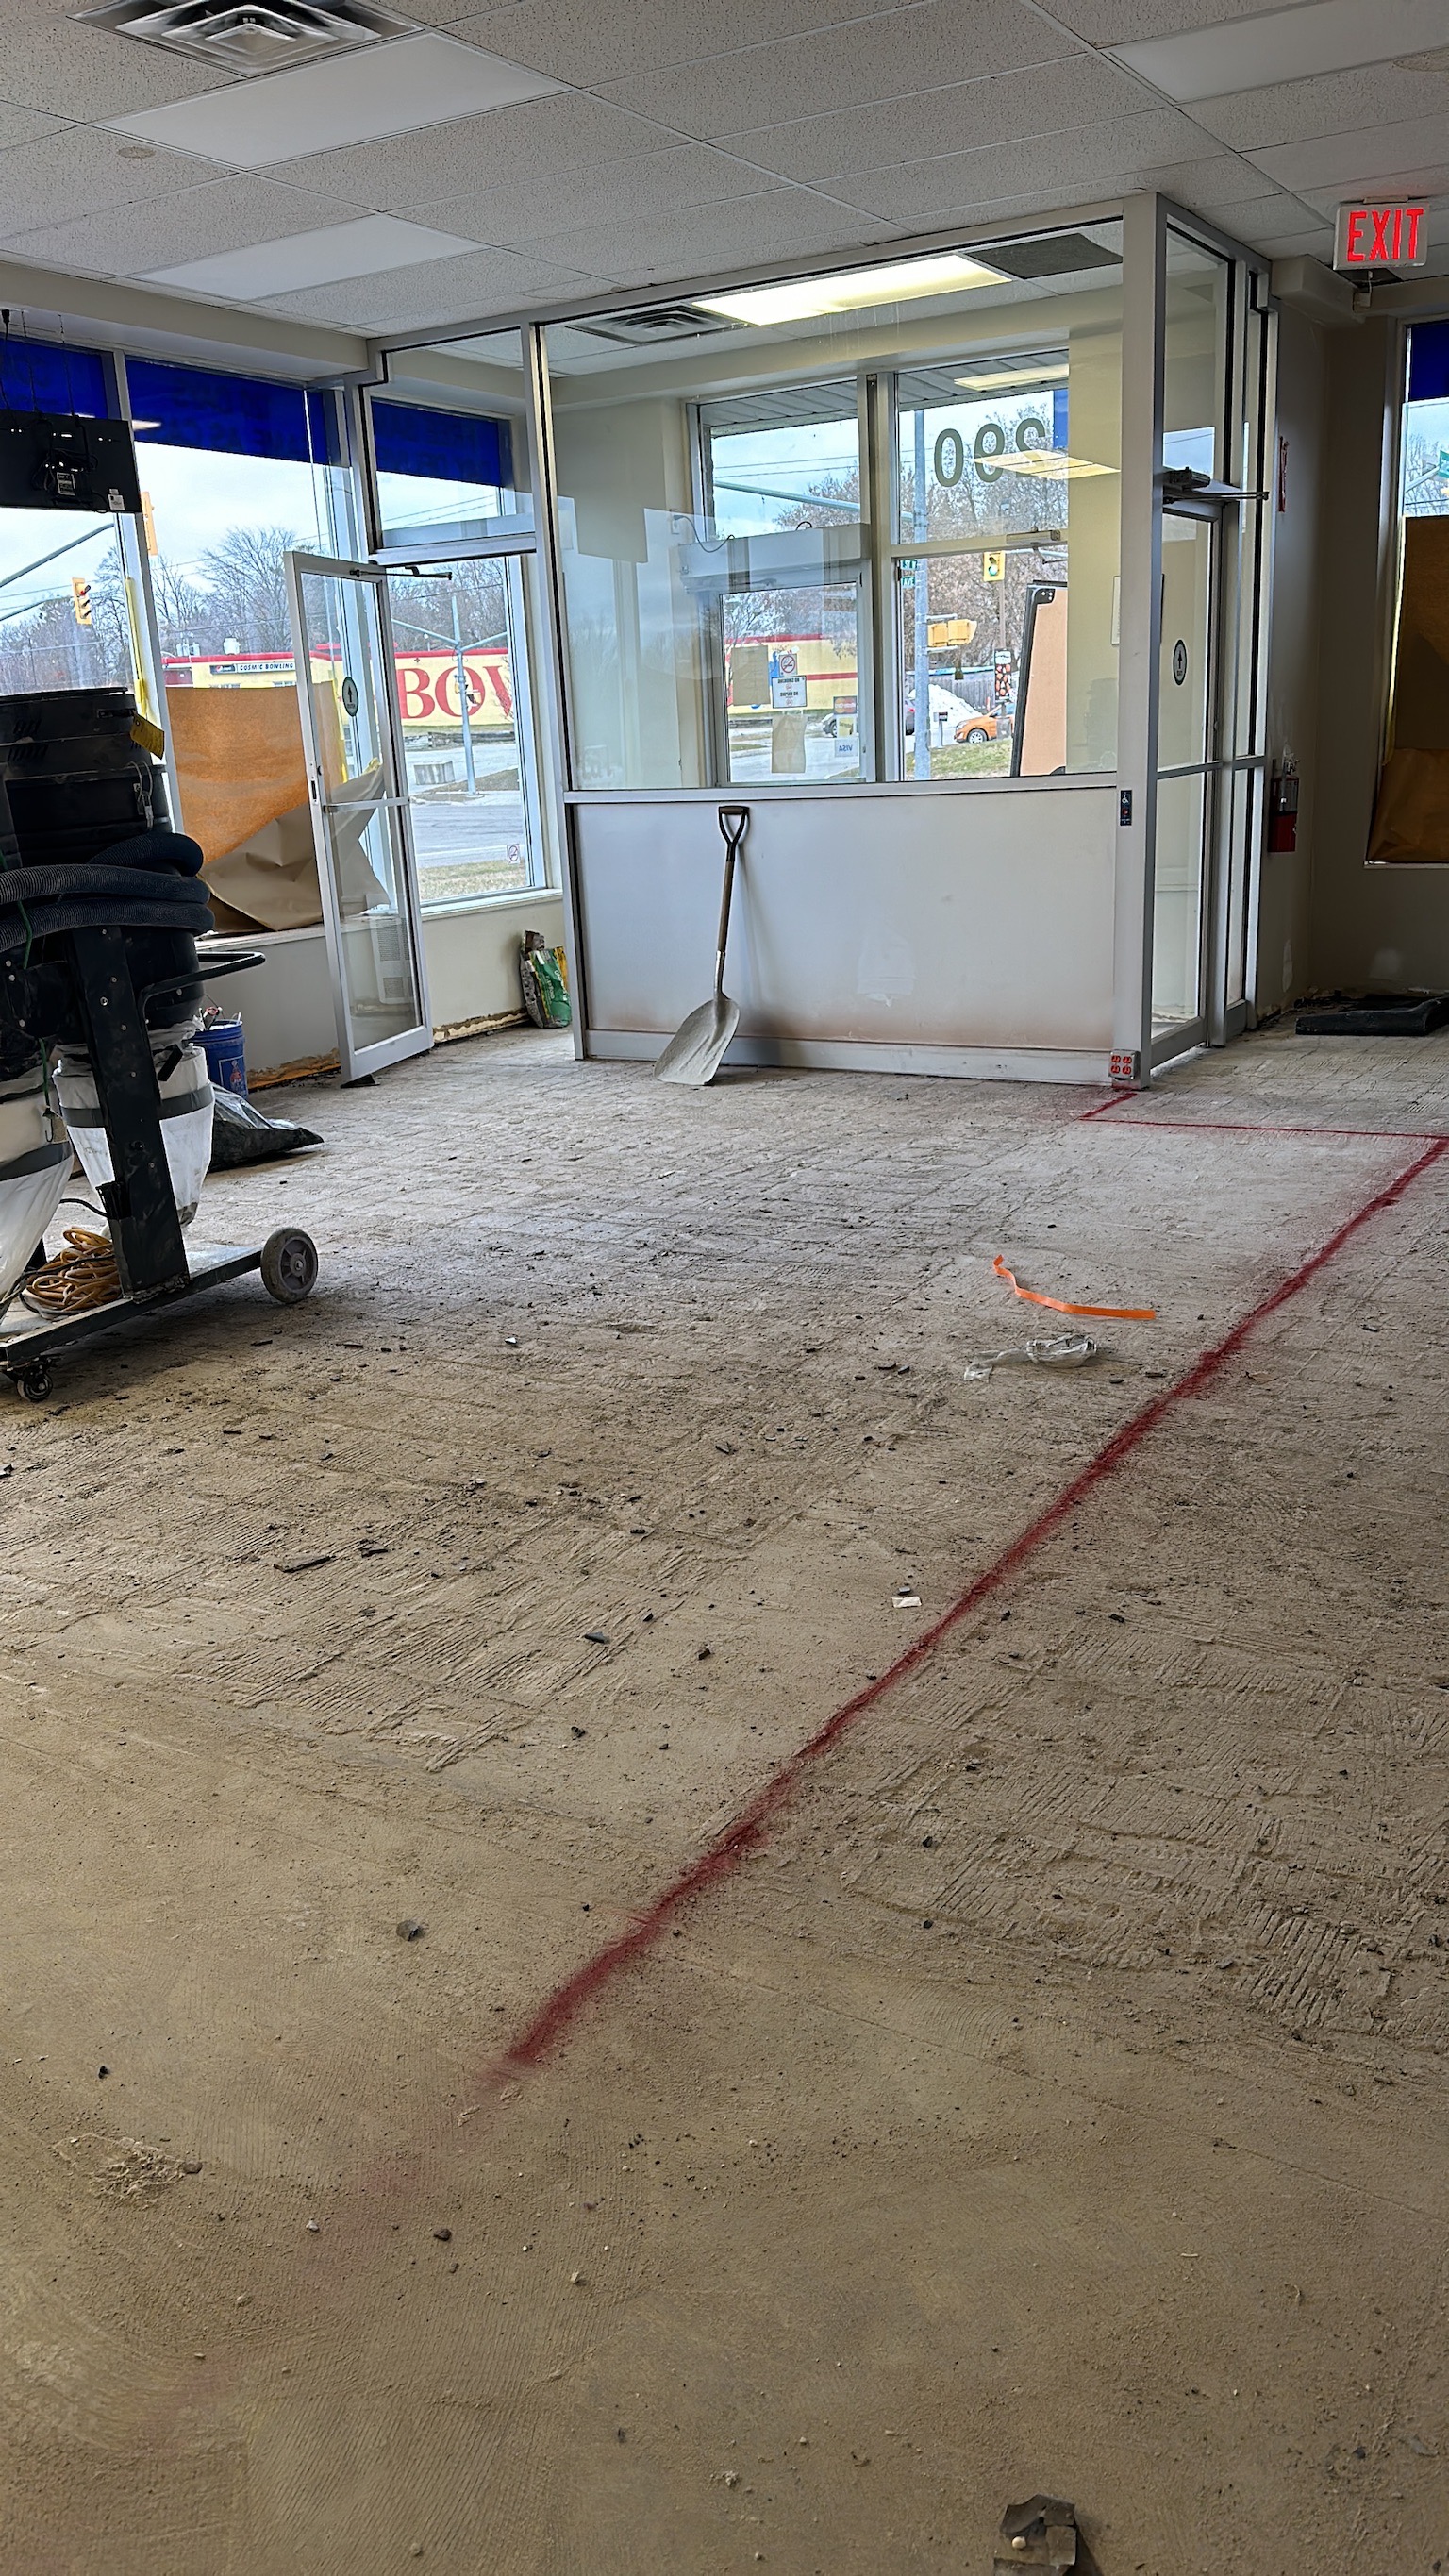
The client’s 2,800 sqft retail space in Orillia was in dire need of a flooring revival. The surface was covered in stubborn tile bonding material residue, clinging like a relic of the past, making any new installation nearly impossible. Beneath it, the concrete was uneven, worn down, and lacking the durability needed for a high-traffic retail environment. The space needed a complete transformation, both in strength and aesthetics, to match the client’s vision.

The Solution:

Epoxy Boss stepped in with the ultimate Flake System Upgrade! Why? Because this system isn’t just about looks—it’s built to last, withstand high traffic, and provide long-term resilience.

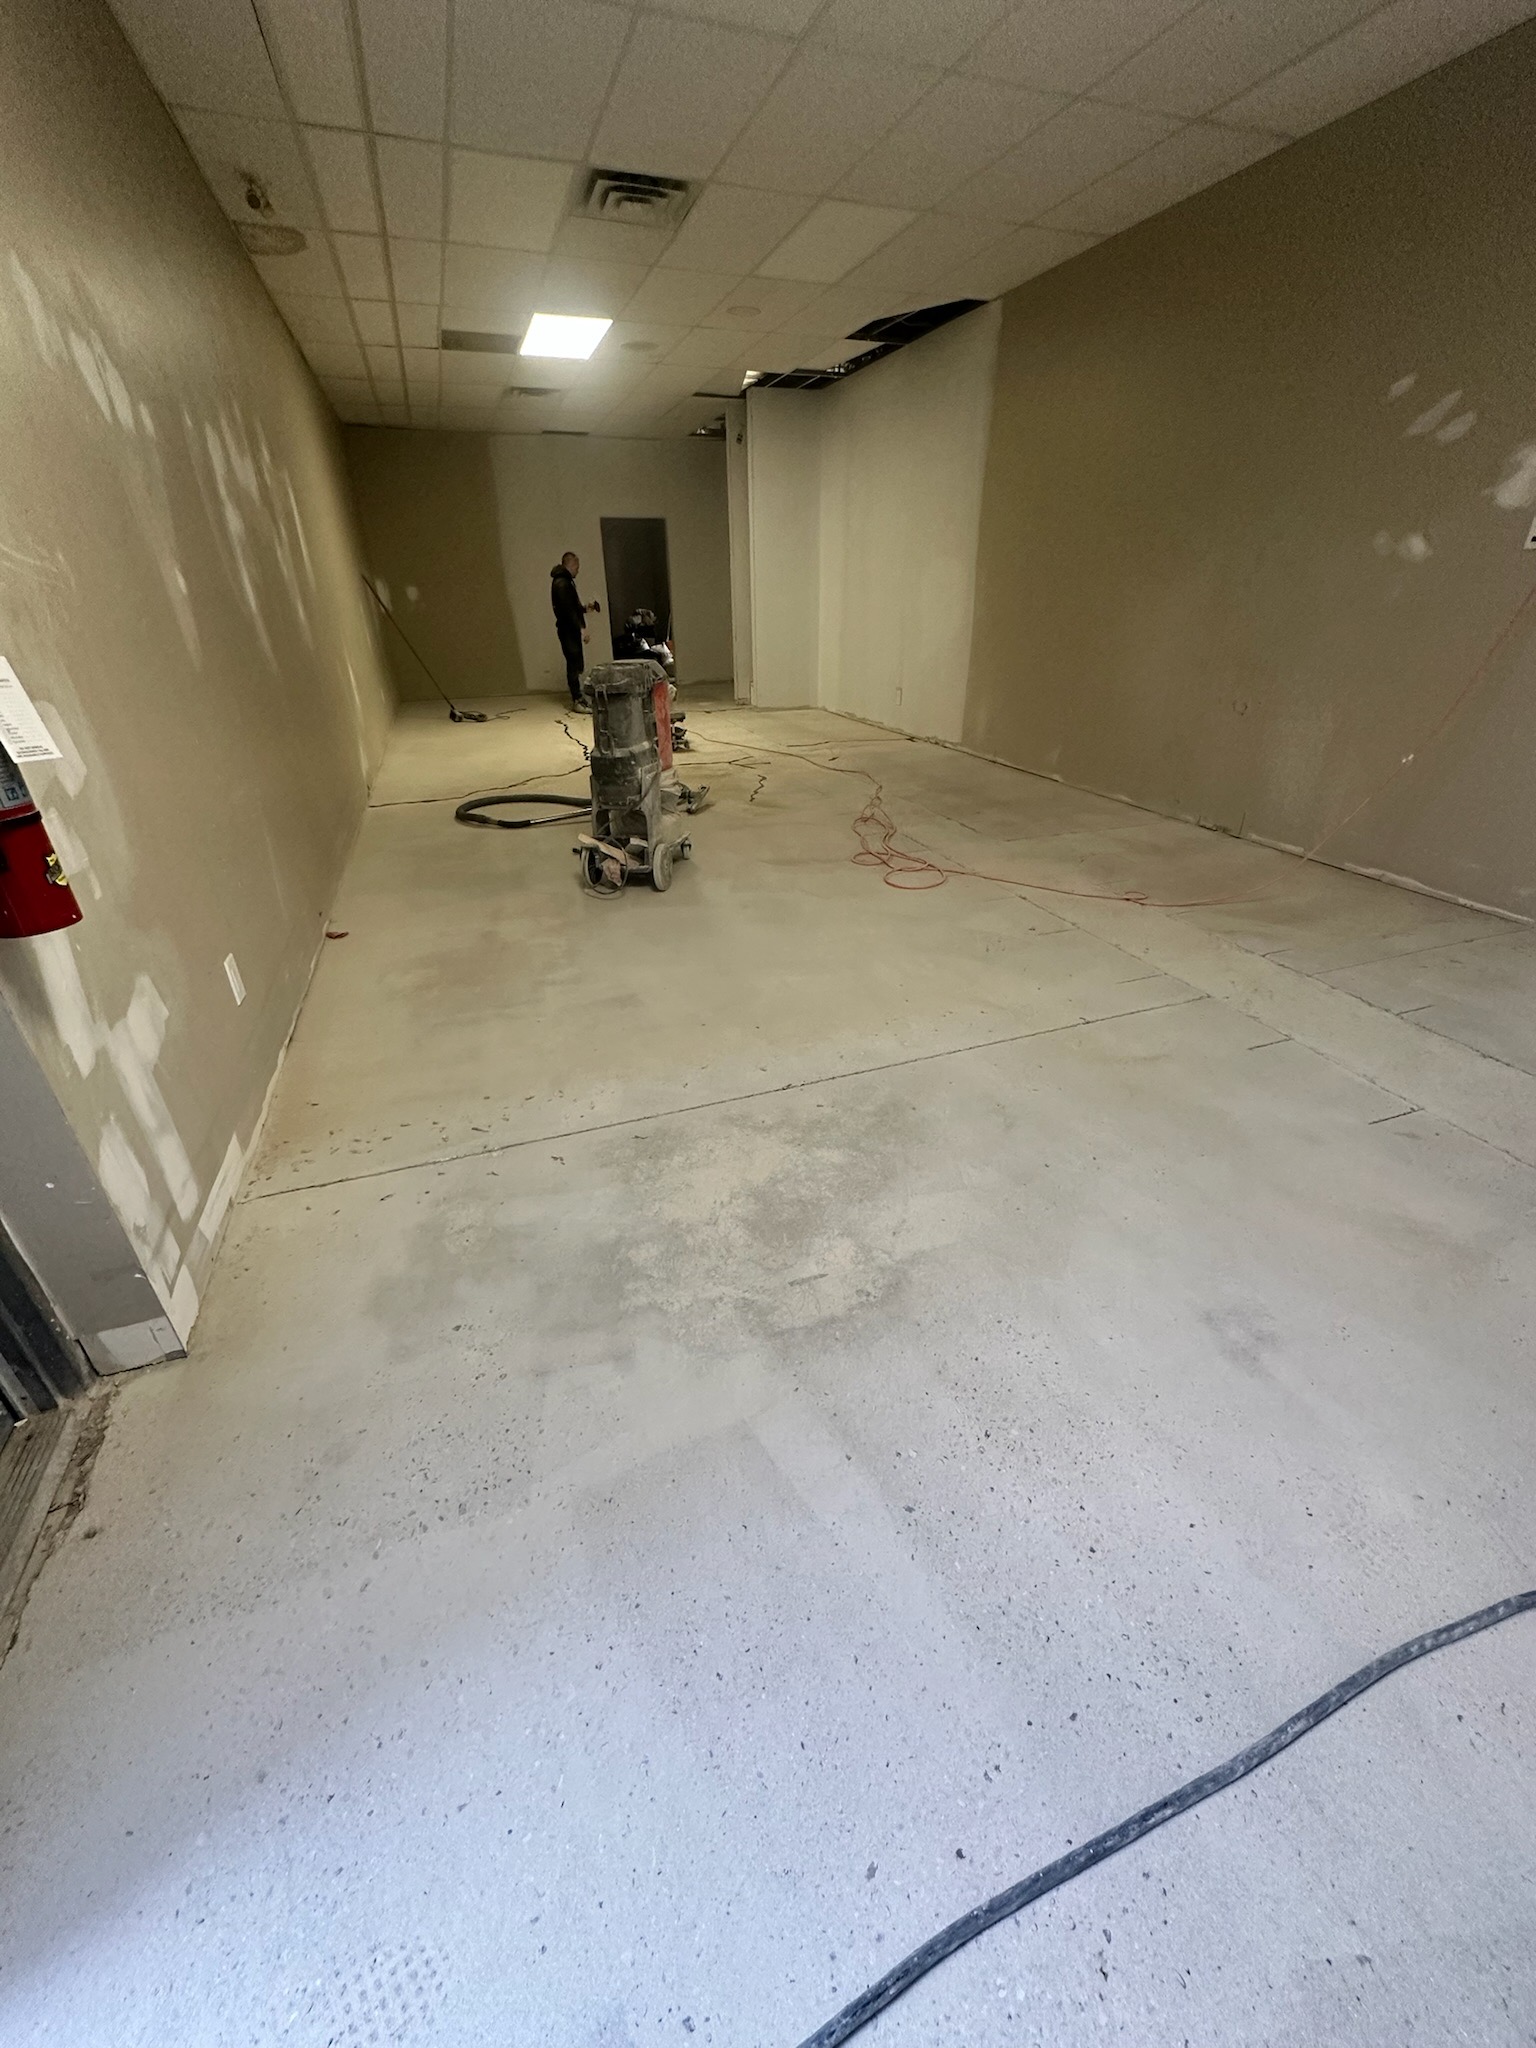
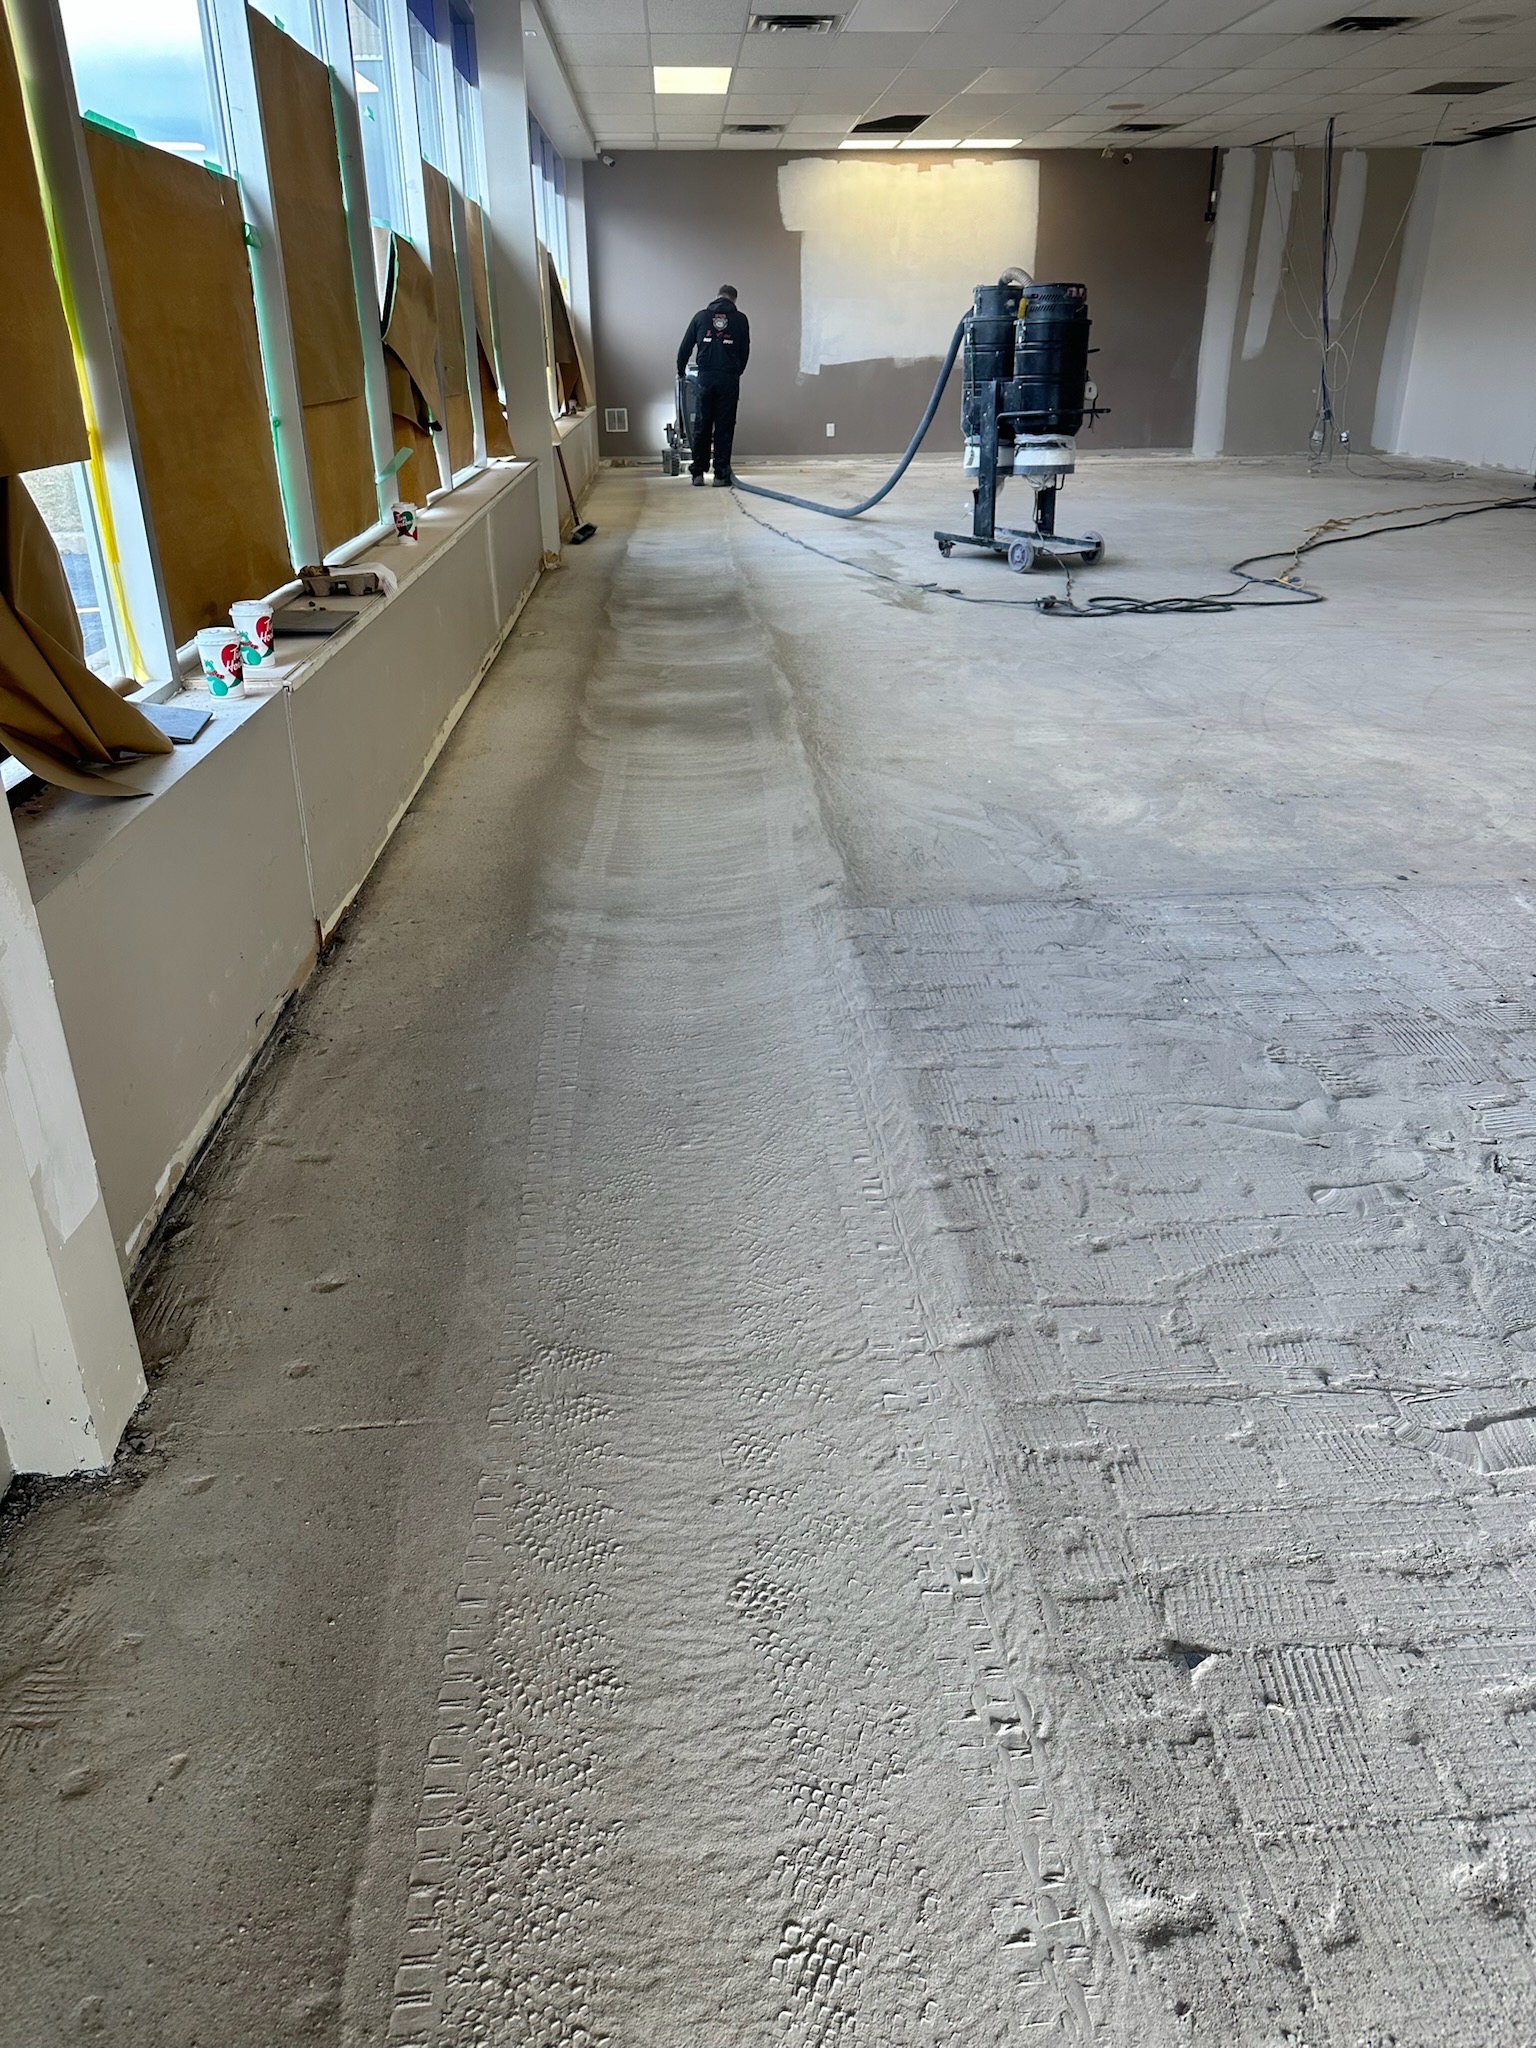
We began by removing the stubborn tile bonding residue, grinding the concrete to perfection, and preparing the surface for a flawless application. Next, we applied a polyurea/polyaspartic basecoat, followed by a full broadcast of durable vinyl flakes for both aesthetic appeal and slip resistance. To seal the transformation, we locked it all in with a polyaspartic or aliphatic topcoat, ensuring UV stability, chemical resistance, and long-term durability.

The result? A modern, seamless, and ultra-durable floor that not only enhances the space’s appearance but also provides the strength needed for daily wear and tear. In just five days, the once-beleaguered retail space became a high-performance, visually stunning environment, ready to impress customers for years to come. 

Task: Flake System Transformation – From Worn to Wow!

  •  Glue Be Gone! – Surface Prep Like a Pro
    • Removed stubborn glue residue left behind from the previous flooring using industrial-grade grinding equipment.
    • Ensured a clean, prepped surface ready for maximum coating adhesion.
  •  Grind to Greatness – Smoothing Out the Base
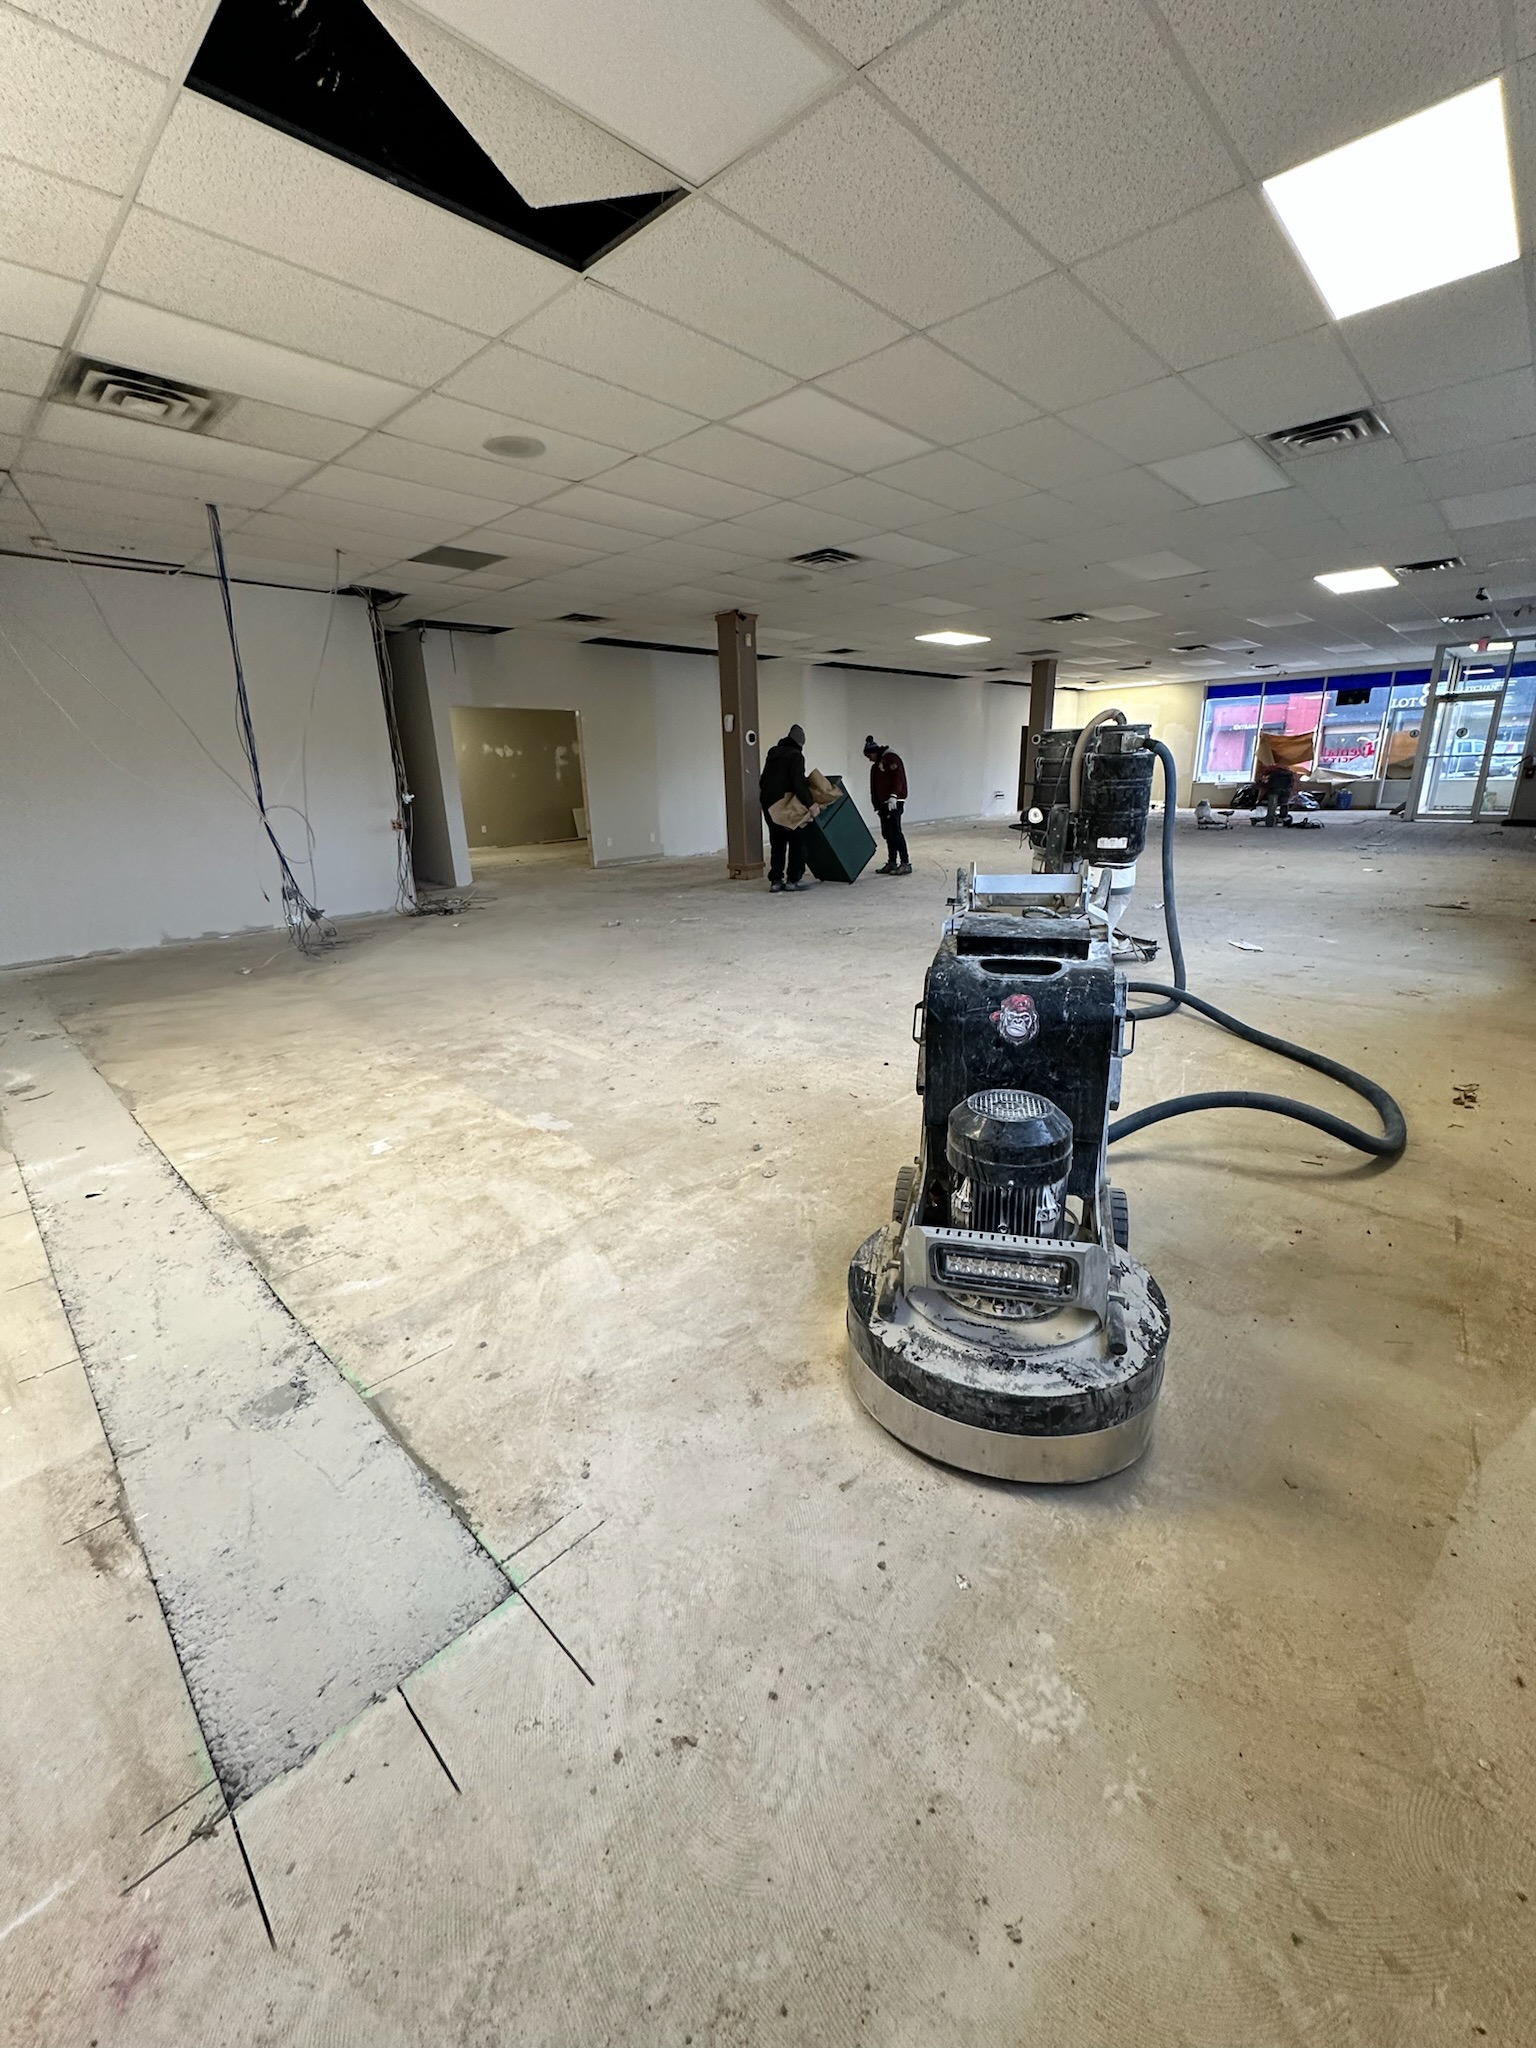
    • Used precision grinding to level the surface, removing any bumps or imperfections.
    • Created an ideal profile for strong coating bonding—no shortcuts, just smooth perfection.
  •  Prime Time – The Foundation of Strength
    • Applied a urethane primer to lock in durability and enhance adhesion.
    • This ensures a solid base for the upcoming layers, preventing future peeling or wear.
  • The Flake Storm – Adding Personality
    • Laid down a polyurea/polyaspartic basecoat, followed by a full broadcast of durable vinyl flakes.
    • The flakes didn’t just add style—they provided extra texture, strength, and slip resistance.
  • Locking It In – The Protective Shield
    • Sealed the flakes with a polyaspartic or aliphatic clear topcoat for a rock-solid, long-lasting finish.
    • This layer protects against chemicals, impacts, and UV damage, ensuring years of durability.
  • The Grand Reveal – A Floor Reborn!
    • After just 5 days of expert craftsmanship, the space was completely transformed.
    • The once-worn floor now radiates strength, style, and resilience—ready to handle heavy foot traffic and daily wear.

So, picture this: A retail space in Orillia—2,800 square feet of pure struggle. The floor had been through some things, and it showed. It wasn’t just old—it was holding on for dear life to a layer of stubborn tile bonding material residue like it had unfinished business. No matter how hard you stared at it, that surface wasn’t letting go without a fight.

Enter Epoxy Boss, the flooring rescue team. We rolled up our sleeves, cracked our knuckles, and got to work.

“First up? Breaking up that weird tile bonding residue.”

Man, this stuff was tough—like that gum stuck under your shoe that just won’t quit. But no worries, we came armed with industrial grinders, and soon enough, that mess was nothing but dust in the wind. Beneath it? A worn-out, uneven concrete slab that had seen better days. Time for Phase 2.

“Grinding and prep—gotta smooth things out before the magic happens.”

Now that we had a clean slate, we hit the concrete with precision grinding to level things out and create that perfect surface for the next step. Think of it like priming a wall before painting—you can’t slap new stuff onto a janky surface and expect it to stick. Gotta do it right, or don’t do it at all.

“Time for the good stuff—coating, flakes, and a transformation you wouldn’t believe.”

With everything smooth and prepped, we laid down a polyurea/polyaspartic basecoat—this bad boy is tough, flexible, and sticks like a dream. But we weren’t done. Next up? Flakes. And not just a sprinkle—we went all out, broadcasting durable vinyl flakes wall-to-wall, giving the floor a seamless, textured finish. Not only does it look killer, but it also adds slip resistance—because nobody wants to be that person who wipes out in a store.

Once the flakes settled, we sealed the whole thing in with a polyaspartic or aliphatic topcoat—UV-resistant, chemical-proof, and built to withstand heavy foot traffic for years to come.

“Five days later? A total glow-up.”

Dude, you should’ve seen the client’s face when they walked in. The once sad, struggling floor was now a flawless, glossy, and ultra-durable masterpiece. The space was completely transformed—ready for customers, heavy traffic, and whatever the world threw at it.

Moral of the story? If your floor looks like it’s seen a horror movie, call Epoxy Boss. We turn flooring nightmares into flake-tastic perfection.
Solution

Scope at a glance

  • Removal of old tile bonding and glue residue by grinding
  • Precision grinding to level the surface
  • Polyurea/polyaspartic basecoat
  • Full broadcast of vinyl flakes
  • Polyaspartic or aliphatic topcoat
  • Completed in five days

Related Projects

Flake Garage Floor in King, Ontario
King Flake Garage Floor
~300
Sq Ft
Flakes System
King City
Garage Floor Coating
Flake Backyard Patio Coating in Vaughan, Ontario
Vaughan Flake Patio Coating
~400
Sq Ft
Flakes System
Vaughan
Patio
Flake Garage Floor in Innisfil, Ontario (2021)
Innisfil Flake Garage Floor 2021
~450
Sq Ft
Flakes System
Innisfil
Garage Floor Coating
Interior Epoxy Floor Coating in Guelph, Ontario
Guelph Interior Epoxy Floor
~200
Sq Ft
Metallic System
Basement & Indoor Spaces
Flake Entrance Landing and Steps in Barrie, Ontario
Barrie Flake Entrance & Steps
~100
Sq Ft
Flakes System
Barrie
Porch
Exterior Flake Entrance Coating in Halton Hills, Ontario
Halton Hills Exterior Flake Entrance
~150
Sq Ft
Flakes System
Halton Hills
Porch
Flake Garage Floor in Muskoka Lakes, Ontario
Muskoka Lakes Flake Garage Floor
~800
Sq Ft
Flakes System
Muskoka Lakes
Garage Floor Coating
Flake Floor Coating in Pickering, Ontario (2021)
Pickering Flake Floor Coating
~450
Sq Ft
Flakes System
Pickering
Garage Floor Coating
Flake Deck Coating in Tiny, Ontario
Tiny Flake Deck Coating
~300
Sq Ft
Flakes System
Tiny
Patio

Ready to Upgrade Your Floors?

Custom epoxy systems tailored for garages, basements, showrooms, patios, and industrial environments — combining industrial-grade durability with premium aesthetics.

How we work

Coated concrete floor by Epoxy Boss in Ontario
01

First Contact

Reach out by phone, email or our online form. We'll ask a few questions about your space, how it's used and the finish you have in mind, and review photos if you have them.
02

Quotation

Get a clear and accurate price using our online calculator for instant estimates, or connect with us directly for a detailed quote. For more complex projects, we can schedule an on-site visit to finalize all details.
03

Decision making

We help you choose the right system, finish, and colours based on your goals. From flake to solid or metallic systems, you will have full clarity and confidence in your selection.
04

Scheduling + 50% Deposit

Once everything is confirmed, we lock in your project date. A 50% deposit secures your spot, allowing us to allocate materials and crew accordingly.
05

Day of the project

Our team completes full surface preparation including grinding and crack repair, followed by precise application of your selected multi-layered system based on manufacturer specifications.
06

Project Review

We walk through the finished space with you to ensure satisfaction. After approval, the remaining 50% balance is collected and the project is officially completed.