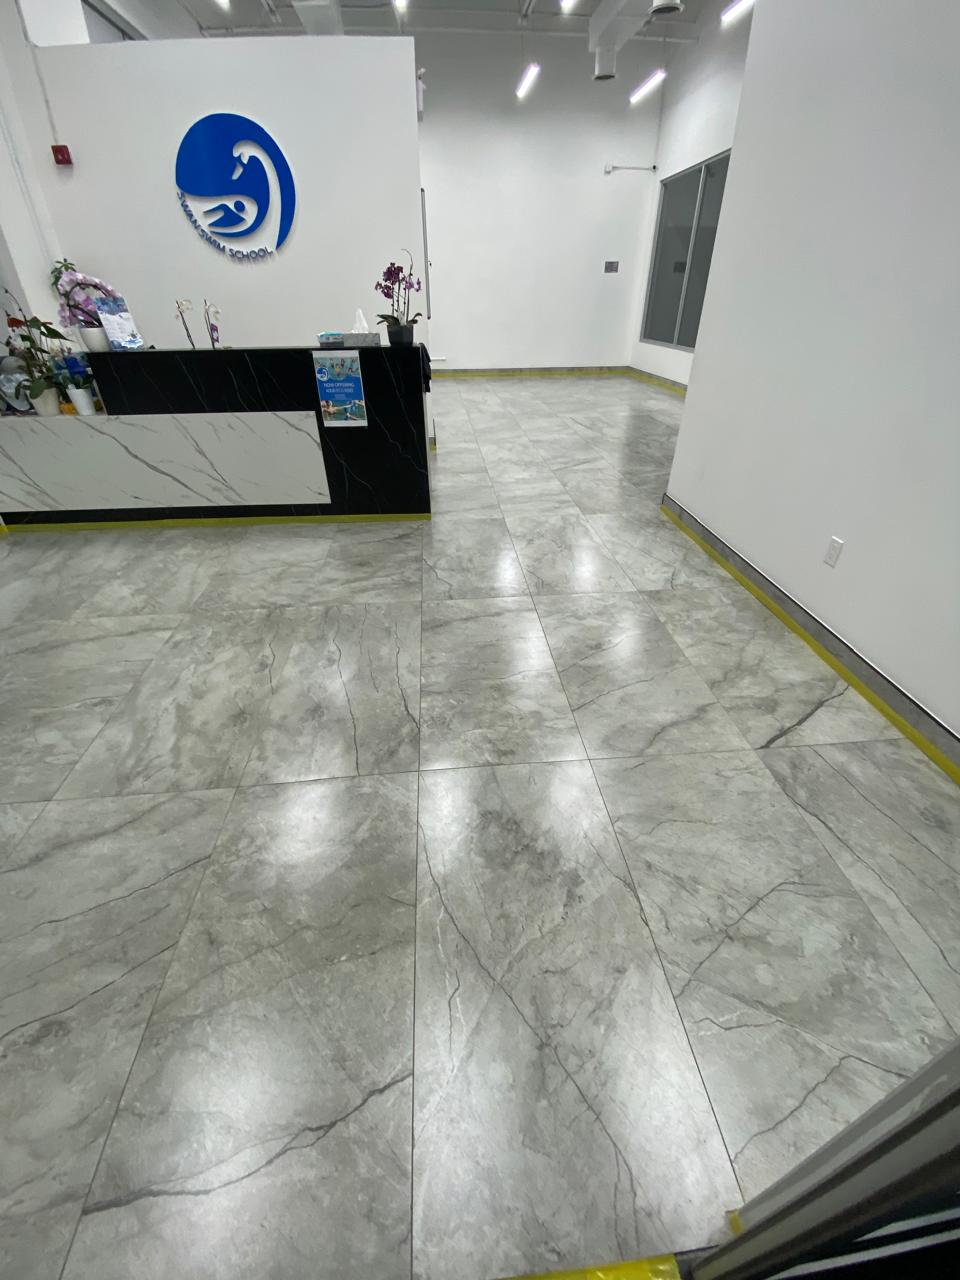
Polished concrete is one of the most durable and low-maintenance floors you can put in a home, shop or warehouse in Ontario. It is not a coating: the finished surface is the concrete slab itself, mechanically ground, hardened and refined until it reflects light. Nothing sits on top, so there is nothing to peel, delaminate or wear through.
Here is how professional concrete polishing actually works, step by step, and what decides the final look.
Step 1: Assess the slab
Every polishing project starts with the concrete. Hardness, flatness, existing coatings, cracks and moisture all change how the floor is ground and which diamond tooling is used. A soft slab needs harder-bond diamonds; a very hard slab needs softer ones. Getting this wrong at the start wastes time and leaves an uneven finish.
Step 2: Choose the level of aggregate exposure
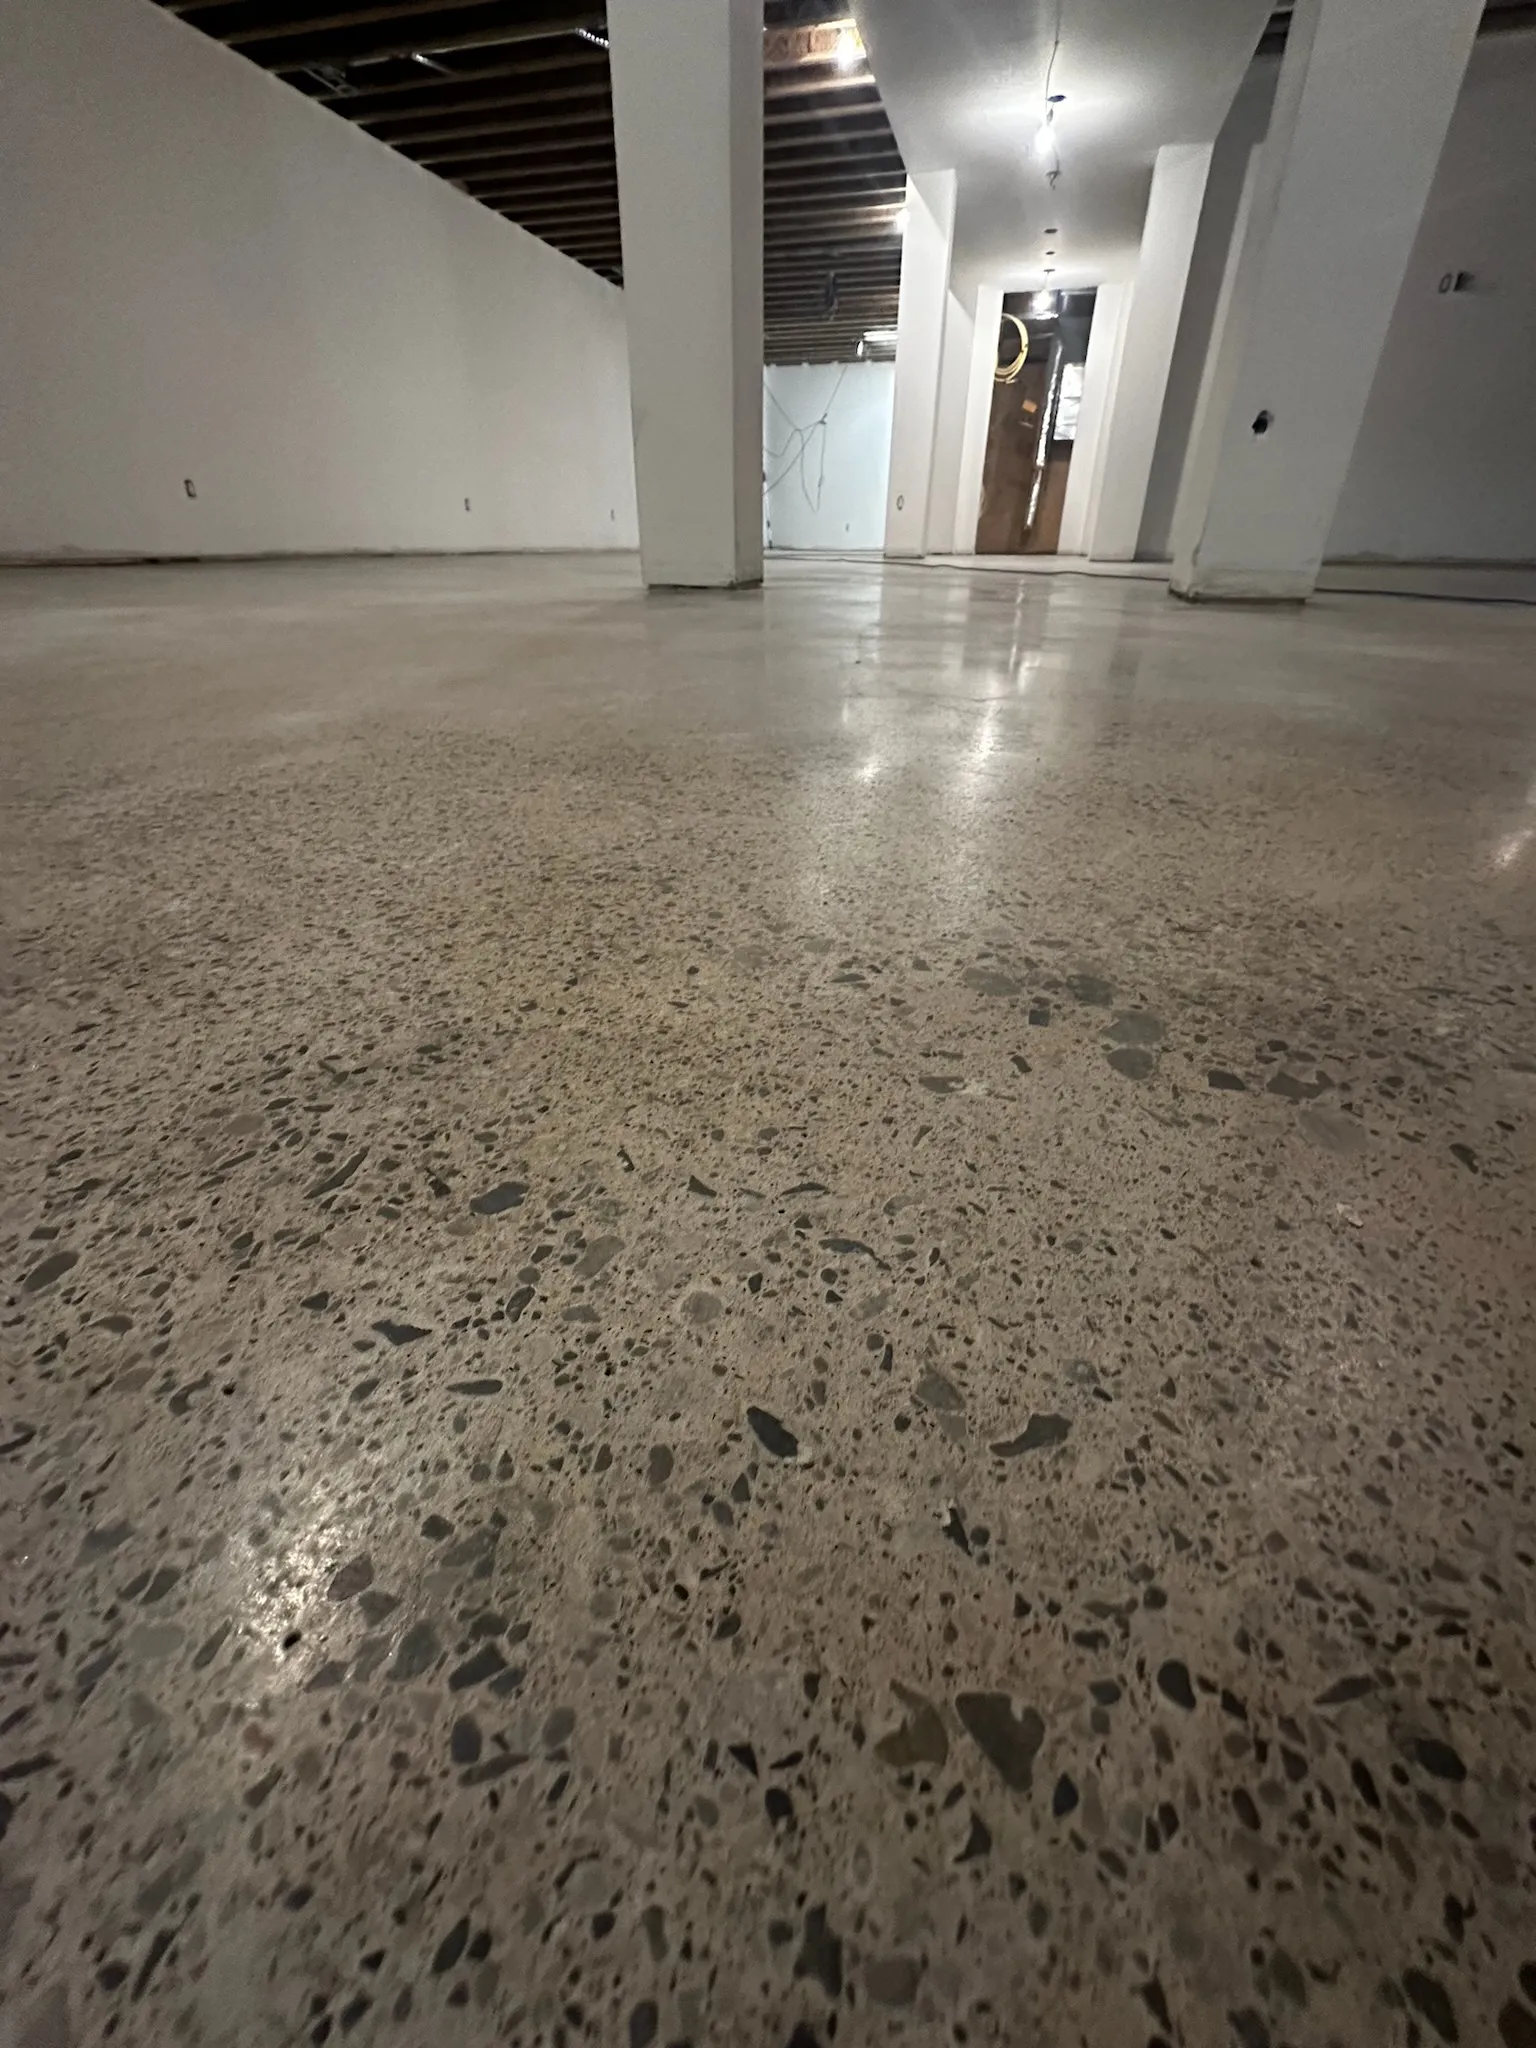
How deep the first grind goes decides what you see in the finished floor:
- Cream finish — minimal grinding, little to no stone showing.
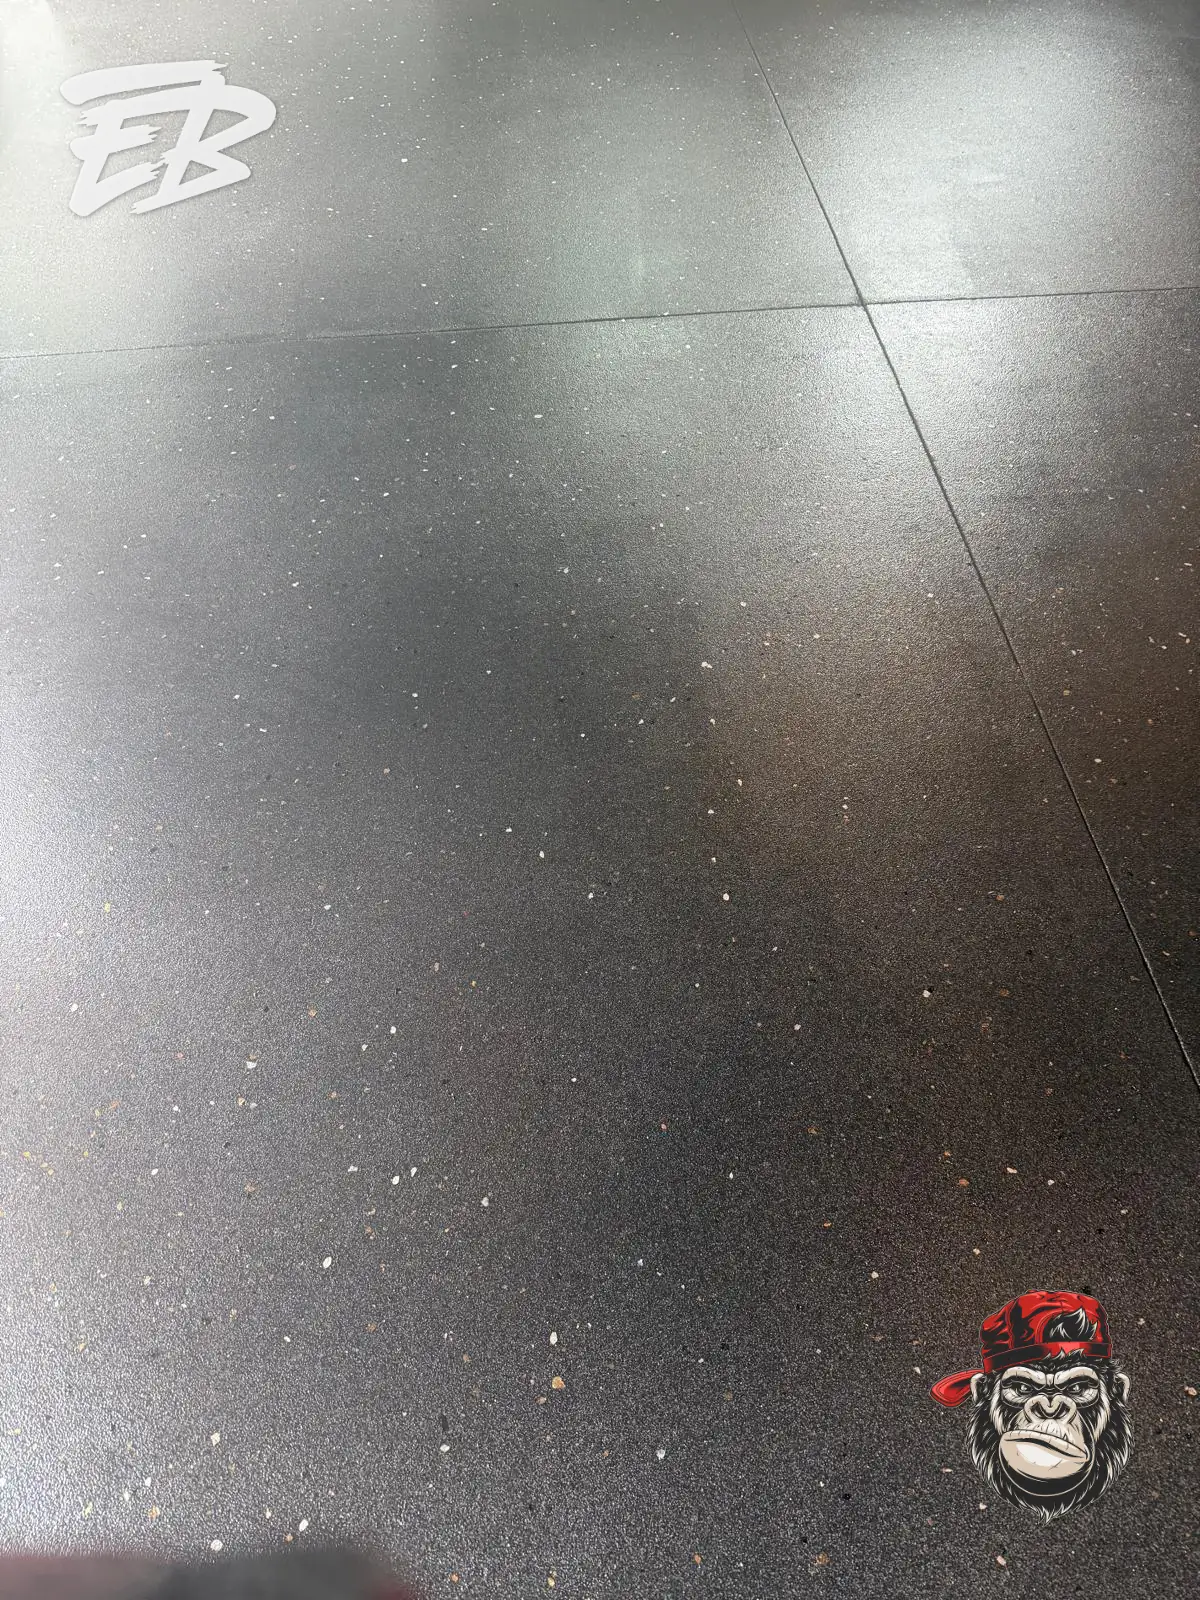
- Salt and pepper — fine aggregate exposed across the surface.
- Full aggregate — larger stones exposed for a terrazzo-like look.
This is a design decision made before the first pass, because it cannot be reversed.
Step 3: Grind with metal-bond diamonds
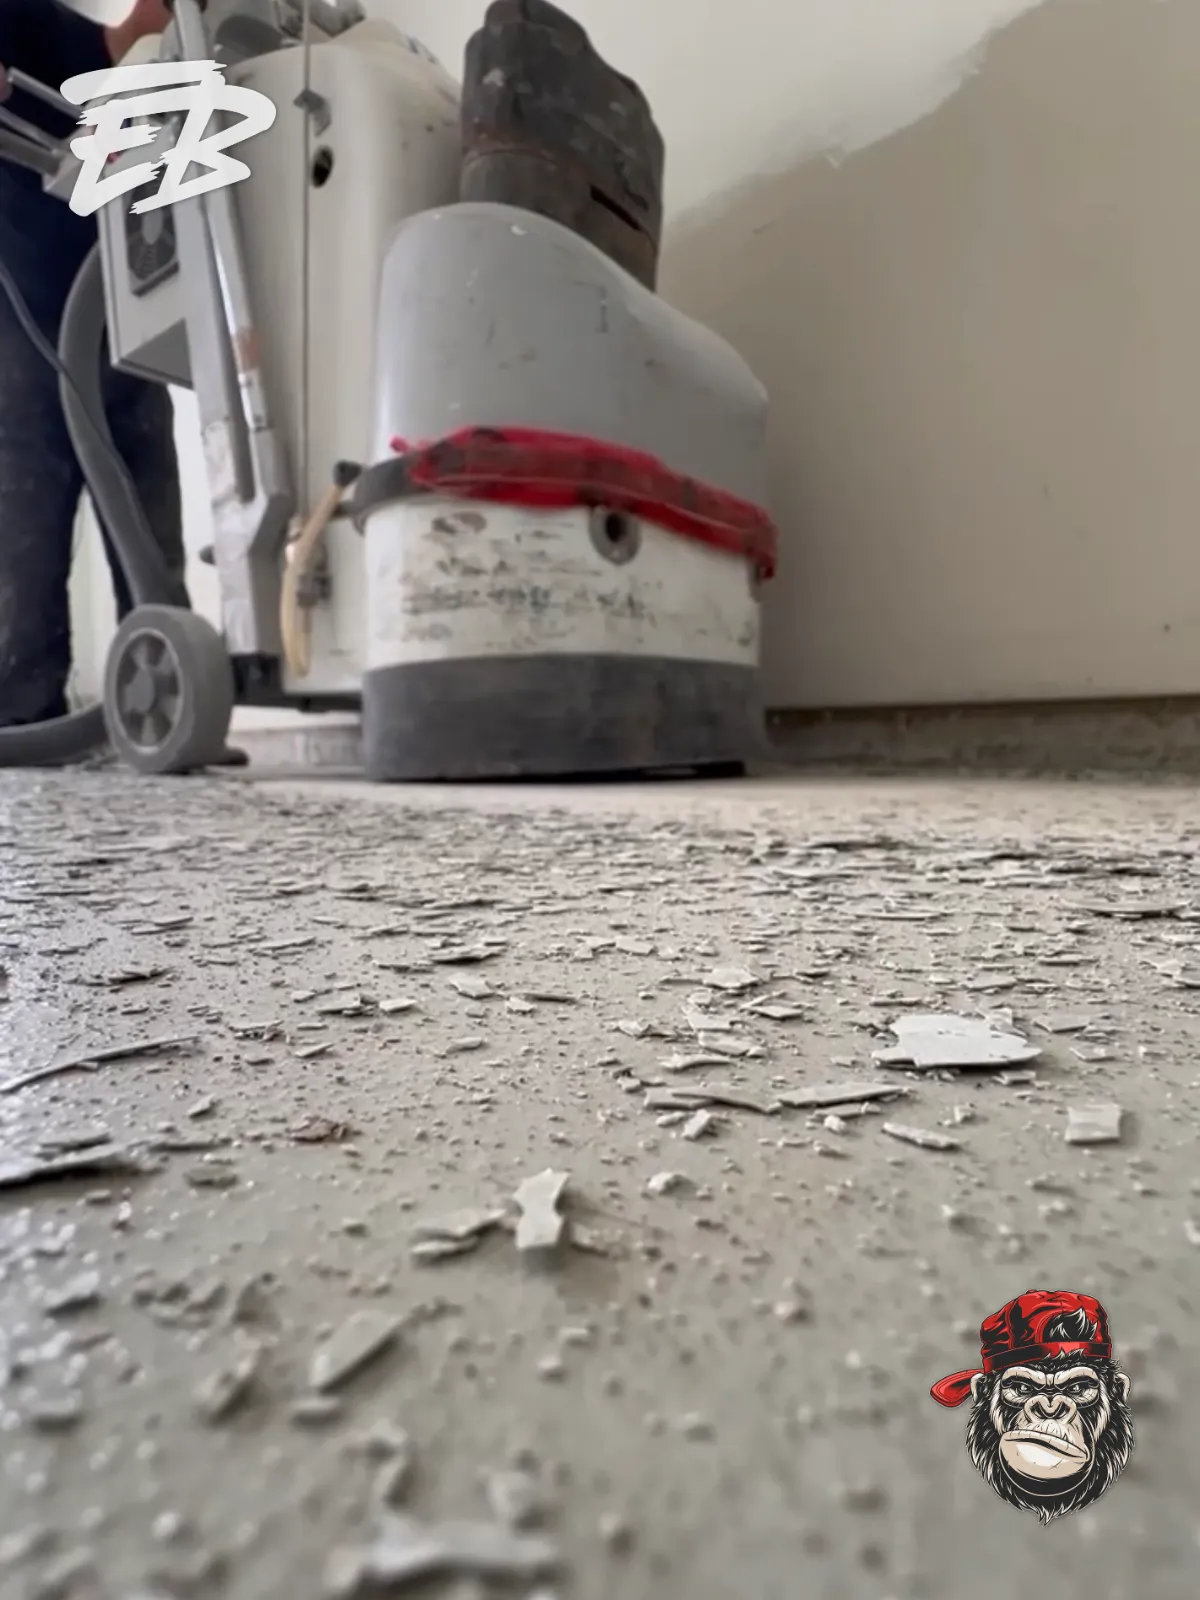
The coarse stage (typically 30–150 grit) removes old coatings, glue and surface contamination, flattens the slab and opens it to the chosen exposure. This is also where most of the dust is created, so professional crews use grinders connected to HEPA dust extraction.
Step 4: Repair cracks, pits and joints
Once the surface is open, cracks, pinholes and control joints are filled with a compatible filler so they grind flush with the rest of the floor.
Step 5: Densify
A lithium or sodium silicate densifier is applied. It reacts with the concrete to harden the surface from within, which is what makes a polished floor resist dusting, abrasion and forklift or vehicle traffic. Skipping densifier is the most common shortcut — and the reason some “polished” floors dull quickly.
Step 6: Hone and polish with resin-bond diamonds
The floor is refined through progressive grits — commonly 100, 200, 400, 800, 1500 and 3000. Each pass removes the scratch pattern of the one before. Where you stop sets the sheen:
- Matte — around 400 grit
- Satin — around 800 grit
- High gloss — 1500 to 3000 grit
Step 7: Protect
A penetrating stain guard adds resistance to oil, salt residue and spills without leaving a film on the surface.
Is polished concrete right for Ontario floors?
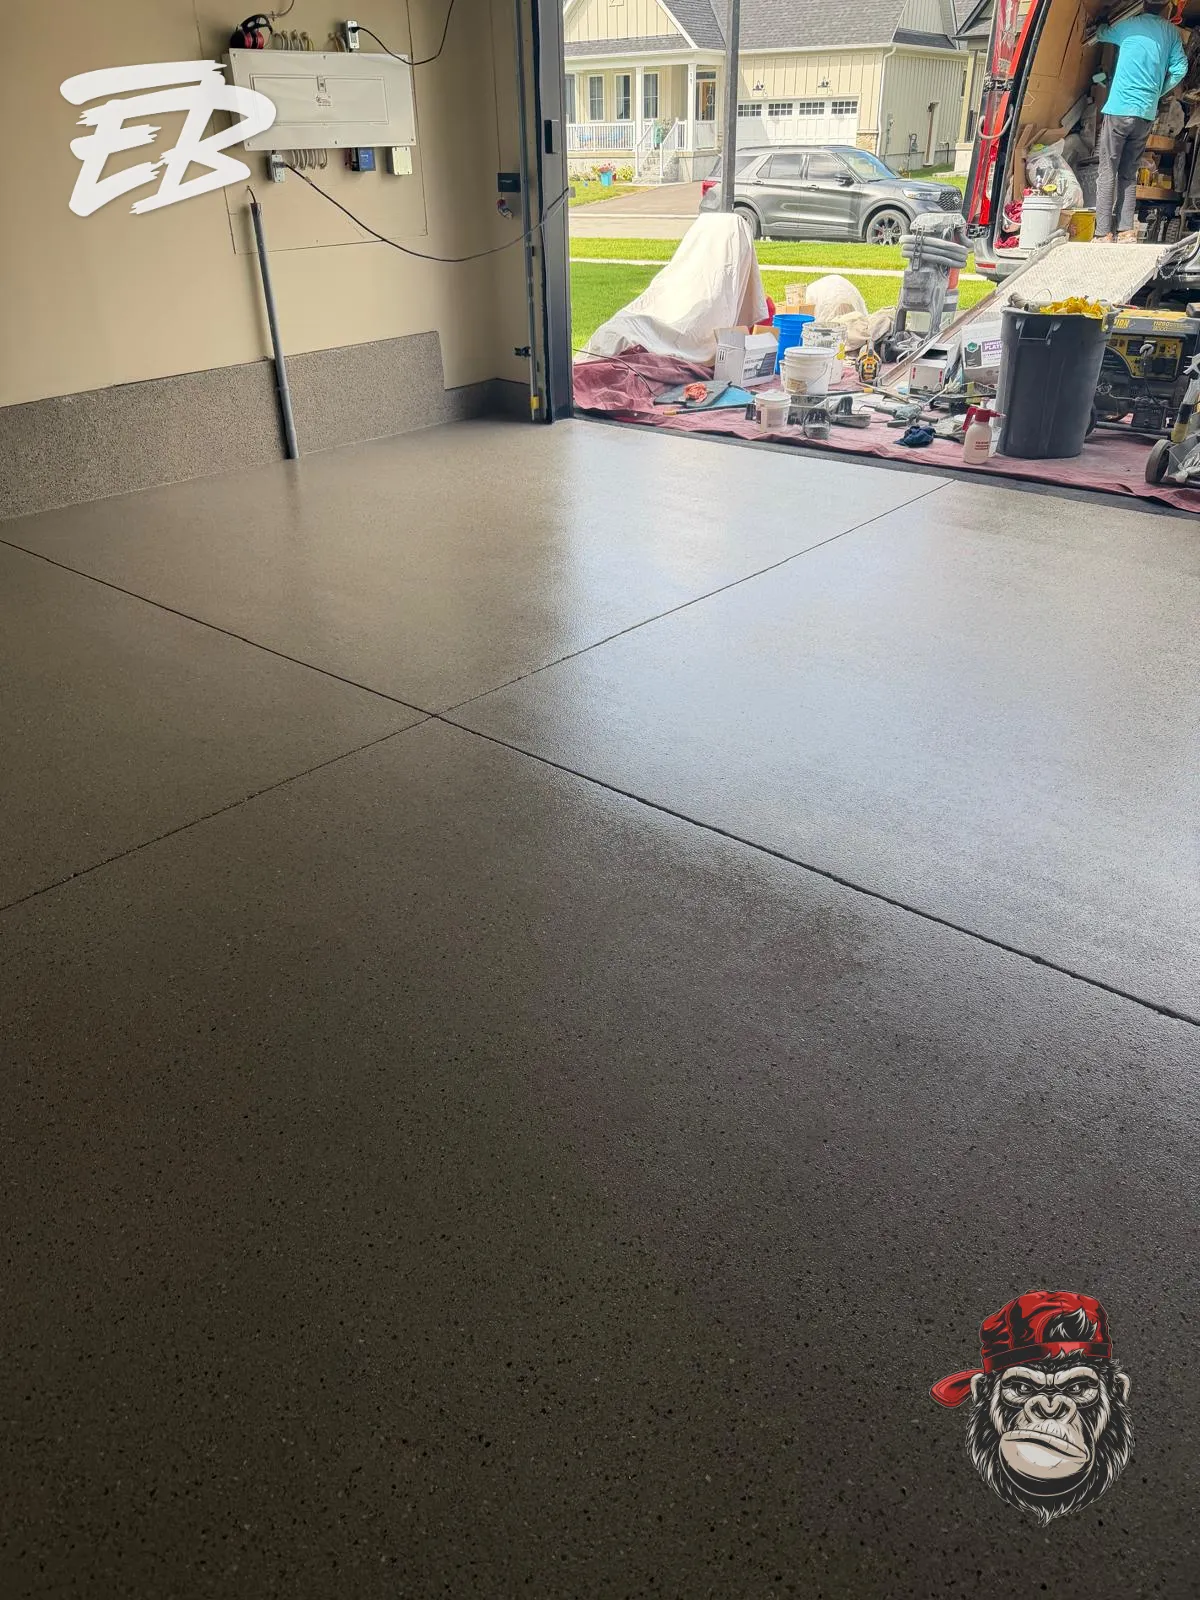
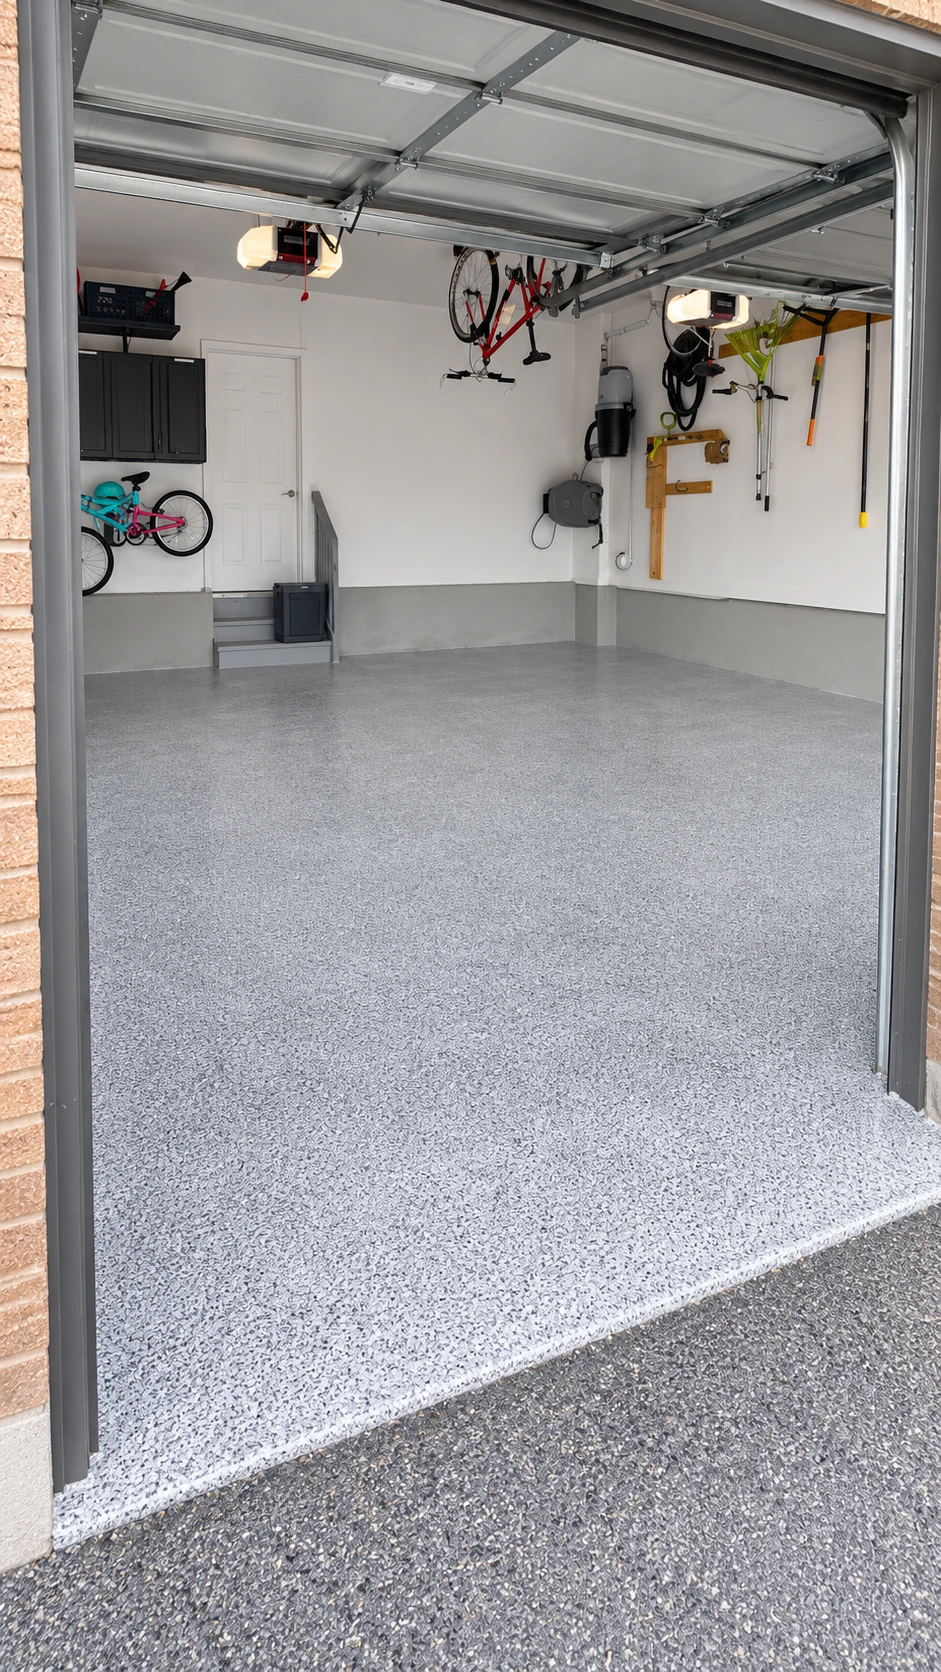
Polished concrete performs well in basements, retail spaces, showrooms, warehouses and garages. It handles heavy traffic, cleans easily and never needs recoating. Two things to keep in mind: polishing reveals the slab as it is, so severe damage will still show, and in garages exposed to road salt a stain guard and regular rinsing through winter keep it looking its best. If your slab is badly damaged, a concrete coating system may be the better choice.
Get a polished concrete estimate
Every slab is different. Request an estimate or try our cost calculator for an instant price range for polished concrete in Ontario.
%25202.webp)


.webp)




.jpeg)
.jpeg)
.jpeg)
.jpeg)
.webp)

.jpeg)
.png)
.png)