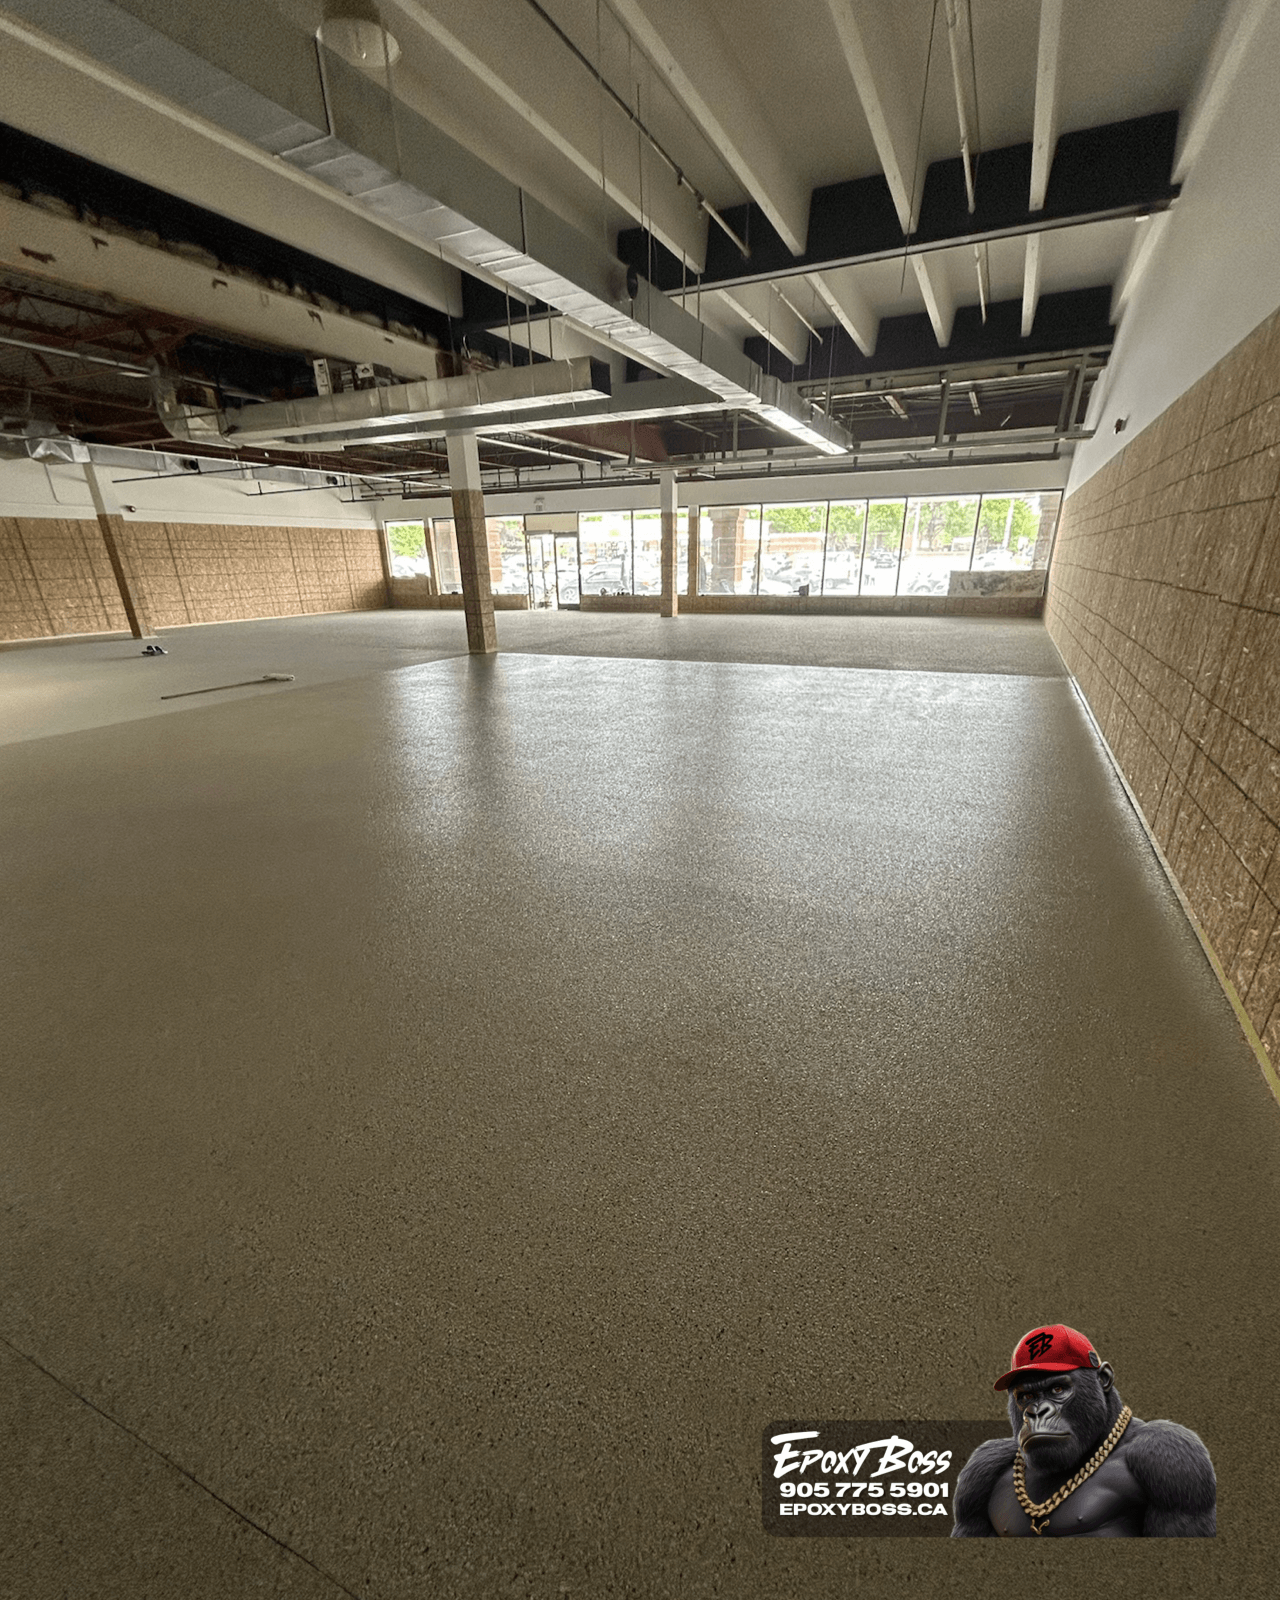
A newly built garage in Vaughan can look ready for a floor coating the moment the construction crew leaves. The concrete is light in colour, relatively smooth, and free from years of oil stains, road salt, and tire wear.
But a clean-looking slab is not automatically a coating-ready slab.
For a decorative flake, epoxy, polyaspartic, or other resinous garage-floor system to perform as intended, the concrete underneath must be assessed and prepared properly. New concrete can carry curing compounds, construction dust, drywall residue, overspray, smooth finishing, weak surface paste, moisture, and small shrinkage cracks that may not be obvious at first glance.
At Epoxy Boss, we treat preparation as part of the floor system—not an optional step before the visible finish.
Why New Concrete Can Be Misleading
New garage concrete often looks strong because it has not yet been exposed to daily use. There may be no oil staining, peeling paint, or visible deterioration. However, a coating bonds to the actual surface of the concrete, not to its appearance.
A slab may need preparation even when it is clean because of:
- A smooth, dense machine-trowelled finish that does not provide a suitable profile for coating adhesion
- Construction dust, drywall compound, paint, silicone, or other site contaminants
- Curing compounds or sealers applied during construction
- Weak surface laitance—the fragile top layer of cement paste that can detach from the stronger concrete below
- Hairline shrinkage cracks, control joints, edges, or slab transitions
- Moisture moving through the slab, especially in garages exposed to rain, humidity, or vehicle water
- Low areas, birdbaths, rough patches, or inconsistent finishing from the original pour
The floor may look new, but it still needs to be evaluated like any other concrete surface.
The Goal: Create a Reliable Bonding Surface
A garage-floor coating is only as strong as the concrete surface it is bonded to. If a system is installed over a weak, contaminated, overly smooth, or improperly prepared substrate, the risk of future delamination increases.
The goal of preparation is to create a clean, sound, open concrete profile that allows the selected primer or receiving coat to mechanically bond with the slab.
For many garage coating systems, this means mechanically grinding the concrete with professional diamond equipment. Grinding removes weak surface material, opens the pores of the concrete, helps identify hidden issues, and creates a more consistent surface for the next layer.
This is very different from simply sweeping the garage, pressure washing it, or applying a coating over a smooth builder-finished slab.
What We Check Before Coating a New Vaughan Garage
Every new-build garage should be reviewed before a coating system is selected. During an assessment, we look at both visible conditions and the way the floor will be used.
1. Surface Strength and Finish
Some new slabs are hard and well finished. Others have weak surface paste, trowel marks, dusty areas, pinholes, or inconsistent density. A floor can look uniform from the doorway while having different surface conditions across the garage.
Mechanical preparation helps reveal the true condition of the concrete.
2. Cracks, Control Joints, and Edges
Small cracks are common in concrete. New concrete shrinks as it cures, and garages often have saw-cut control joints, perimeter joints, step transitions, or cracks around columns and door openings.
Not every crack requires the same repair method. Stable surface cracks, moving cracks, joints, and transitions should be assessed individually. A professional coating contractor should explain what can be filled, what should remain functional, and what may require monitoring over time.
3. Moisture Conditions
A clean slab can still have moisture-related concerns. Vaughan’s seasonal weather, rain, snowmelt, humidity, and vehicle traffic can all affect garage-floor conditions.
Depending on the slab and coating system, moisture may influence whether a primer, moisture-mitigation layer, or another system adjustment is appropriate. This is particularly important when a garage has a history of dampness, visible darkening after rain, or water entering beneath the garage door.
4. Contamination From Construction
New builds are active construction environments. Even after cleaning, the slab may carry drywall dust, paint overspray, caulking, adhesives, oil from equipment, silicone, or other residues.
Some contaminants are easy to see; others become apparent during grinding. They need to be removed or addressed before the coating layers are installed.
5. Drainage and Floor Layout
A finished floor should work with the garage, not just look good in photos. We assess door thresholds, slopes, drains, steps, stem walls, storage areas, and transitions into the home.
If water regularly enters the garage or collects in an area, the coating system should be planned with that condition in mind. A coating does not correct major structural drainage issues, but identifying them early helps avoid surprises after installation.
What Proper Preparation Usually Includes
The exact process depends on the slab condition and the selected system, but a professional new-build garage-floor installation often includes:
- Inspection and project planning
Review the concrete, garage use, cracks, joints, edges, moisture conditions, and desired finish. - Mechanical diamond grinding
Grind the concrete to remove weak surface material and create the appropriate surface profile. - Detailed vacuuming and cleaning
Remove grinding dust and loose debris so the surface is ready for repair and coating. - Crack and surface repair
Prepare and repair suitable cracks, chips, minor imperfections, and transitions based on their condition. - Primer or base layer selection
Choose a compatible layer based on the concrete and the selected floor system. - Decorative or protective system installation
Install the chosen solid-colour, full-flake, metallic, or other resinous system. - Protective topcoat
Apply a compatible clear or pigmented topcoat designed for the intended garage use, including abrasion resistance and easier maintenance.
A Full-Flake System for a New Garage
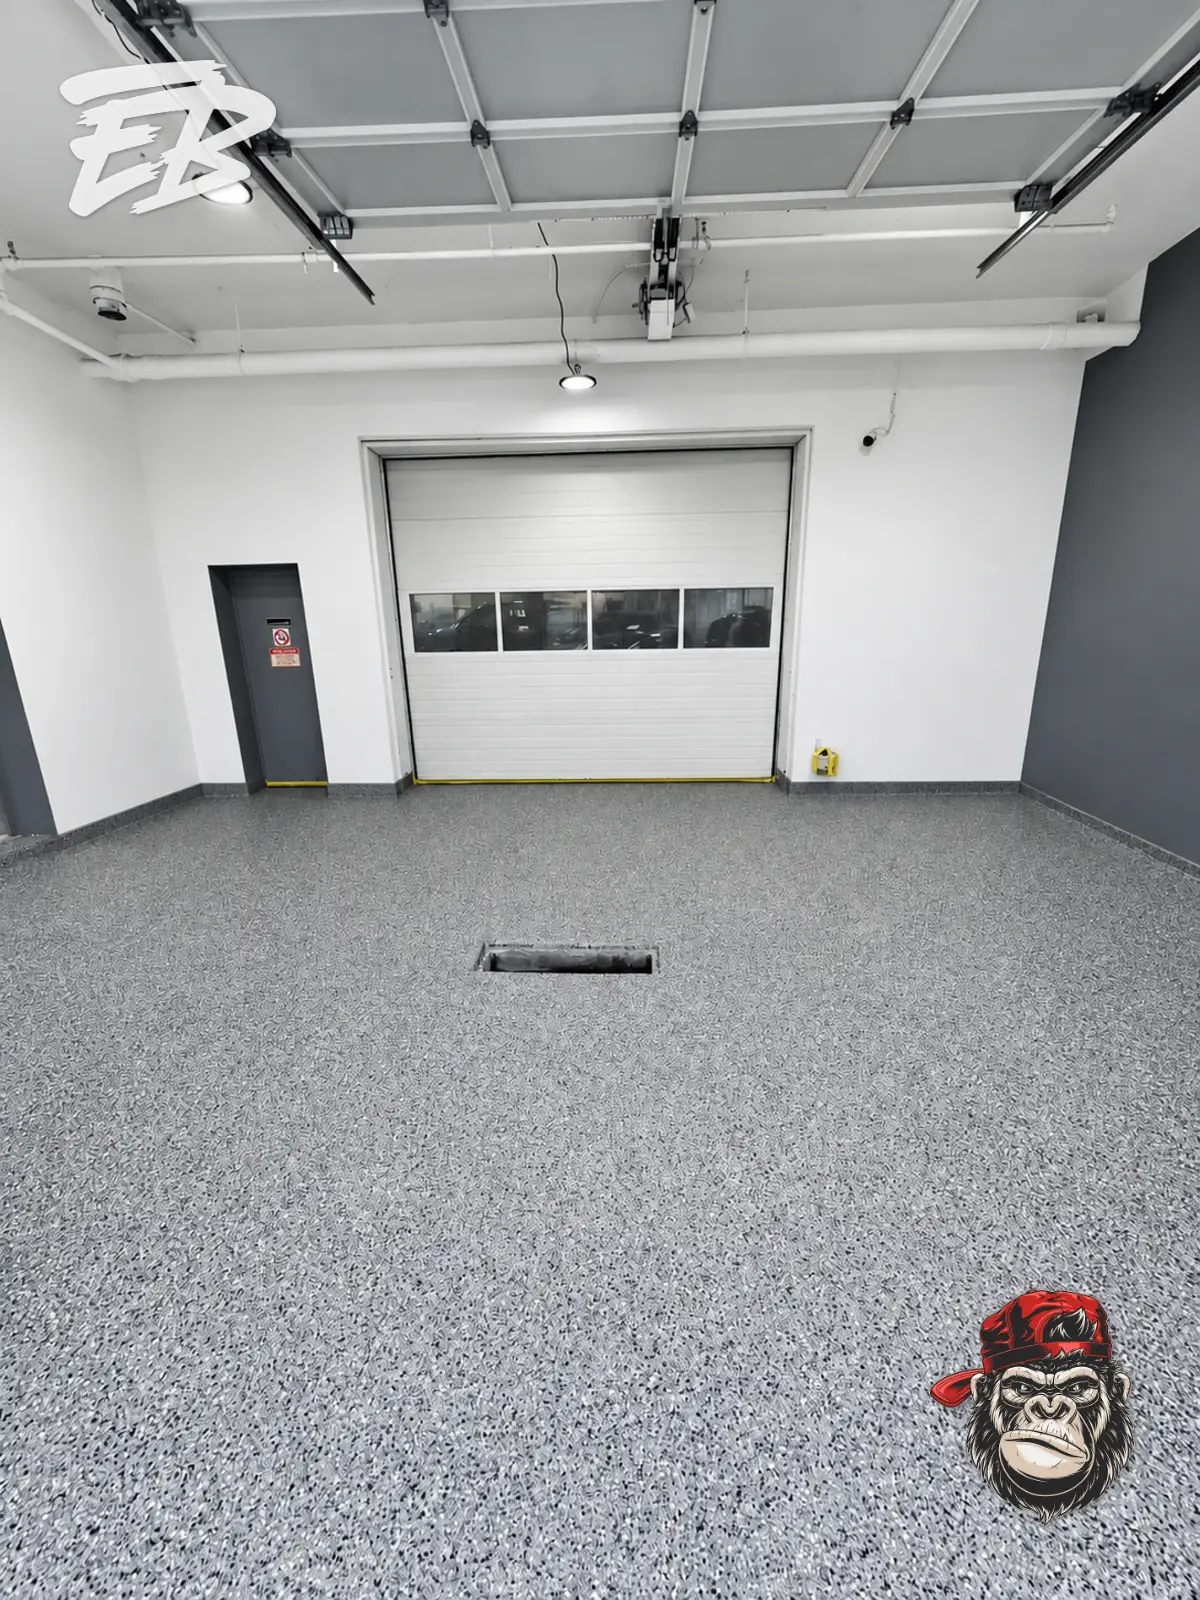
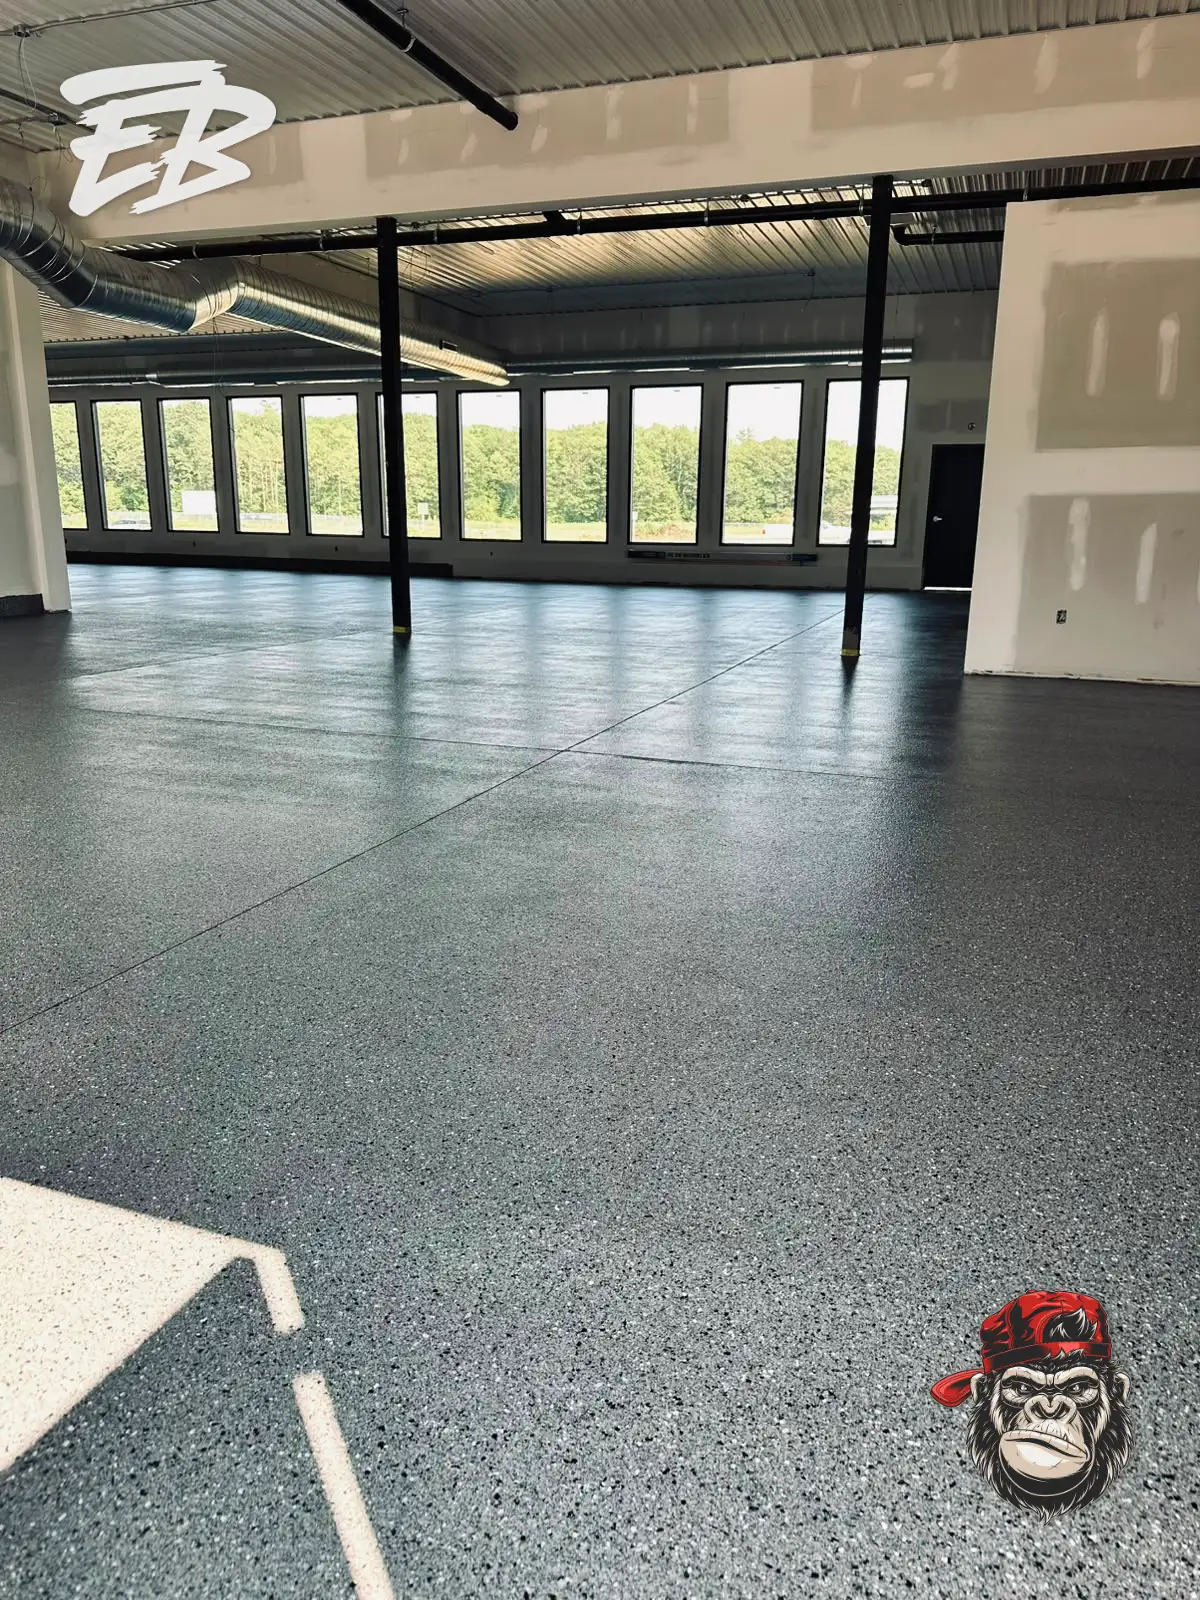
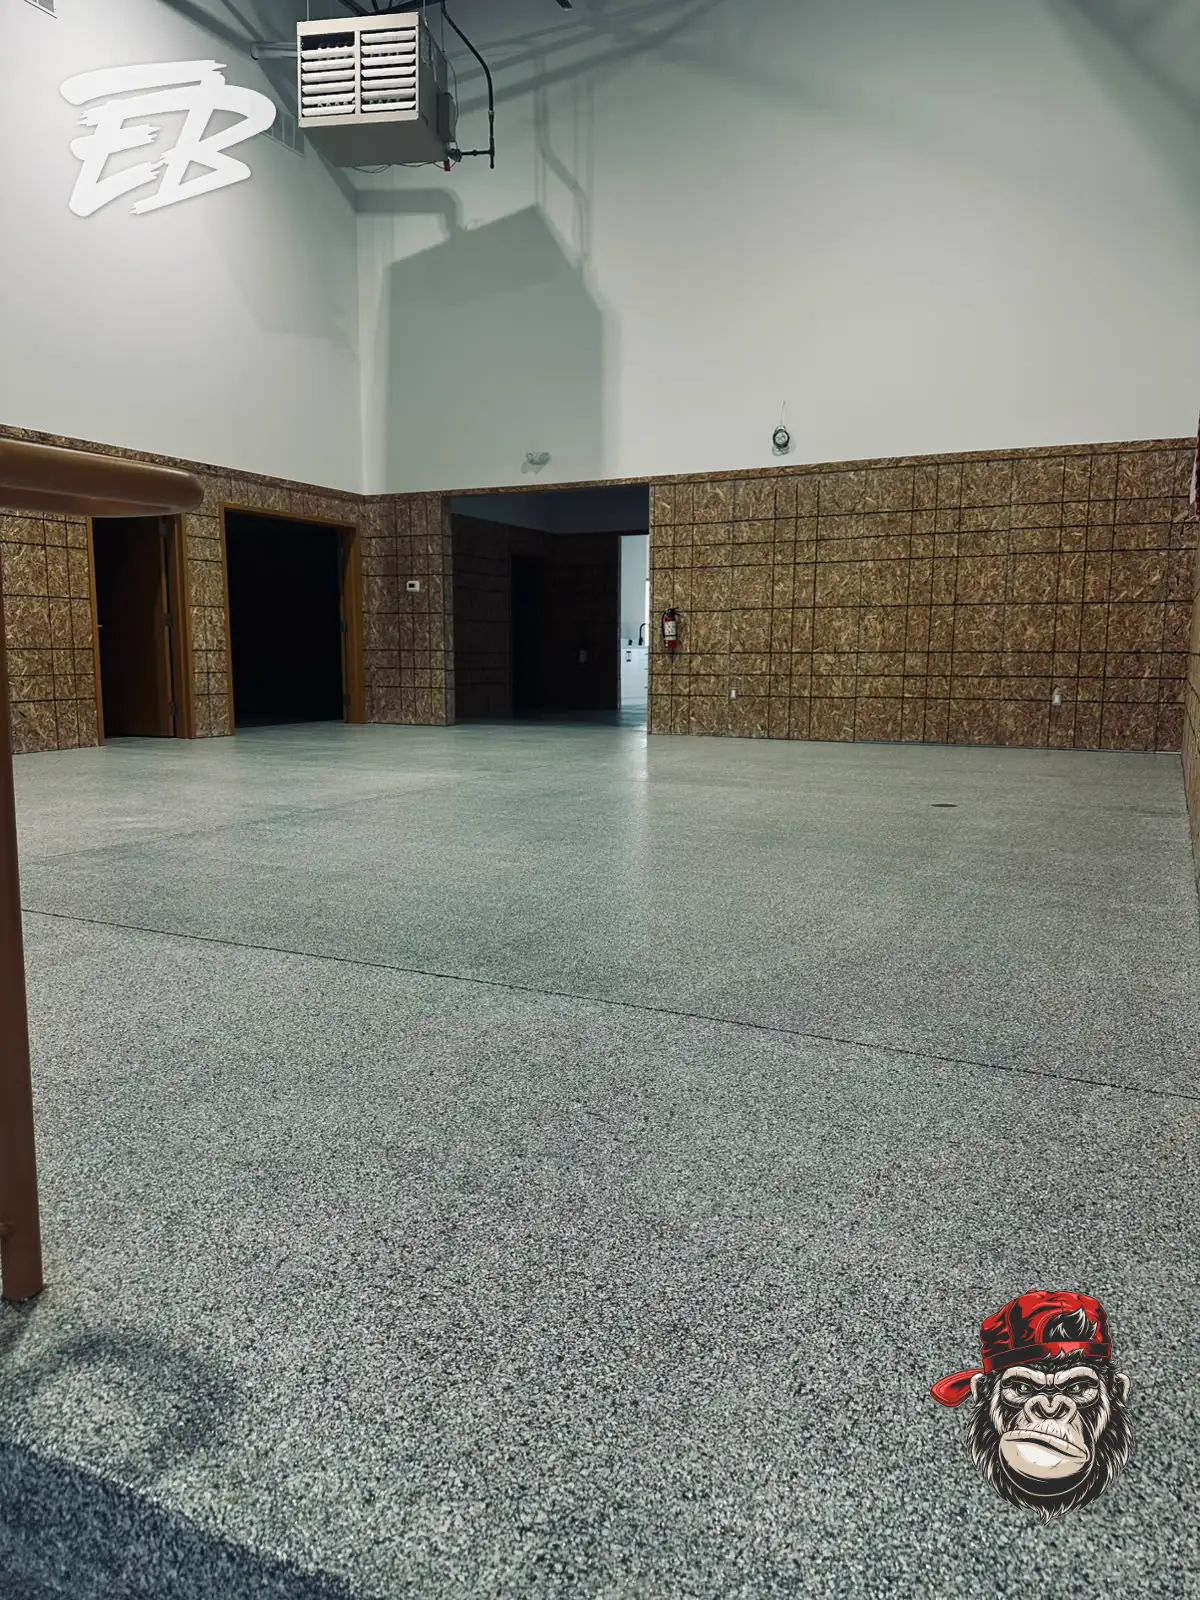
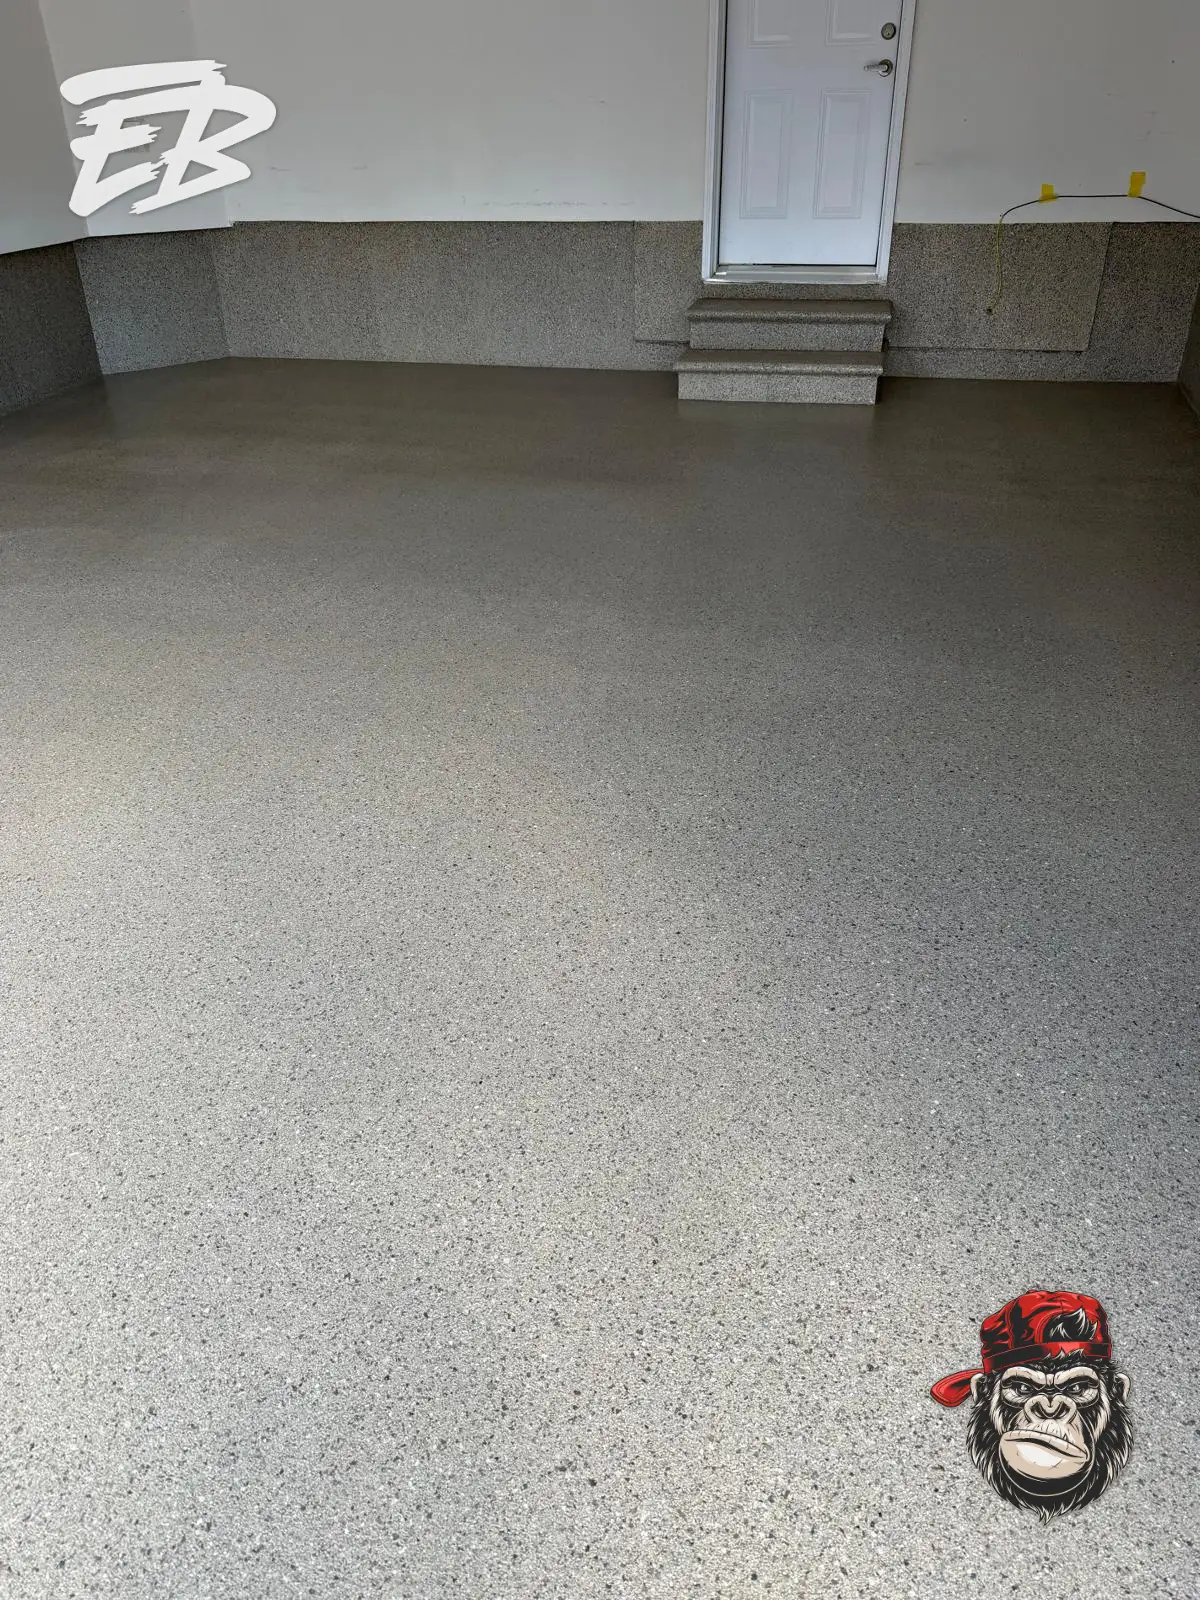
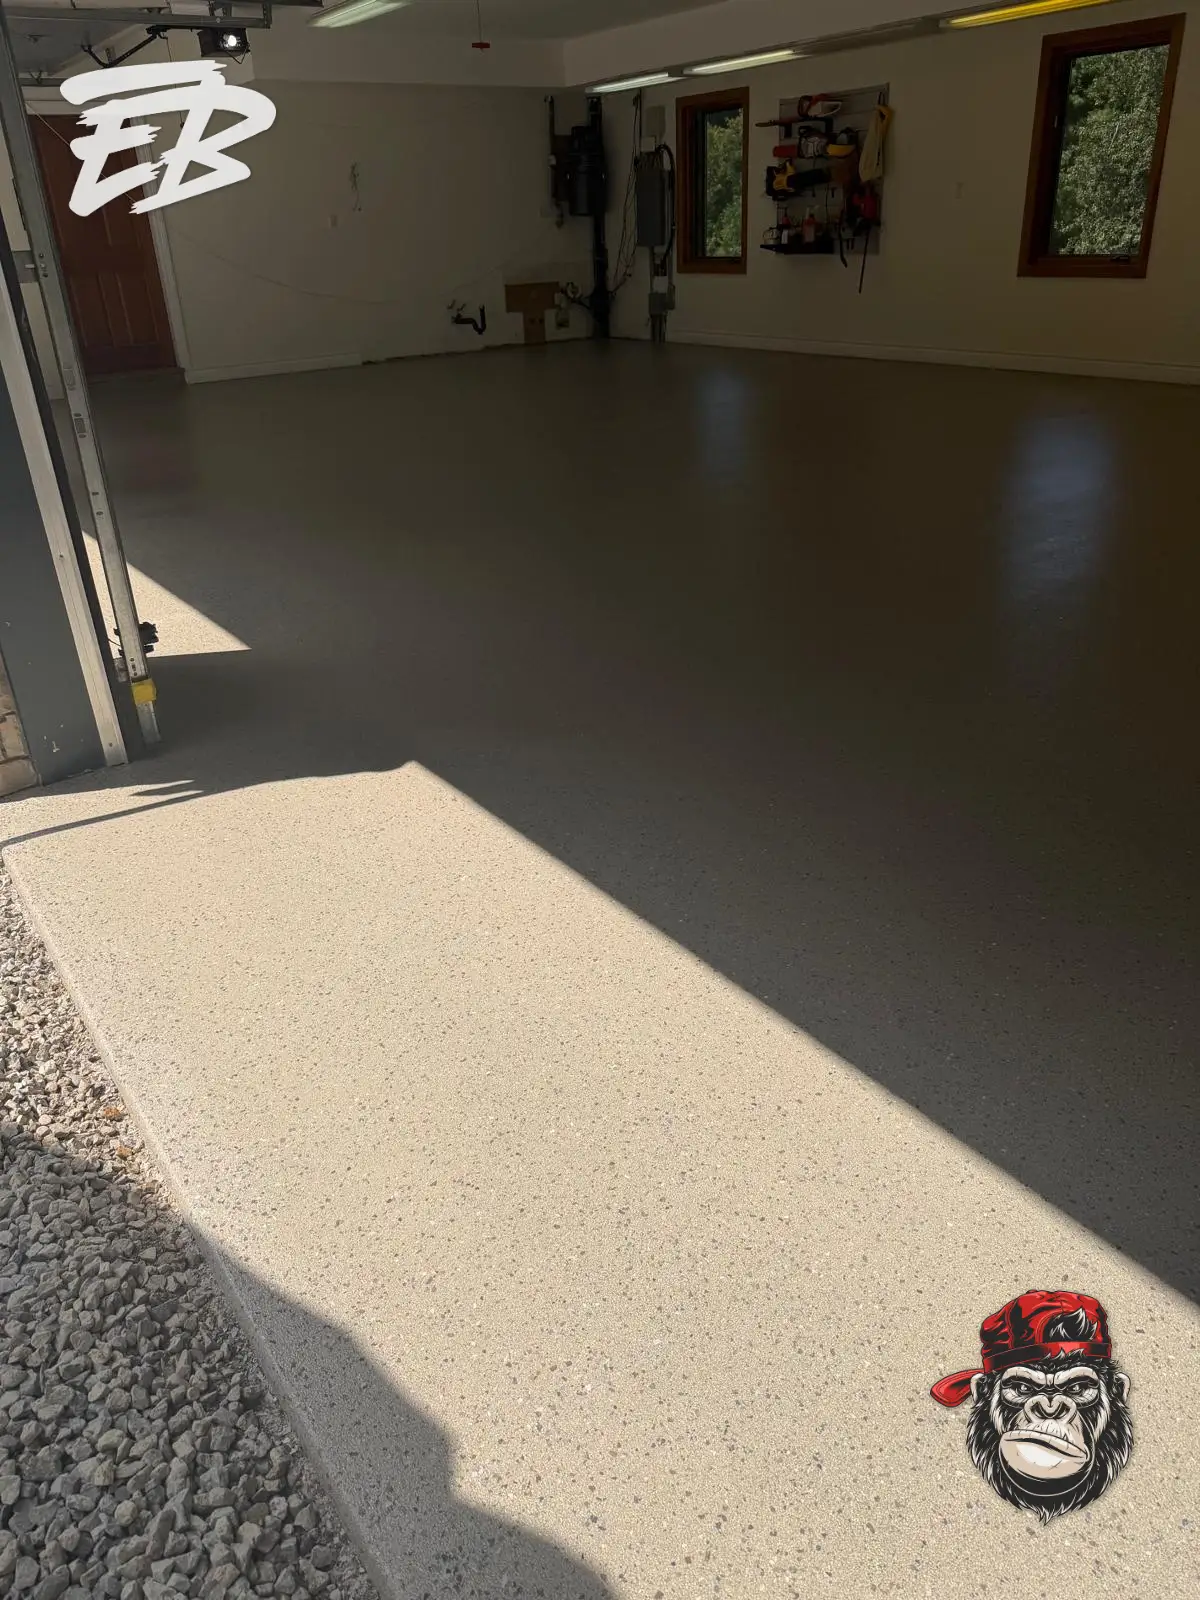
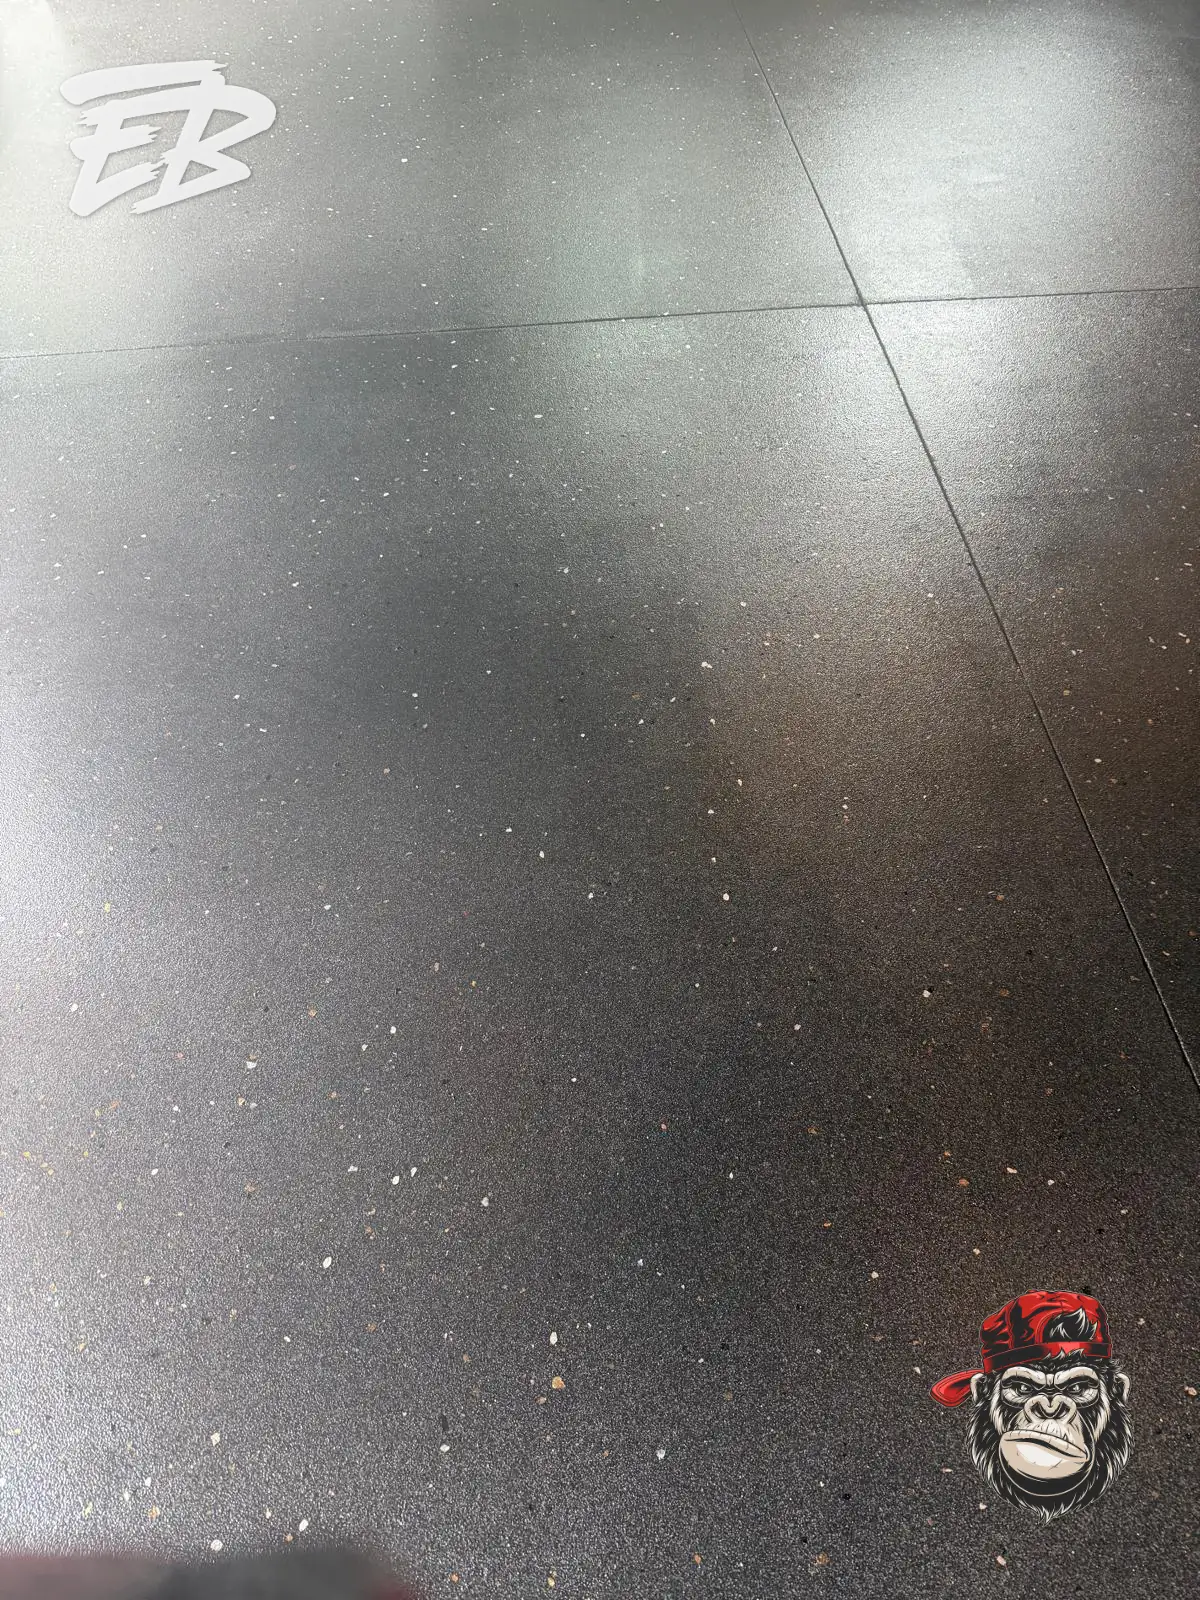
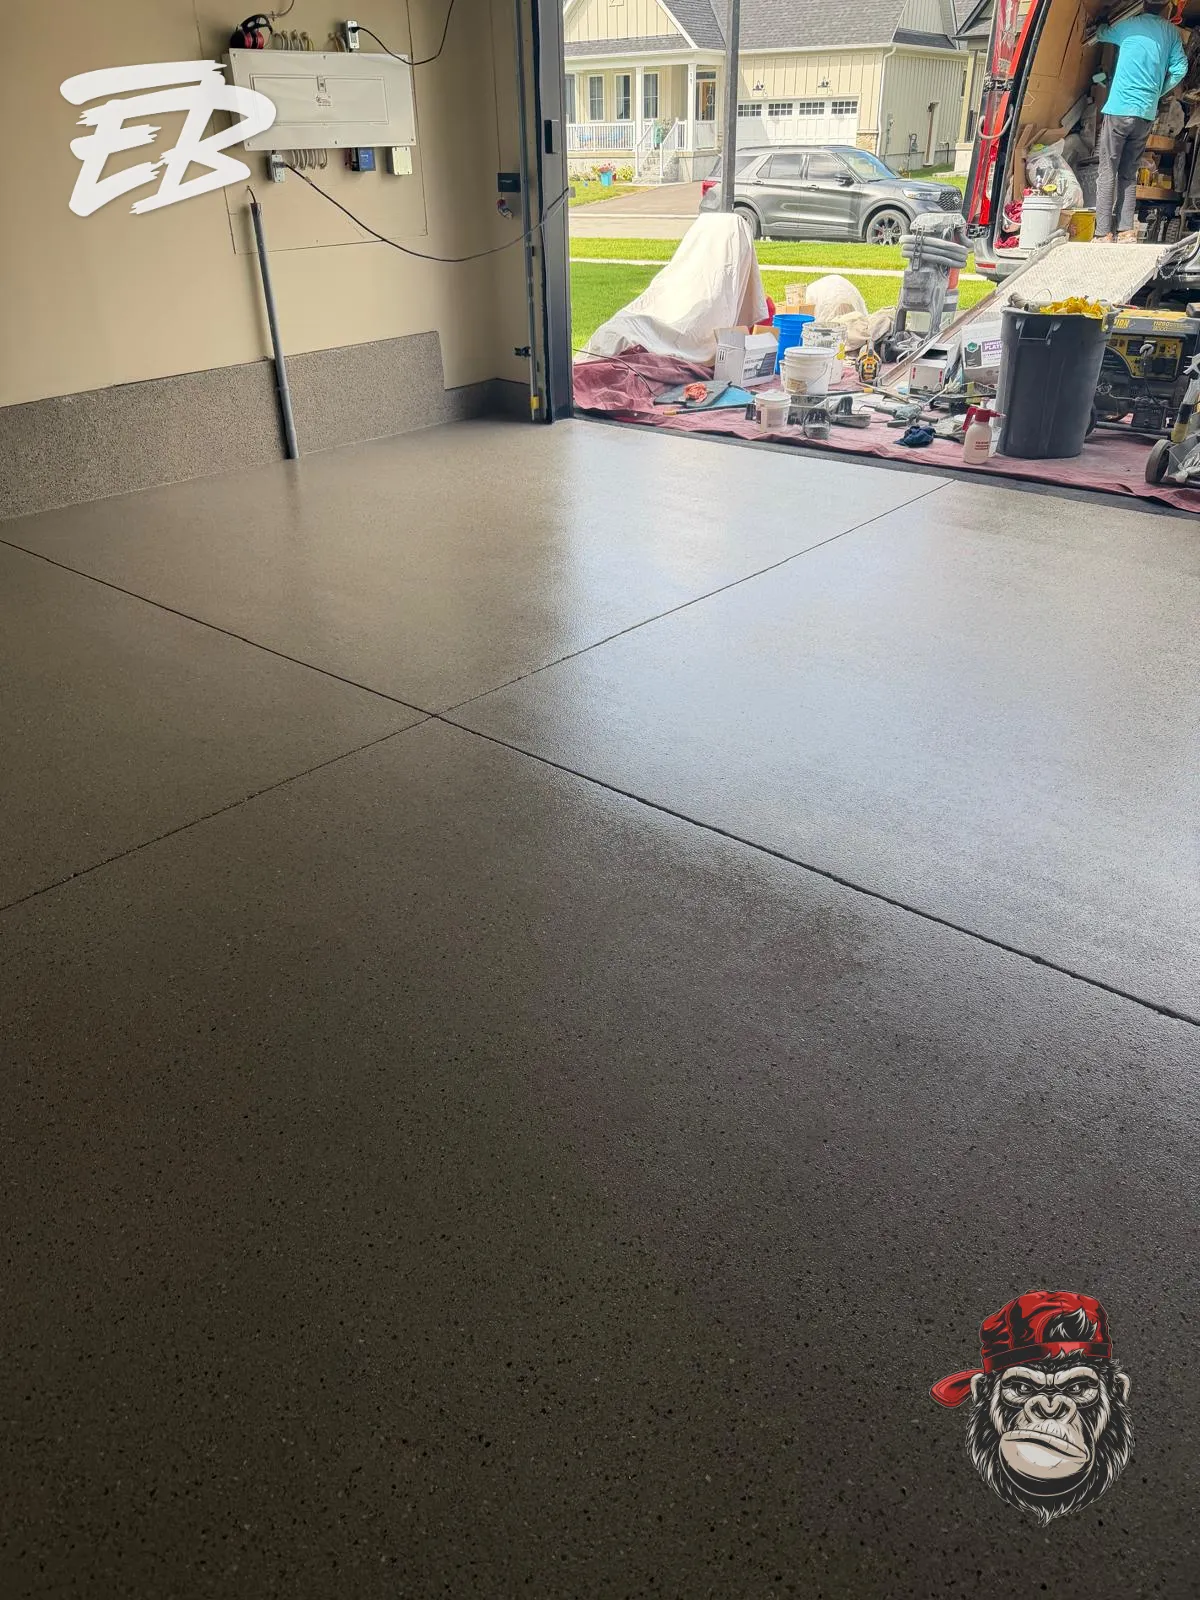
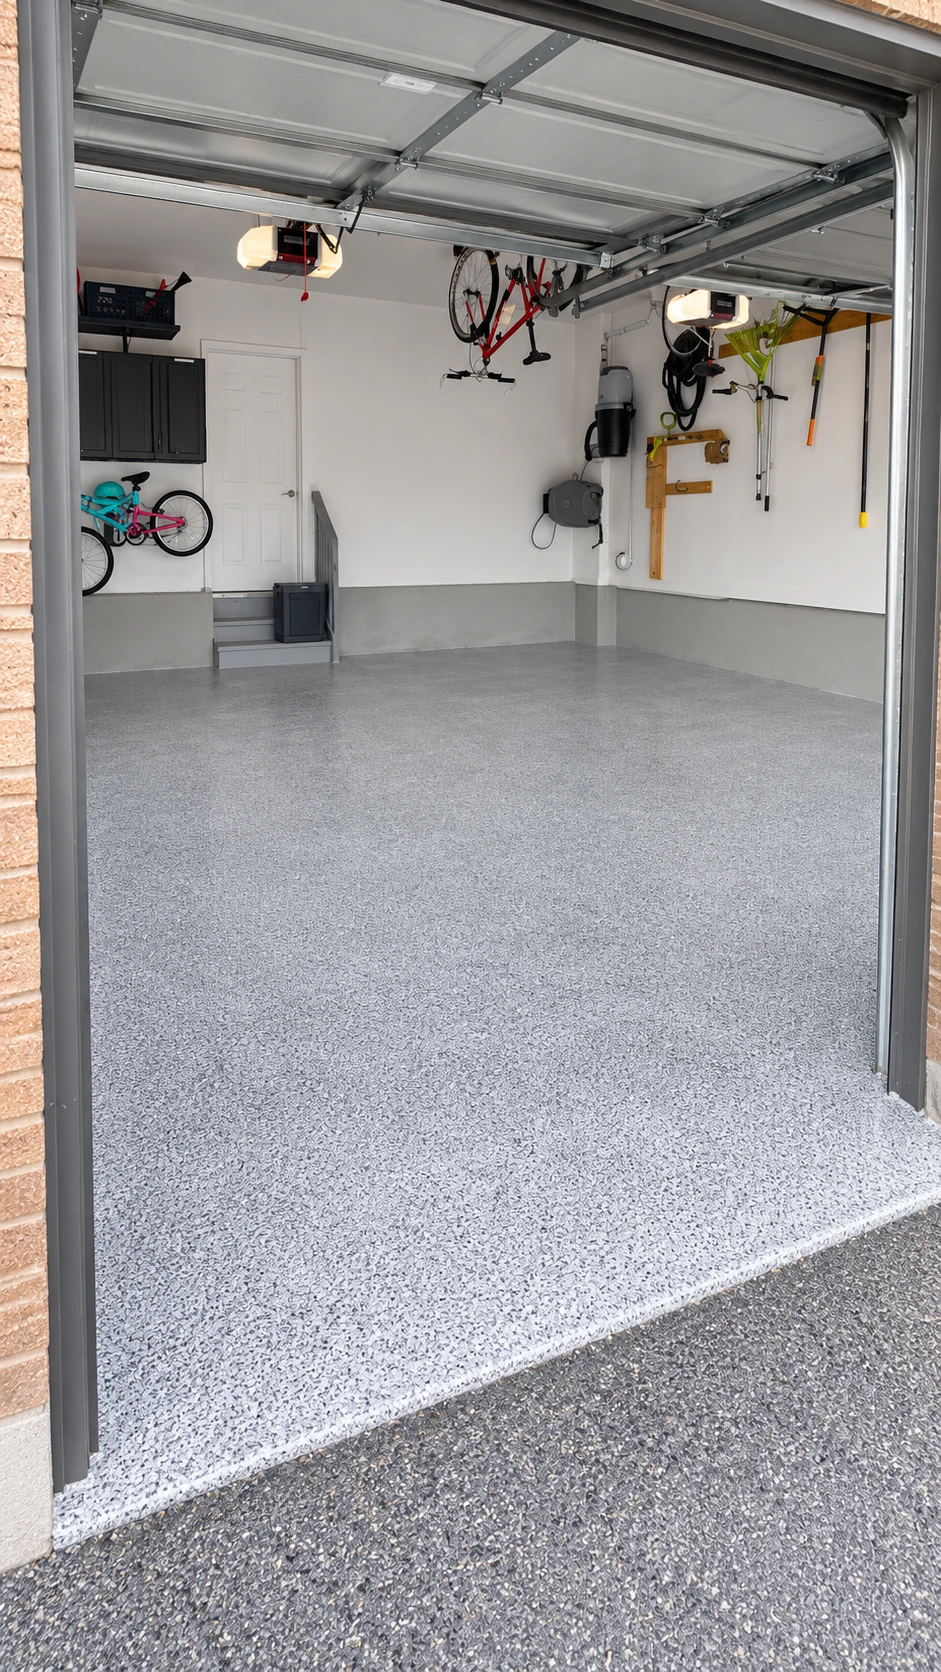
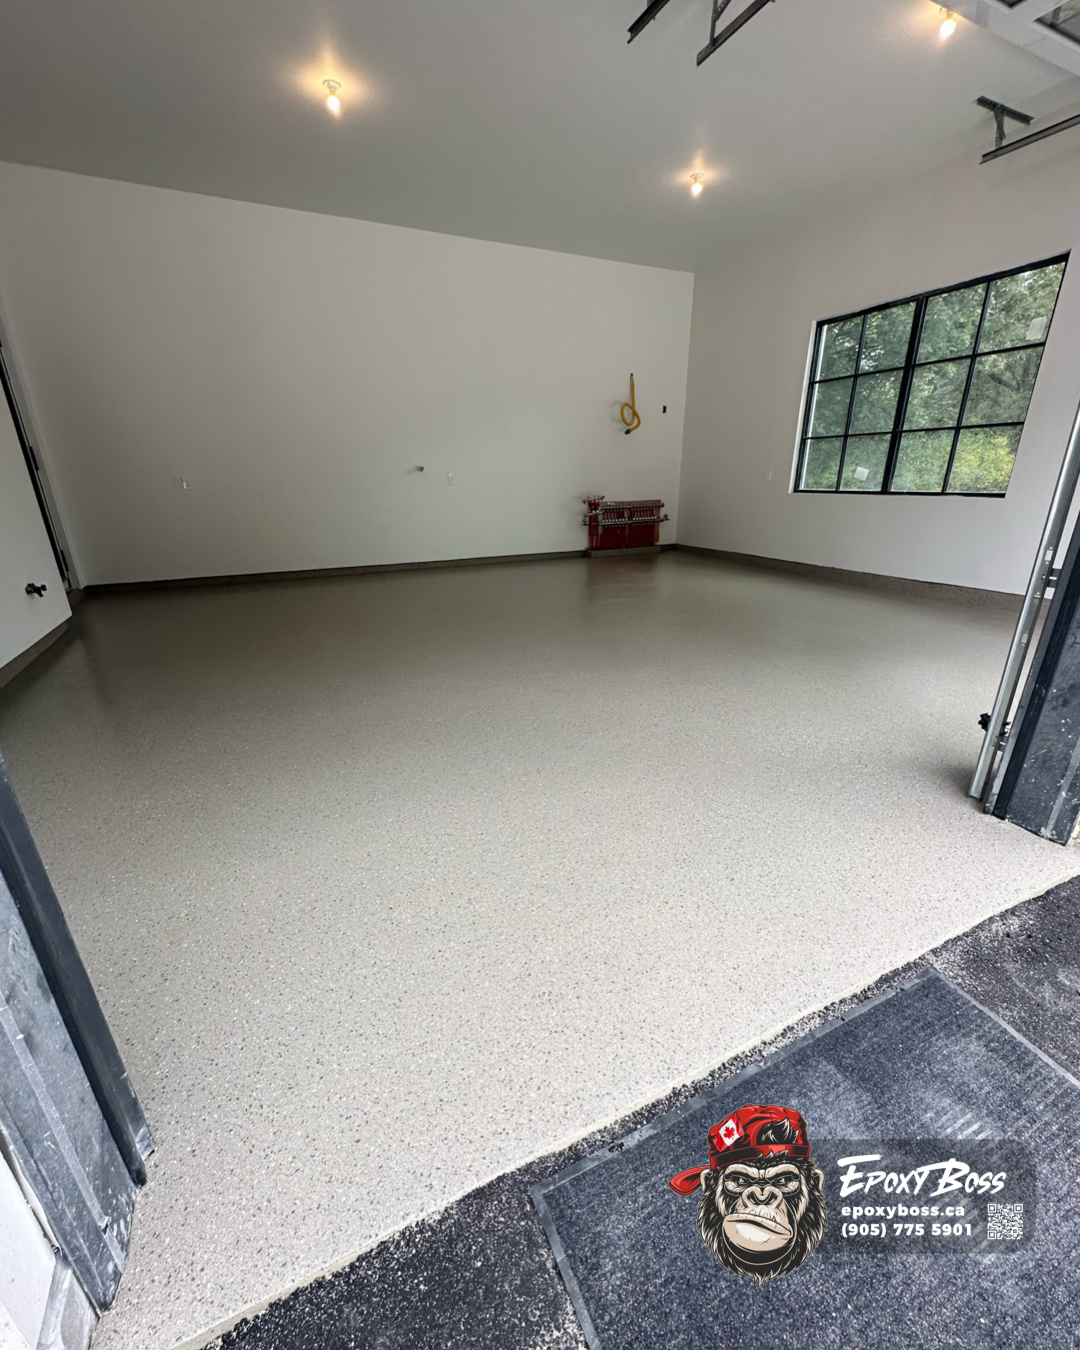
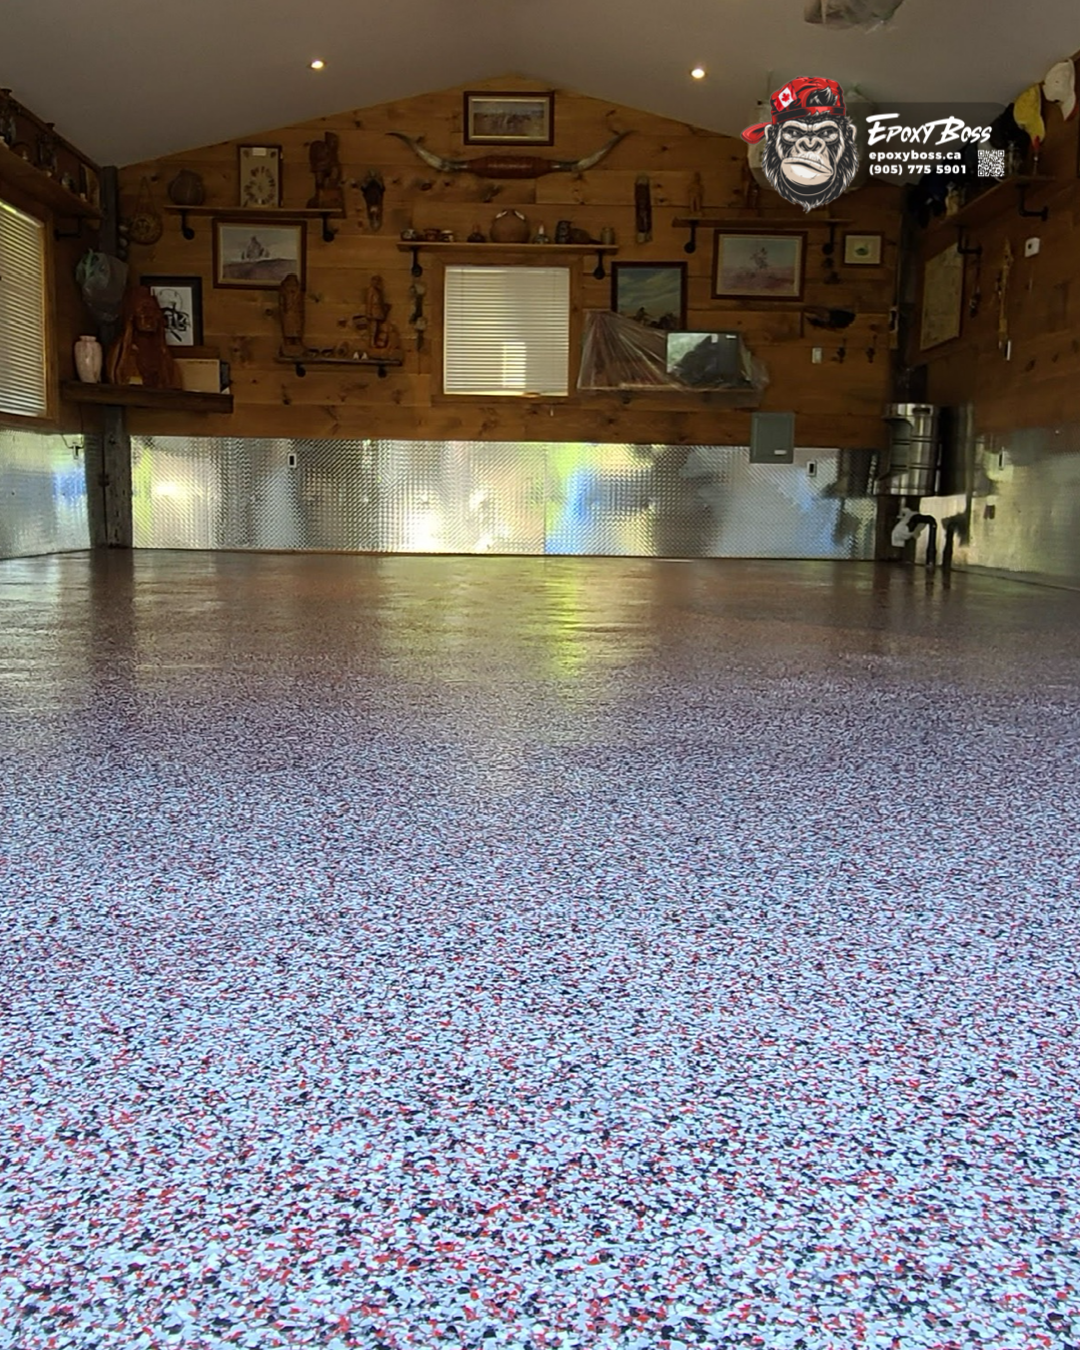
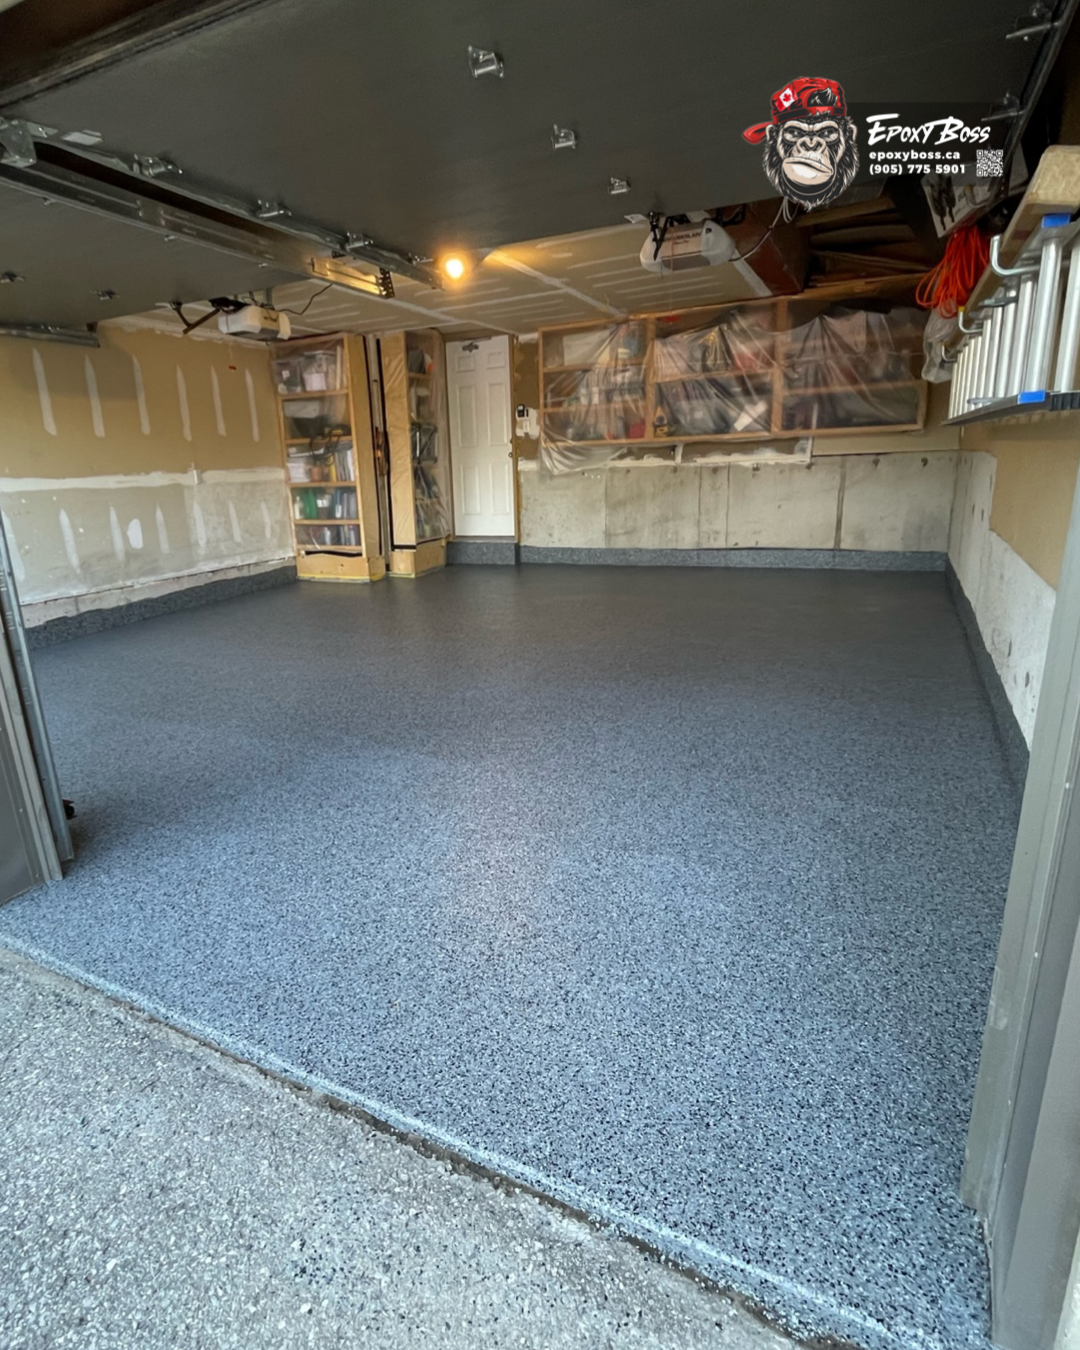
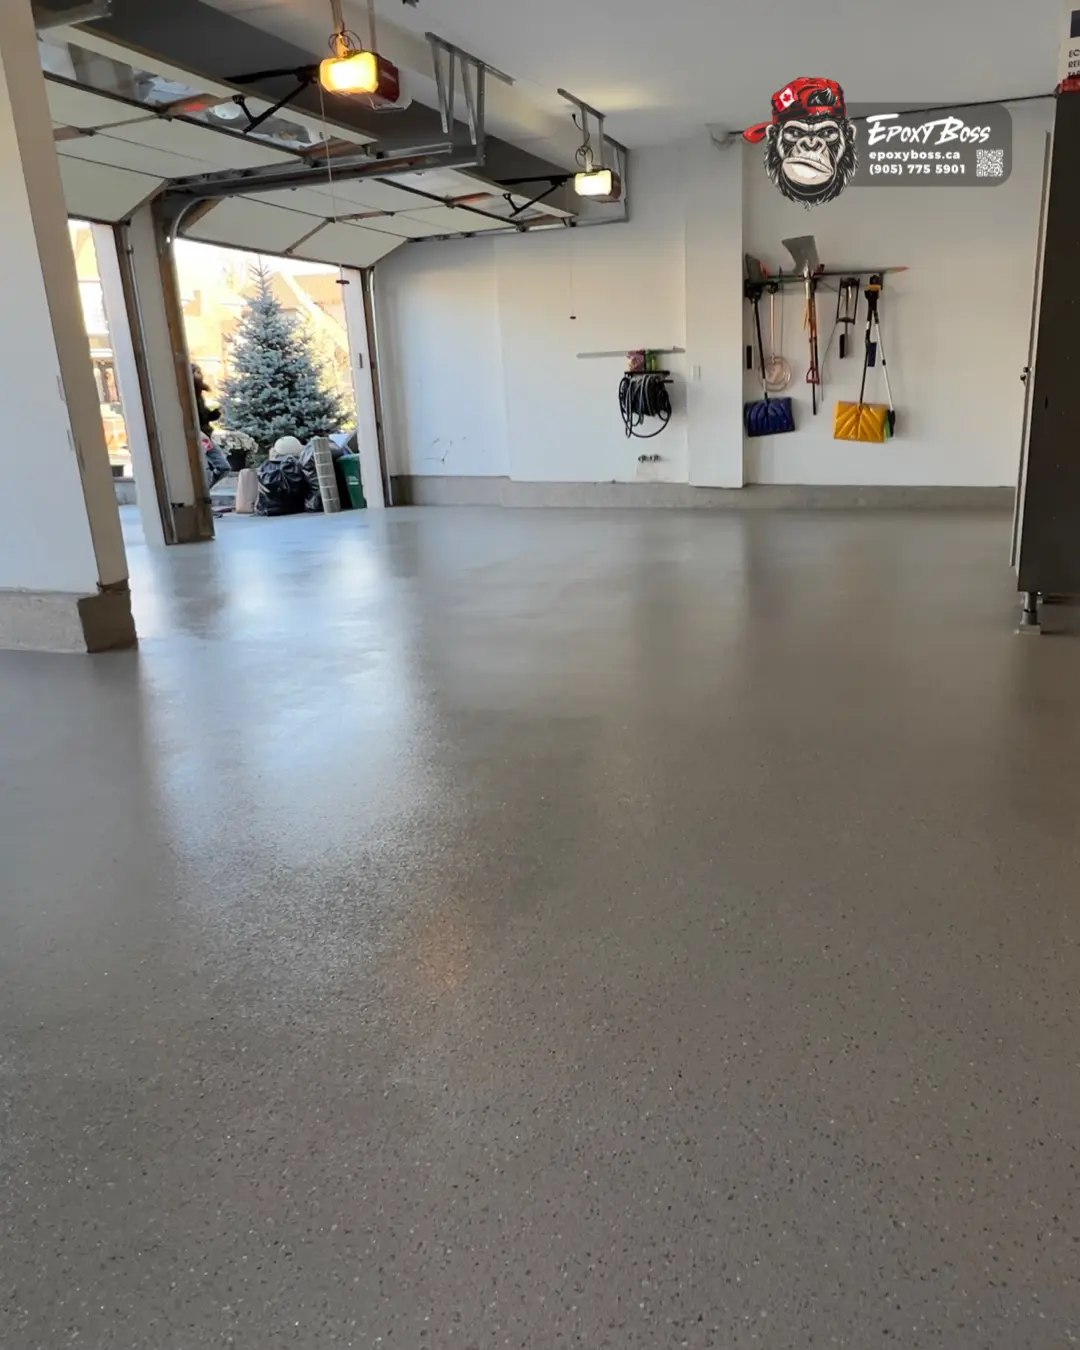
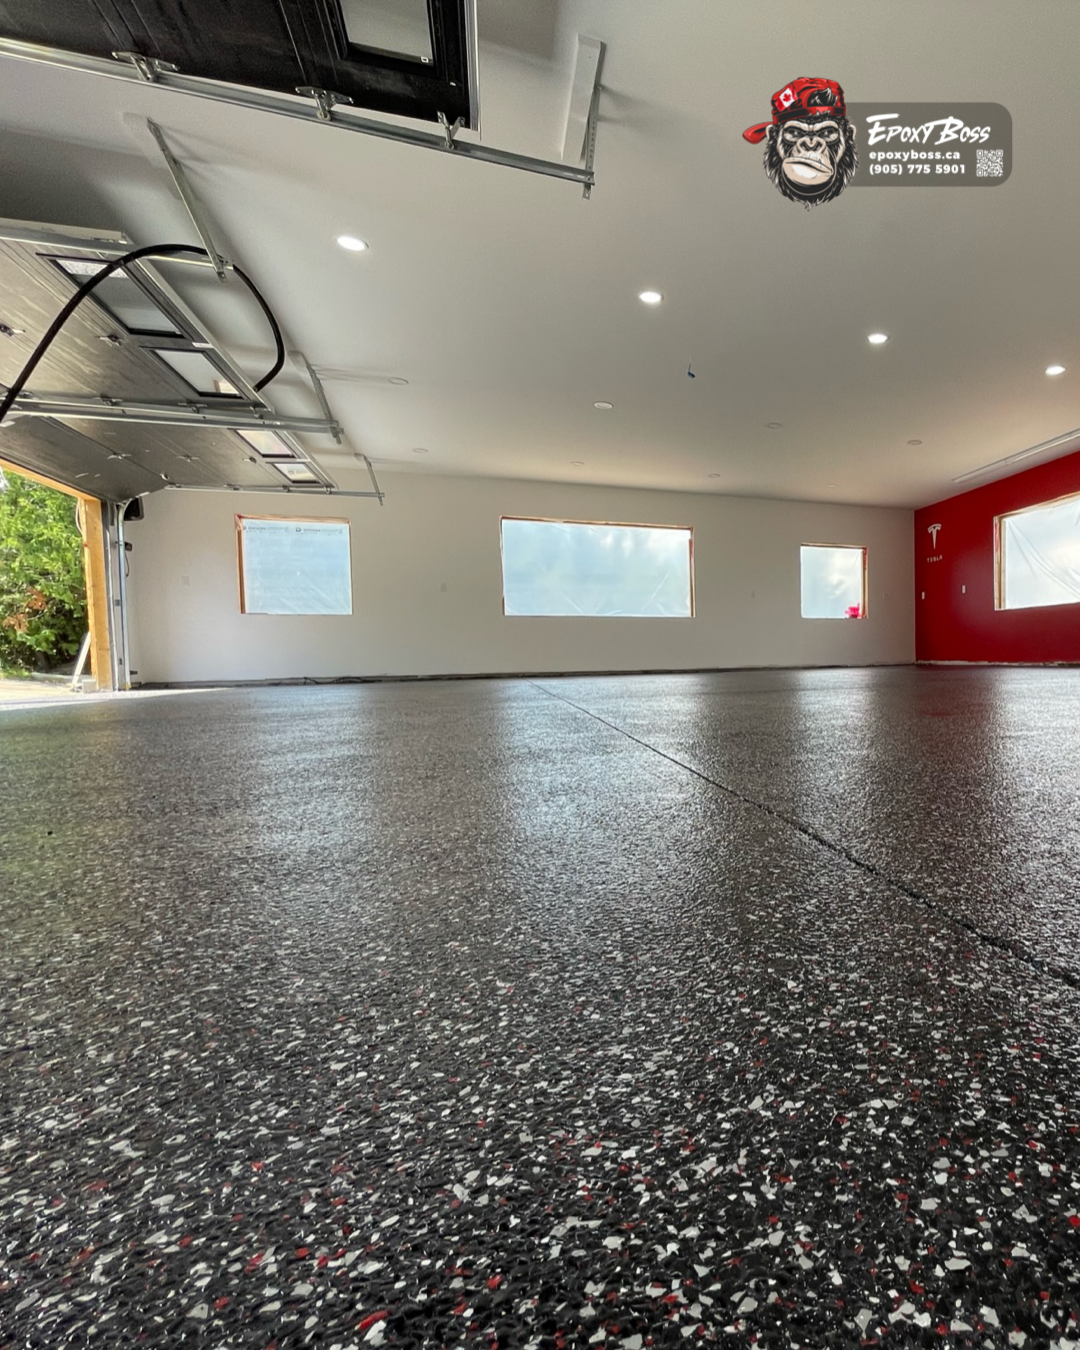
A full-flake garage floor is a popular option for new Vaughan homes because it gives the space a finished, clean, and durable appearance while helping disguise everyday dust and small marks.
The system typically includes a prepared concrete surface, a receiving coat, a full broadcast of decorative vinyl flakes, detail work and scraping, followed by a protective topcoat.
The visible flakes are only one part of the assembly. The performance of the finished floor depends on the preparation, repairs, resin selection, installation conditions, and how each layer is applied.
That is why a clean new slab should never be treated as a shortcut.
When Is the Best Time to Coat a New-Build Garage?
The best time is usually after the home is sufficiently complete to avoid further construction traffic, but before the garage becomes crowded with storage, vehicles, and household items.
Before scheduling, confirm that:
- Major interior and exterior construction work is complete
- The garage is accessible for equipment and installation
- The slab has had appropriate time to cure
- Any water-intrusion or drainage concerns have been identified
- The garage door, walls, and thresholds are in their finished or near-finished condition
- You have chosen the desired colour and system based on how the garage will be used
Planning the coating before move-in can make the process simpler and keep the new garage organized from the start.
Start With the Concrete, Not the Colour
Choosing a flake blend is exciting, but the first decision should be whether the concrete is ready for the system you want.
A properly prepared new-build slab gives your garage-floor system the best foundation for long-term performance. It also allows problems such as weak surface paste, hidden cracks, construction contamination, or moisture concerns to be addressed before they are trapped beneath a finished coating.
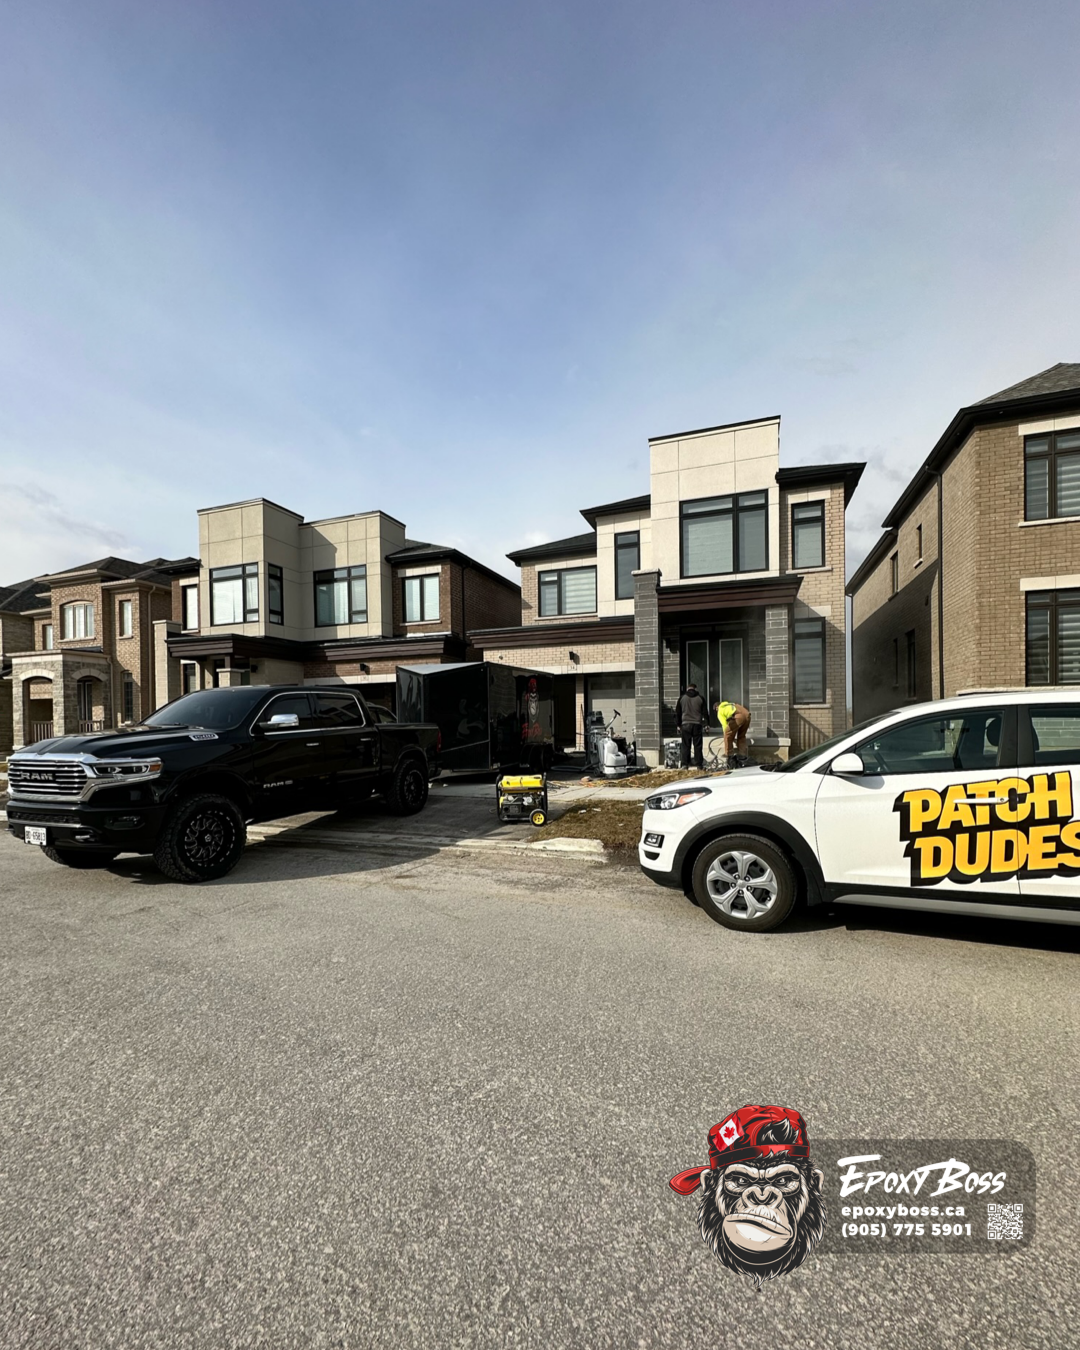
If you are moving into a new home in Vaughan and considering a garage floor coating, Epoxy Boss can assess the concrete, explain the preparation requirements, and recommend a system that fits the garage’s condition and intended use.
Request a Vaughan garage-floor assessment before your new slab becomes your finished floor.


.webp)


.png)
.png)