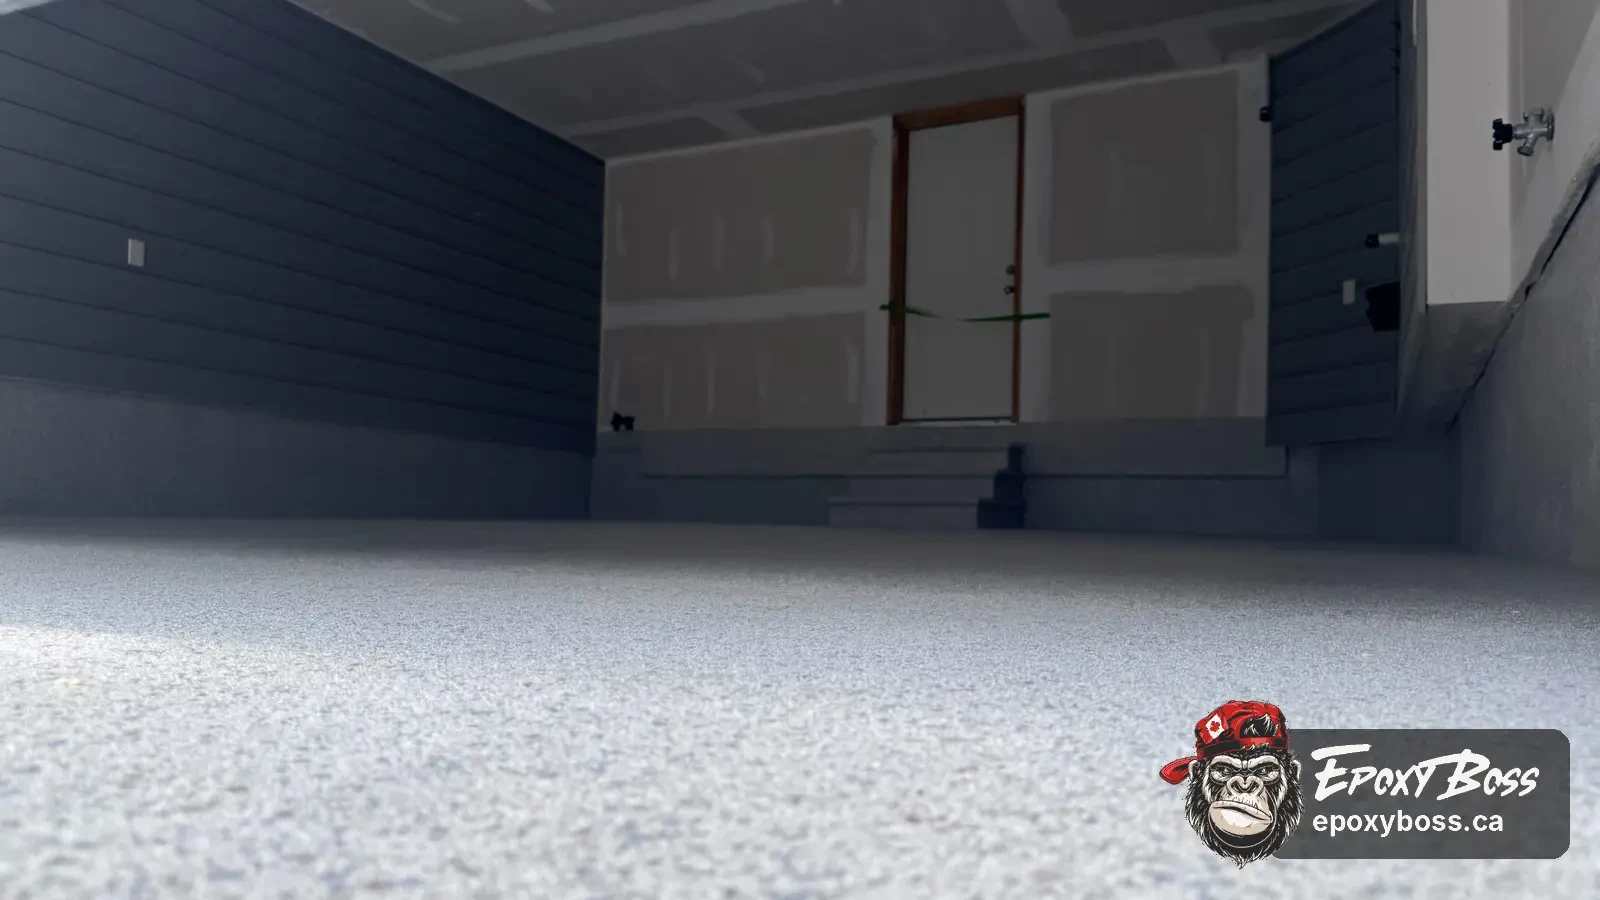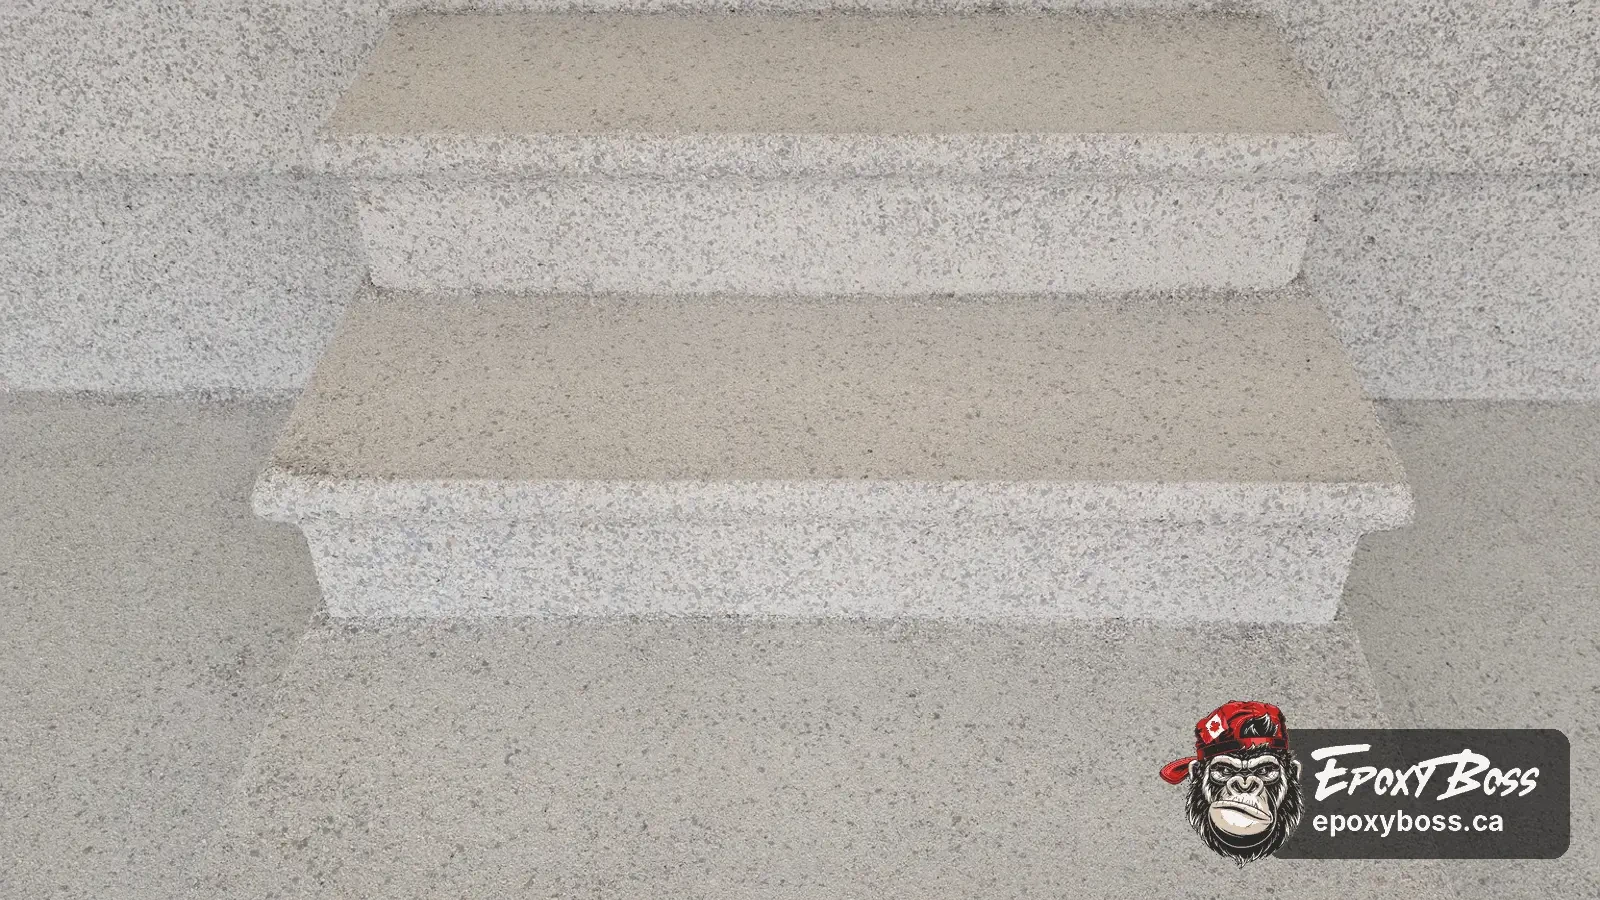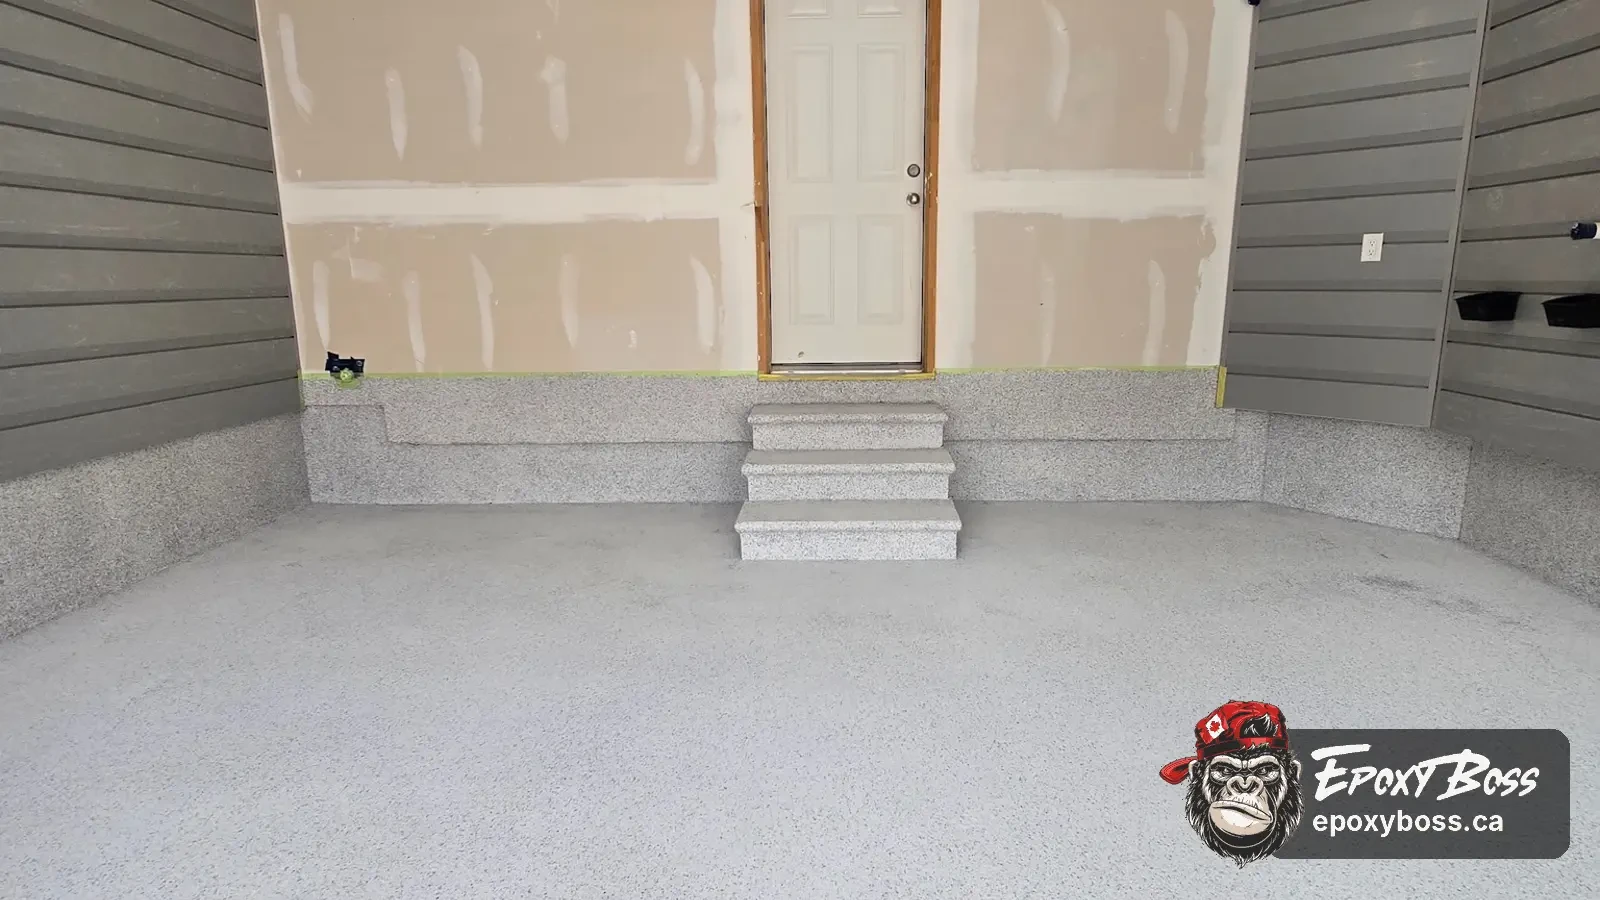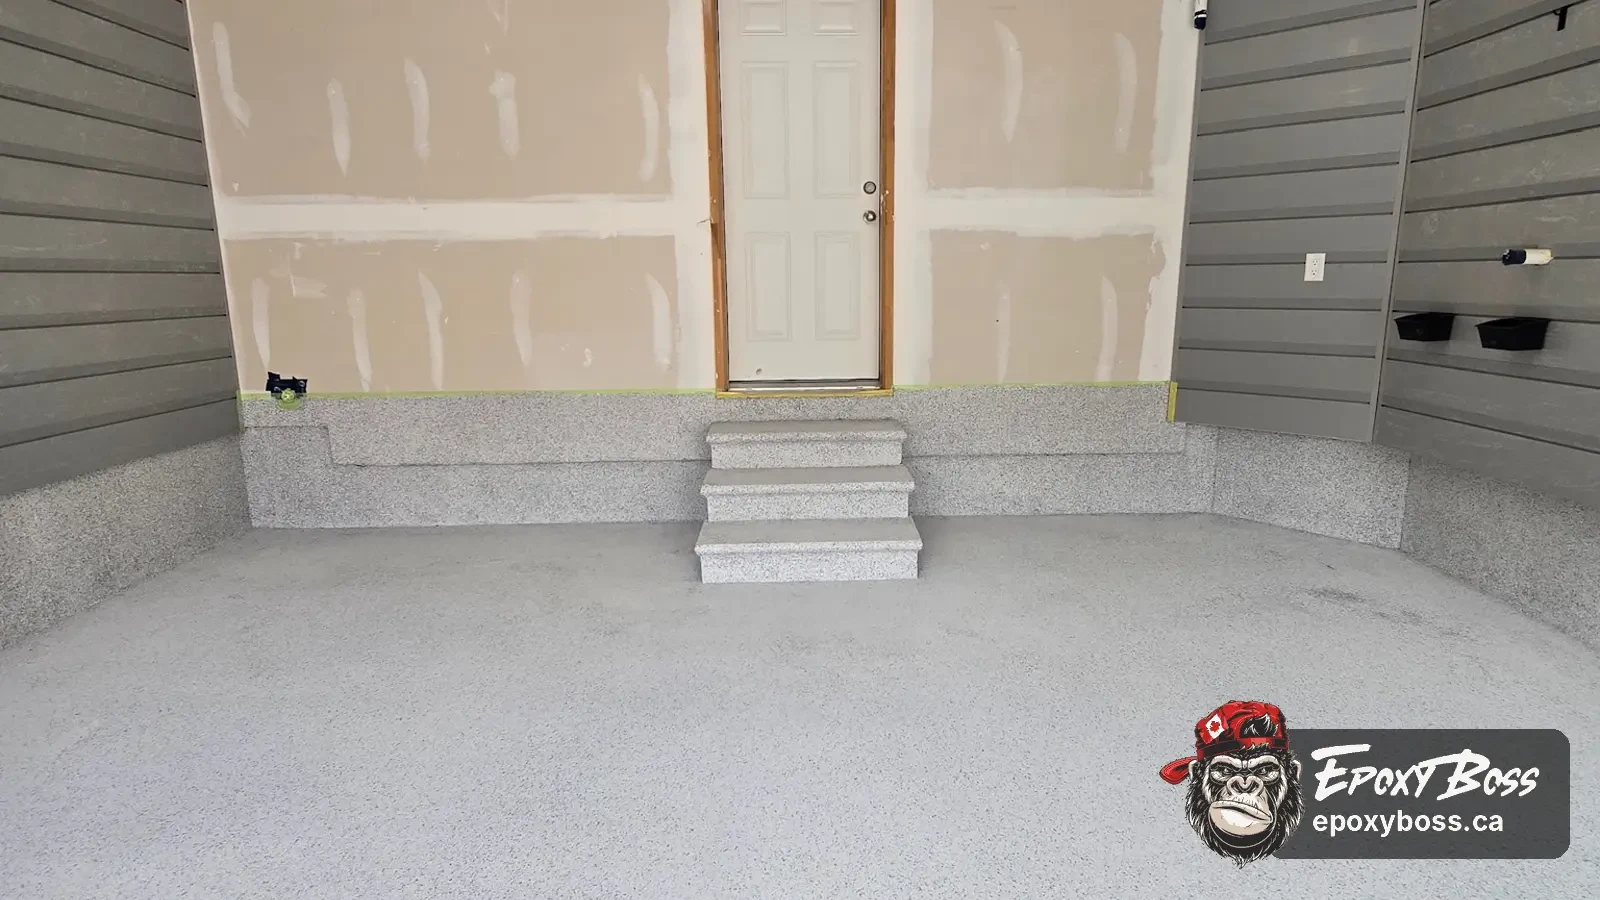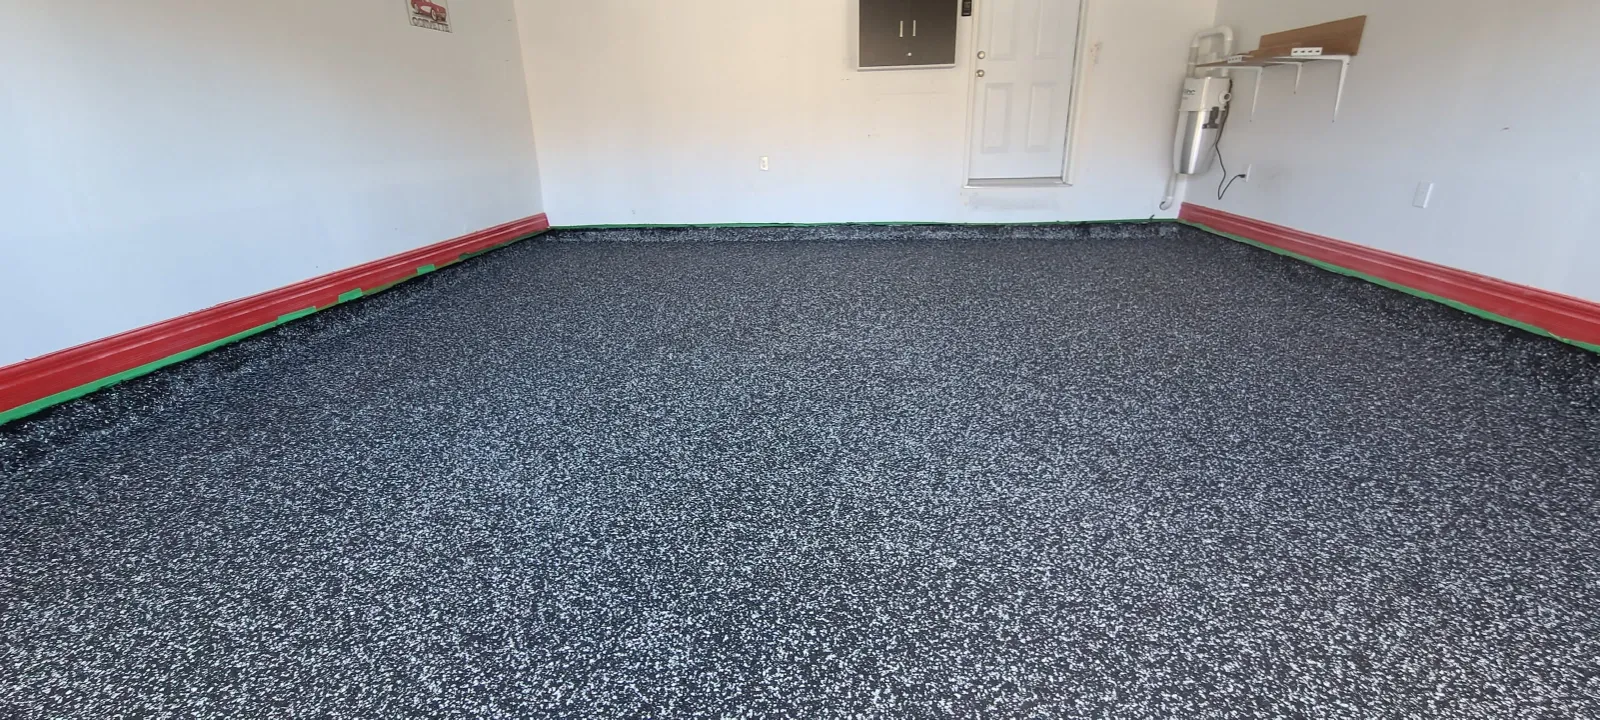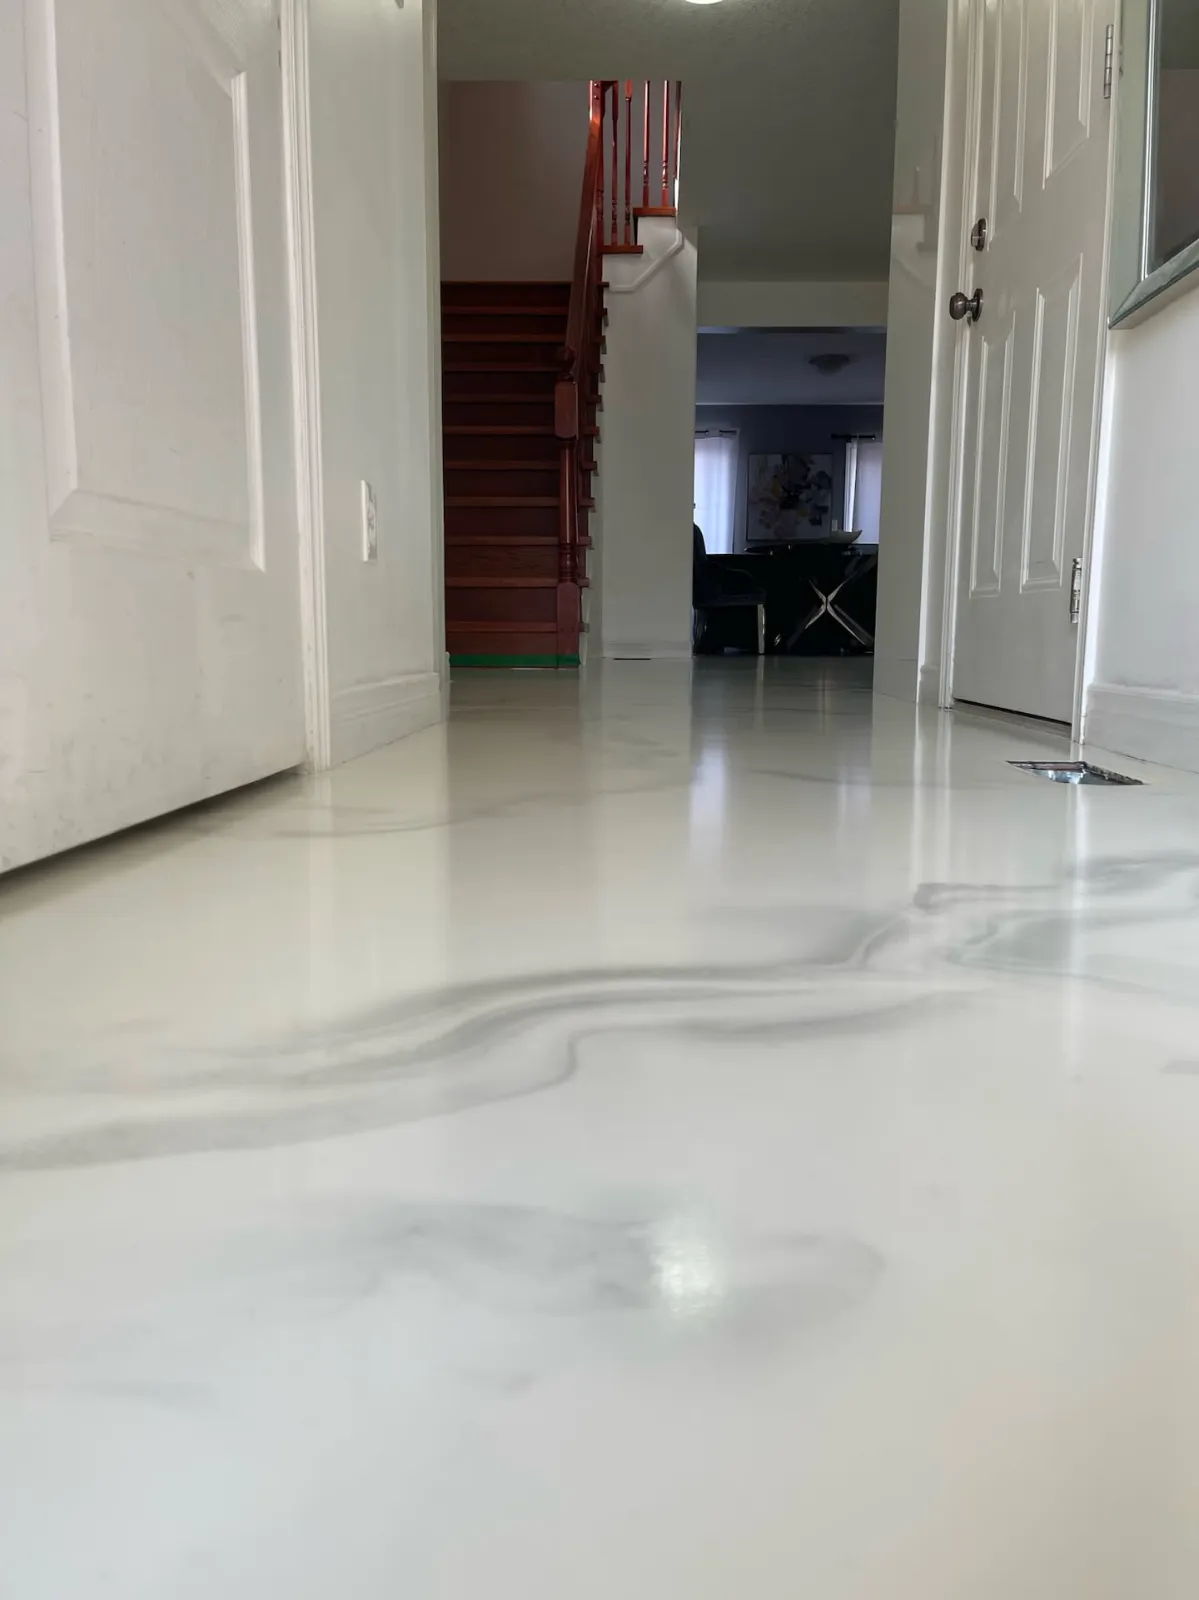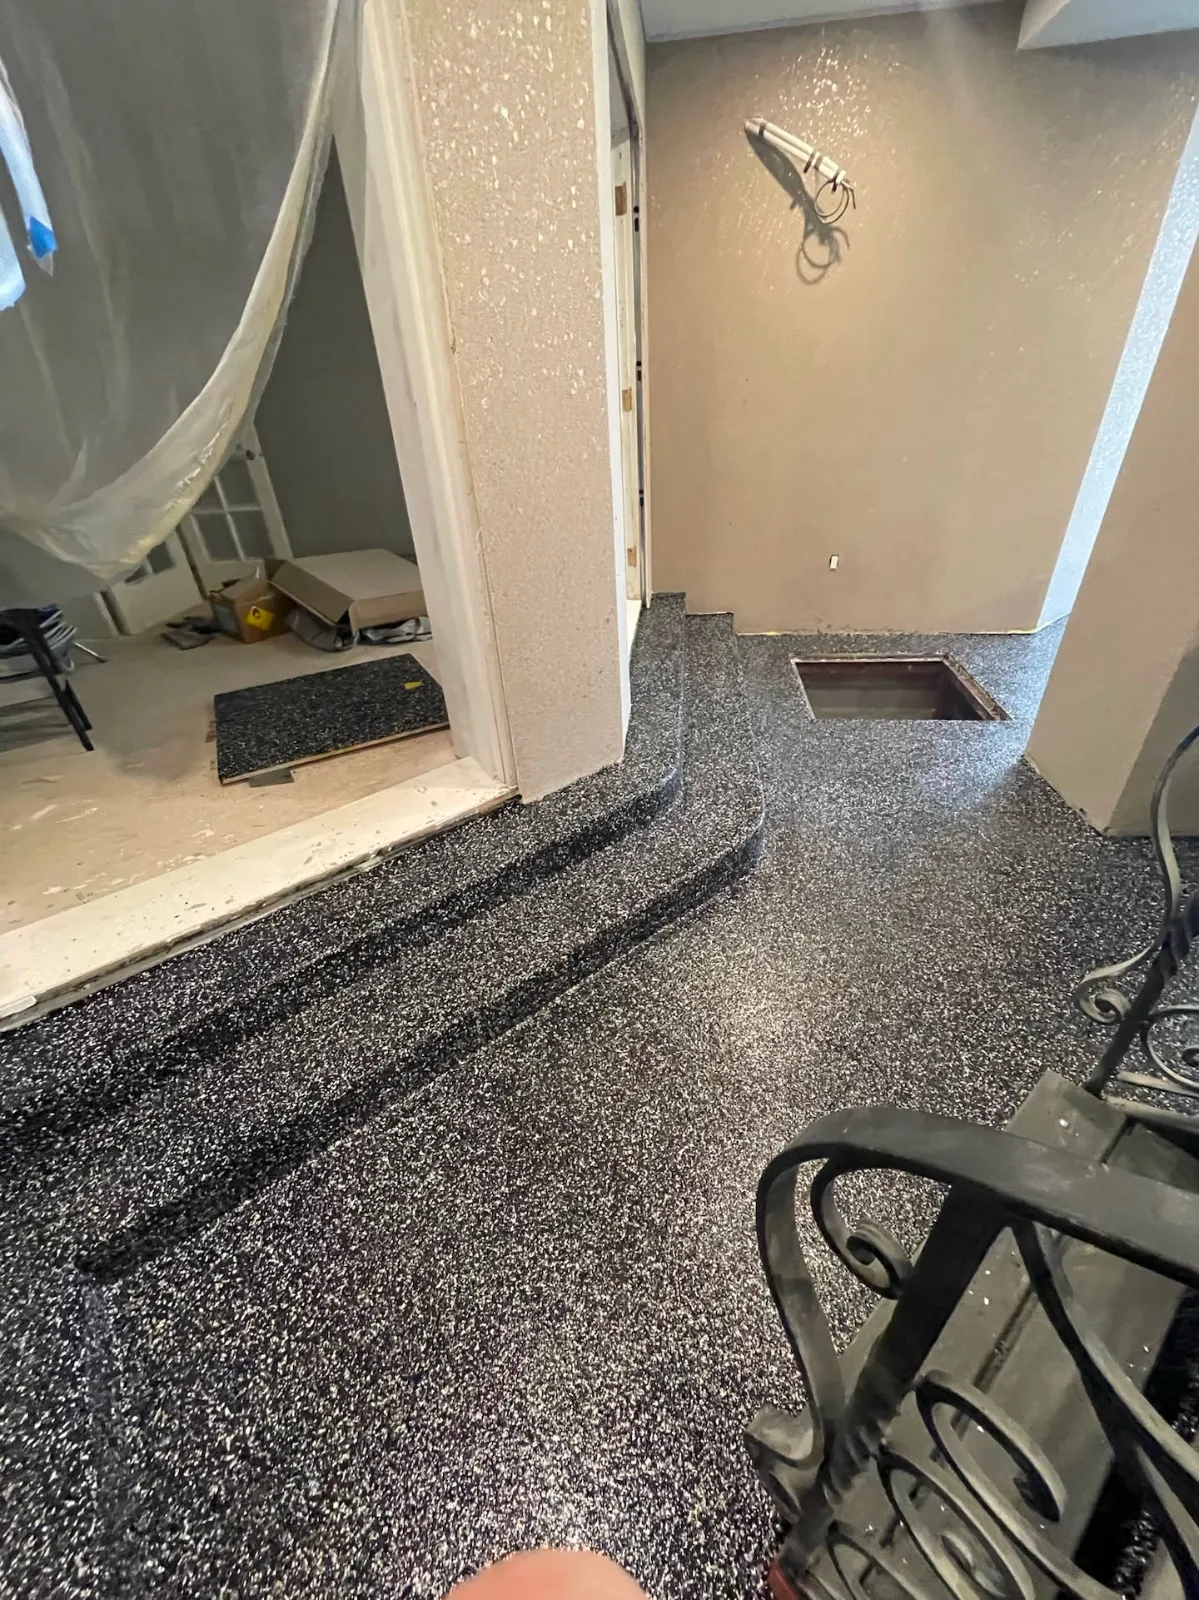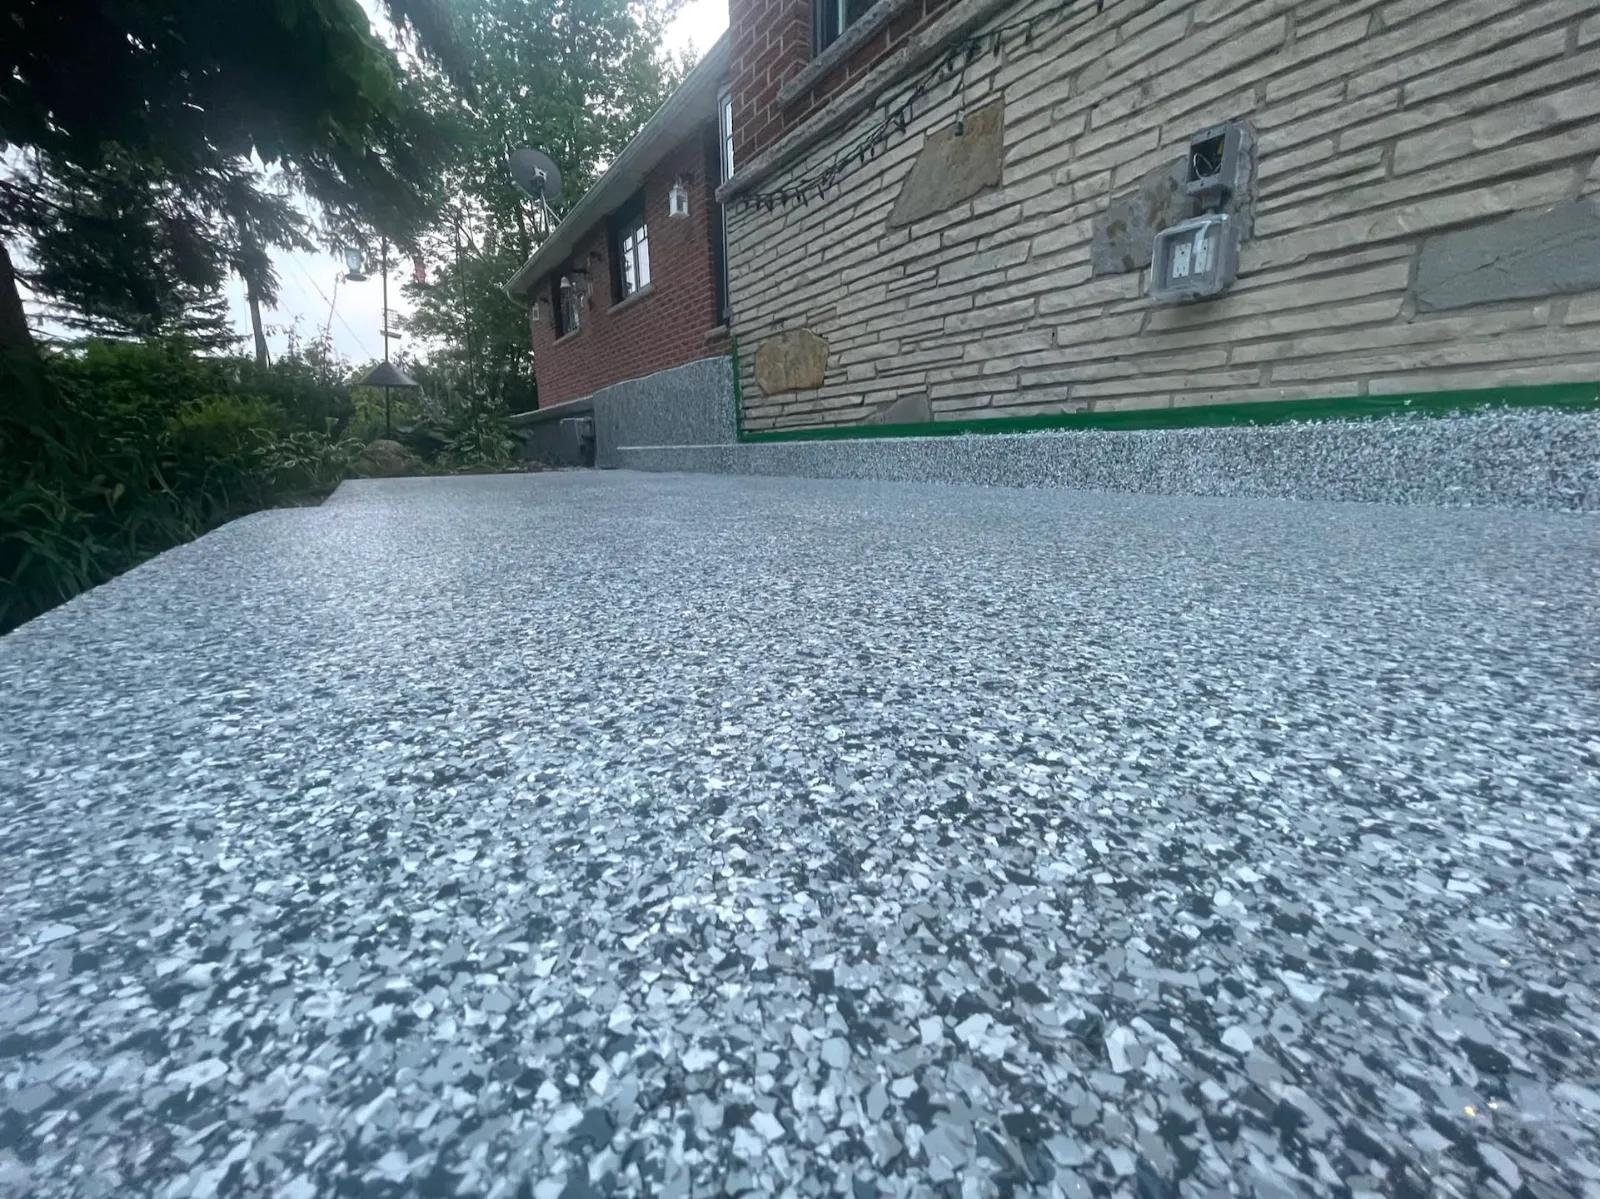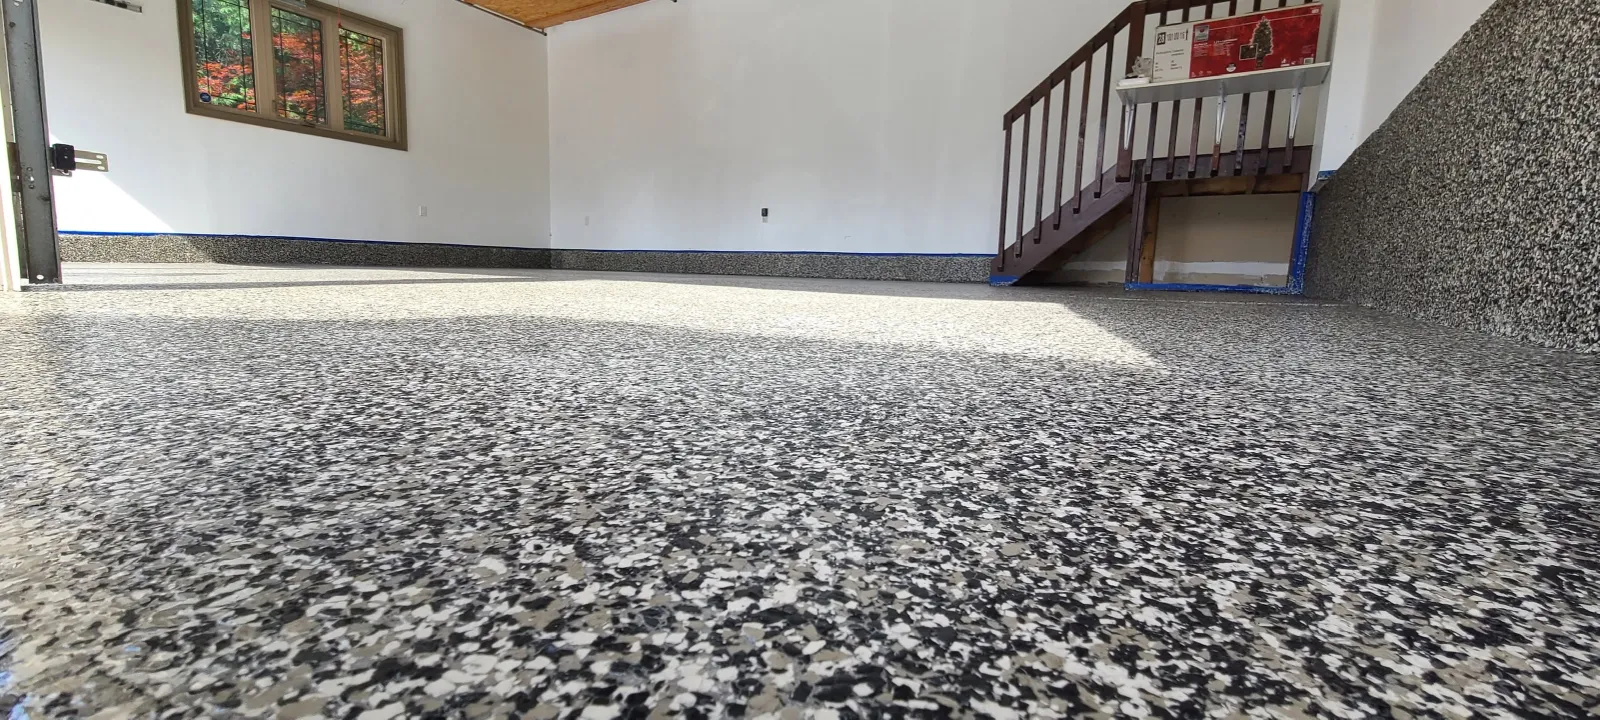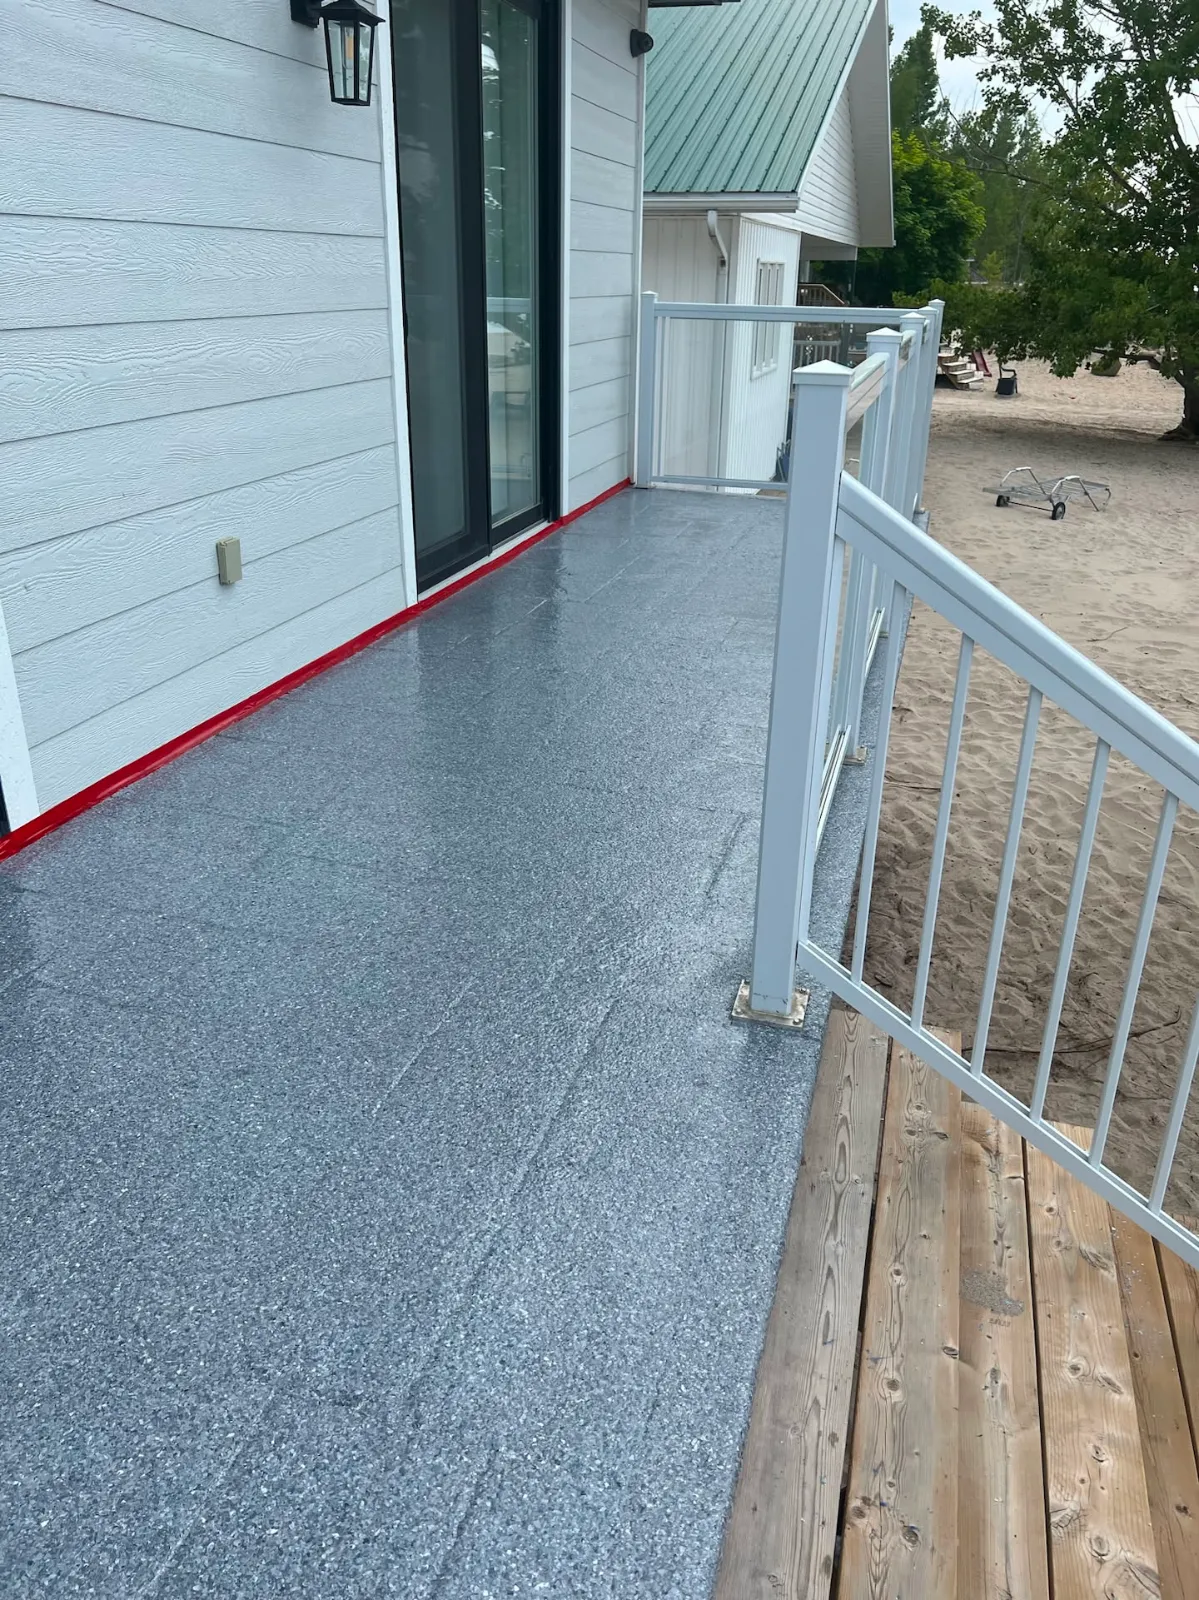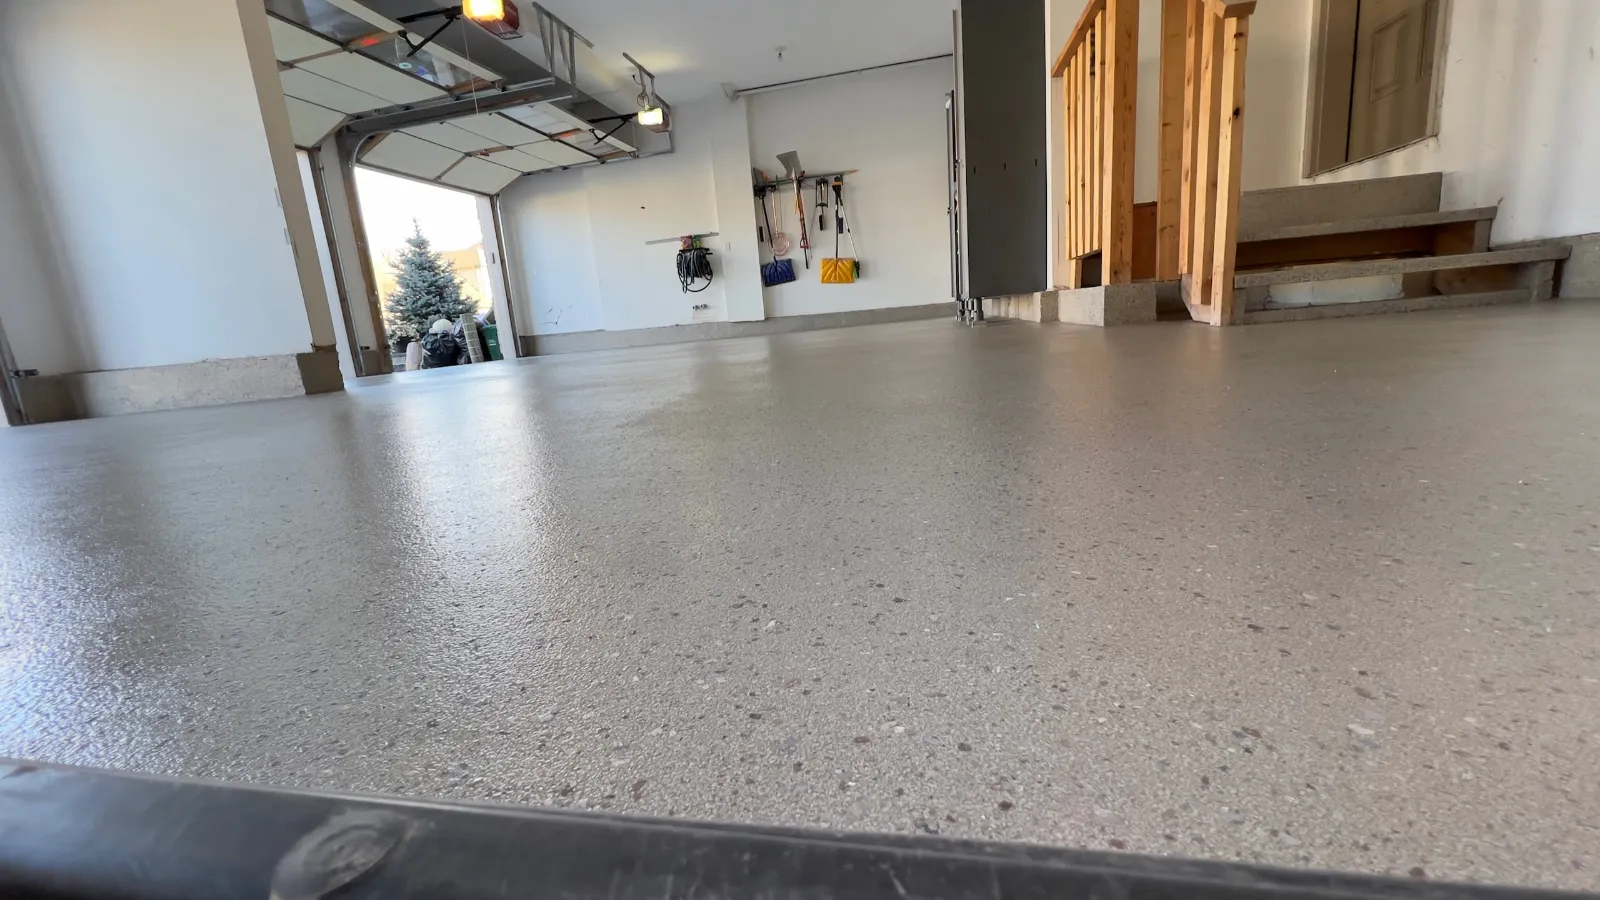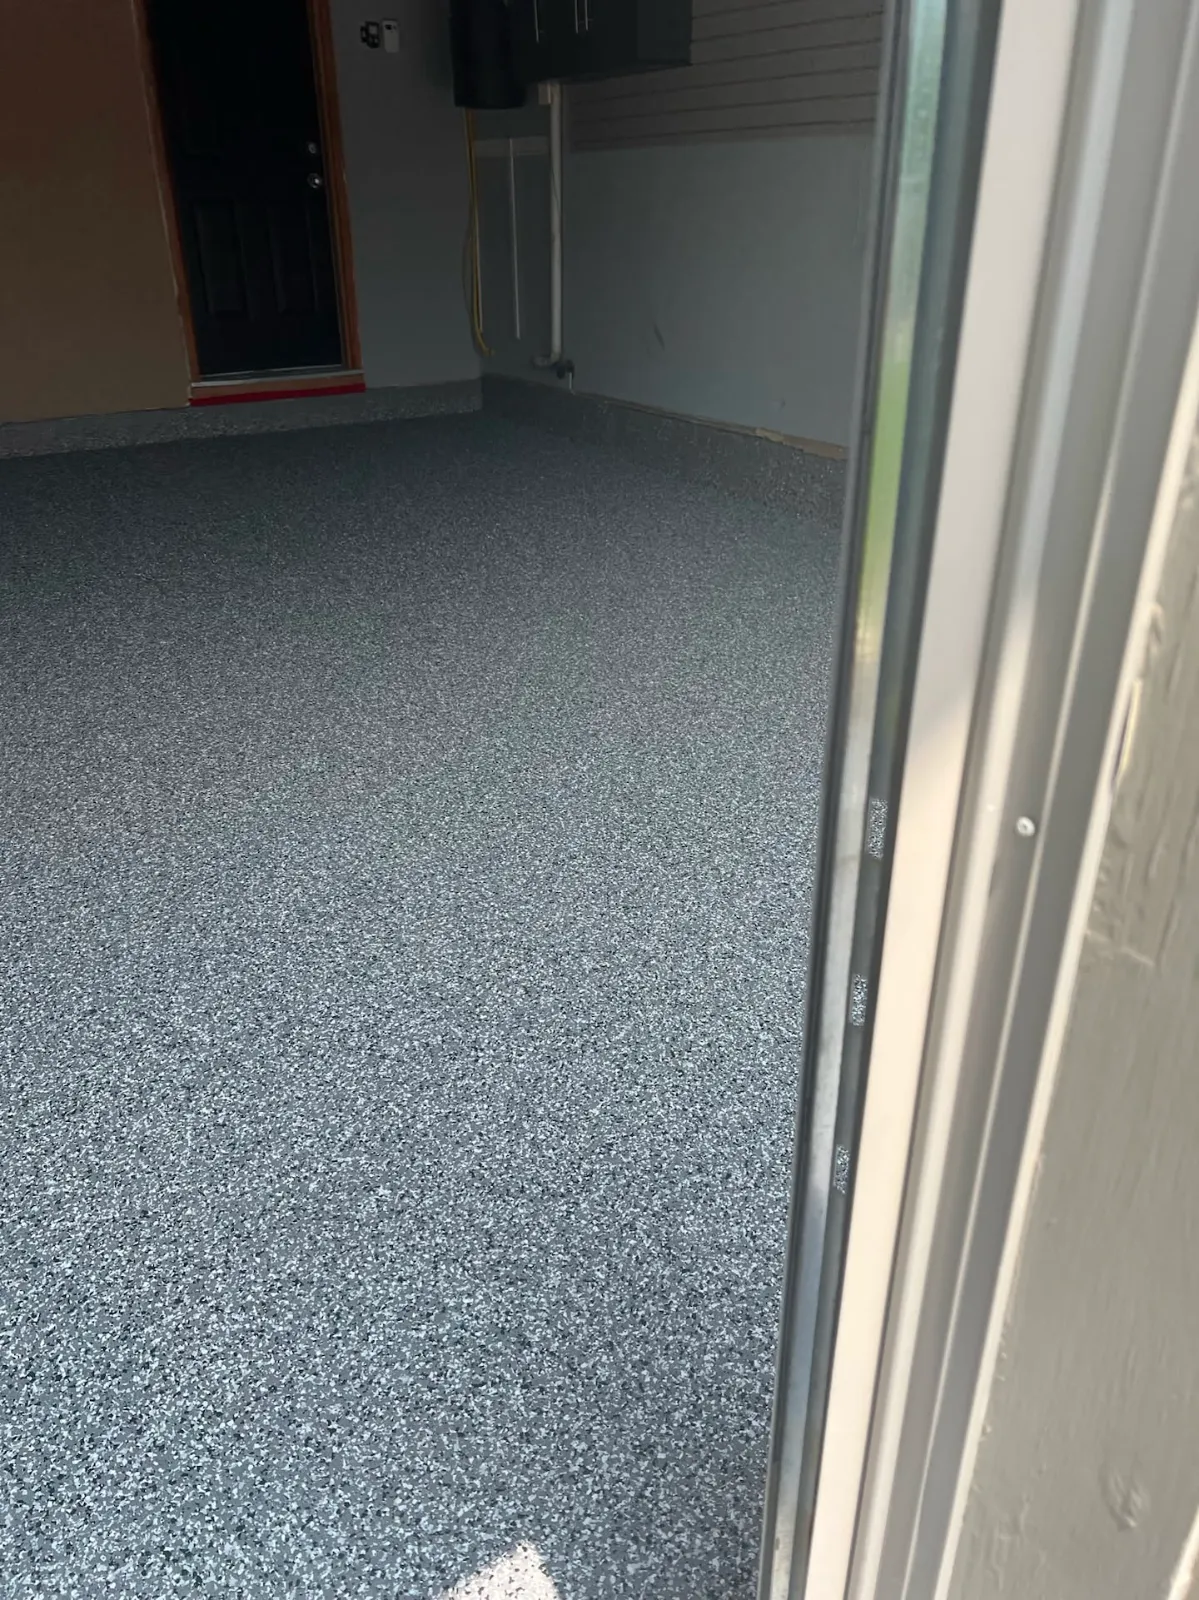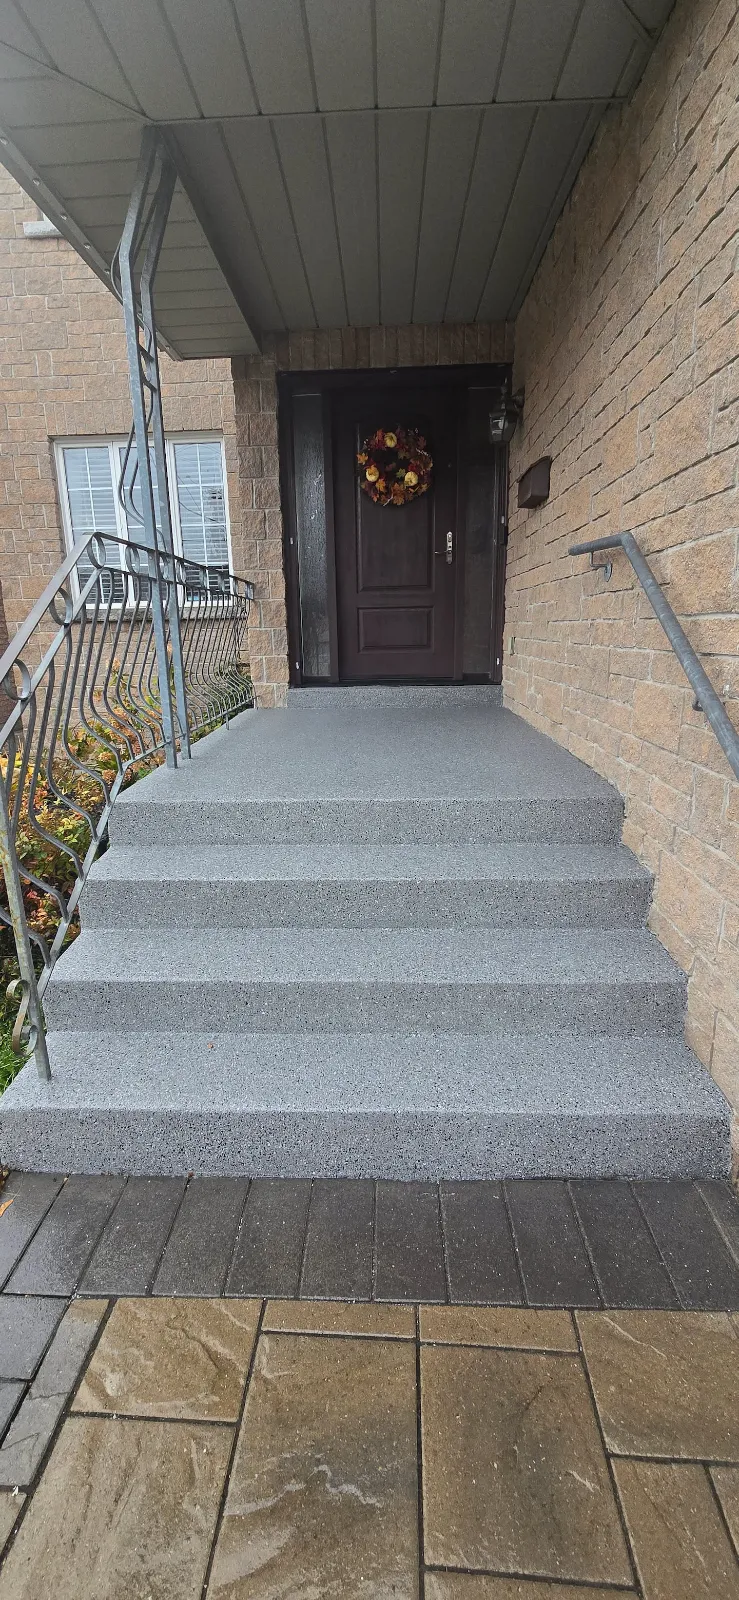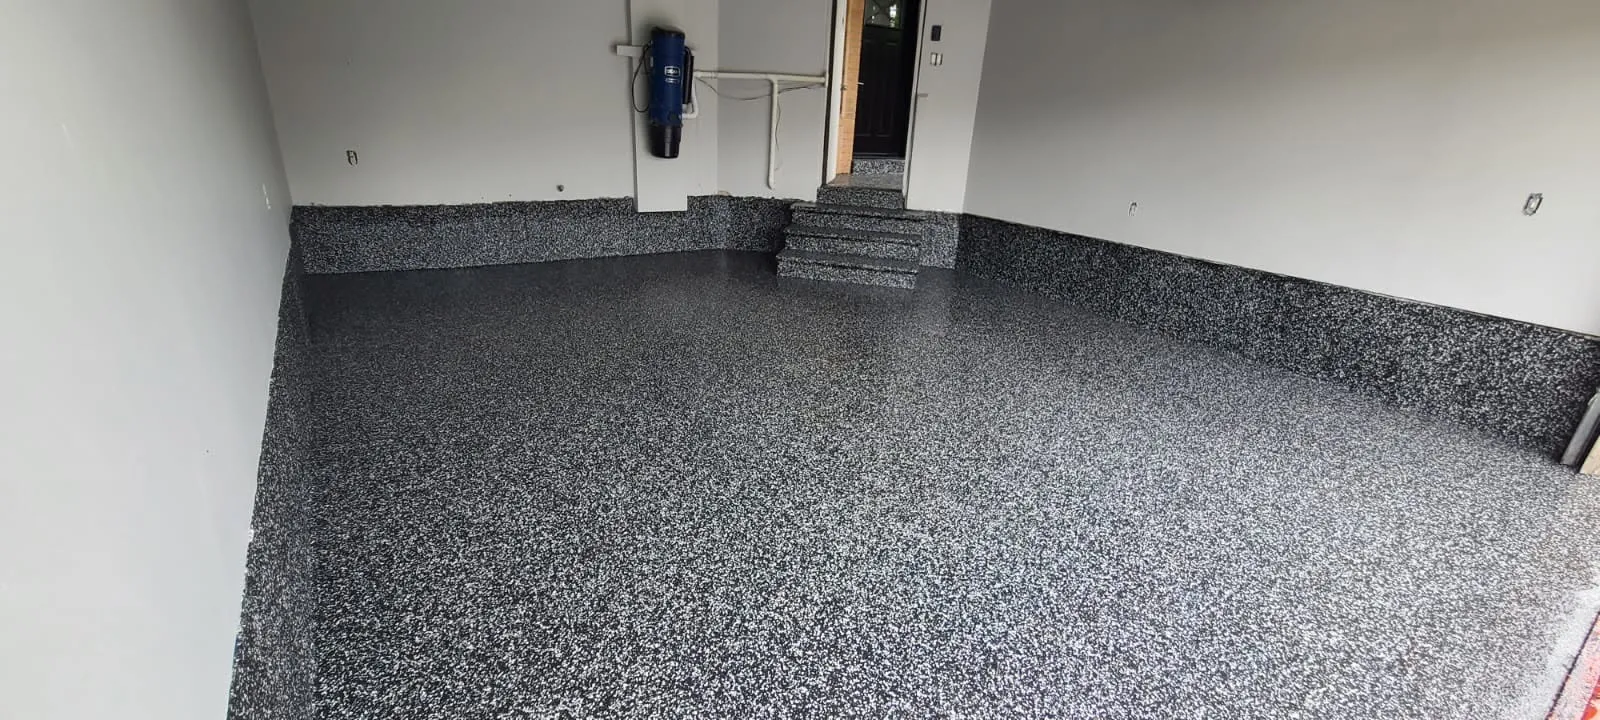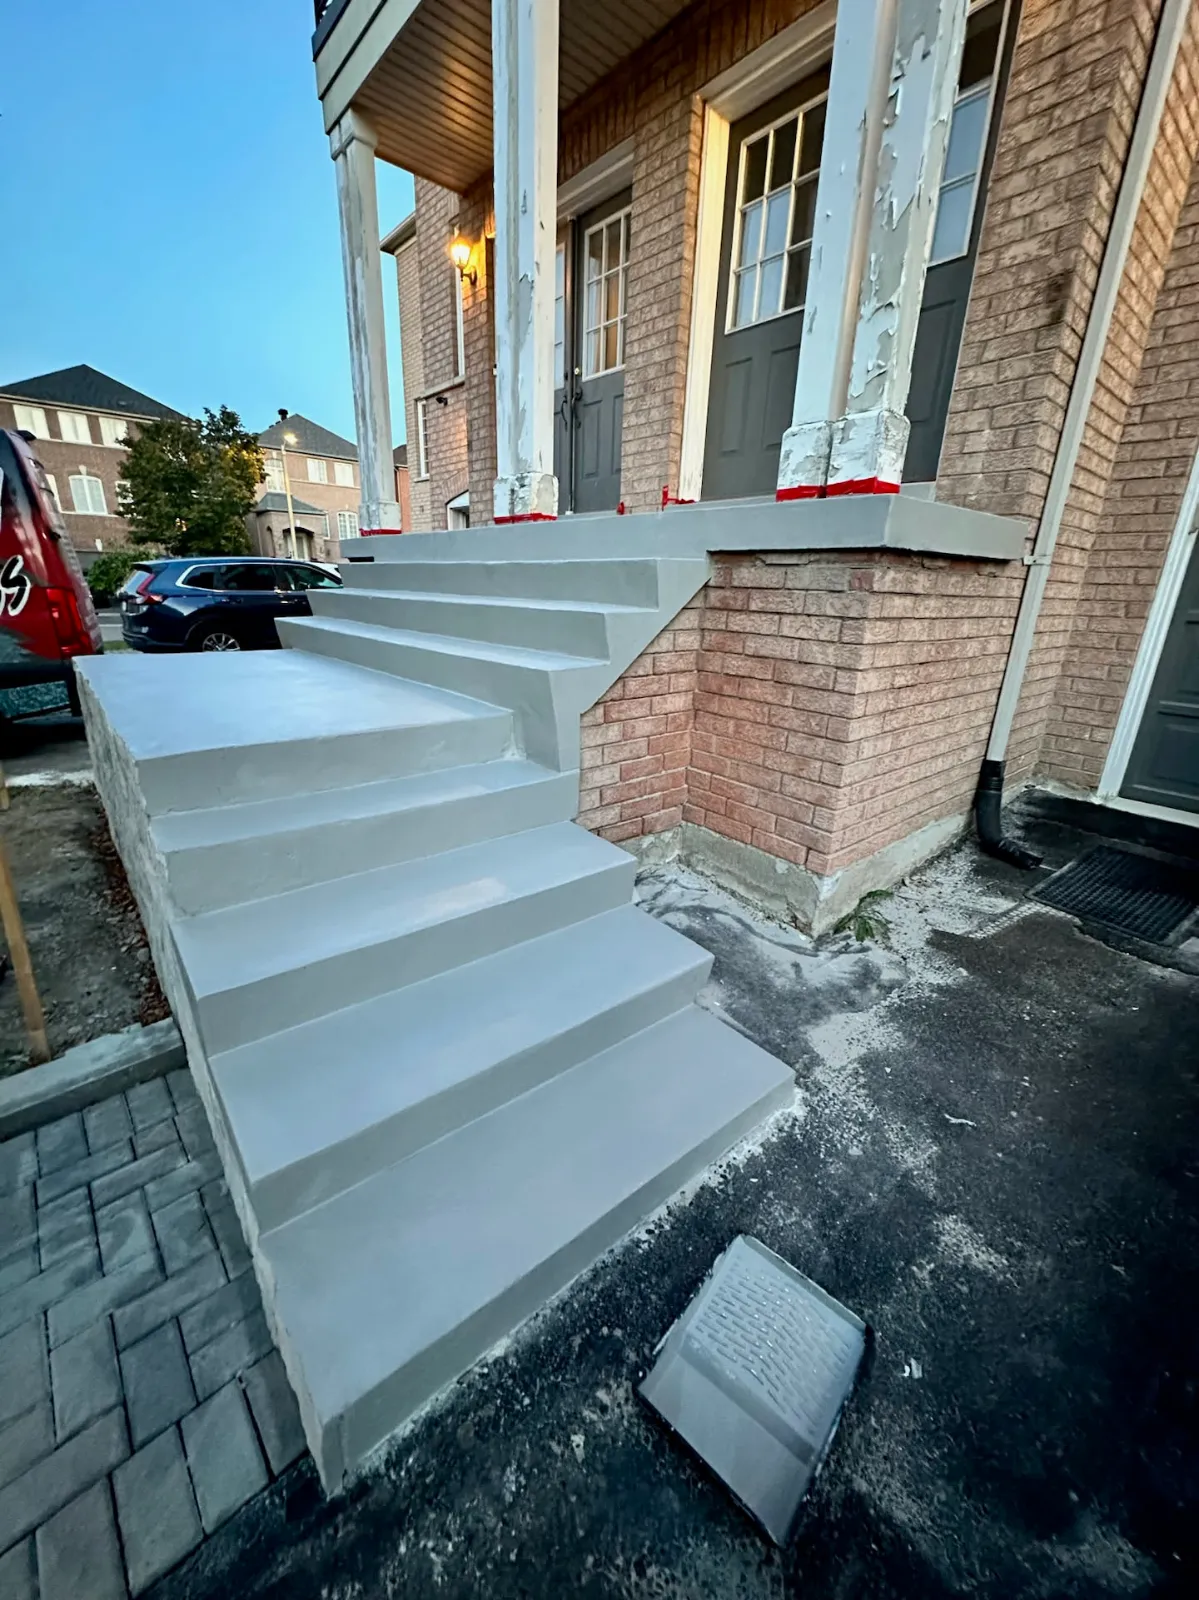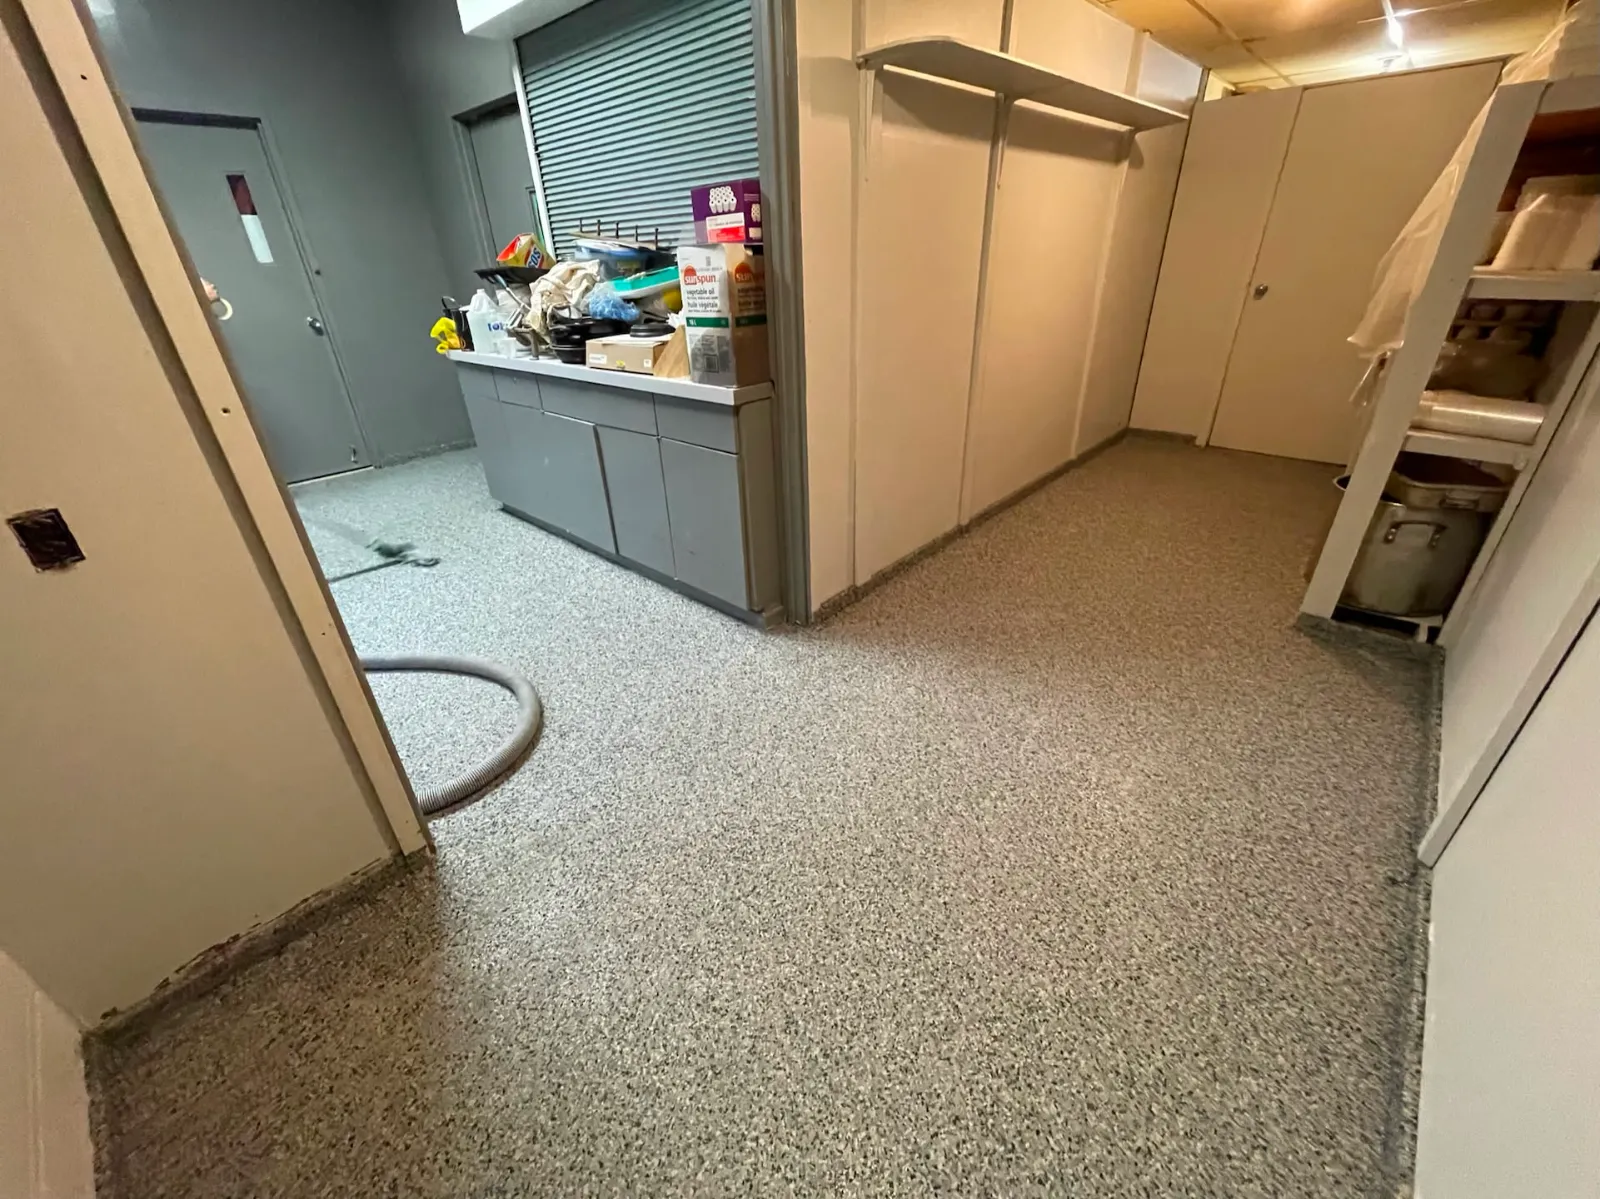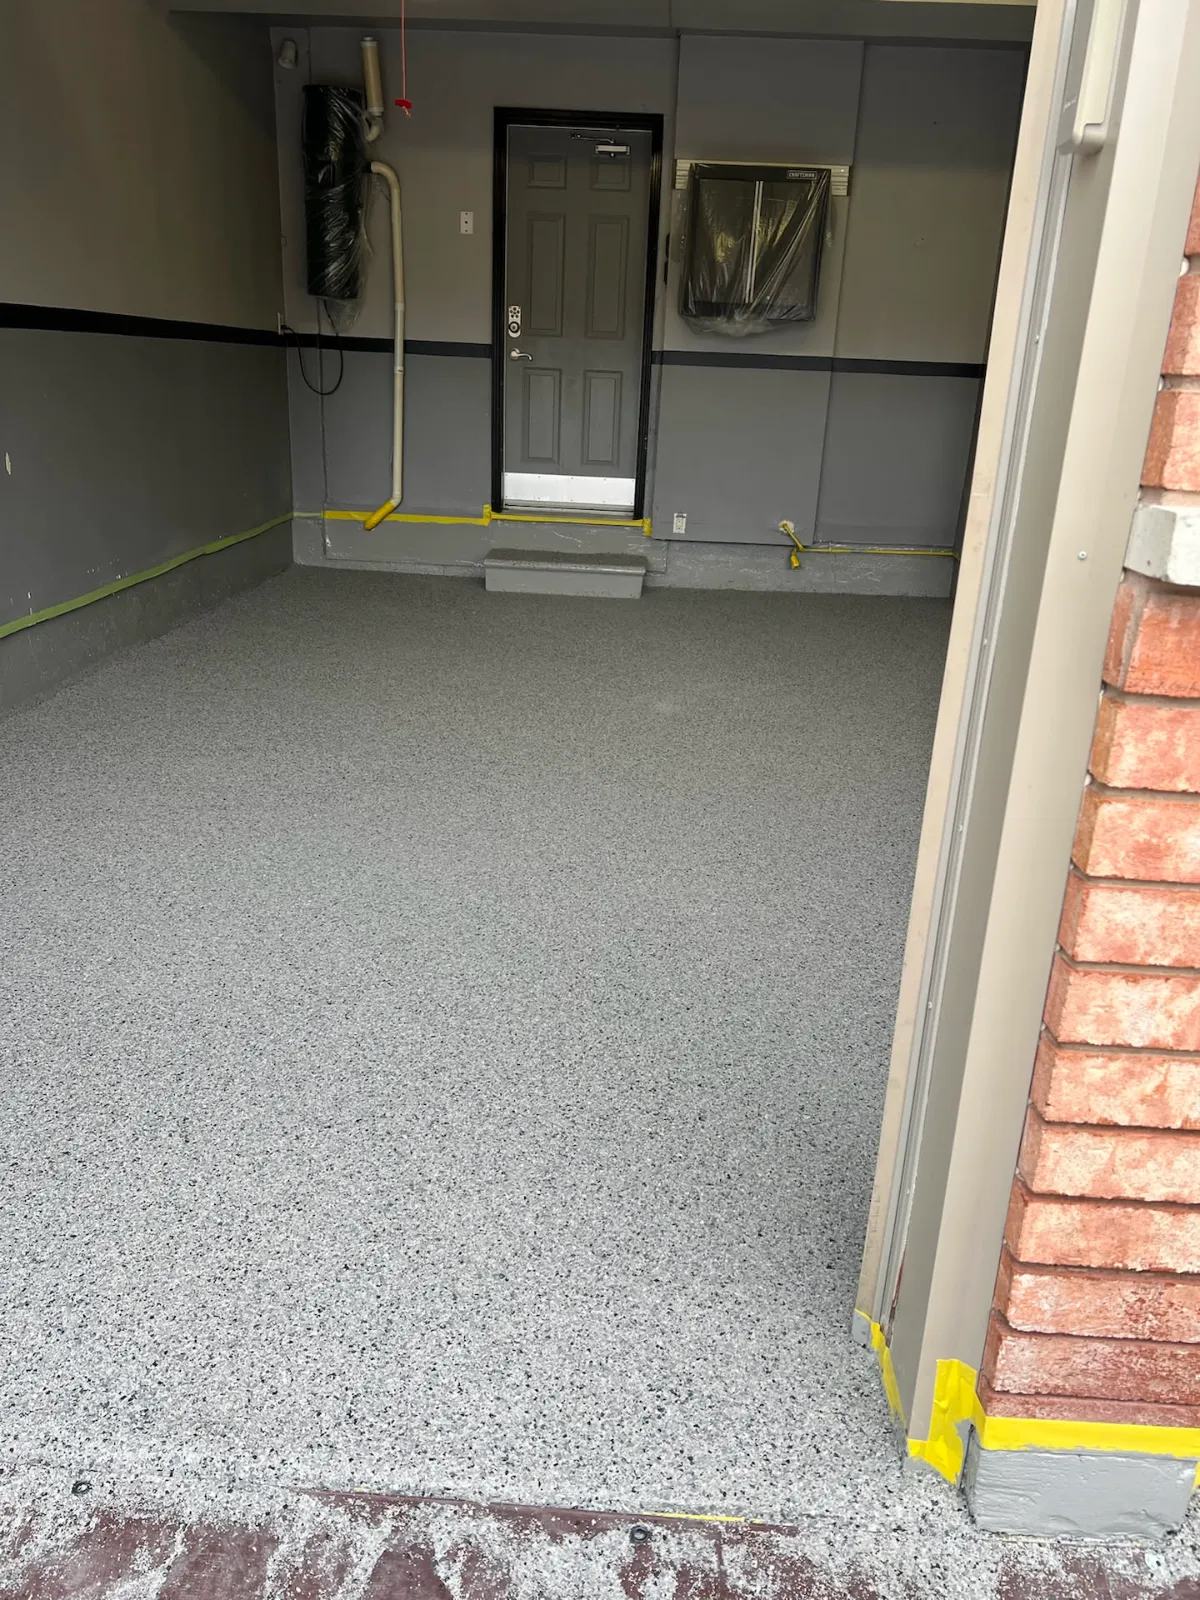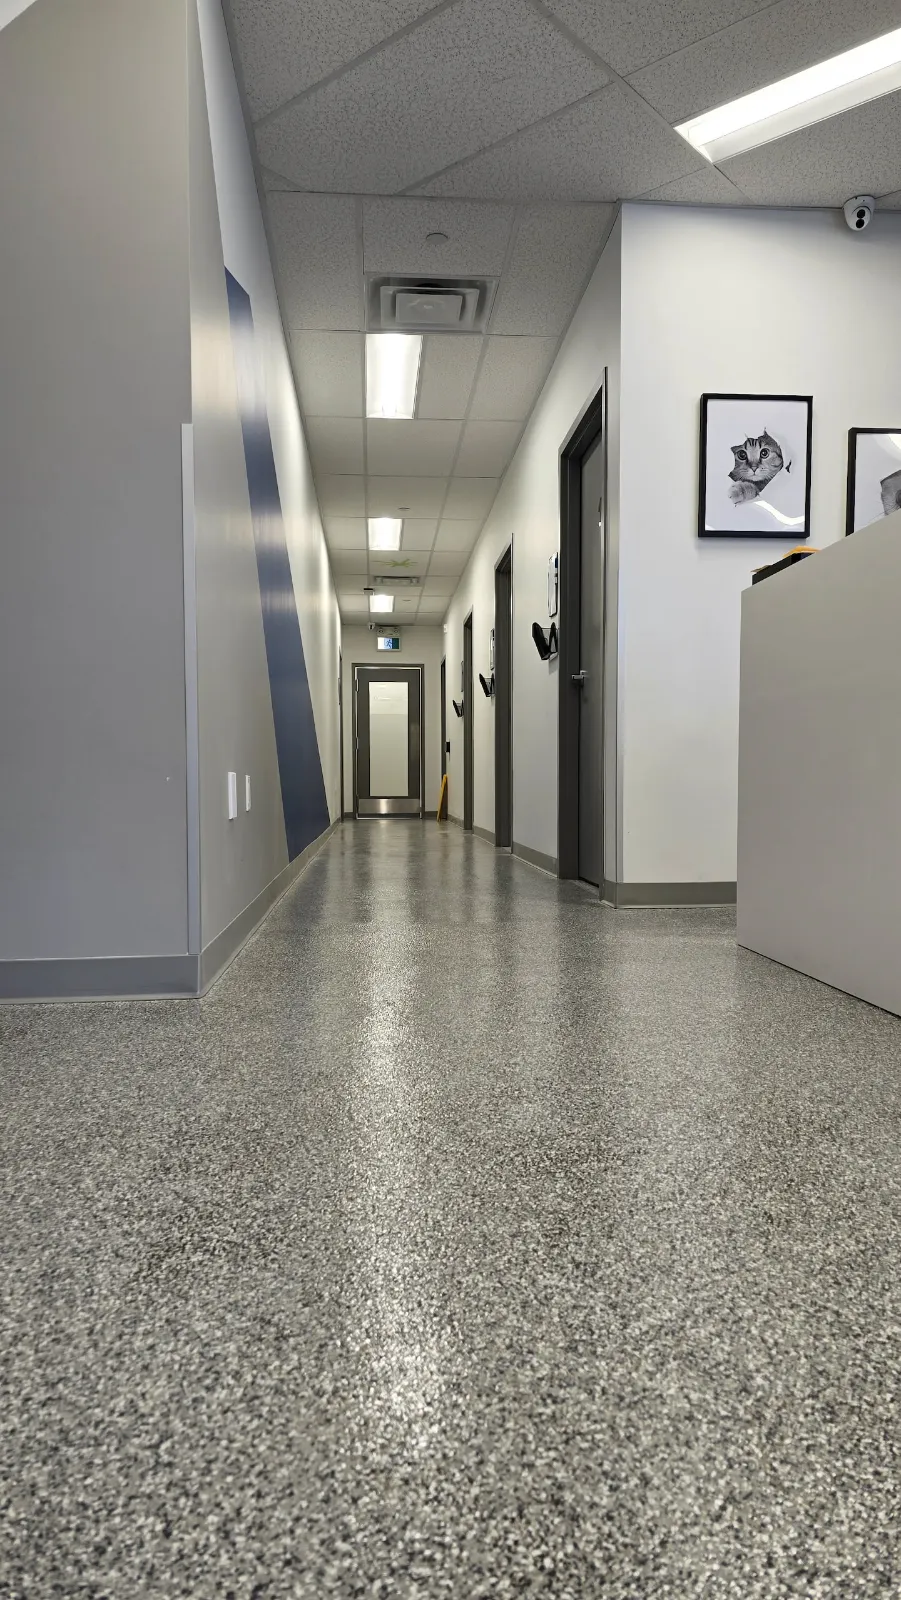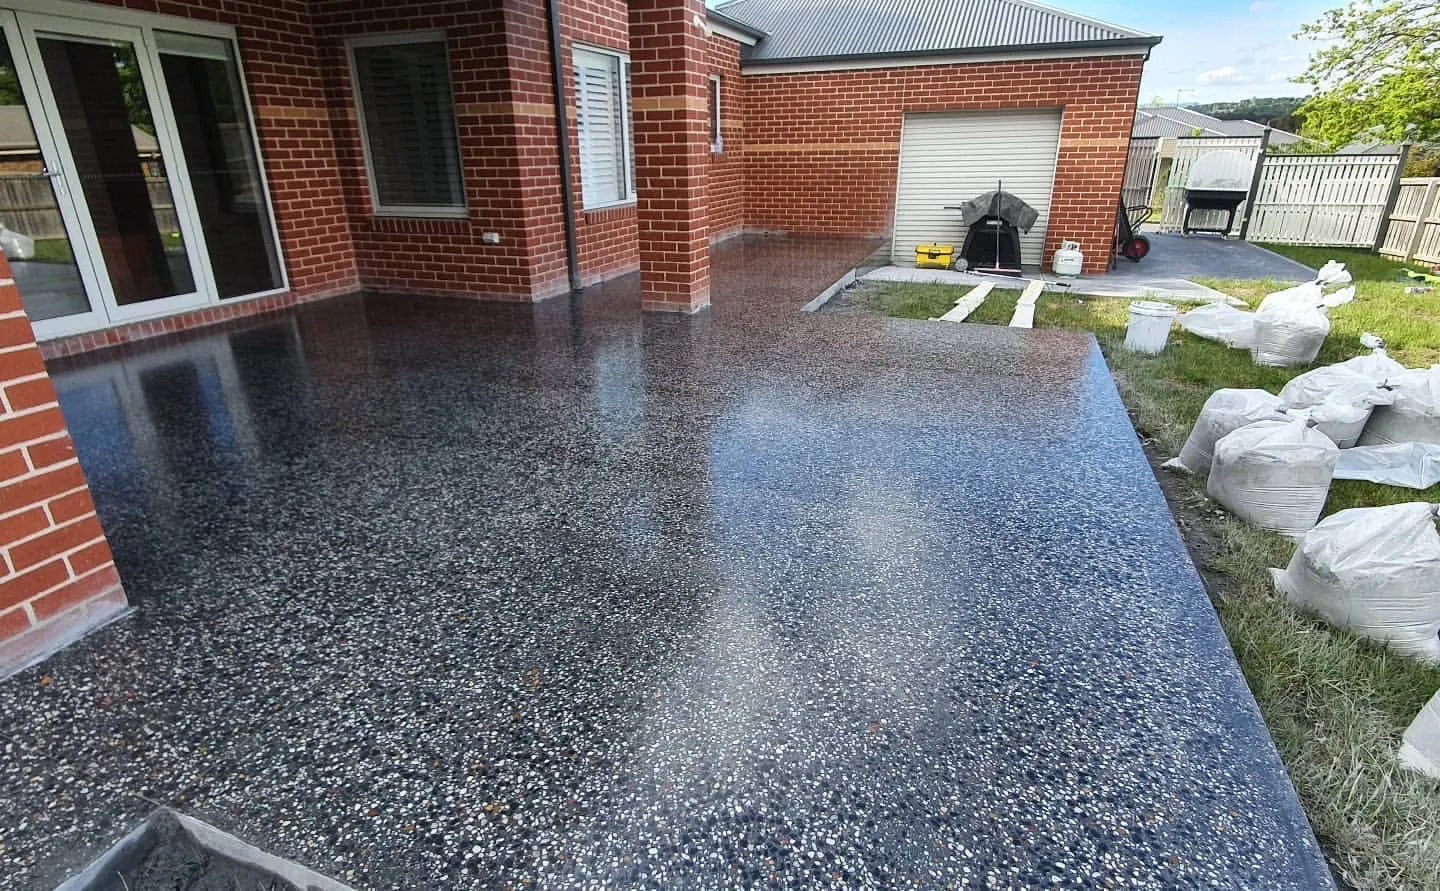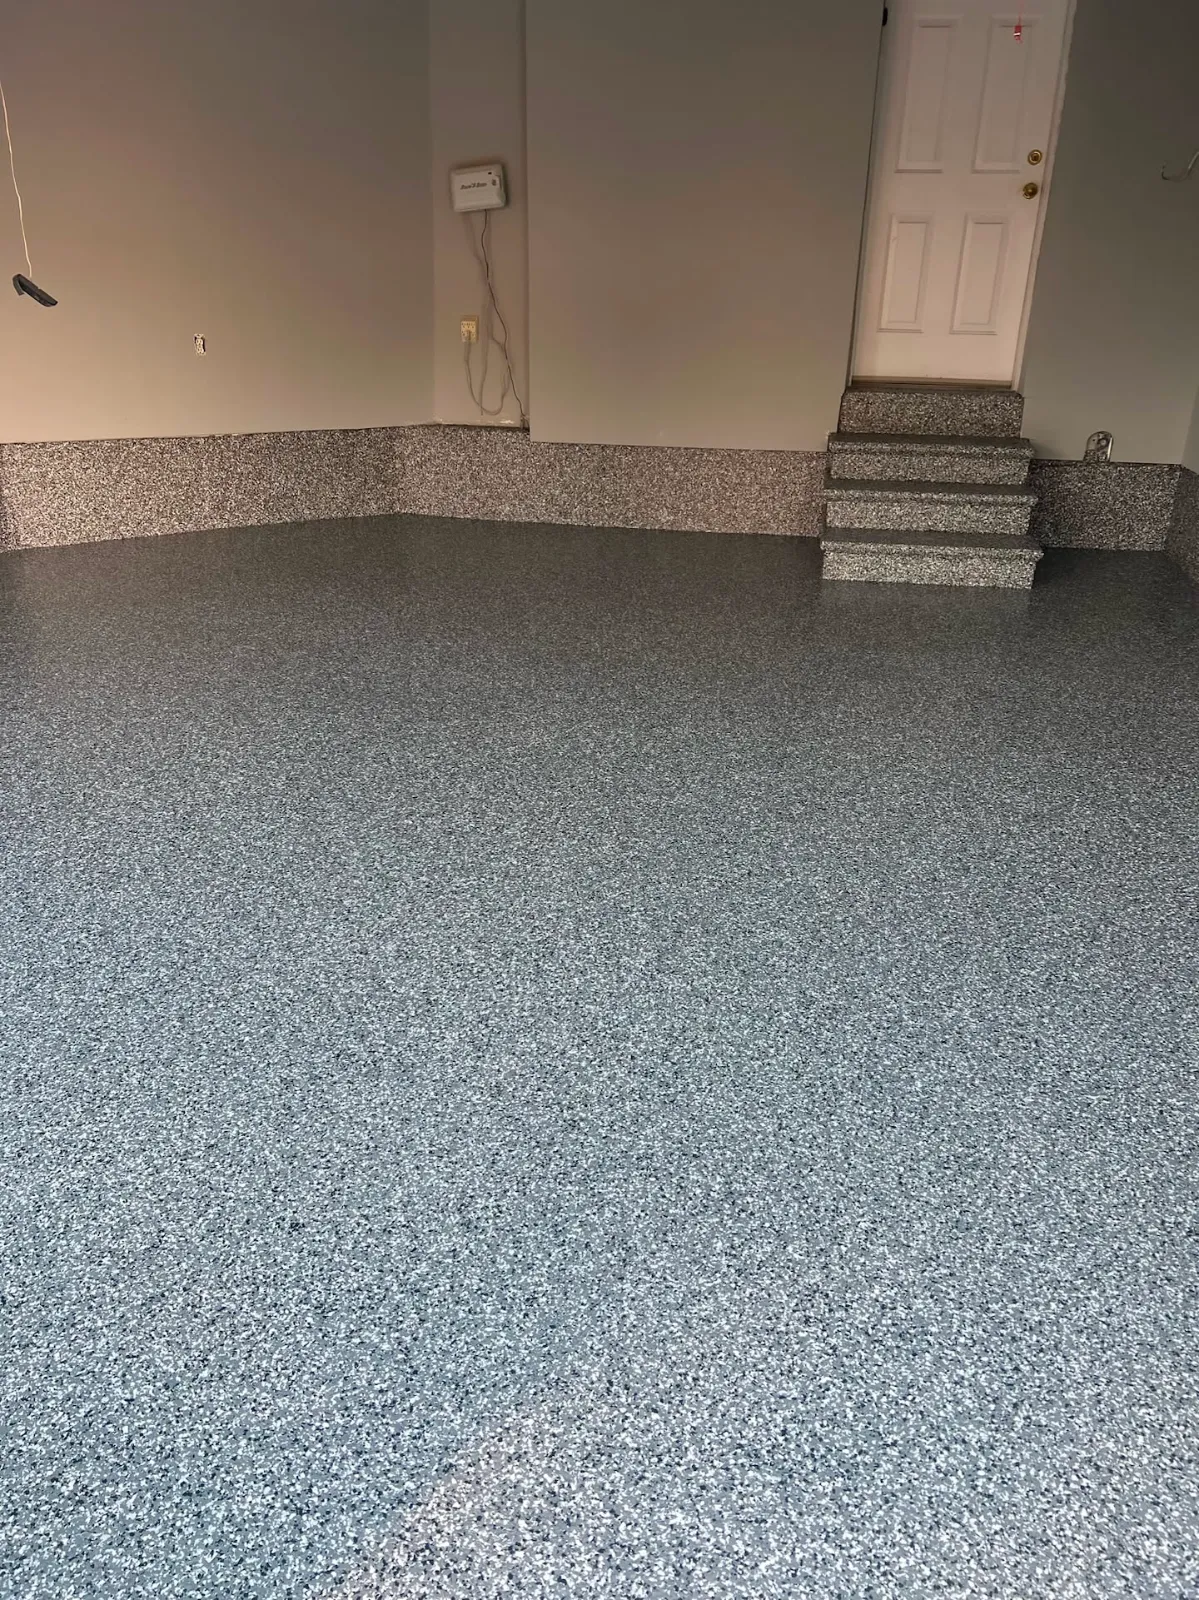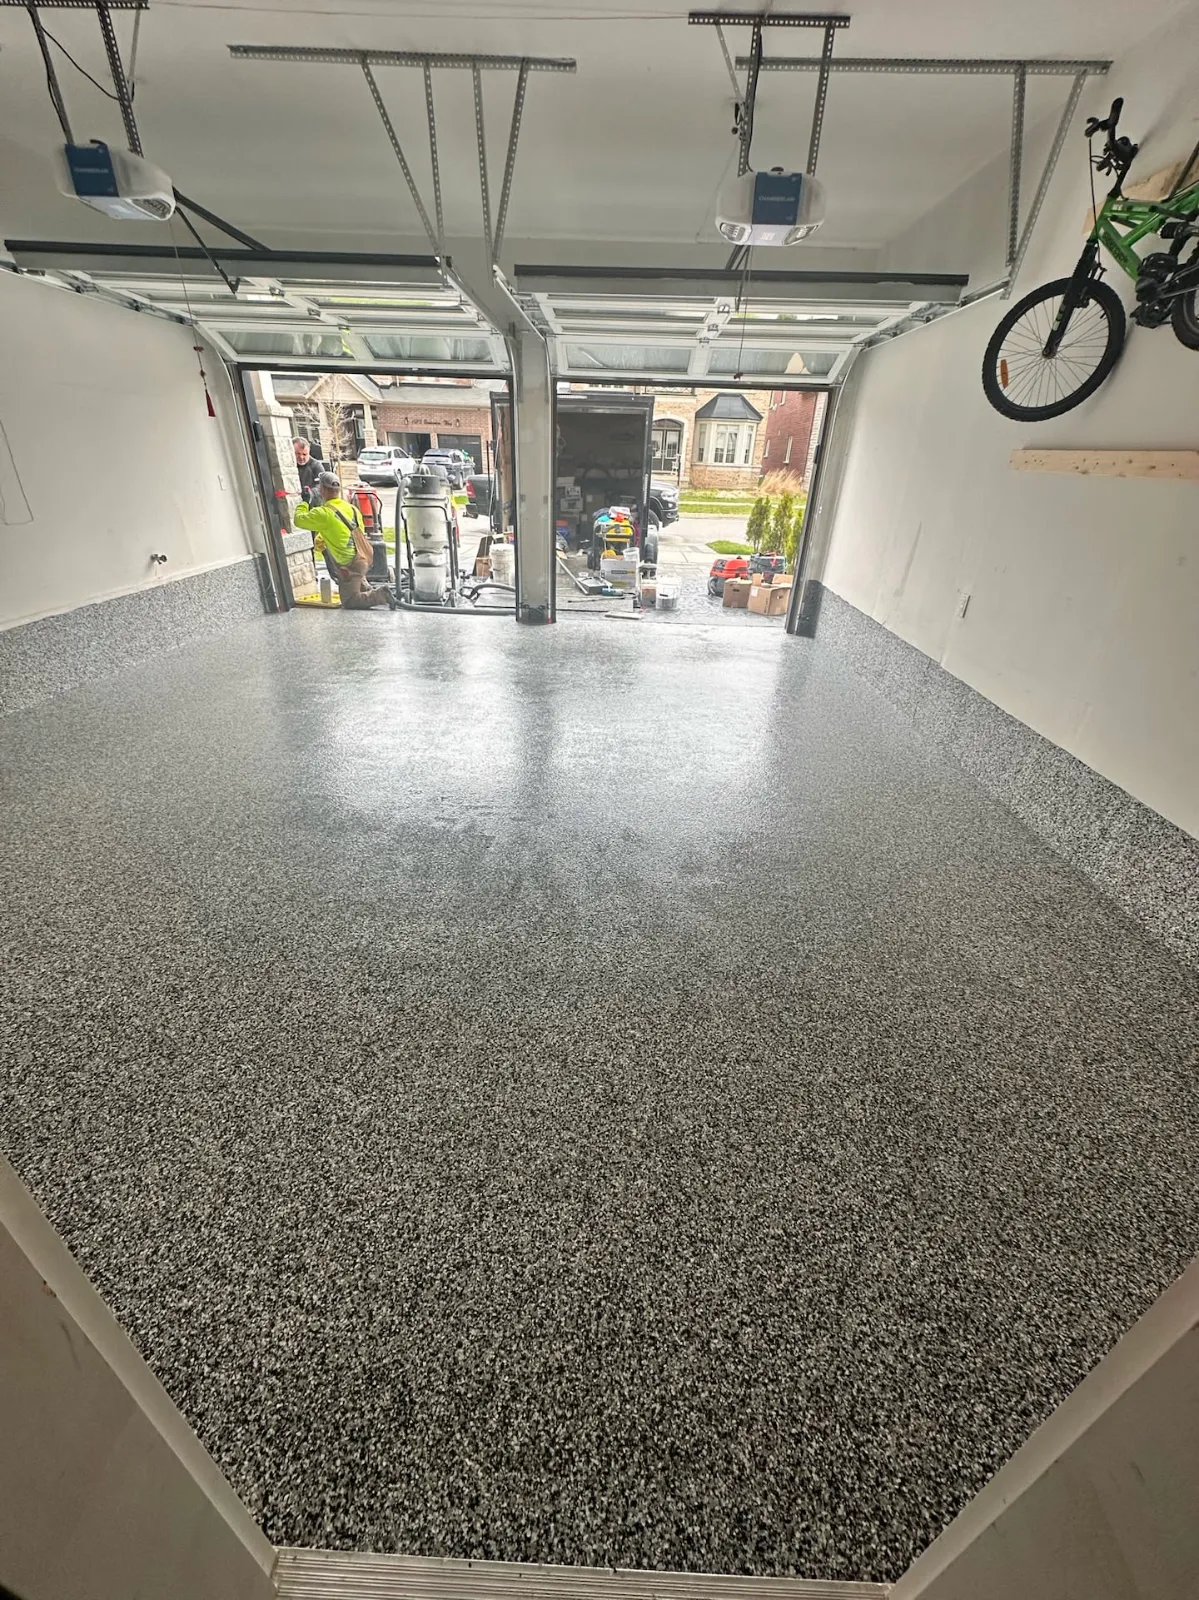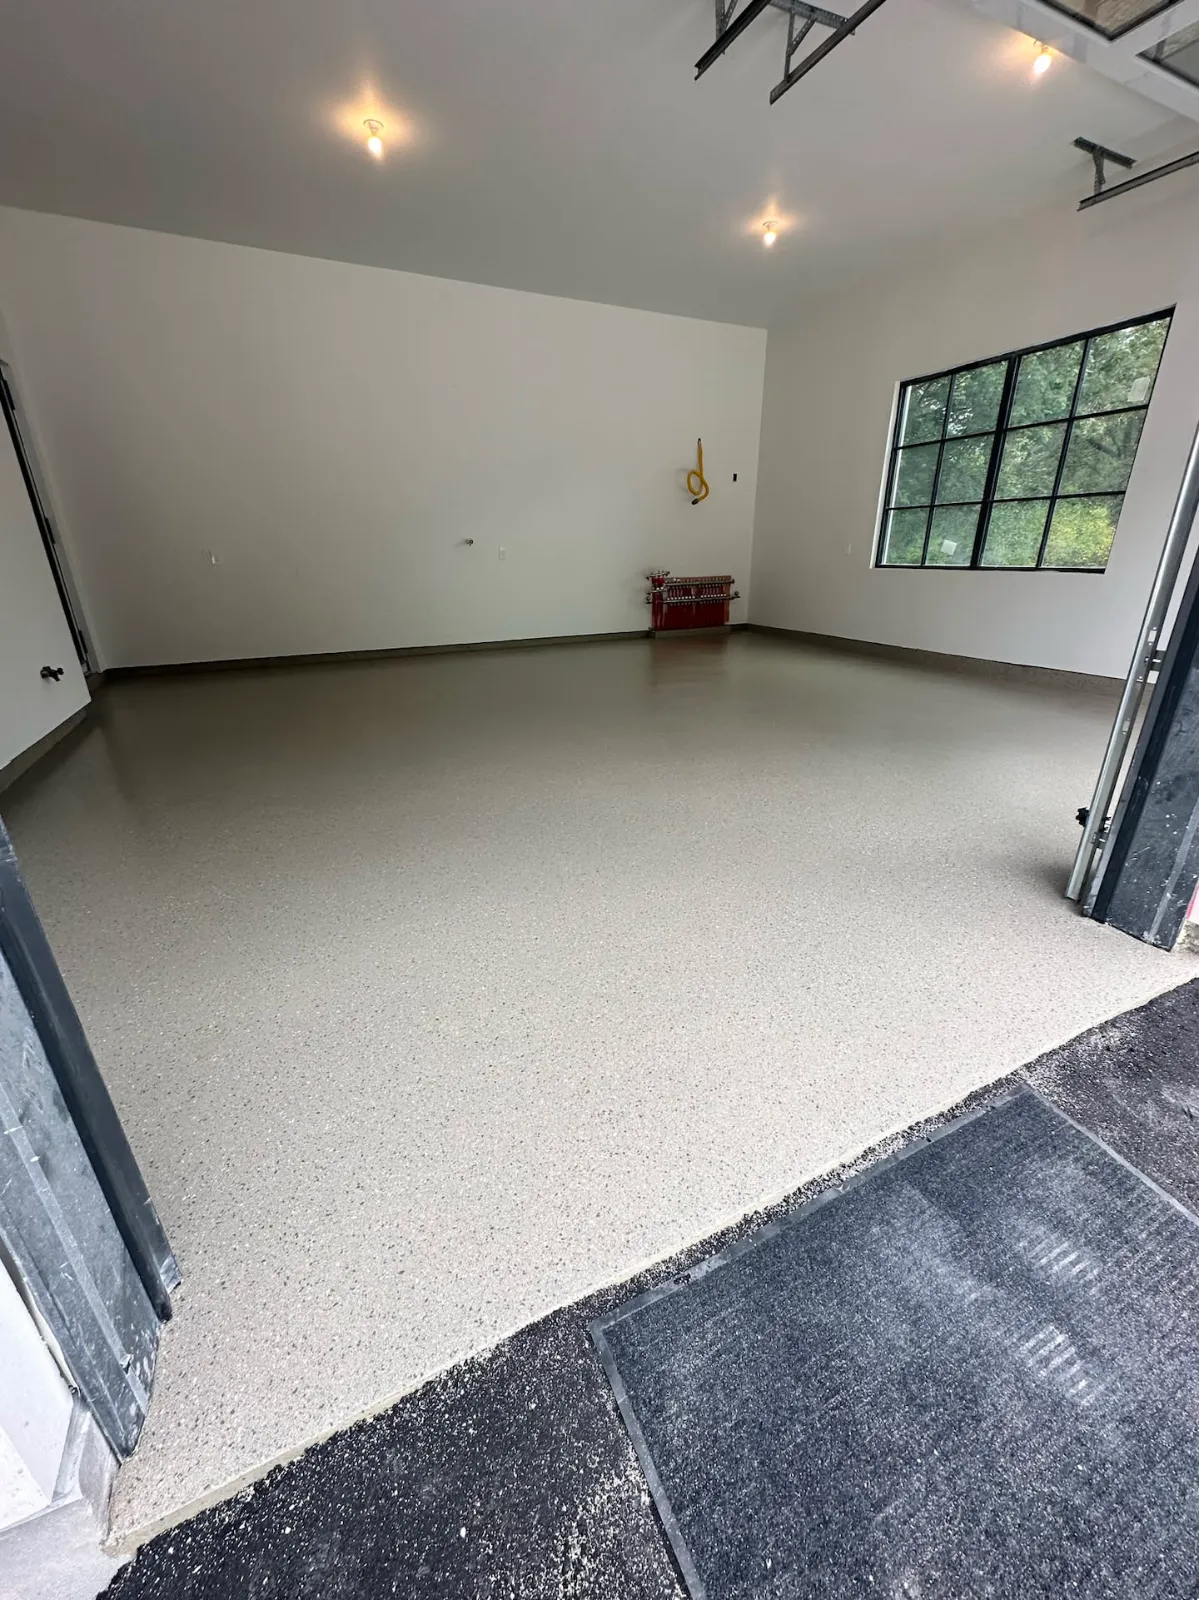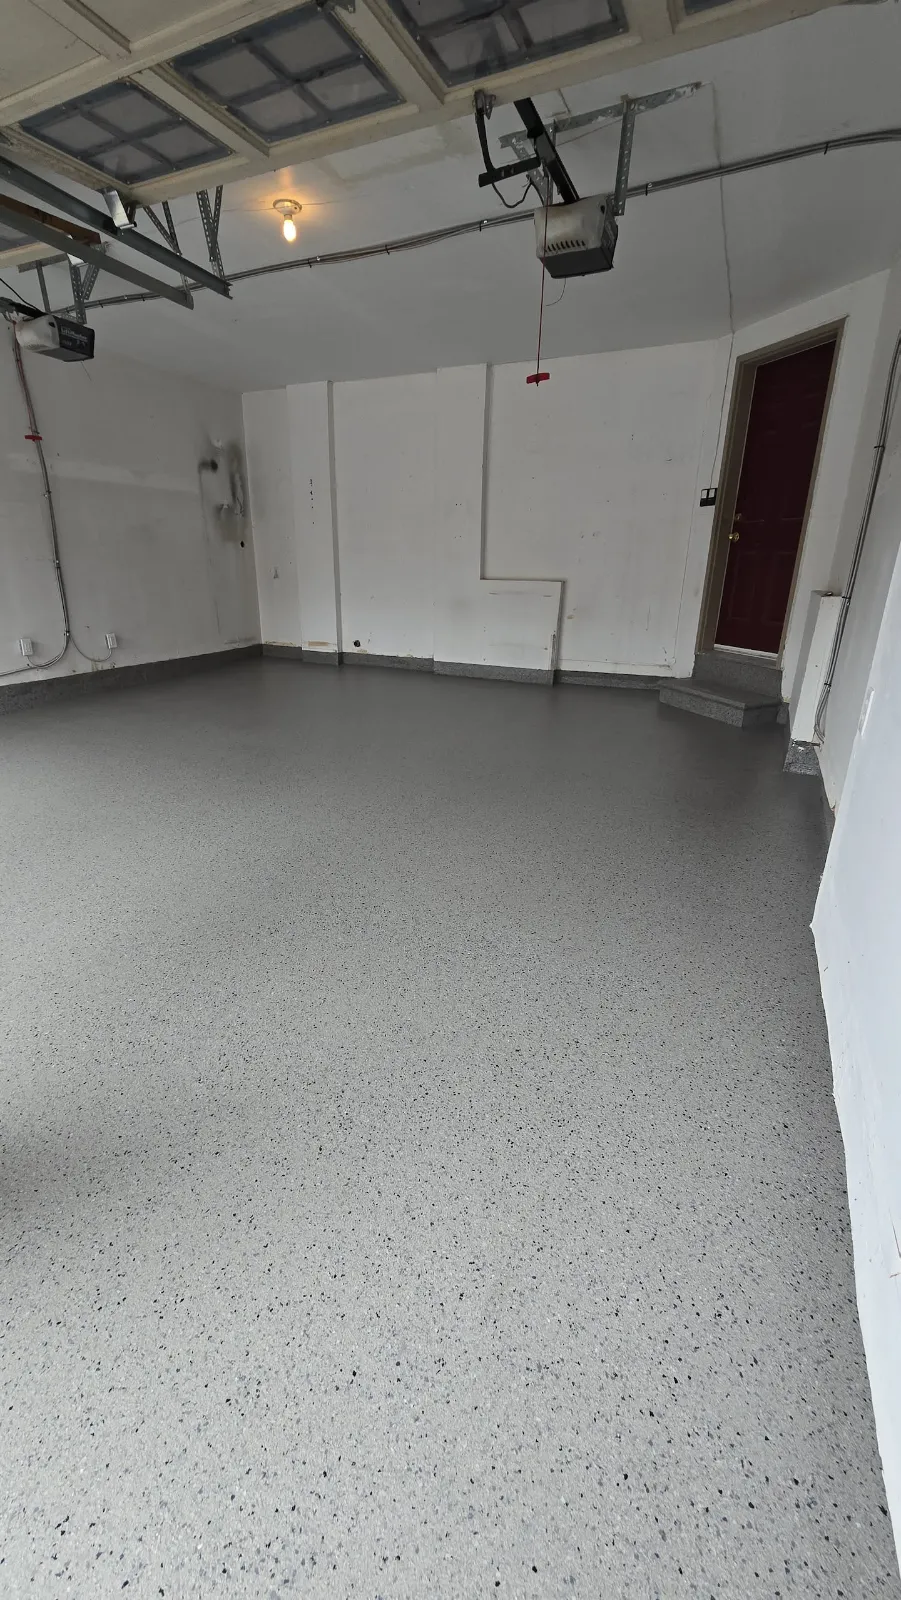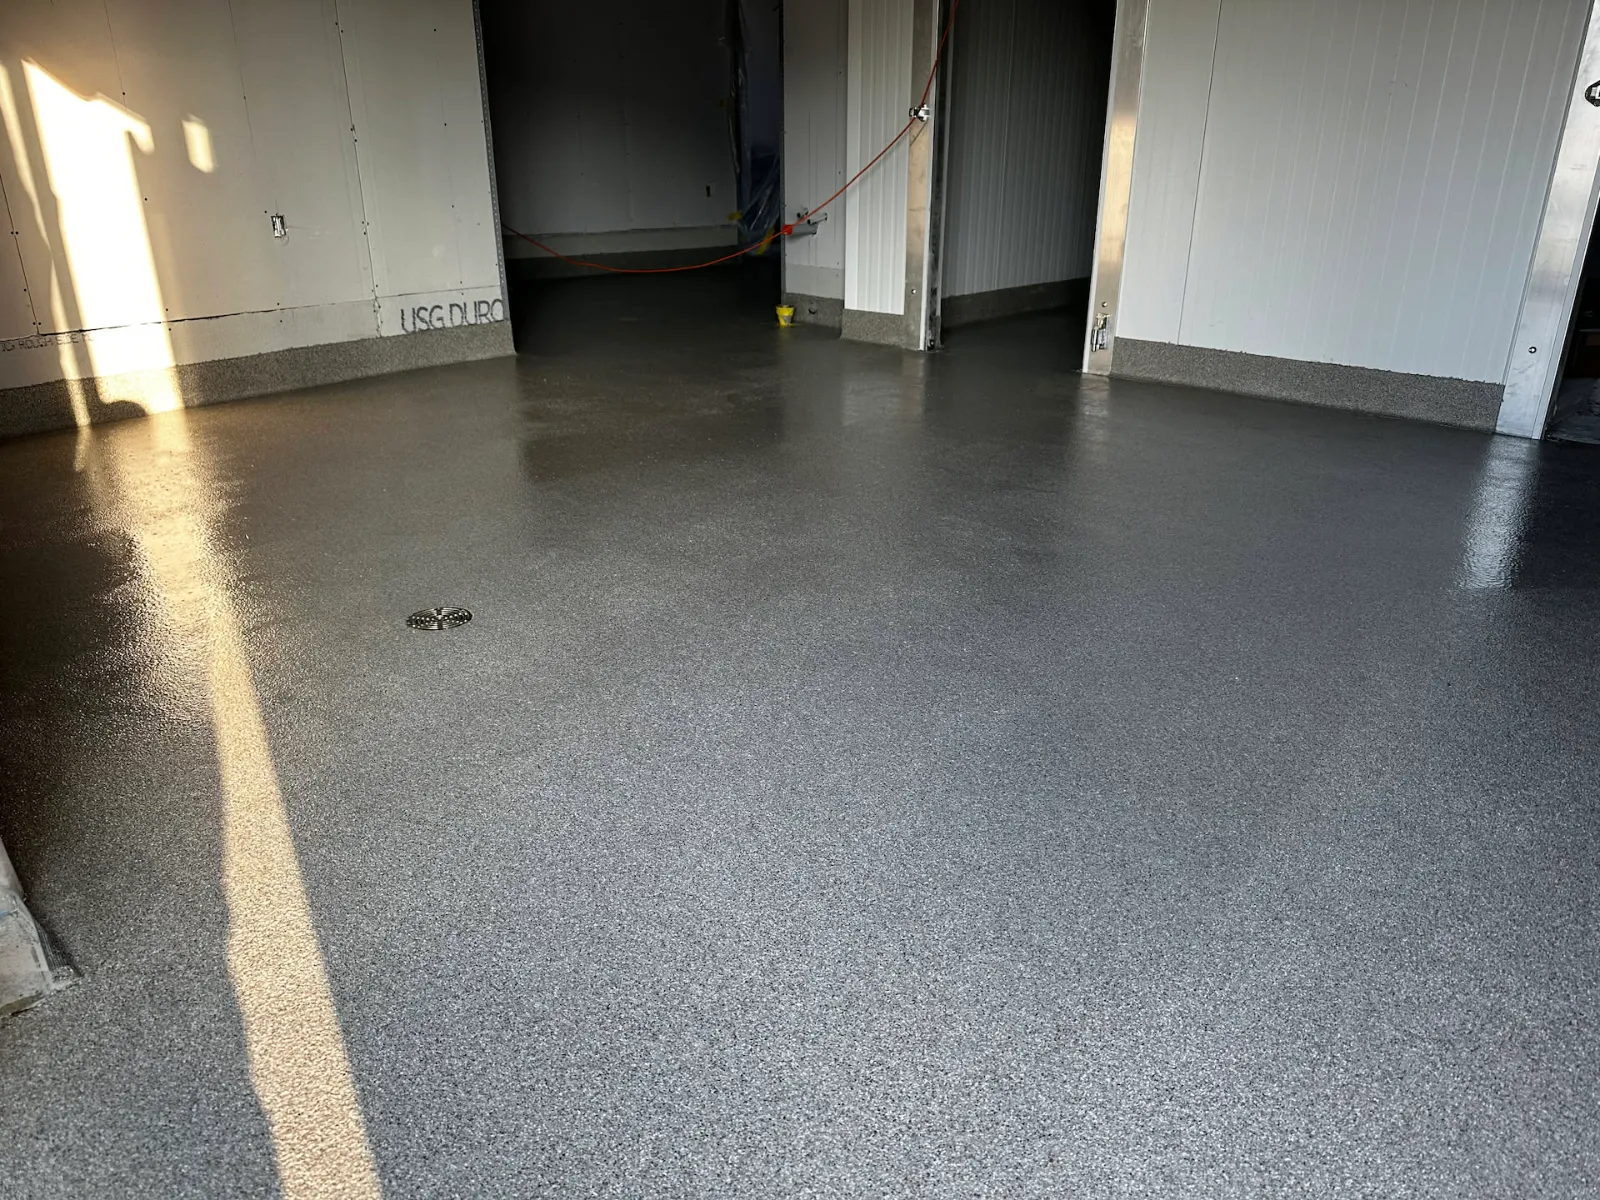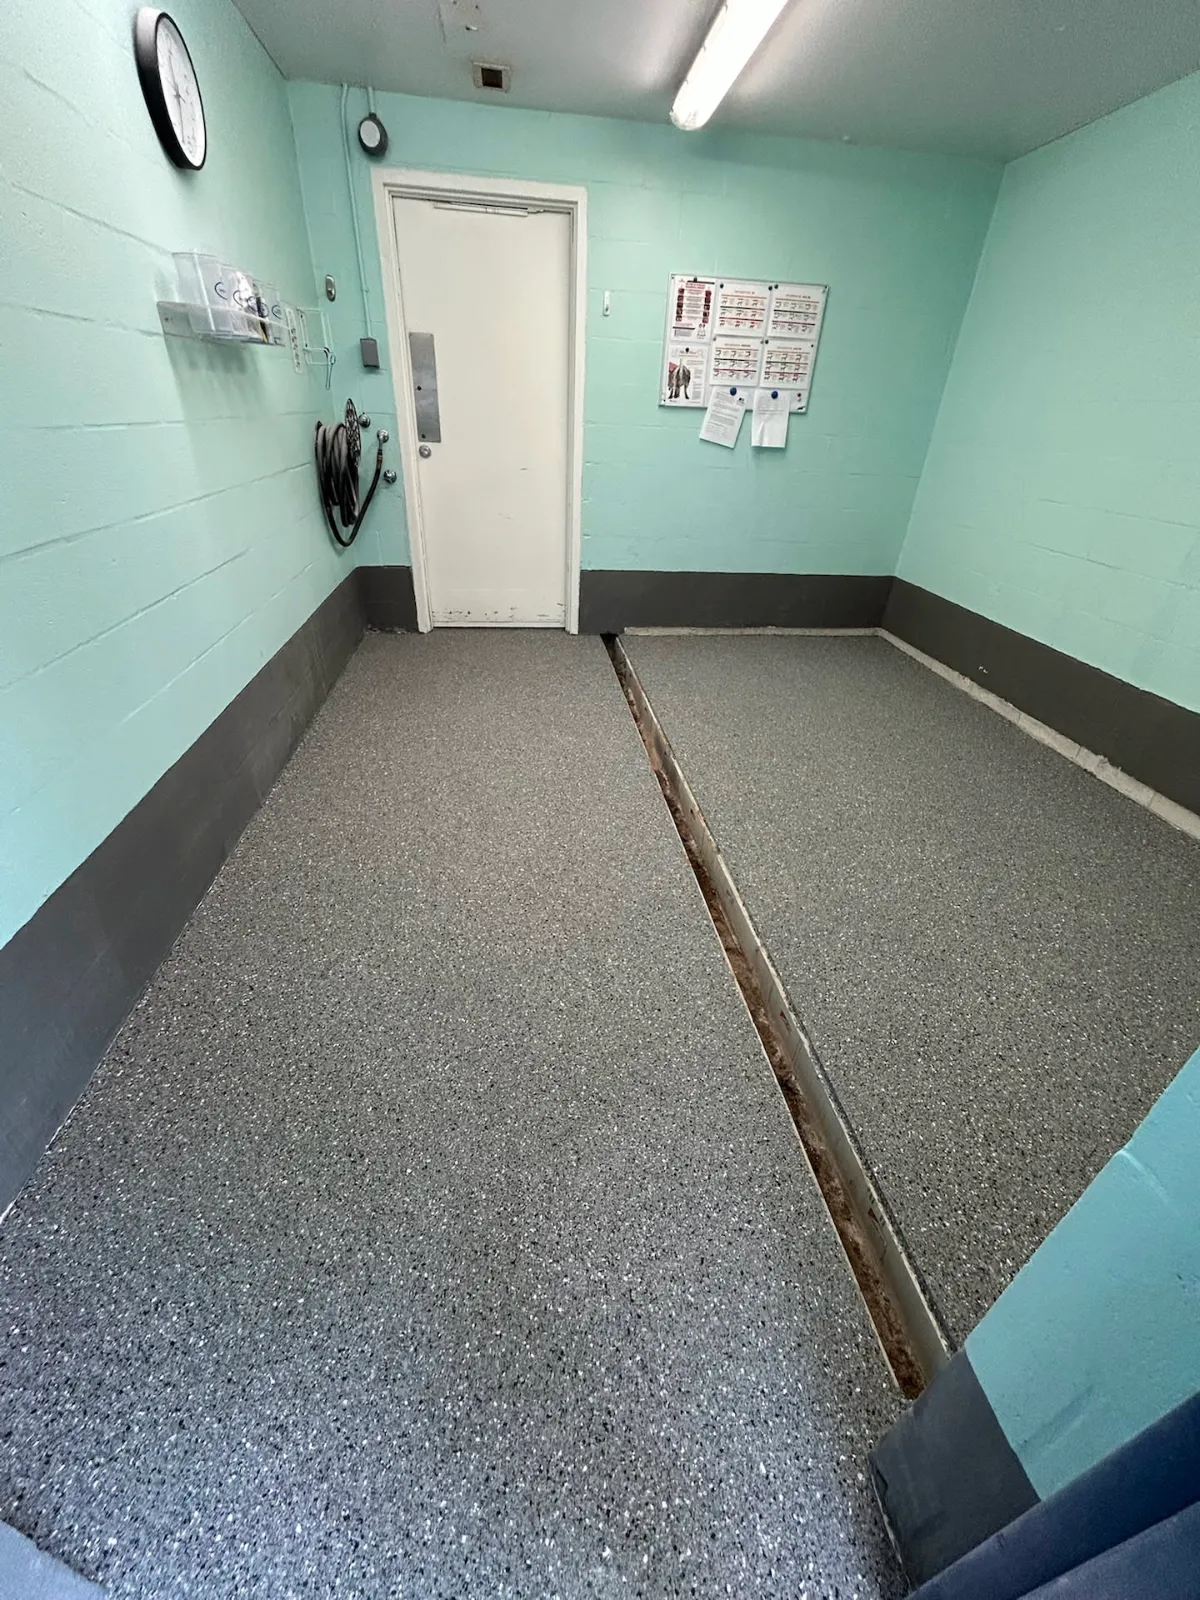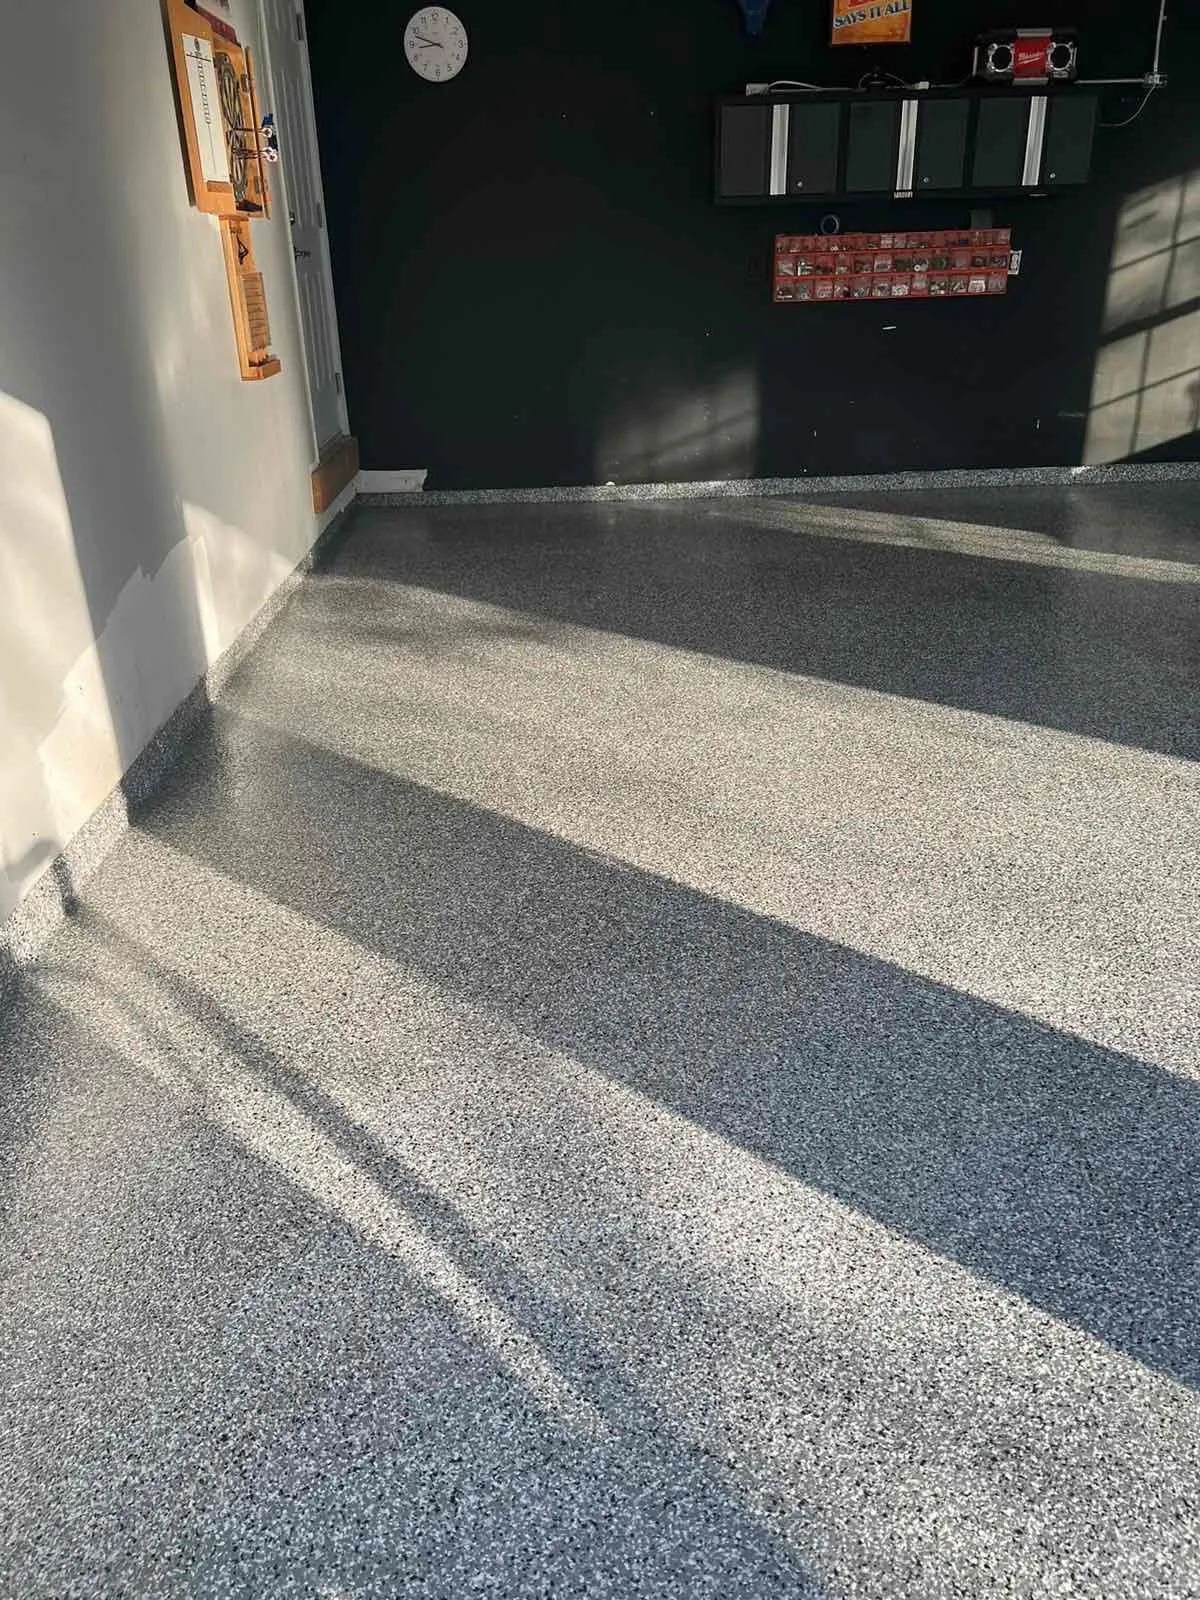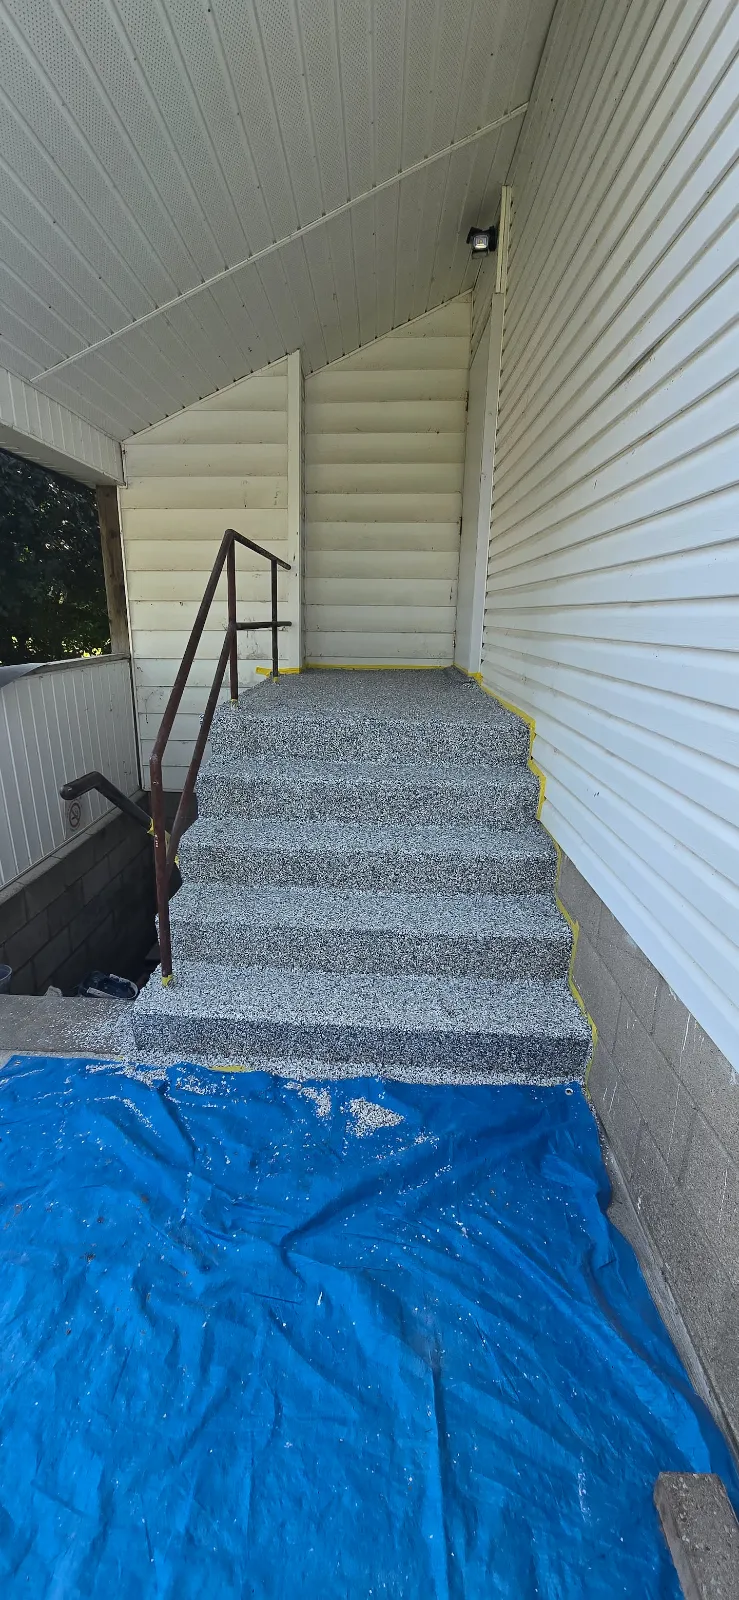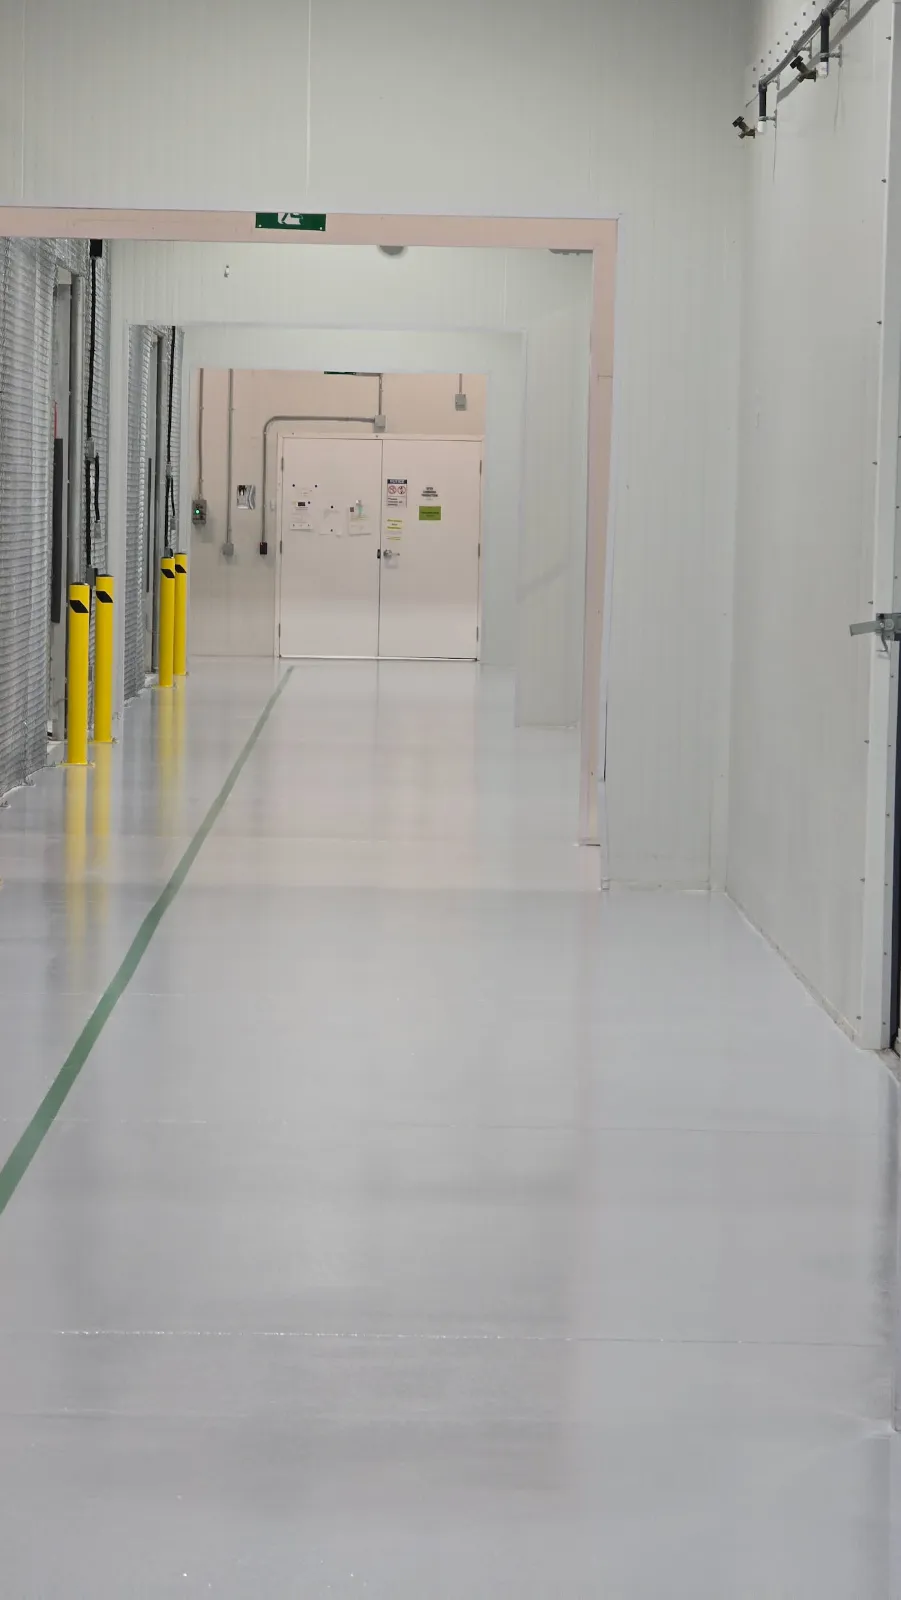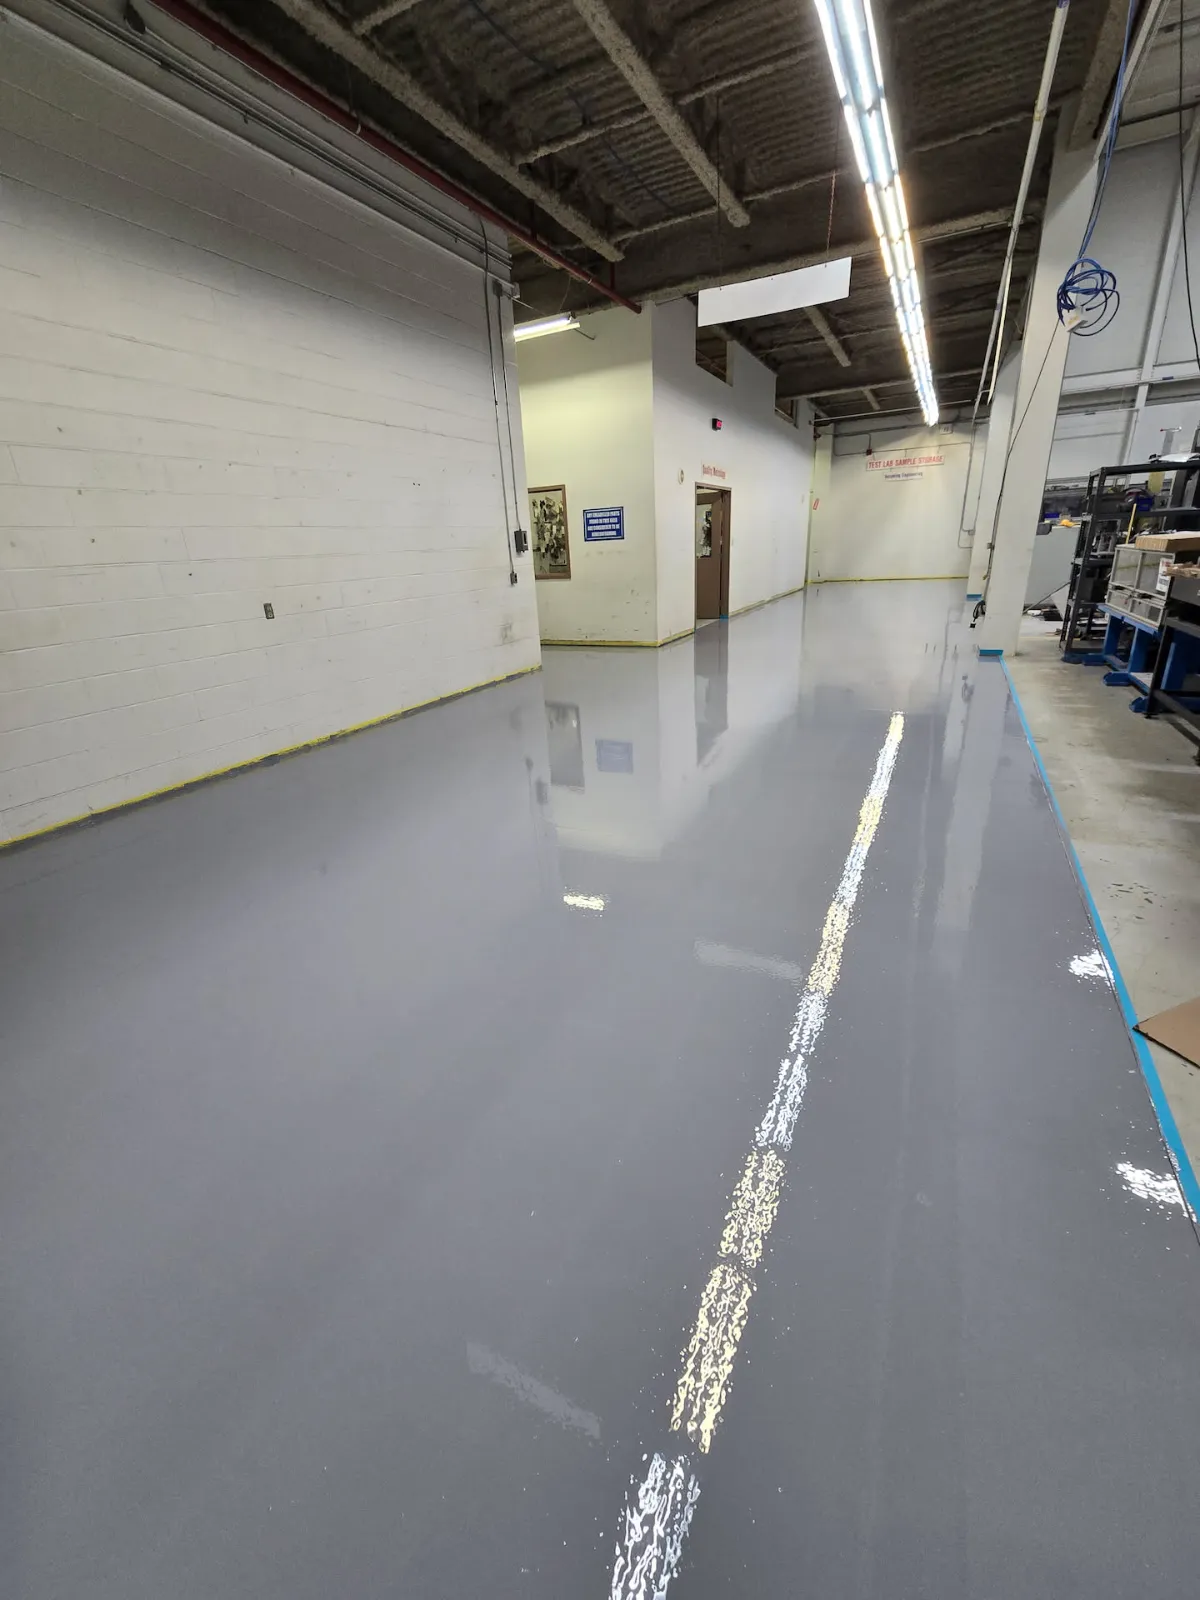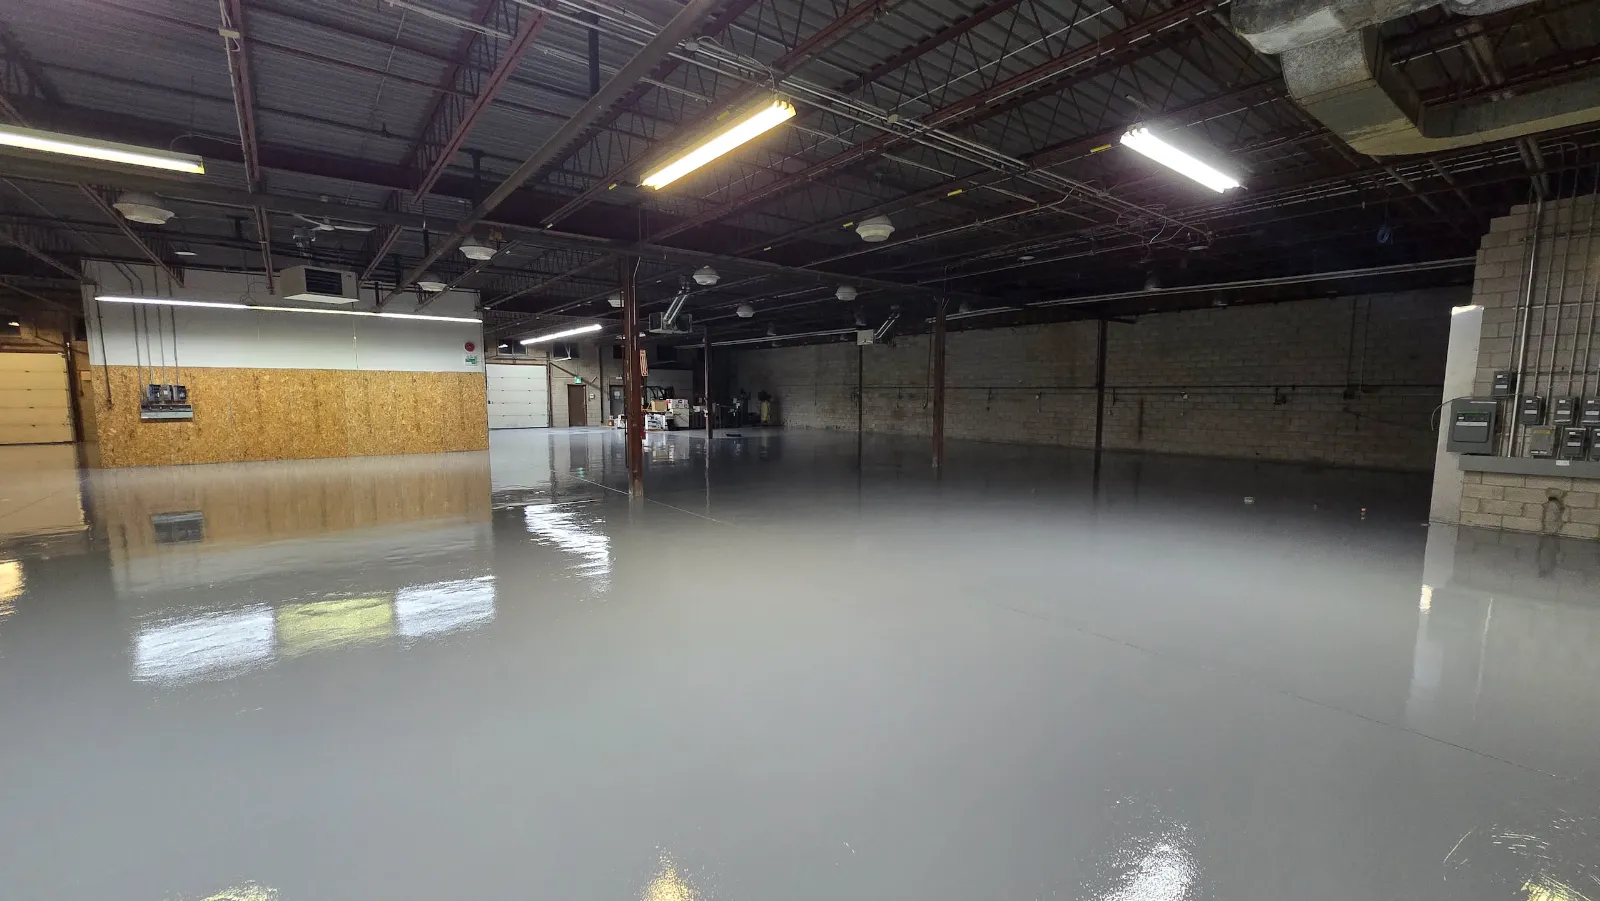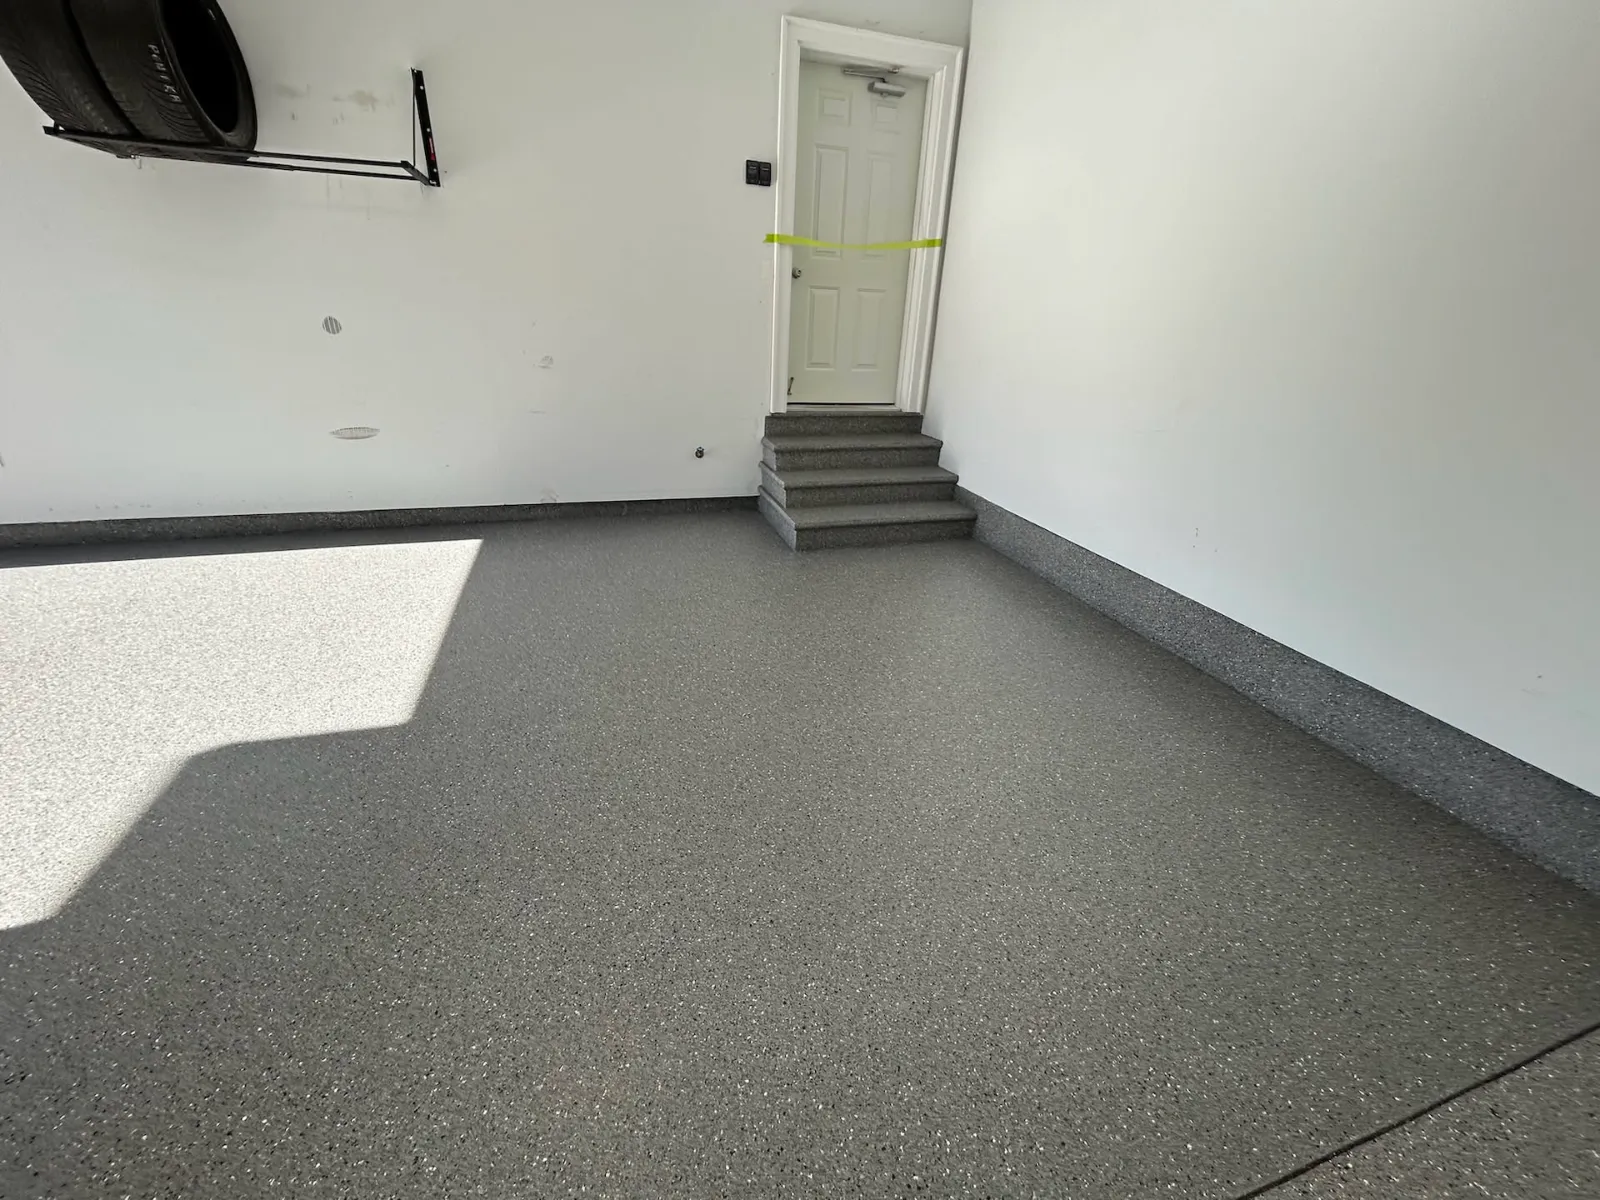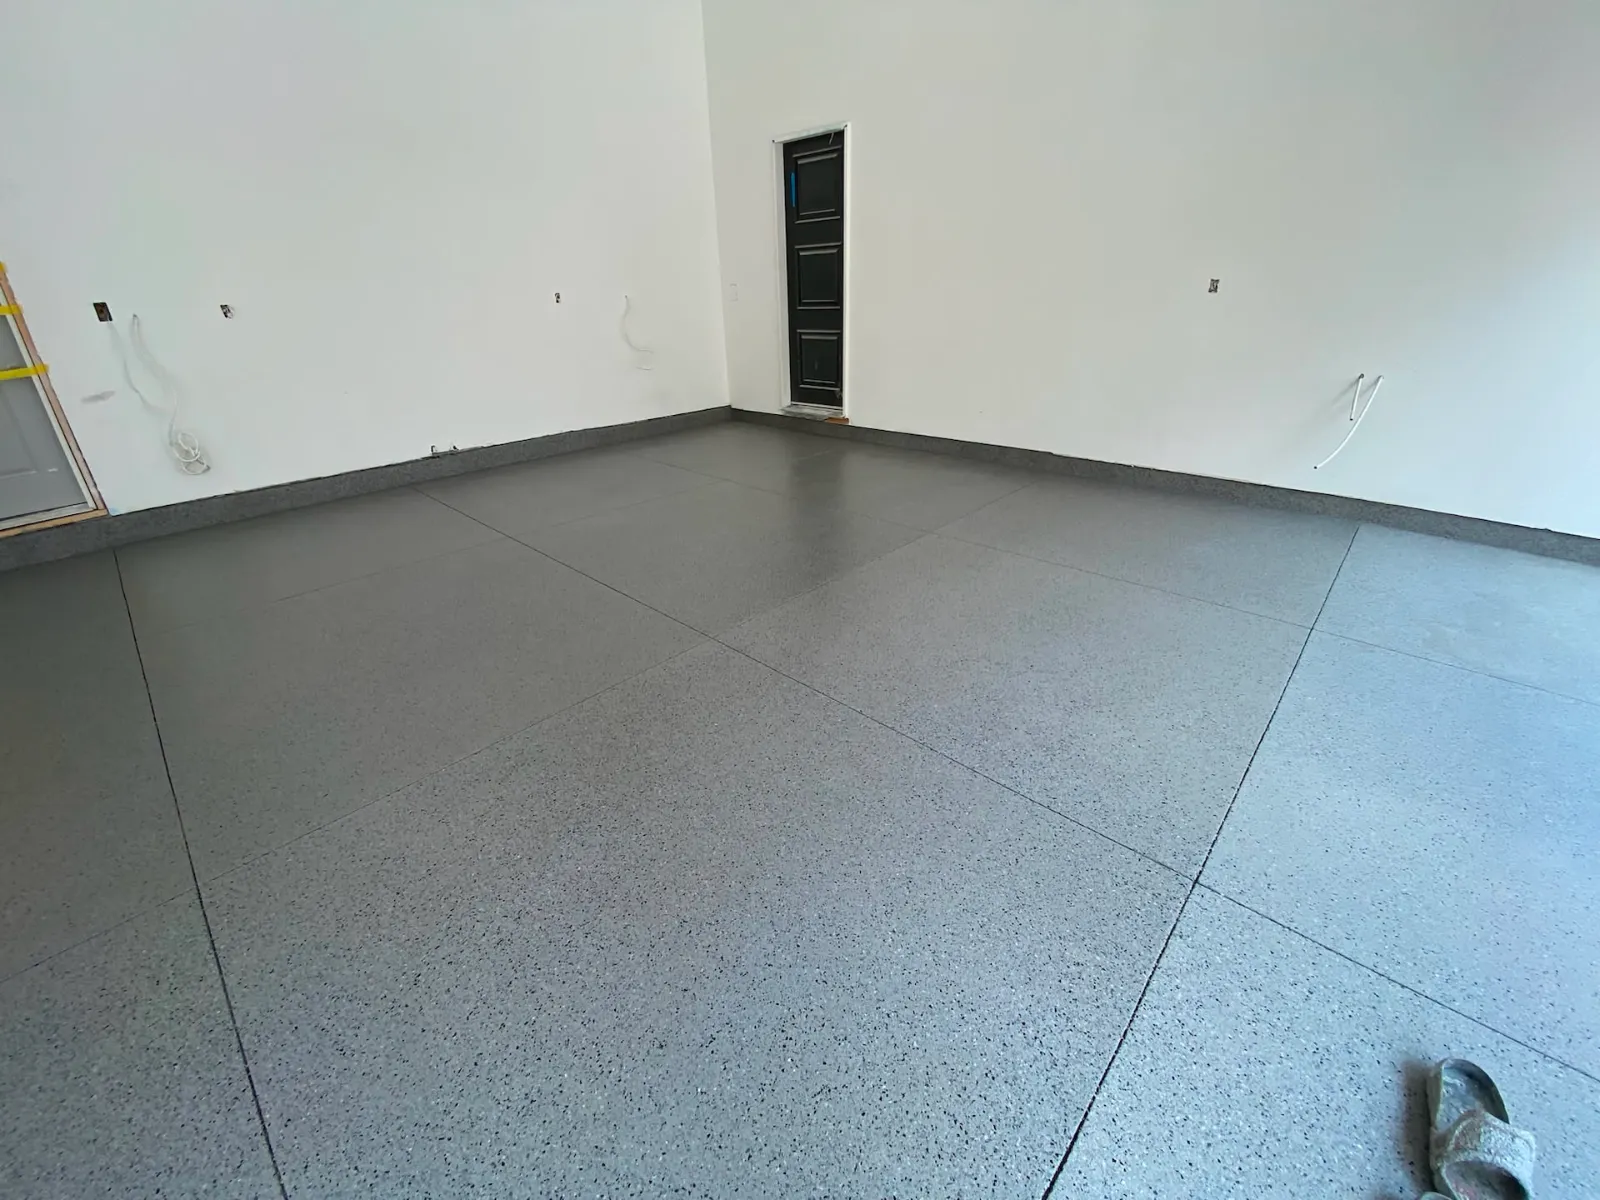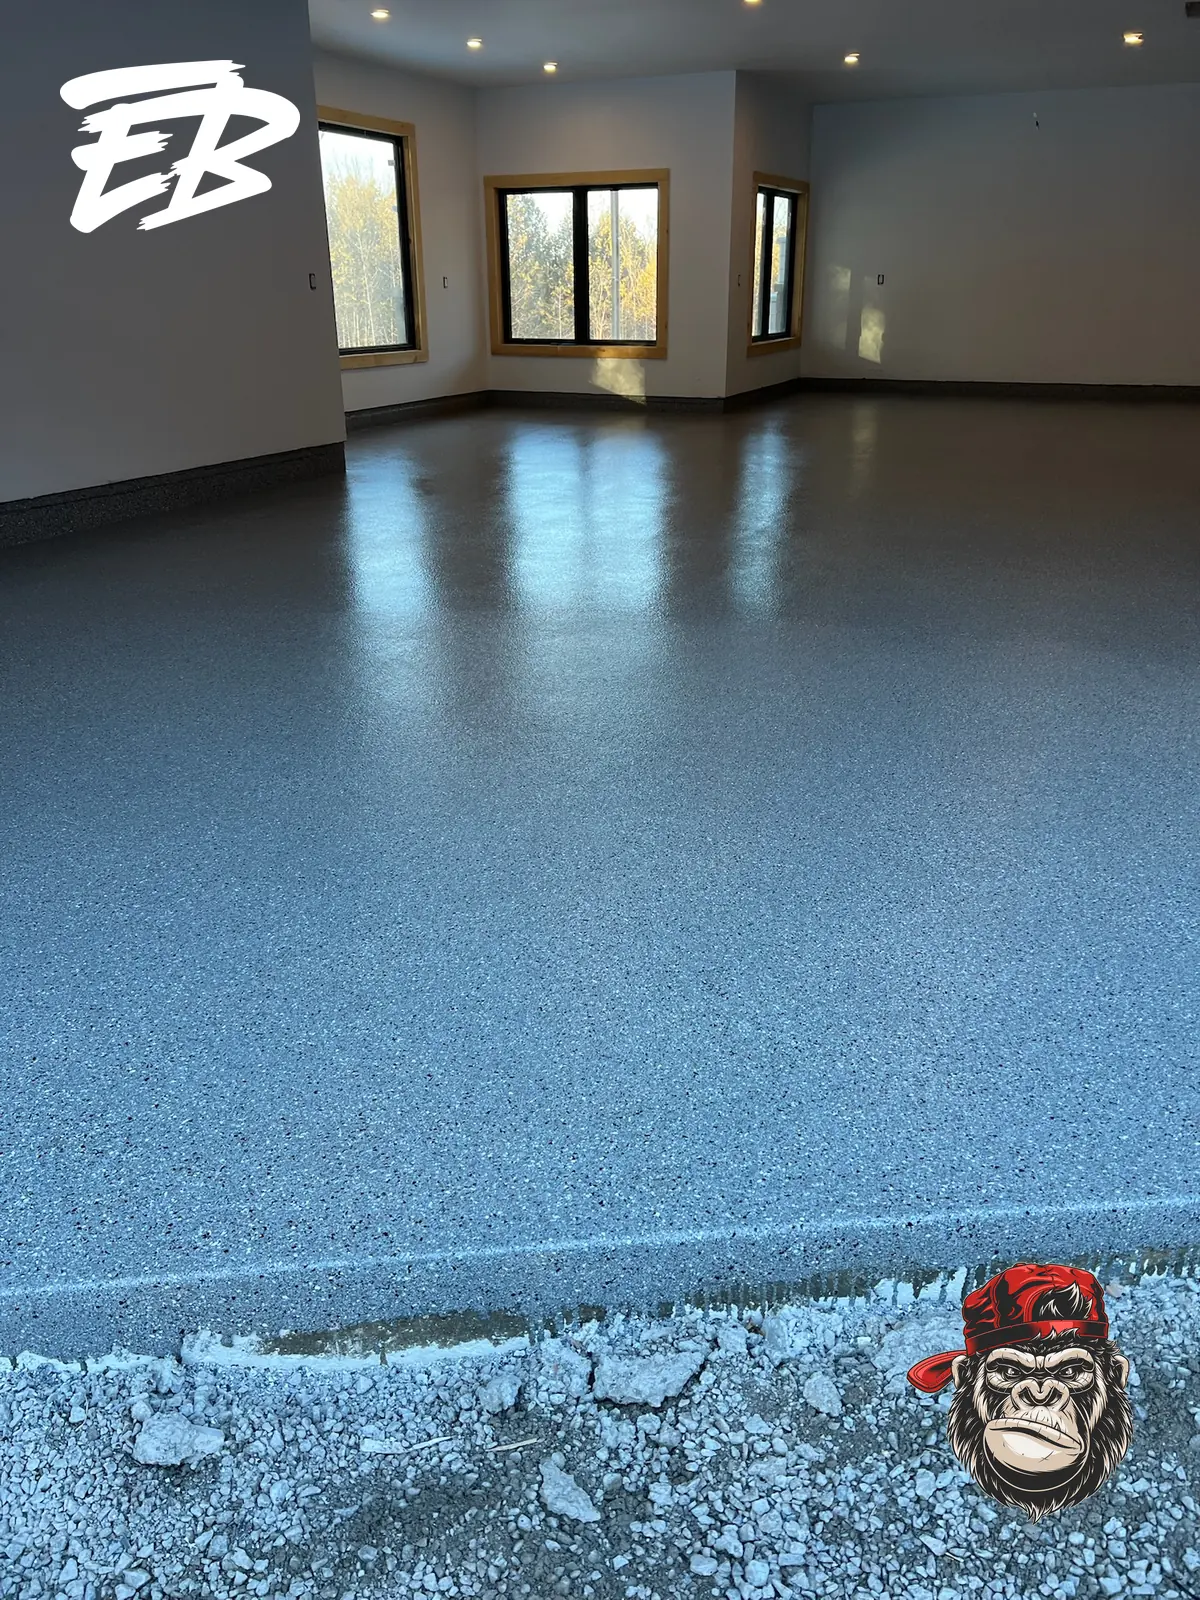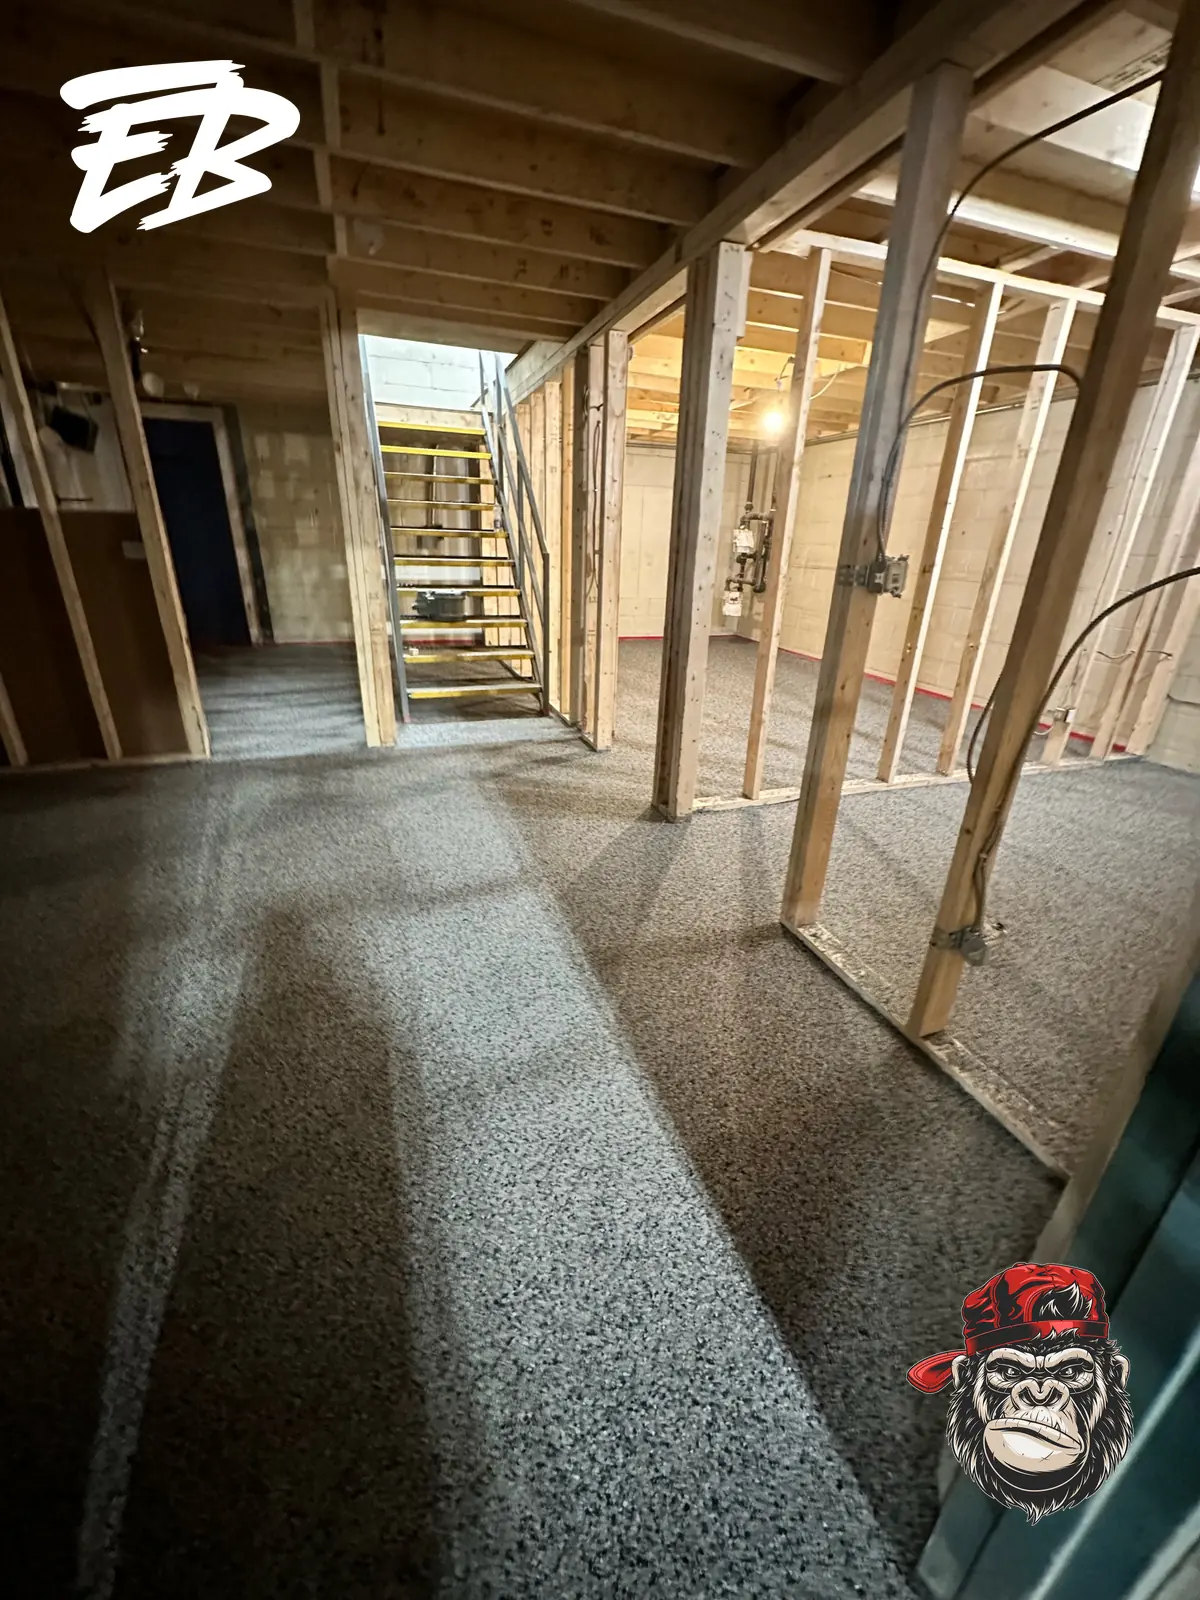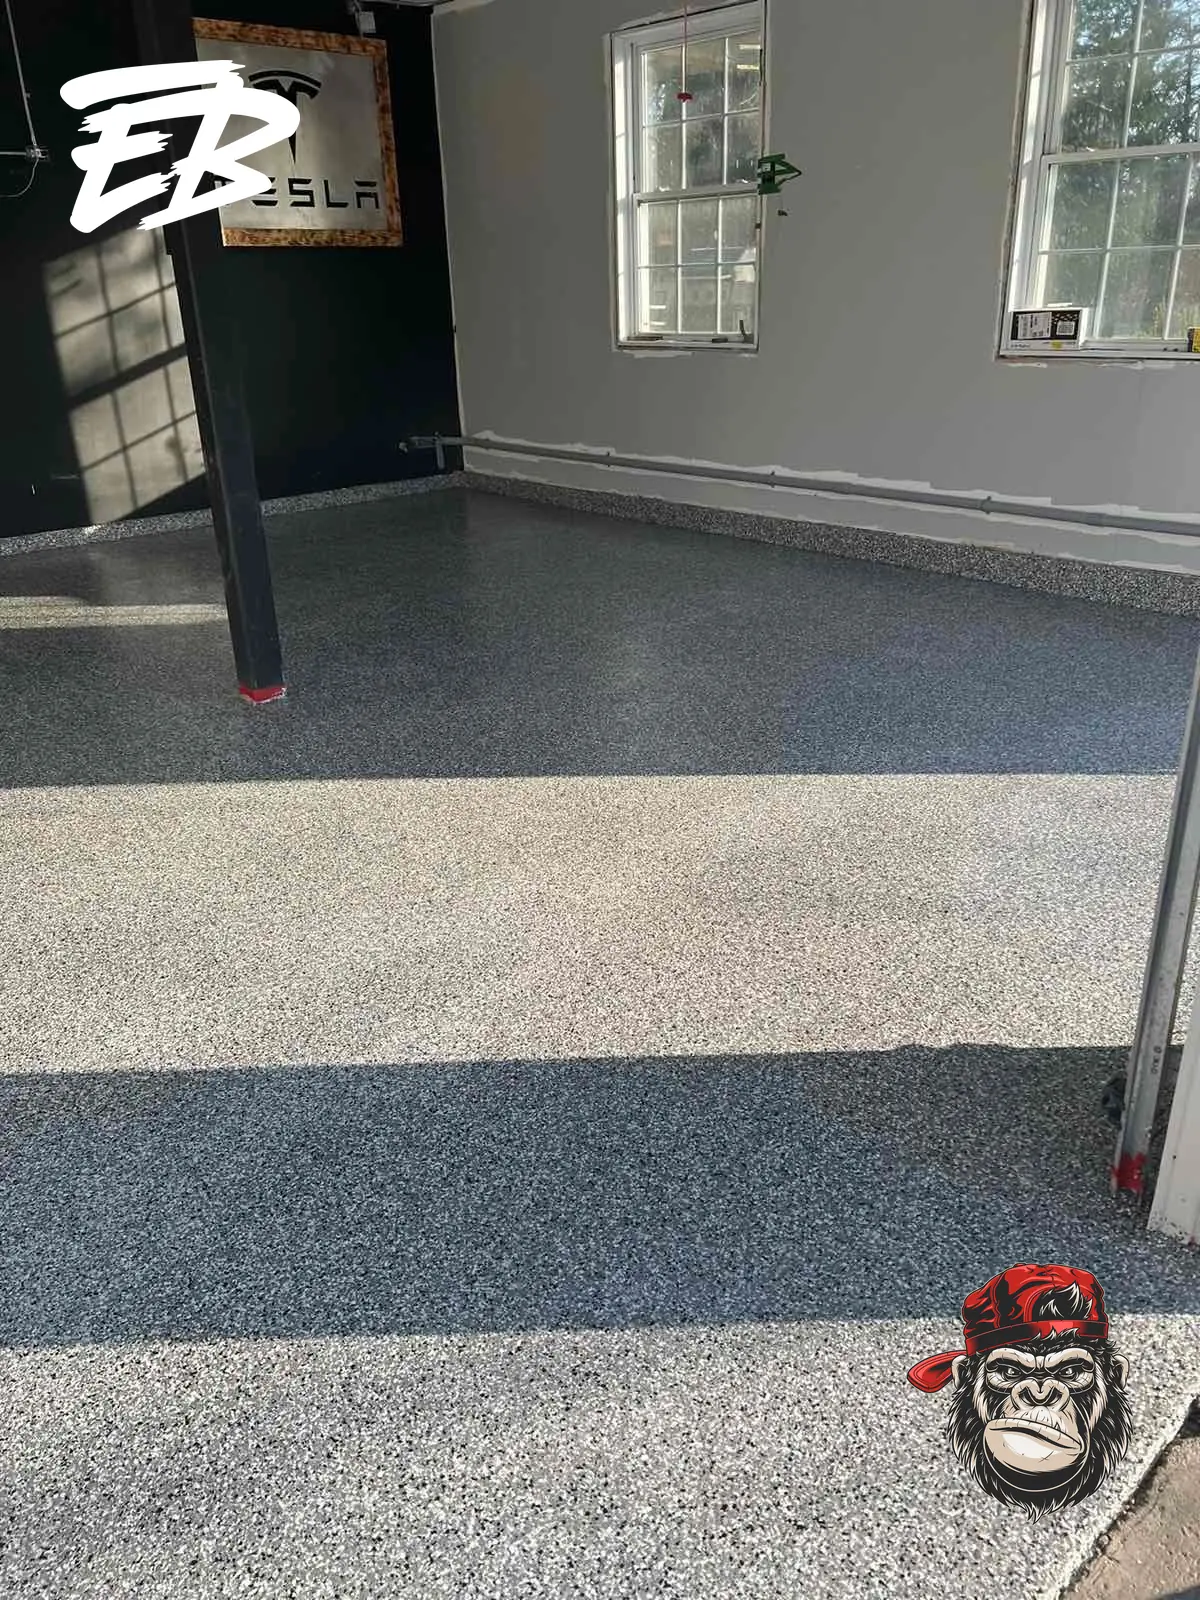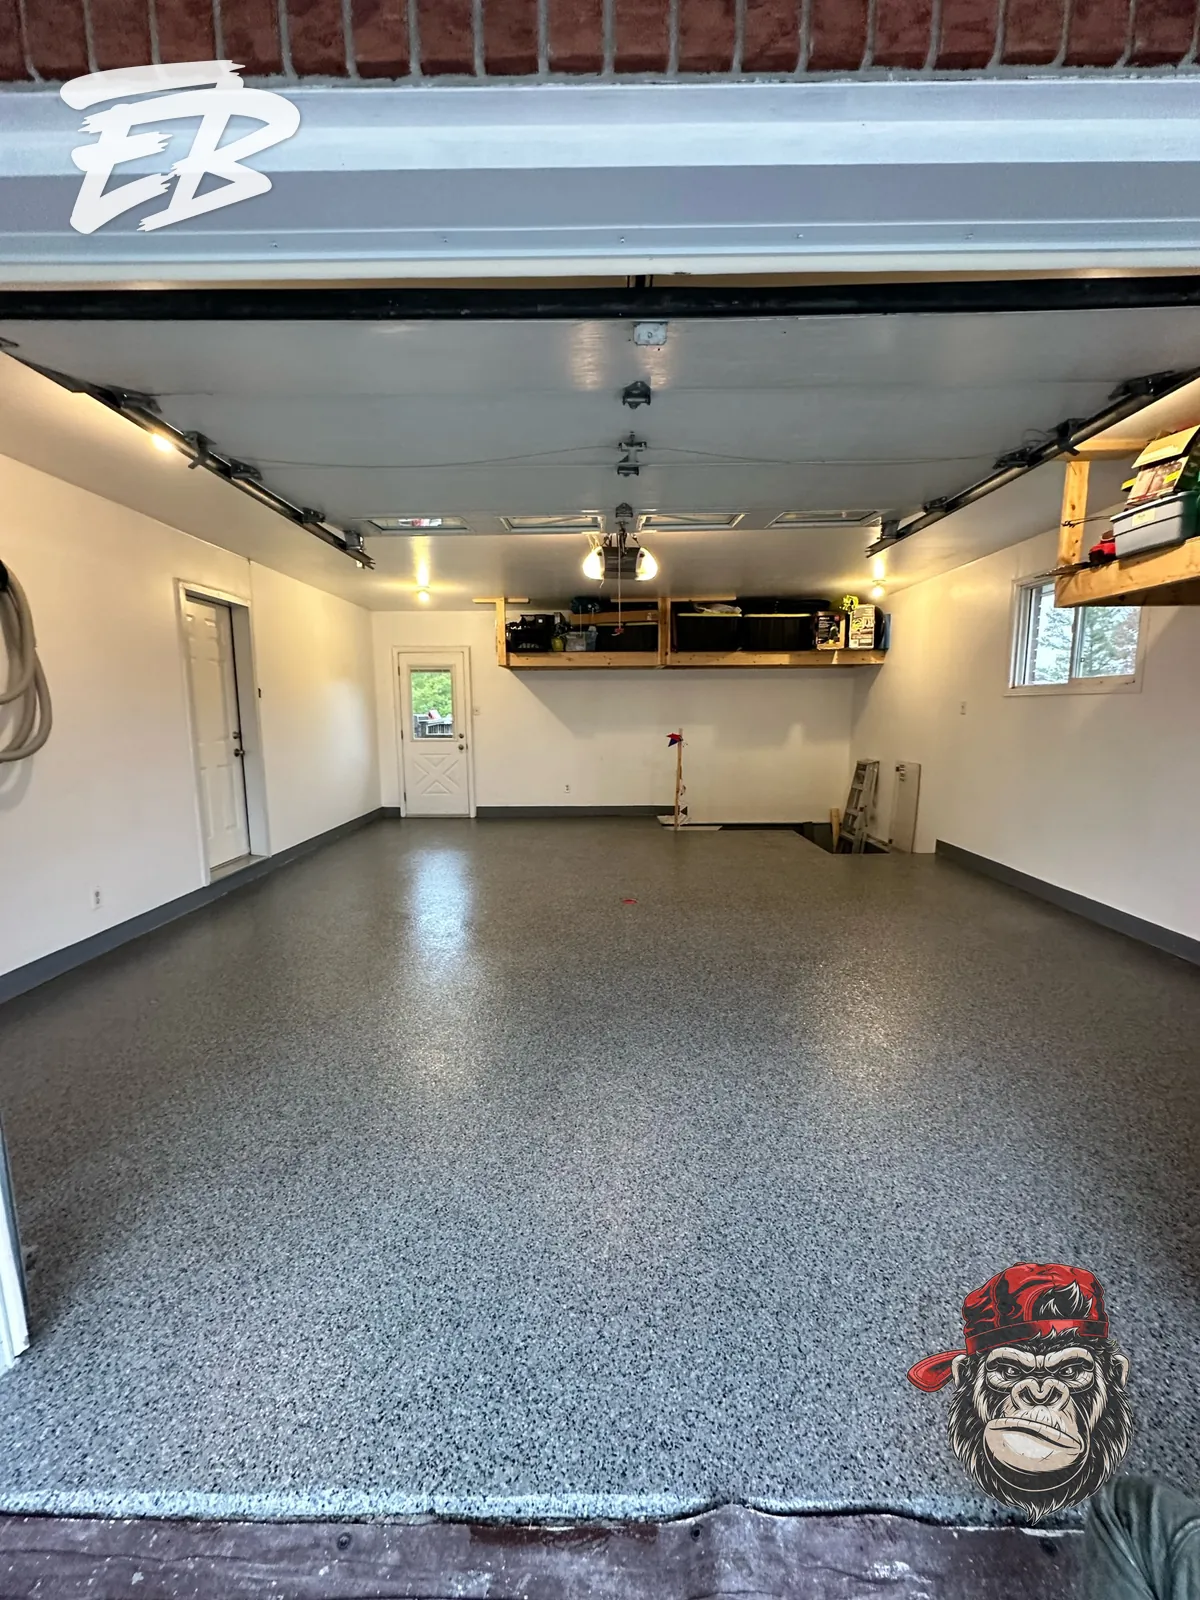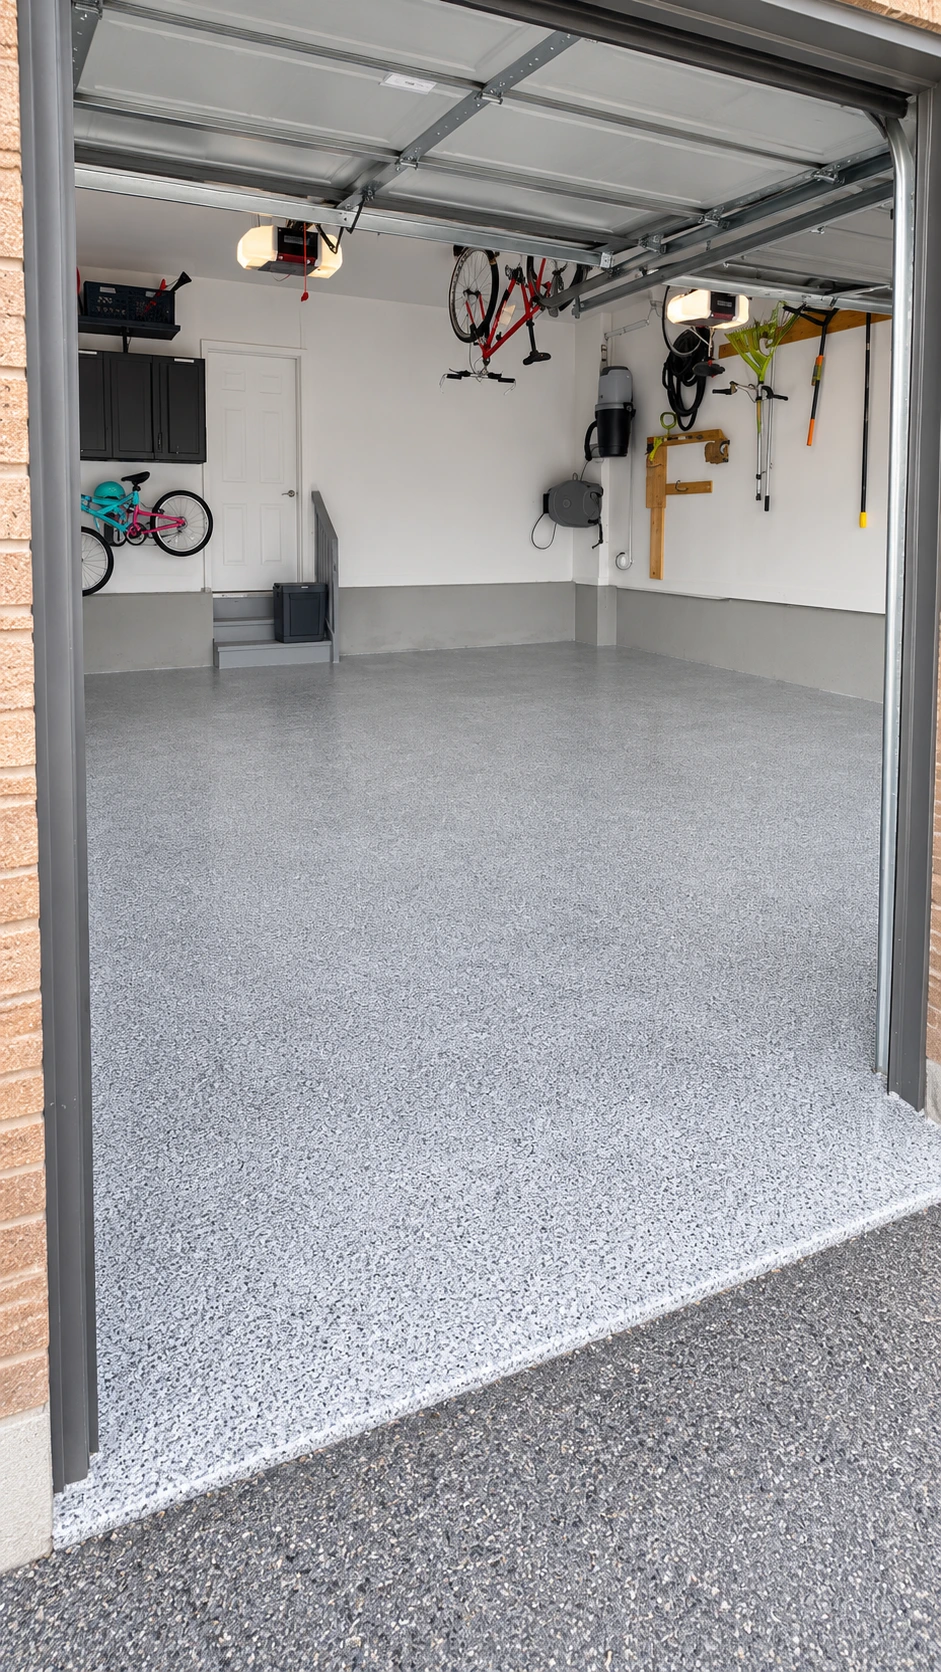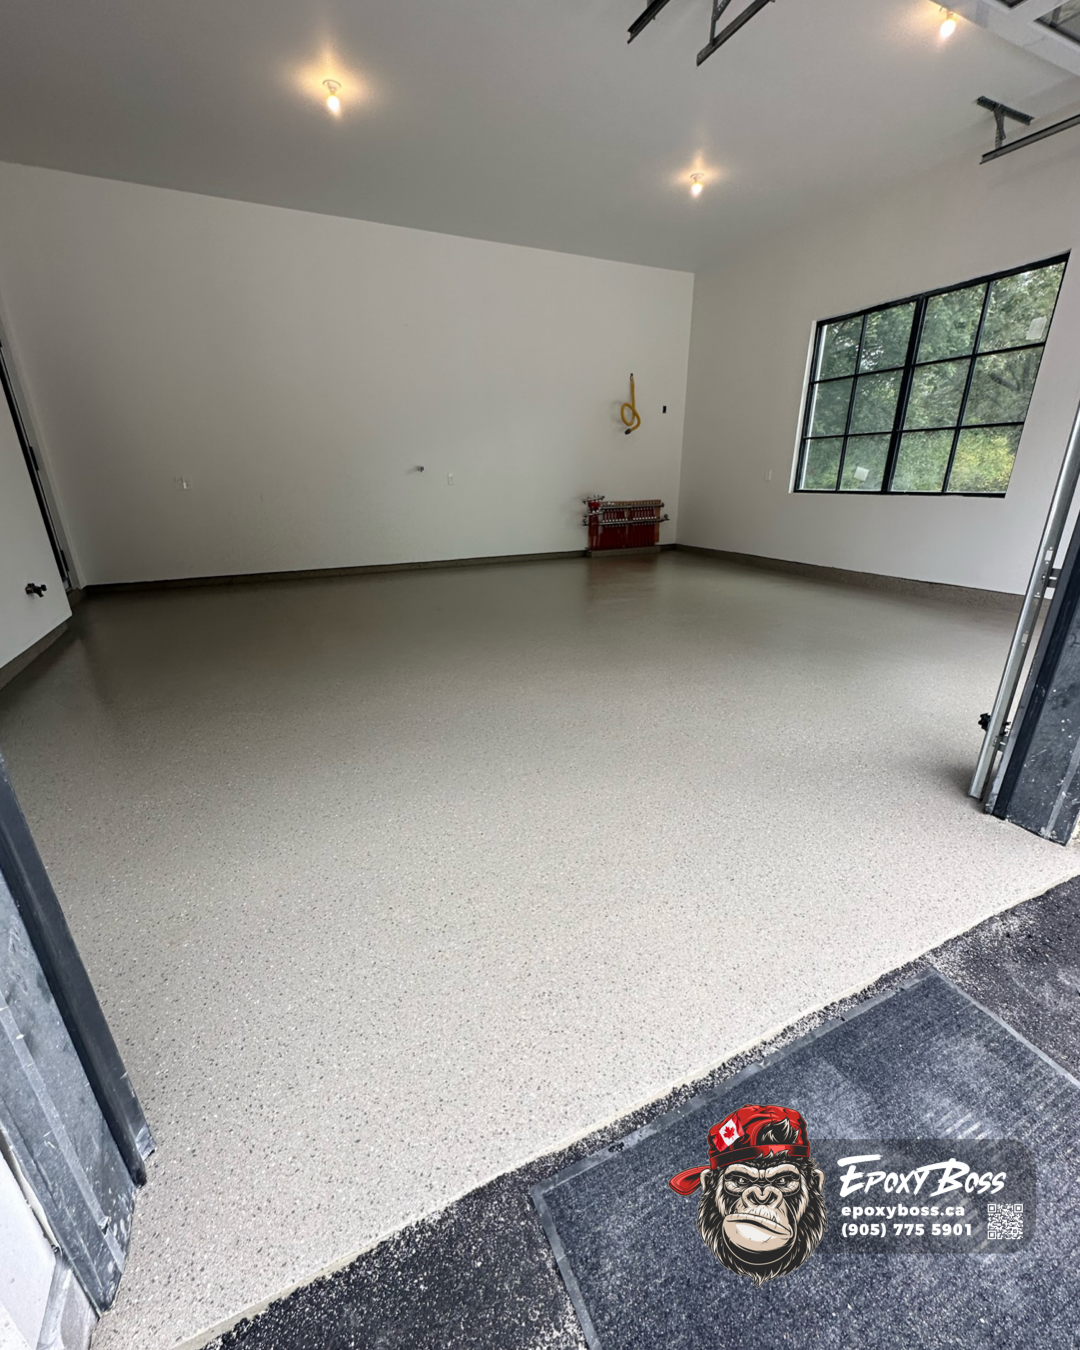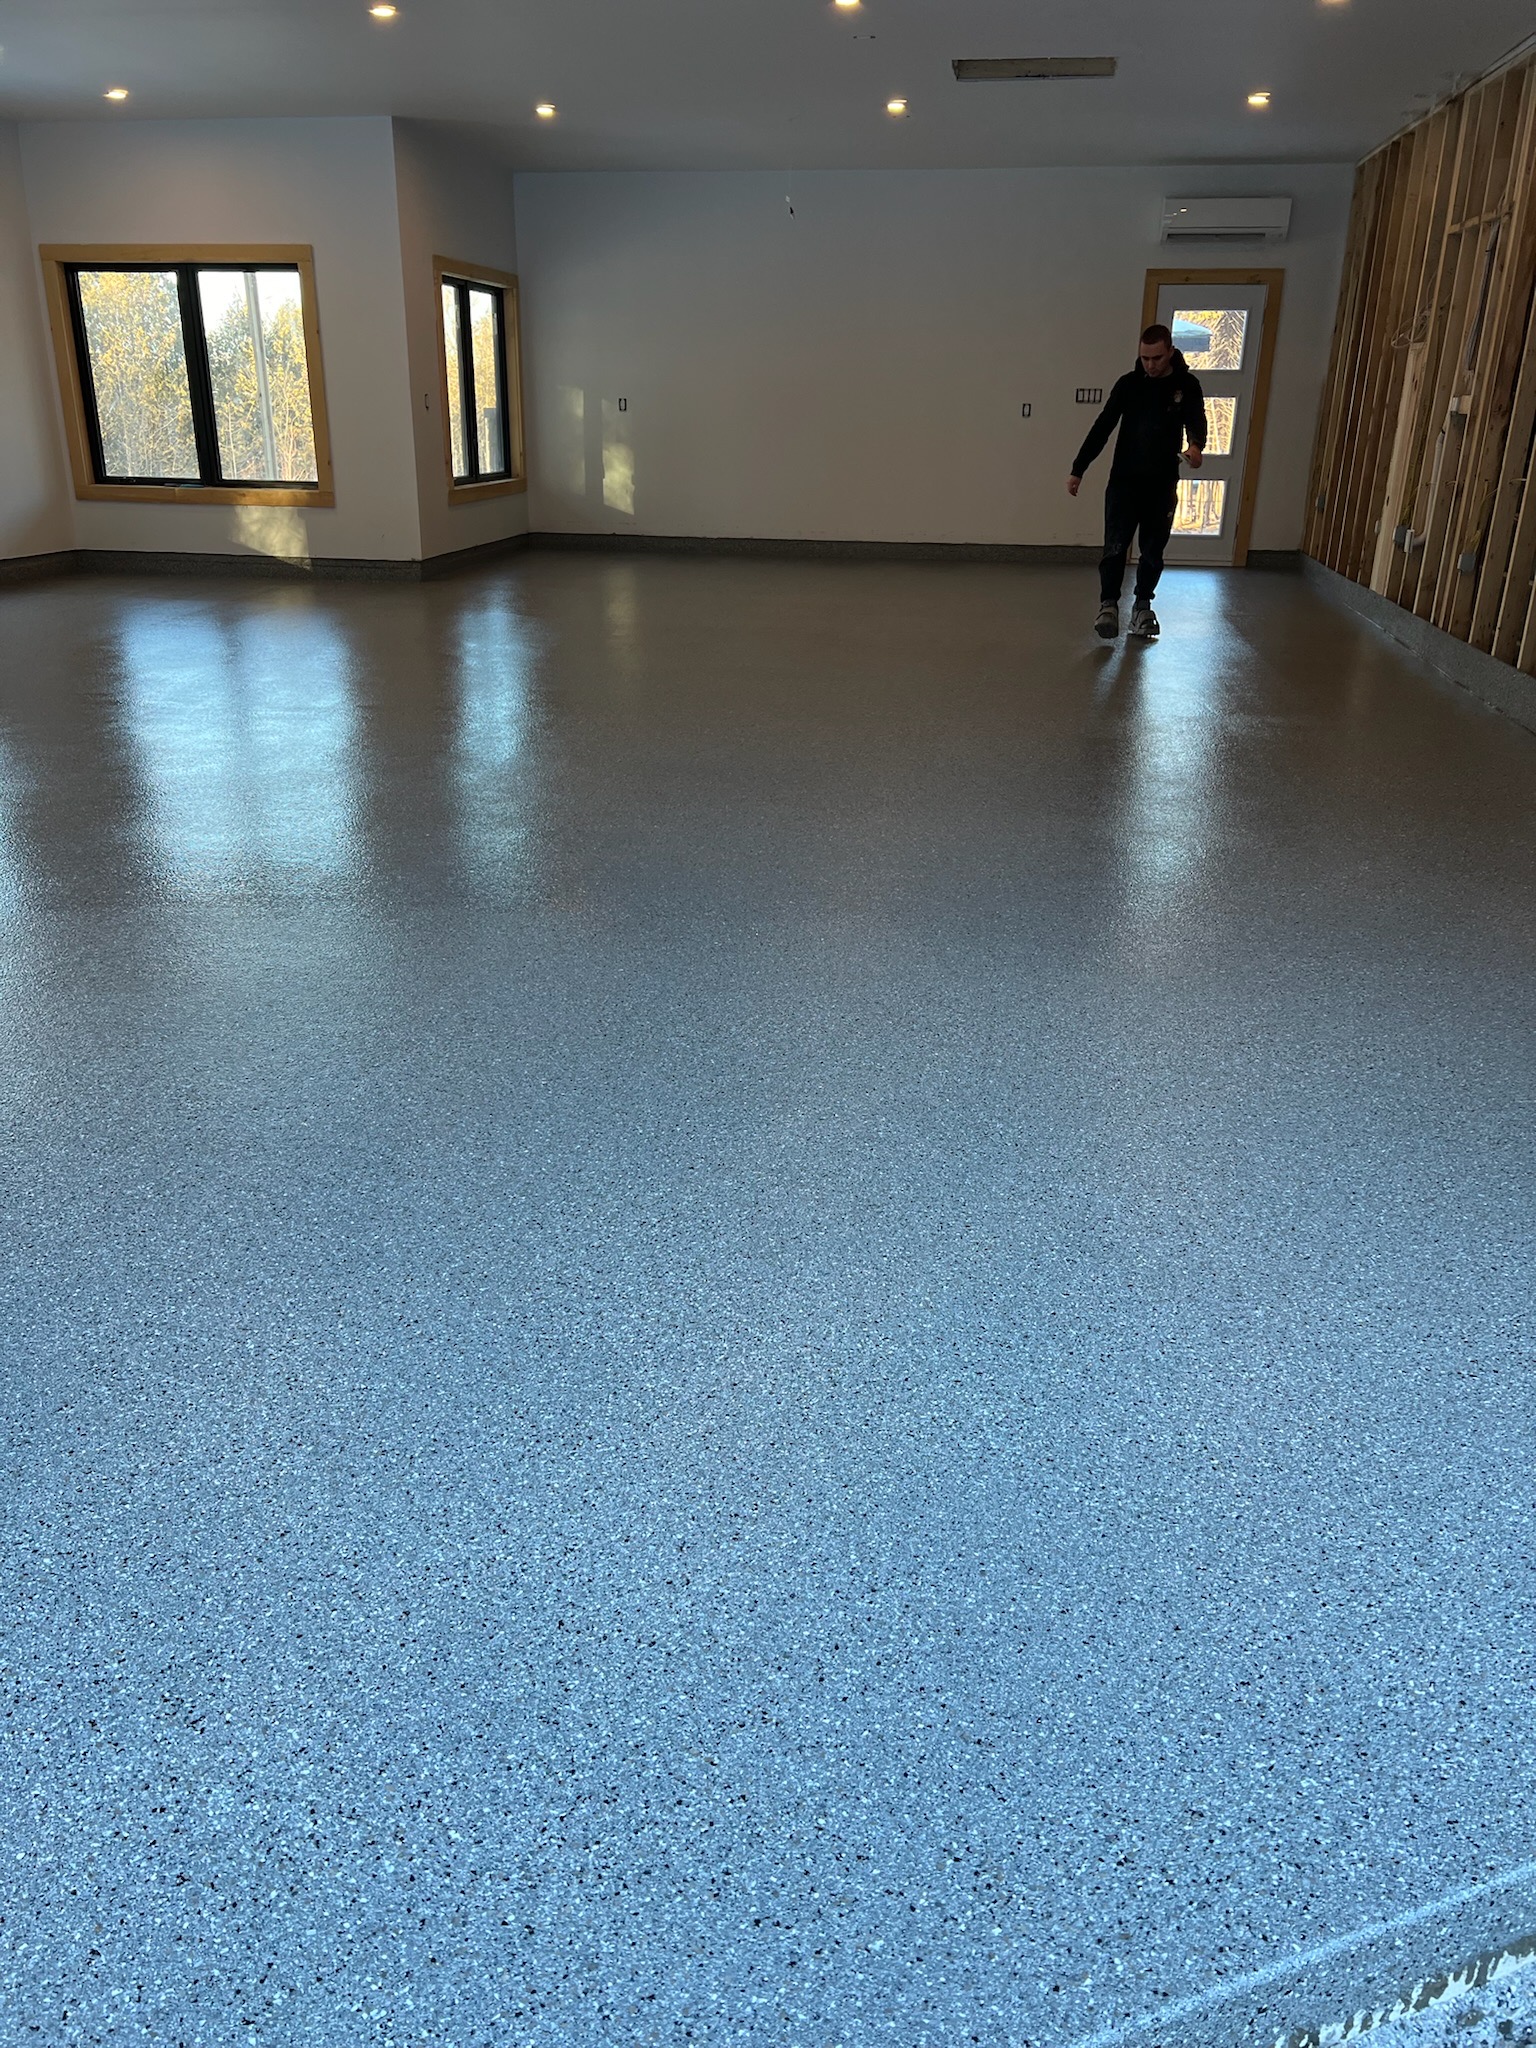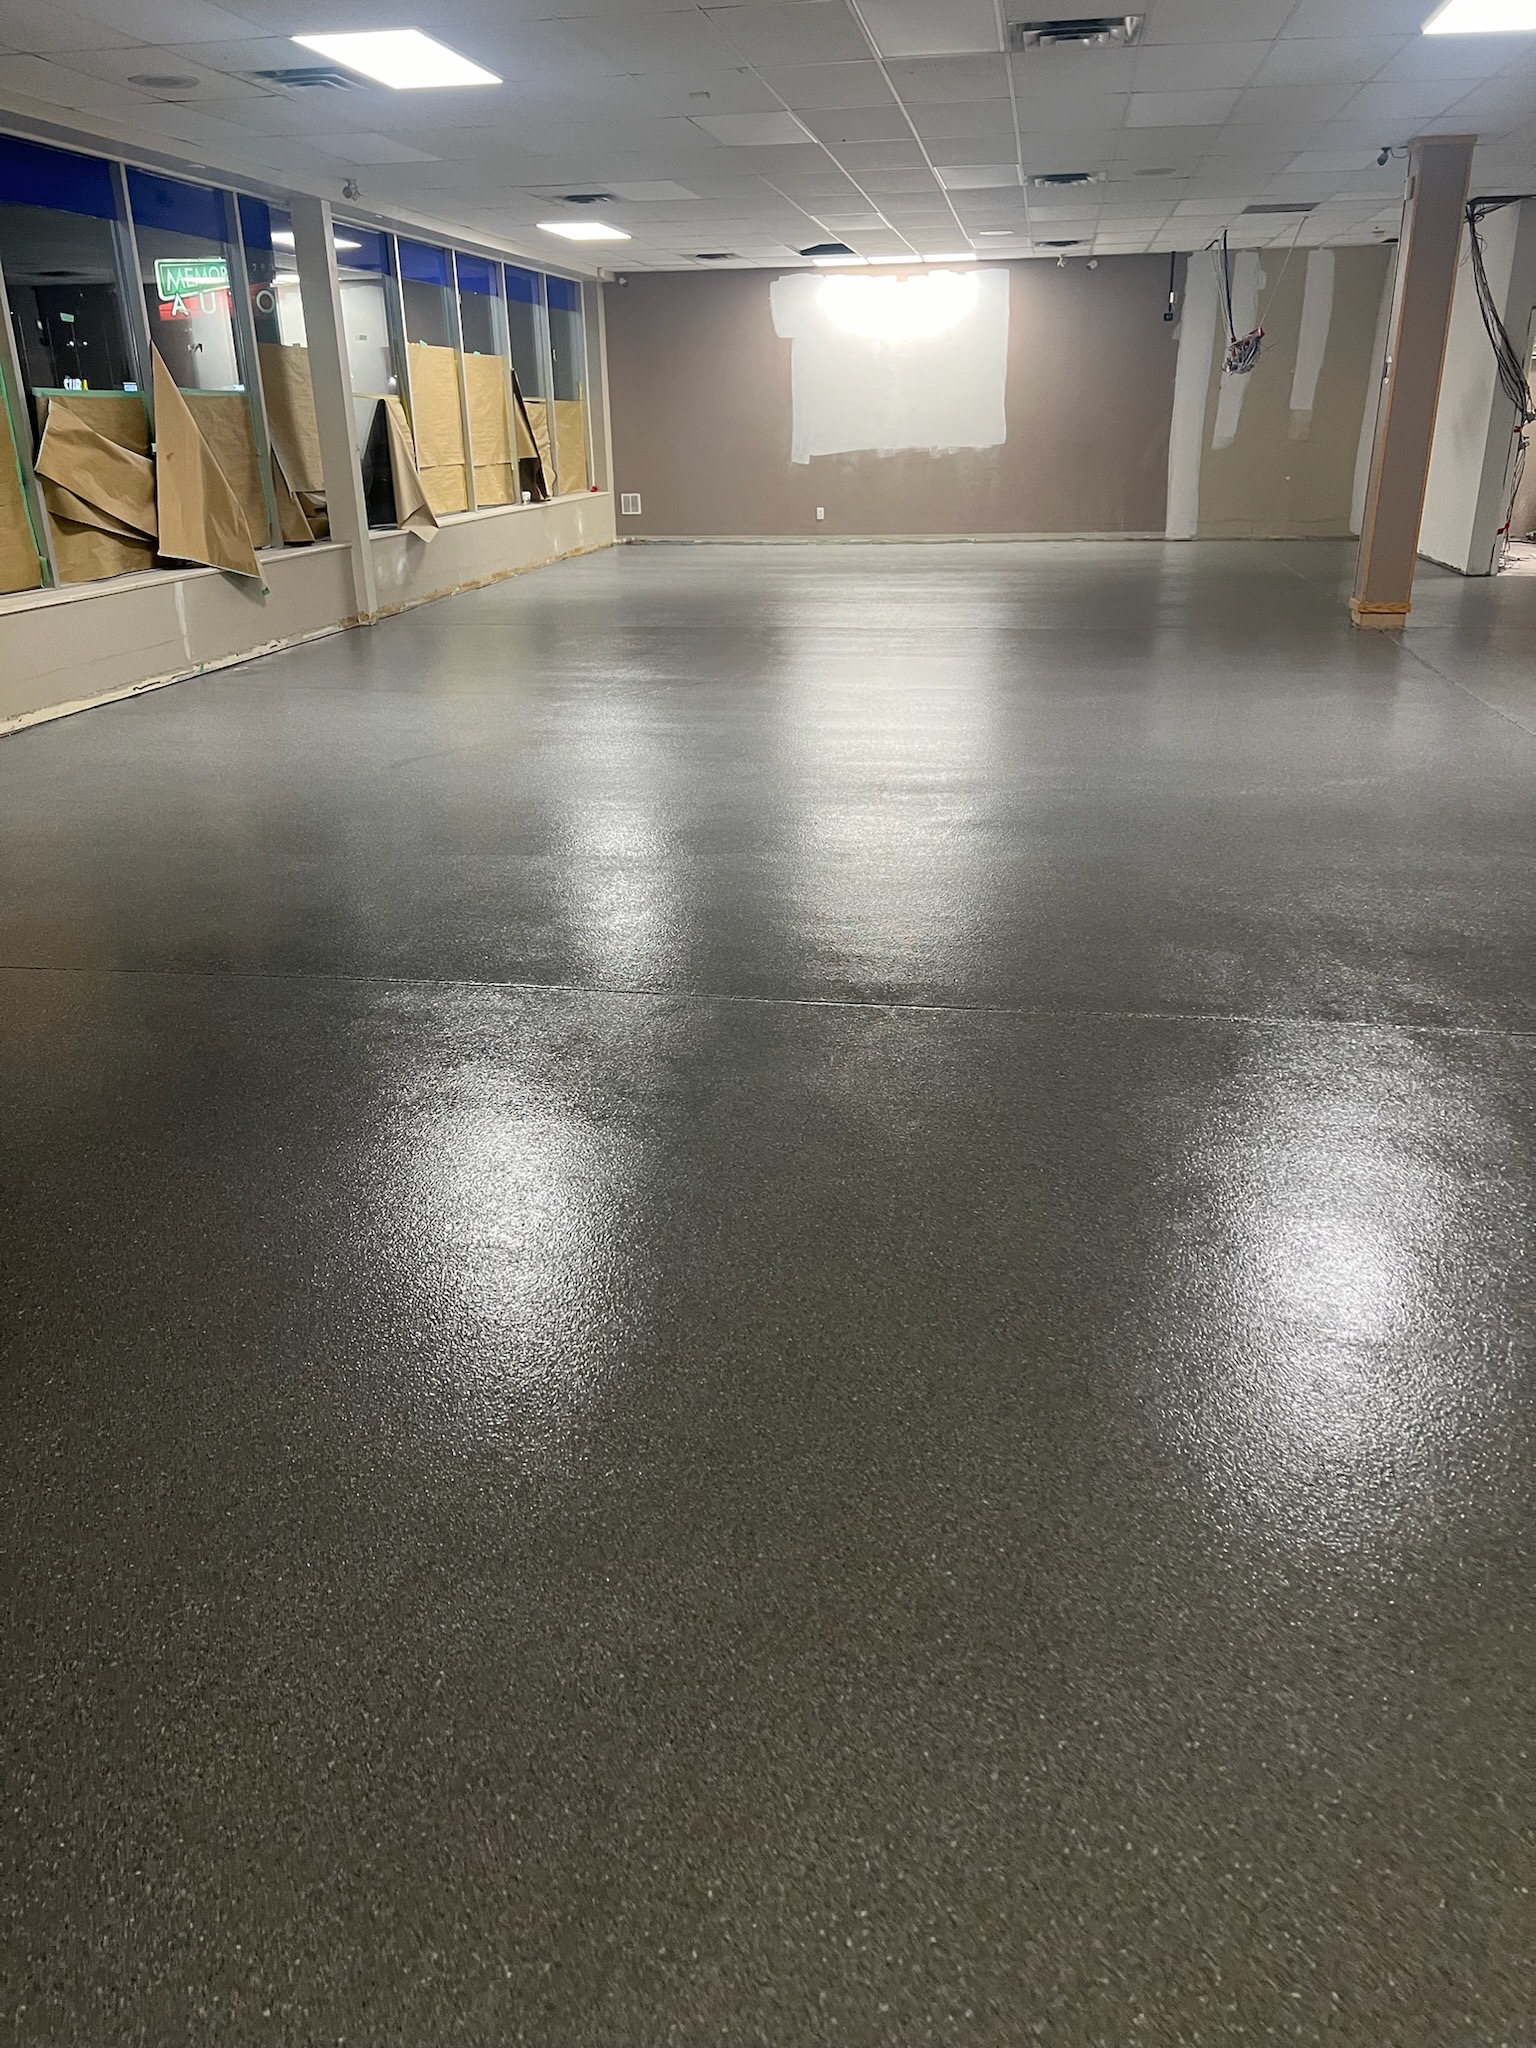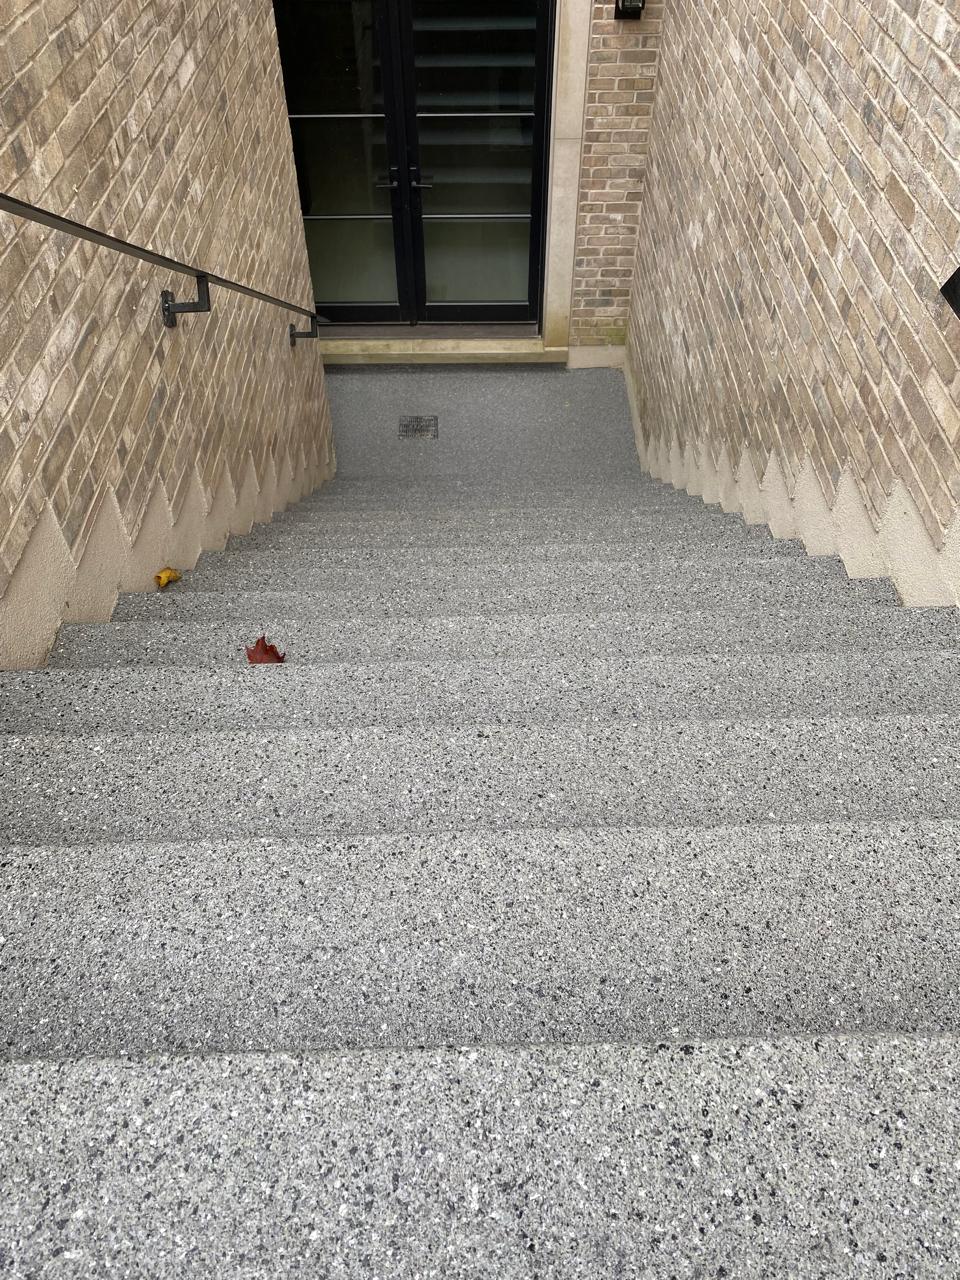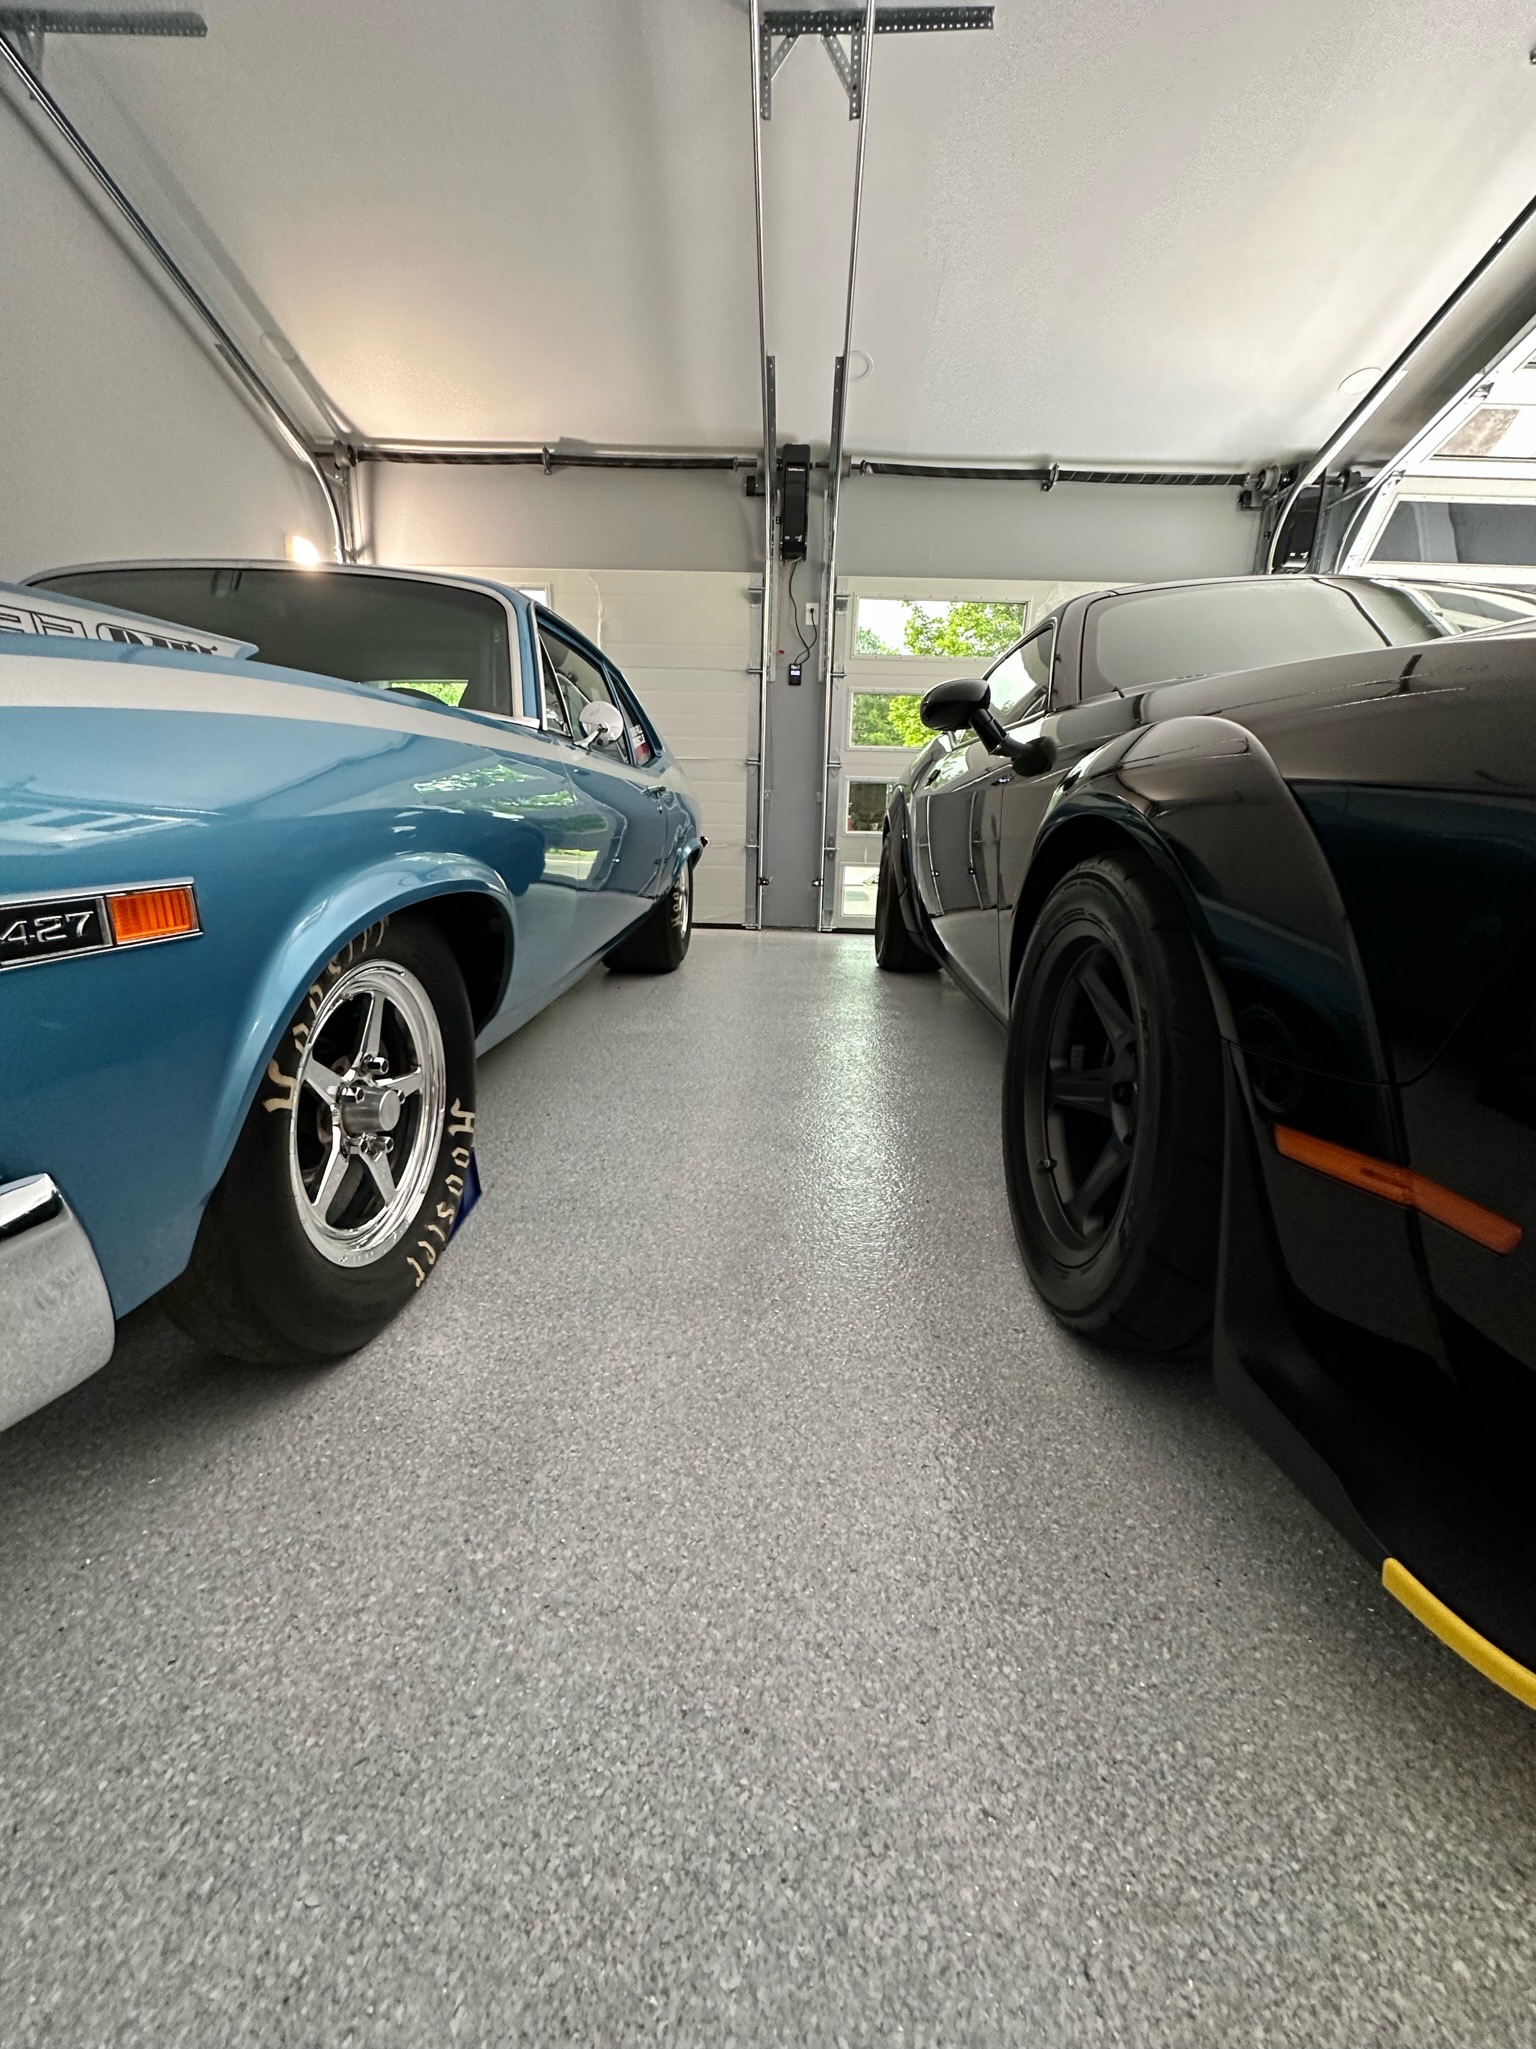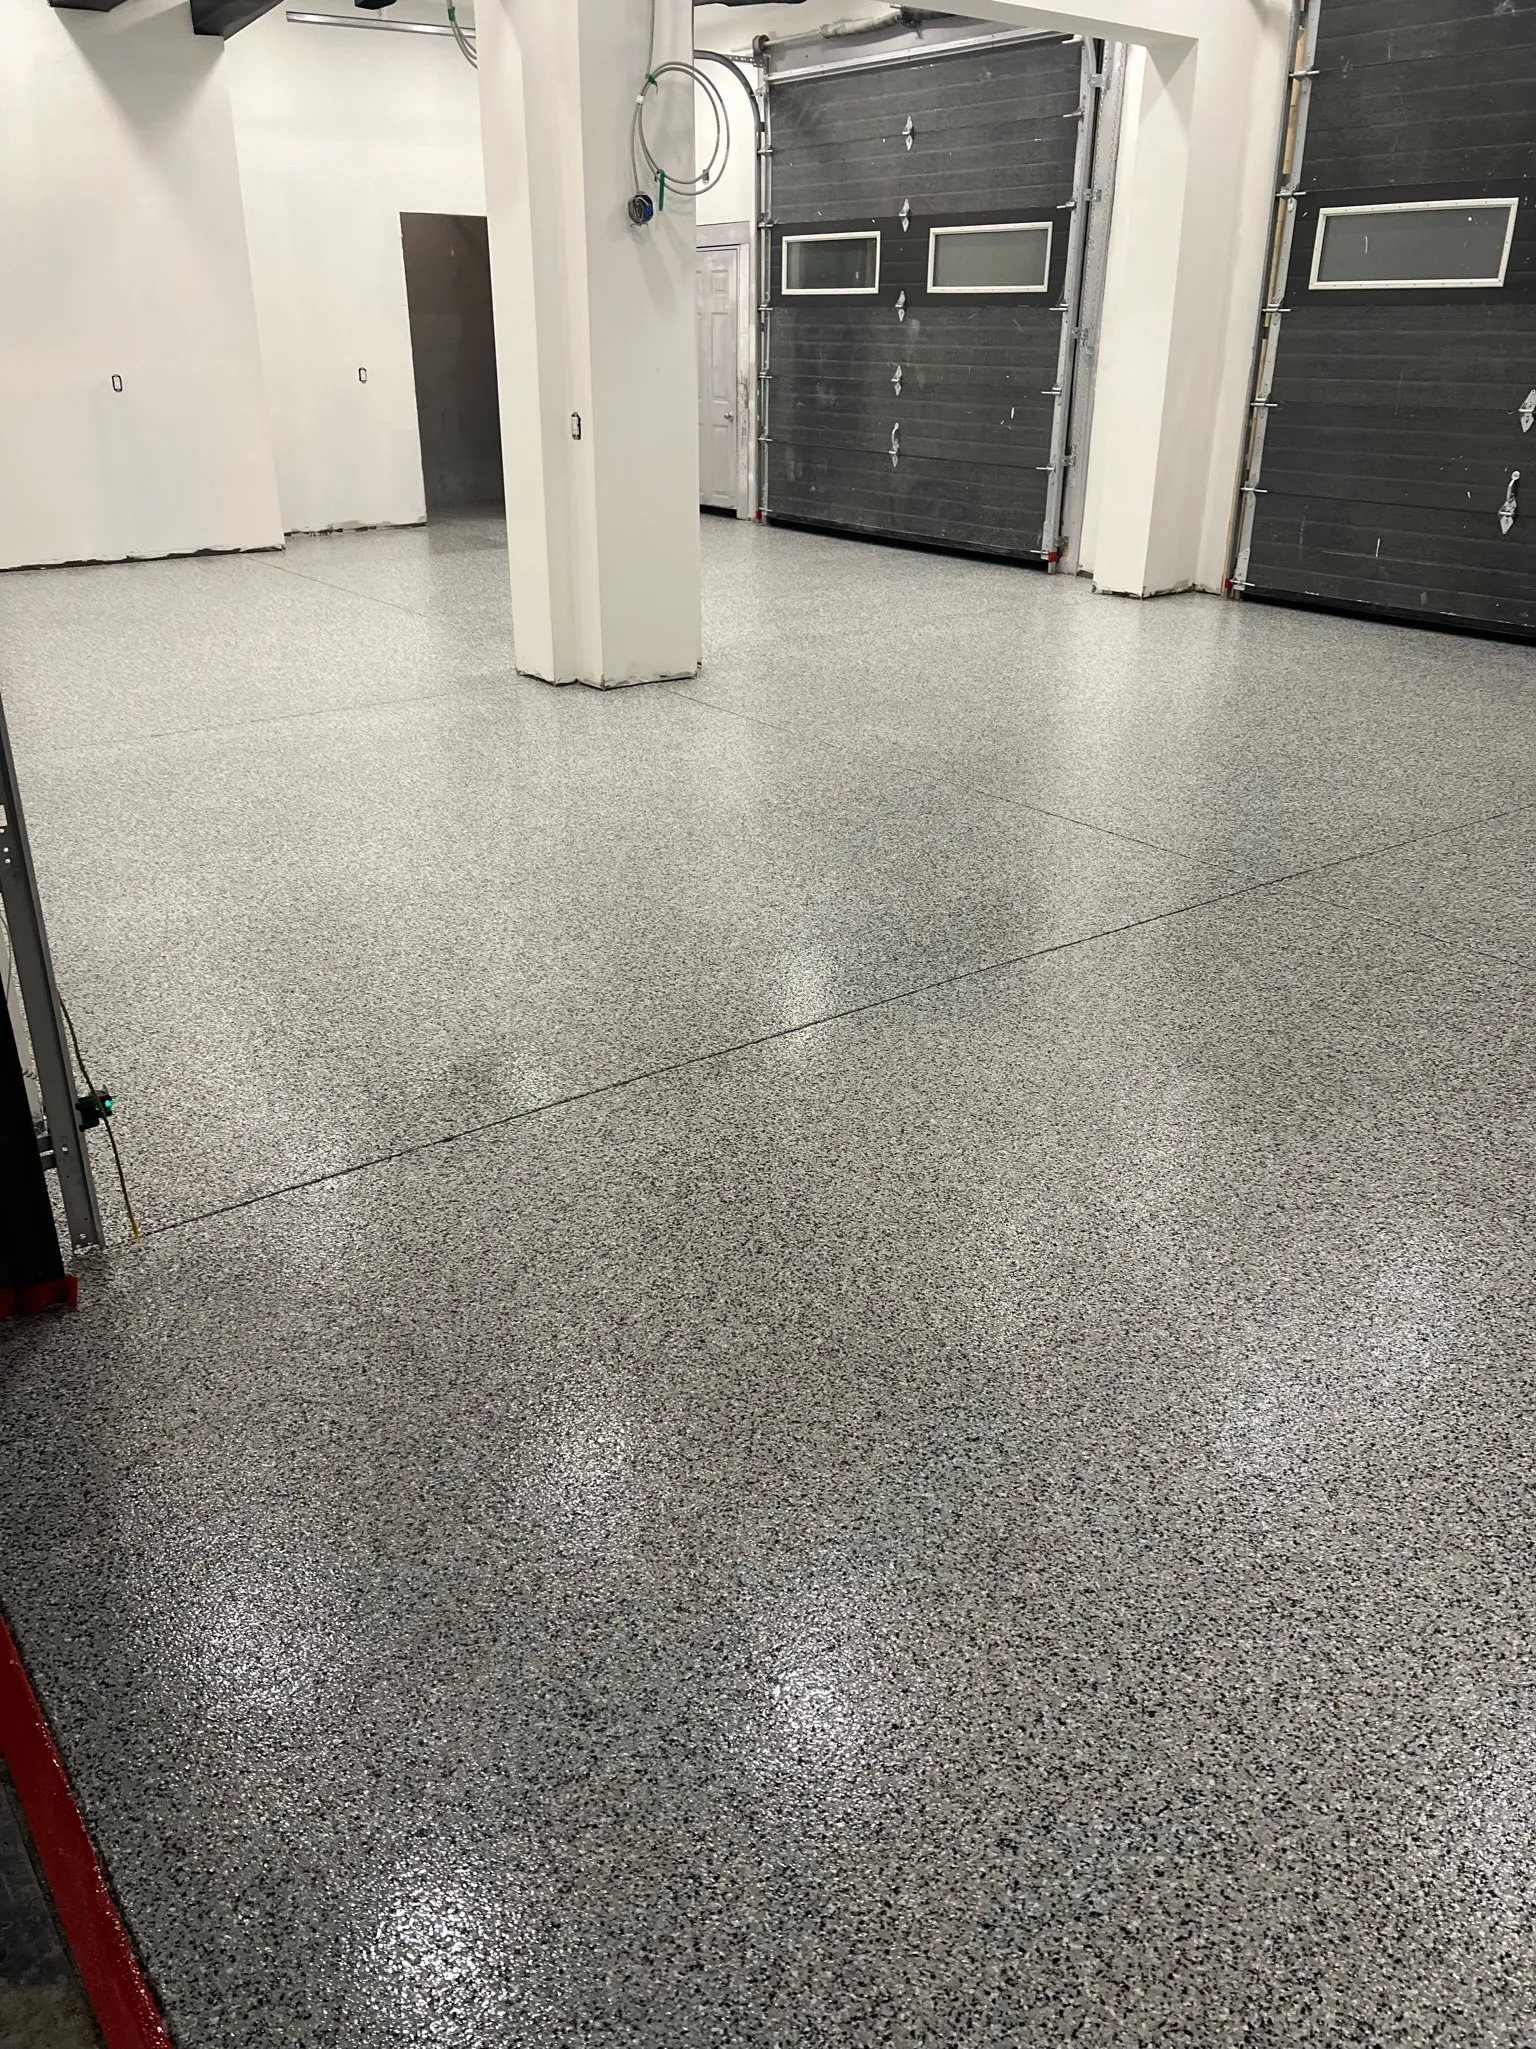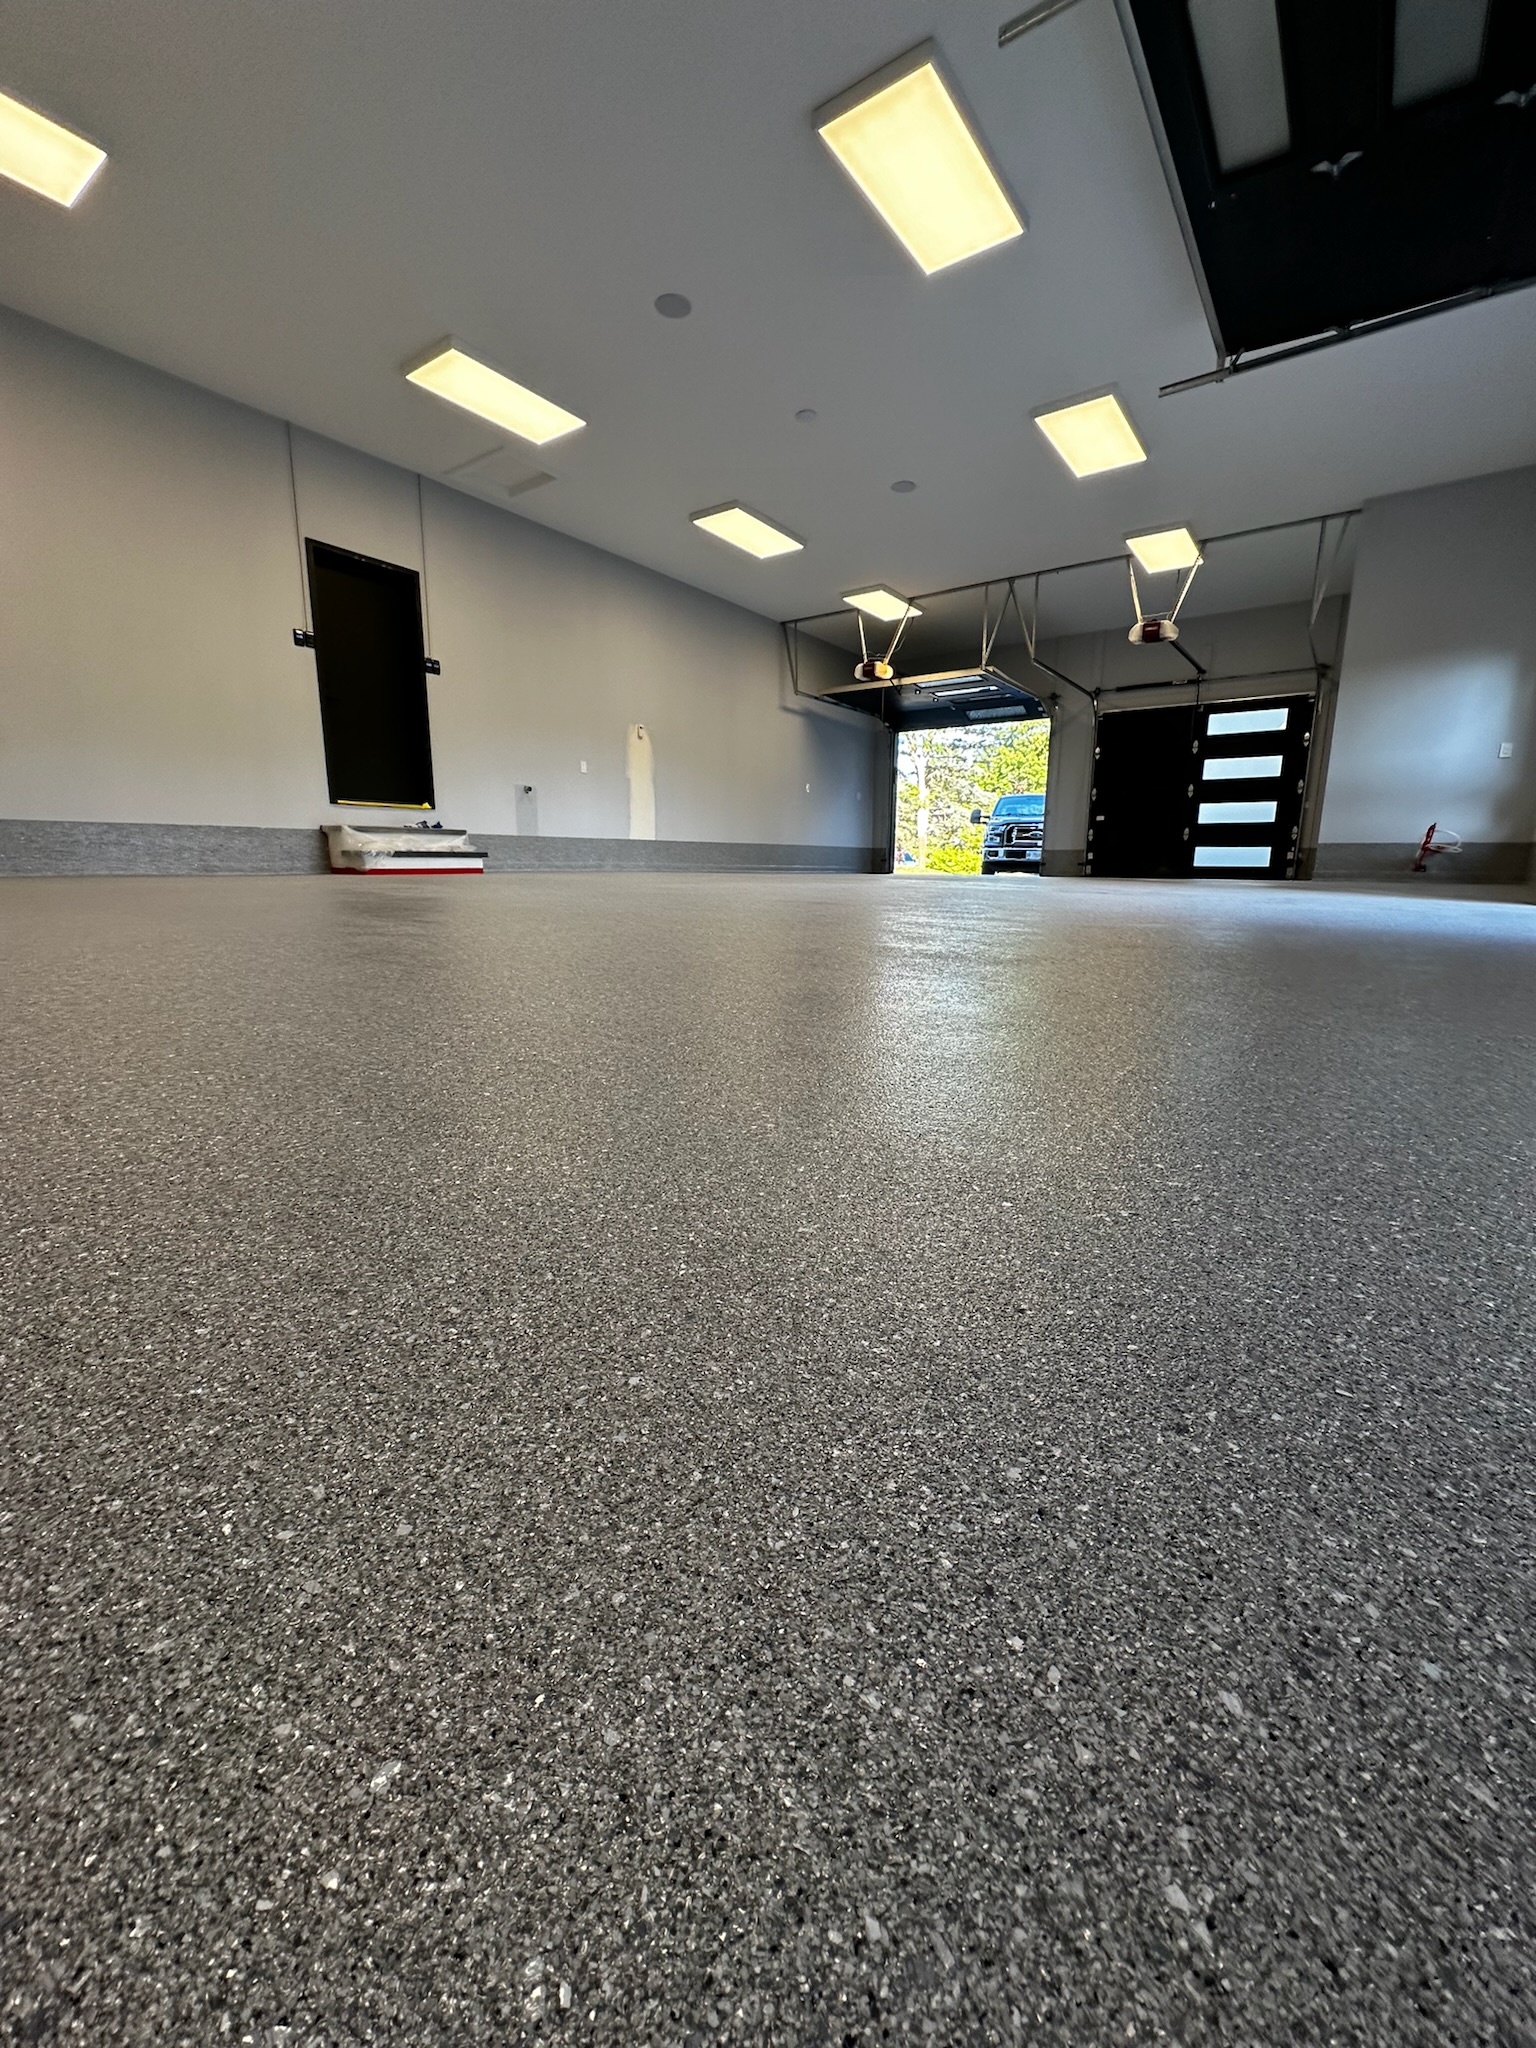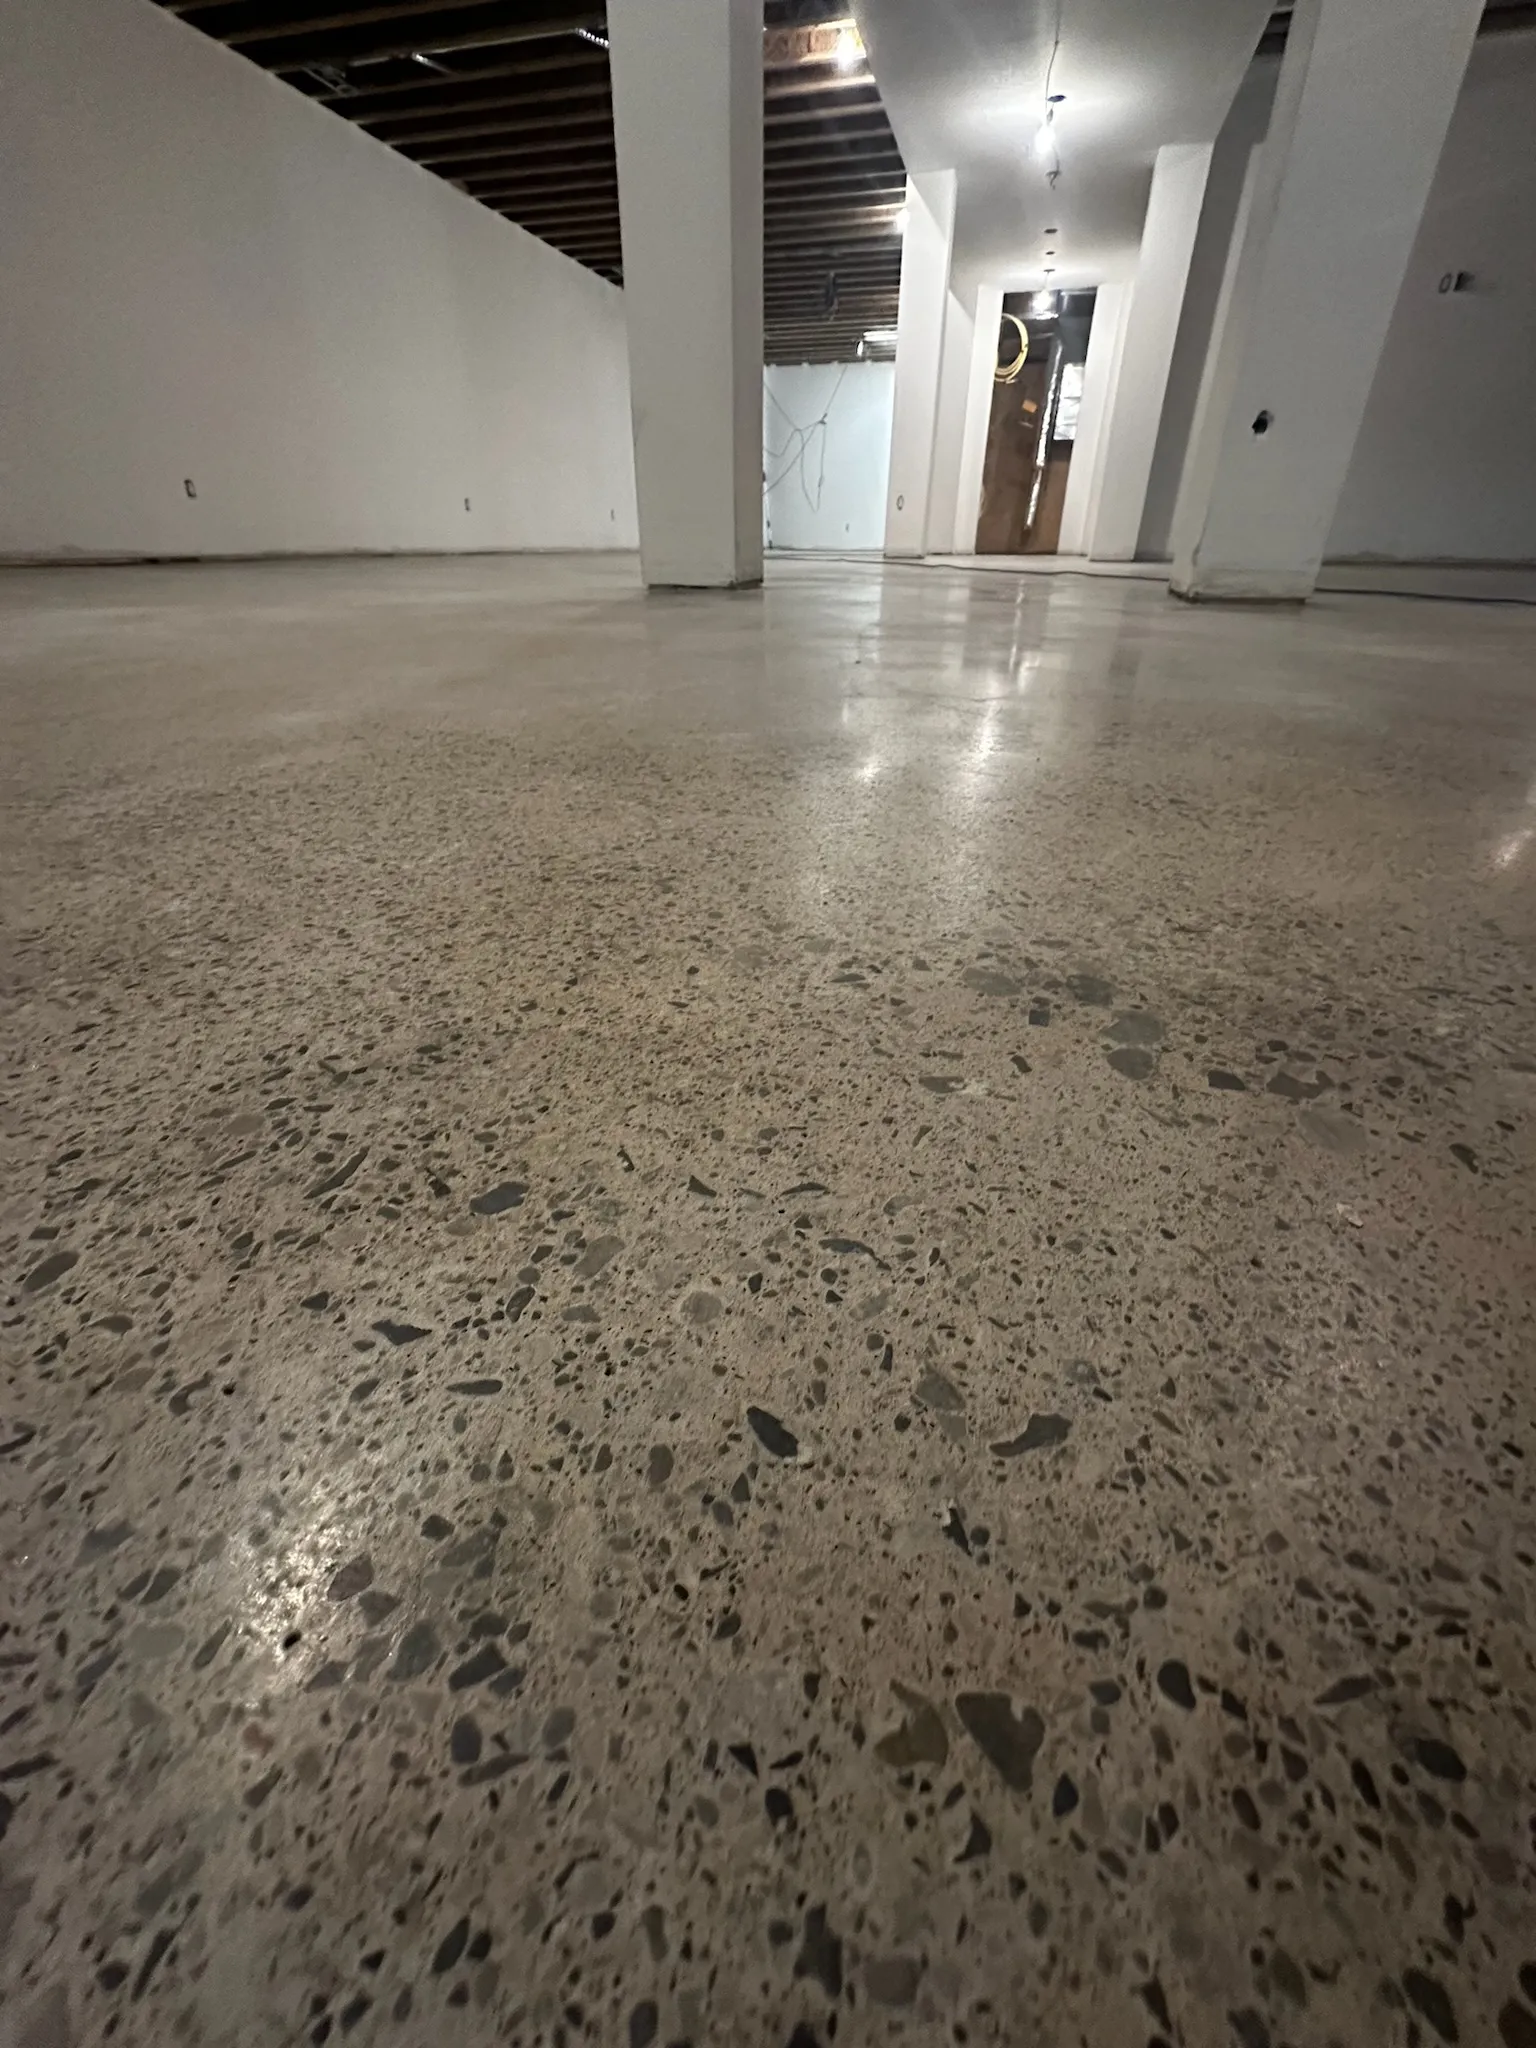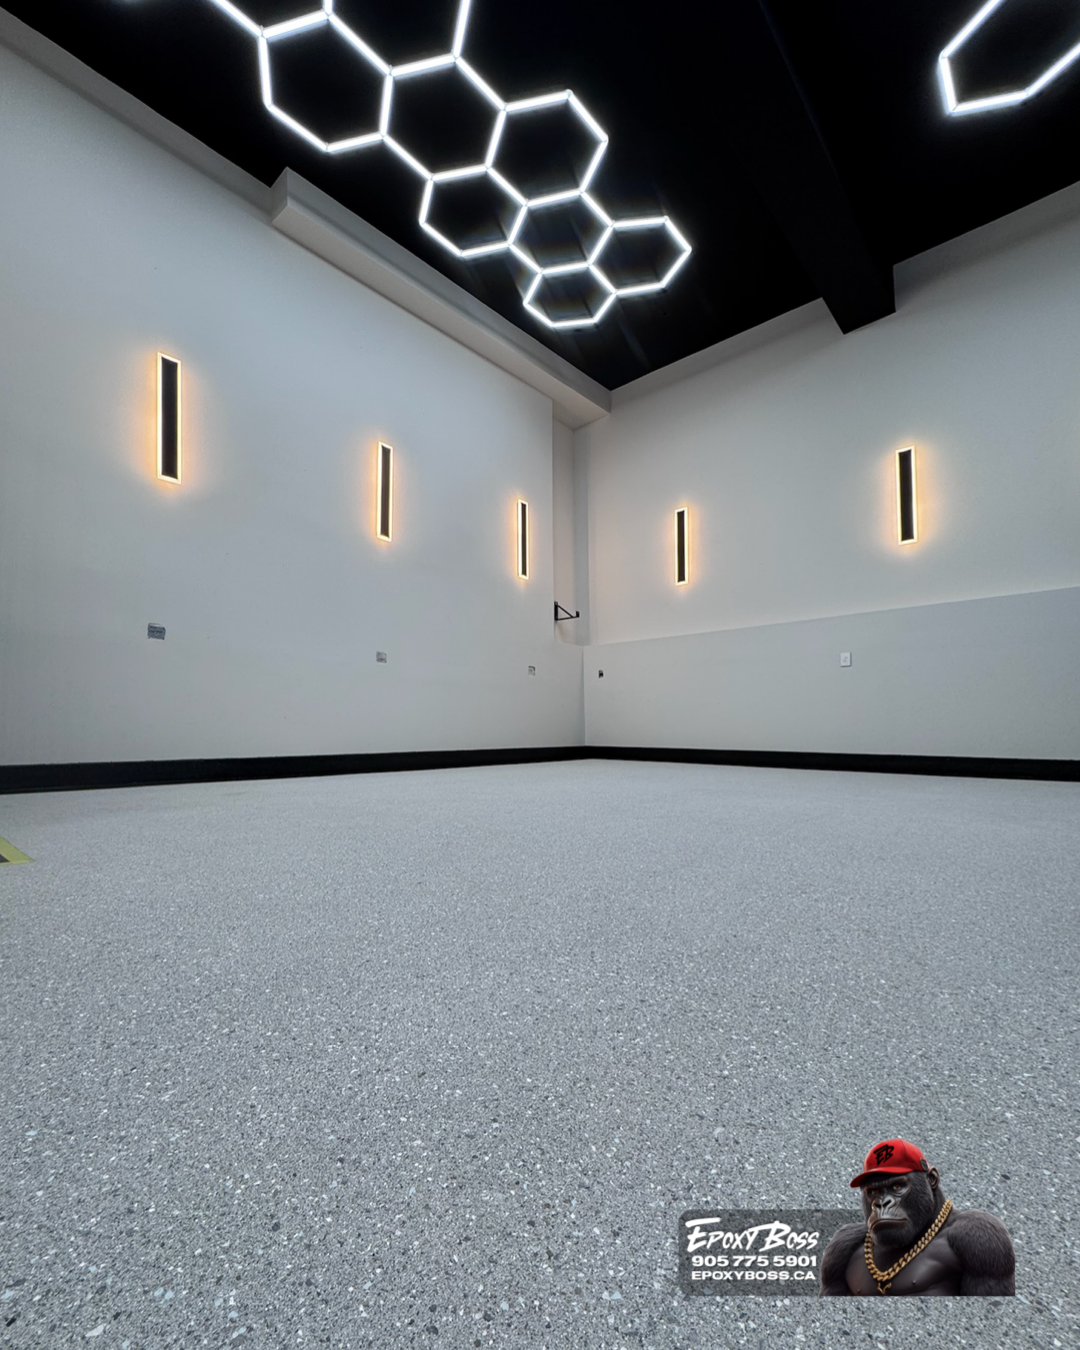
Before epoxy or polyaspartic is installed on a Vaughan garage floor, the concrete should be assessed, mechanically prepared, repaired, cleaned, and reviewed for moisture-related conditions. The coating belongs on a sound, properly profiled concrete surface, not over dust, sealers, oil contamination, weak concrete, or a failing previous coating.
A durable garage floor is not created by the topcoat alone. Flake colour and gloss are what you see, but the long-term result depends largely on what happens underneath them.
Preparation matters especially in Vaughan. Garage slabs are exposed to road salt, slush, meltwater from vehicles, de-icing products, freeze-thaw cycles, tire traffic, stored equipment, and sometimes earlier DIY coatings or sealers. A floor can look finished on installation day and still fail early if those underlying conditions were skipped or covered up.
The Short Answer: What Must Be Done First?
A concrete garage floor should normally go through these steps before an epoxy or polyaspartic system is installed:
- Inspect the concrete and the existing floor condition.
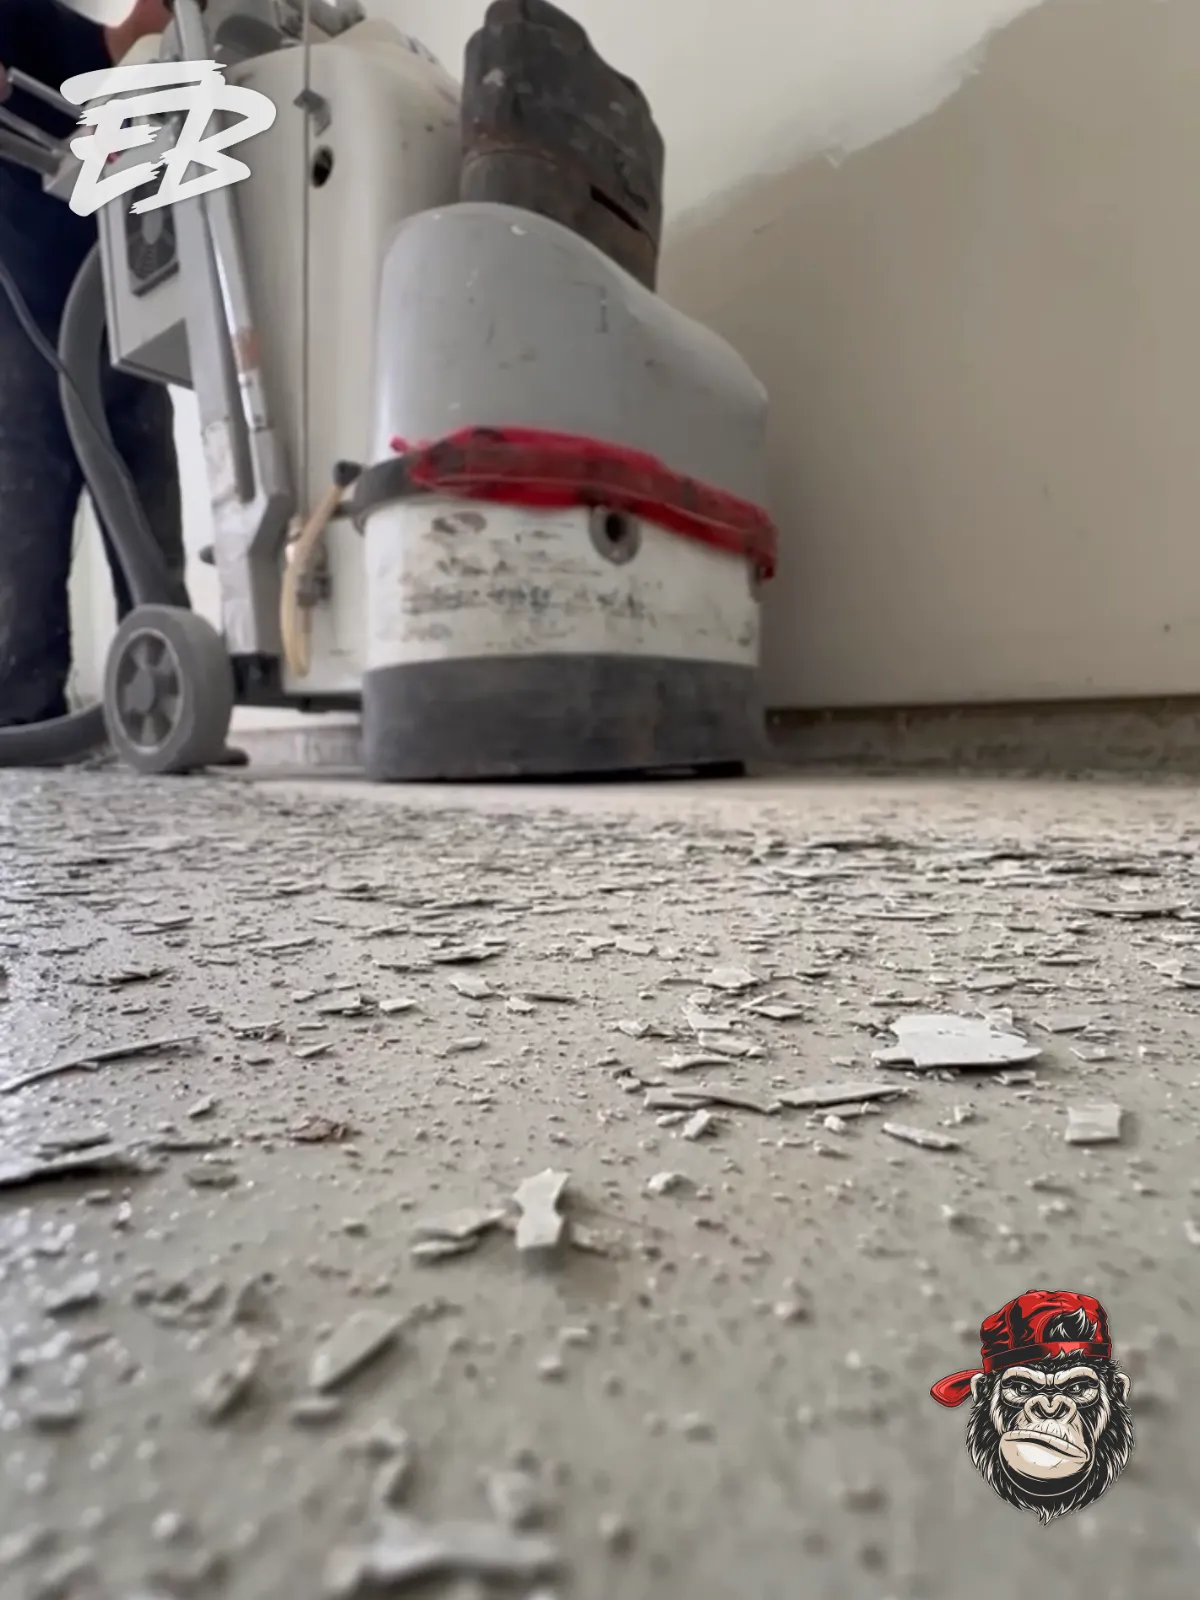
- Remove any failed coating, sealer, adhesive, paint, or weak surface material.
- Mechanically grind the concrete to create a suitable profile.
- Repair cracks, chips, spalls, joints, and damaged edges where appropriate.
- Remove dust, oil, grease, salt residue, and other contaminants.
- Evaluate moisture-related conditions and select a compatible system.
- Vacuum and detail-clean the prepared floor.
- Install the primer, base coat, decorative flake if selected, and protective topcoat within the timing the chosen system requires.
Each step affects adhesion. Skipping one is how a floor can eventually peel, blister, chip, or separate from the concrete below.
Step One: Inspect the Floor Before Choosing the Coating
The first question should not be which flake colour you want. It should be whether this concrete is ready to support a coating system.
A proper assessment looks for:
- Peeling or delaminating old coatings
- Paint, sealers, curing compounds, adhesives, or mastics
- Cracks and joint movement
- Surface scaling, pitting, spalling, or weak concrete
- Oil, grease, tire residue, chemical stains, or salt contamination
- Moisture vapour concerns
- Areas of previous patching
- Low spots, water entry, drainage concerns, or visible staining
- Concrete that is unusually smooth, dense, dusty, or porous
In Vaughan garages, salt-related deterioration is common near the overhead door, along tire paths, and where melted snow collects. These areas should be evaluated before coating because the damage is often more than cosmetic.
Step Two: Remove Failed Coatings and Surface Barriers
If the garage has an existing coating that is peeling, flaking, bubbling, cracking, or poorly bonded, it should not simply be coated over. A new coating is only as reliable as the surface beneath it, and if the old system is failing, the new one may eventually detach with it.
Layers that may need to be removed include:
- Old epoxy
- Garage floor paint
- Acrylic and concrete sealers
- Adhesive residue
- Thin decorative coatings
- Previous patch material that is no longer sound
The right approach depends on the floor. Sometimes localized removal is possible. In other cases, full removal is the safer scope because it exposes the actual concrete and keeps hidden bond problems out of the new installation.
Step Three: Mechanically Grind the Concrete
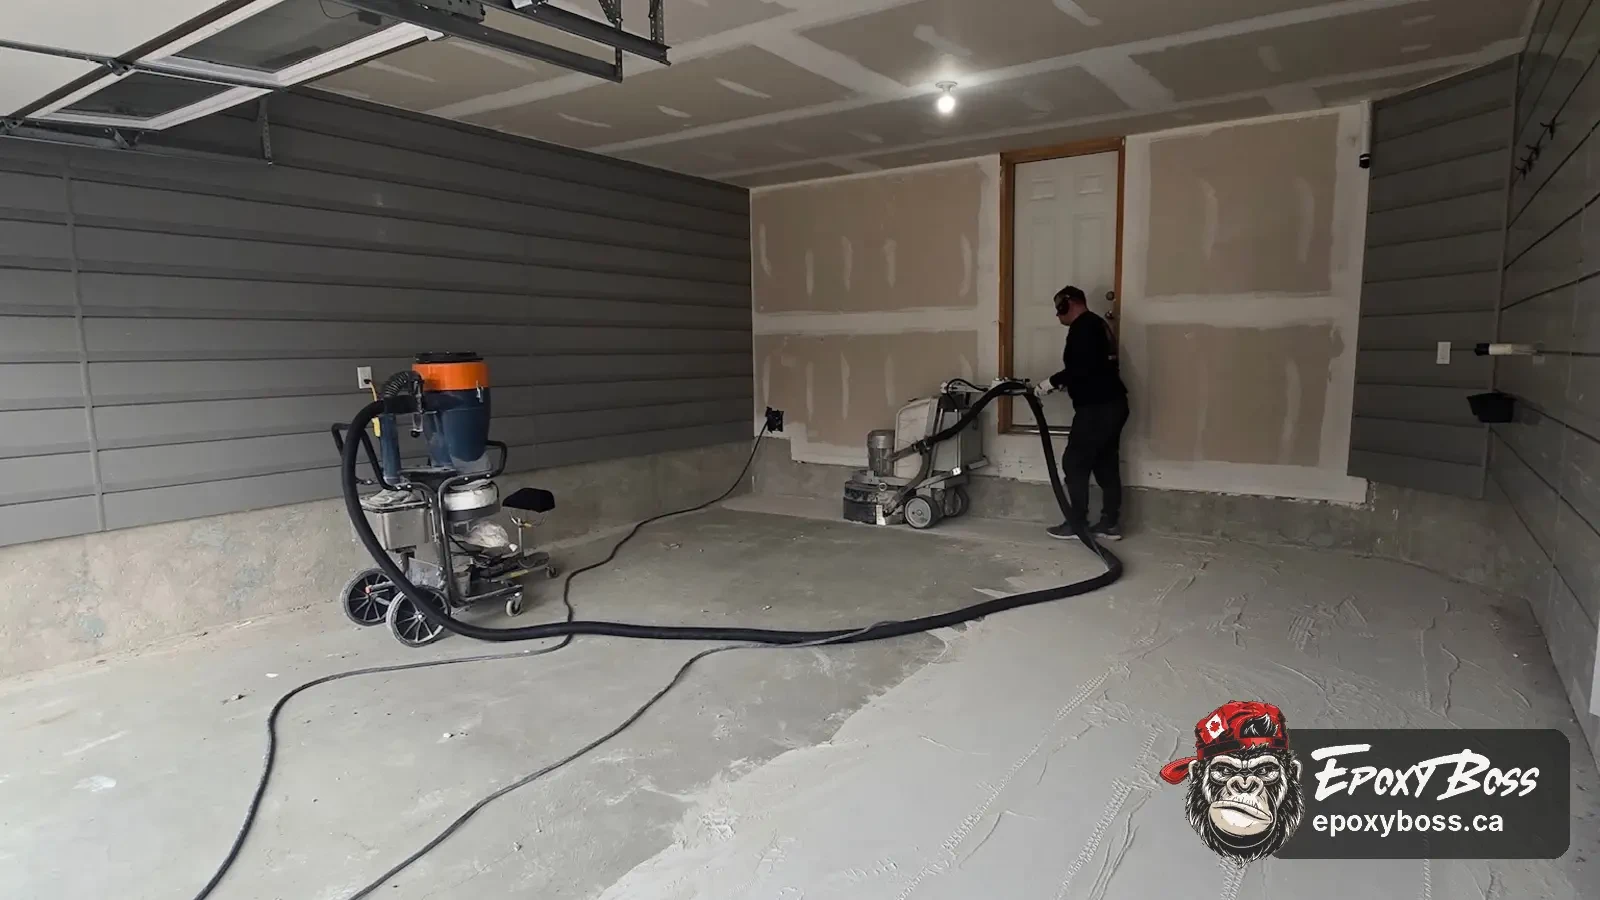
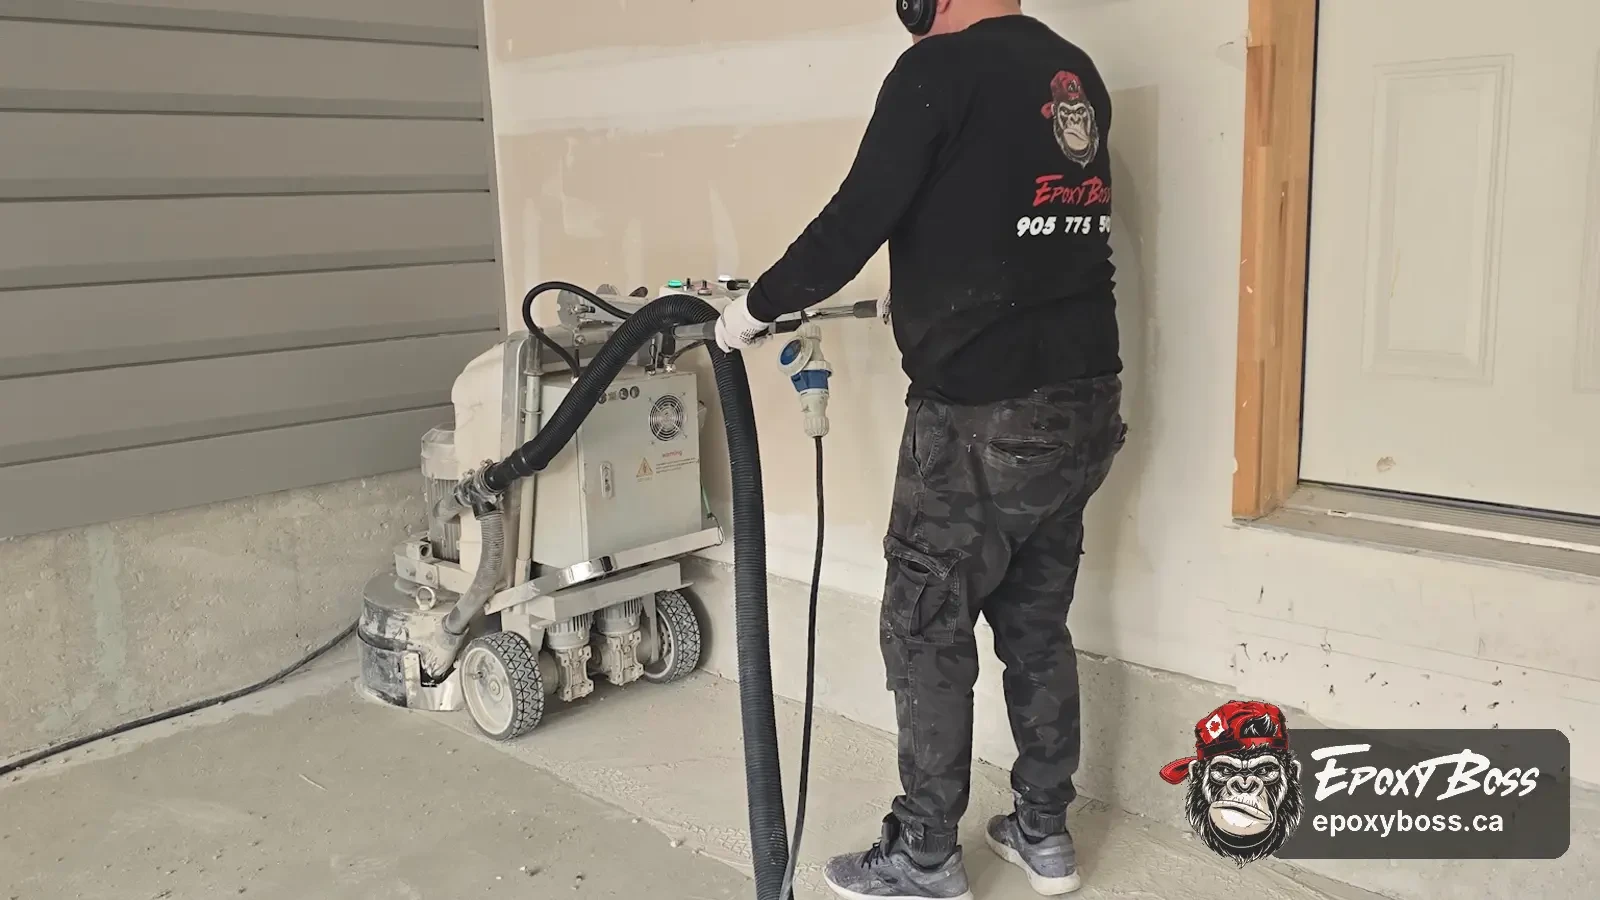
Diamond grinding is one of the most important preparation steps before epoxy or polyaspartic coating. It removes weak surface material and opens the concrete so the coating can bond to a properly prepared profile. That is different from washing, acid etching, or lightly sanding the floor.
The exact profile depends on the coating system and the condition of the floor, so follow the product manufacturer's requirements. What matters for you is that the profile is consistent across the whole garage, not only in the most visible areas.
Mechanical preparation helps remove:
- Surface laitance
- Minor contamination
- Old coating remnants
- Smooth or dense surface texture that limits bonding
- Weak top-layer material
- Tire marks and embedded residue
- Small surface inconsistencies
Edges, perimeters, corners, and transitions need detailed preparation too. A floor should not bond strongly in the centre and weakly around the walls, steps, or overhead door.
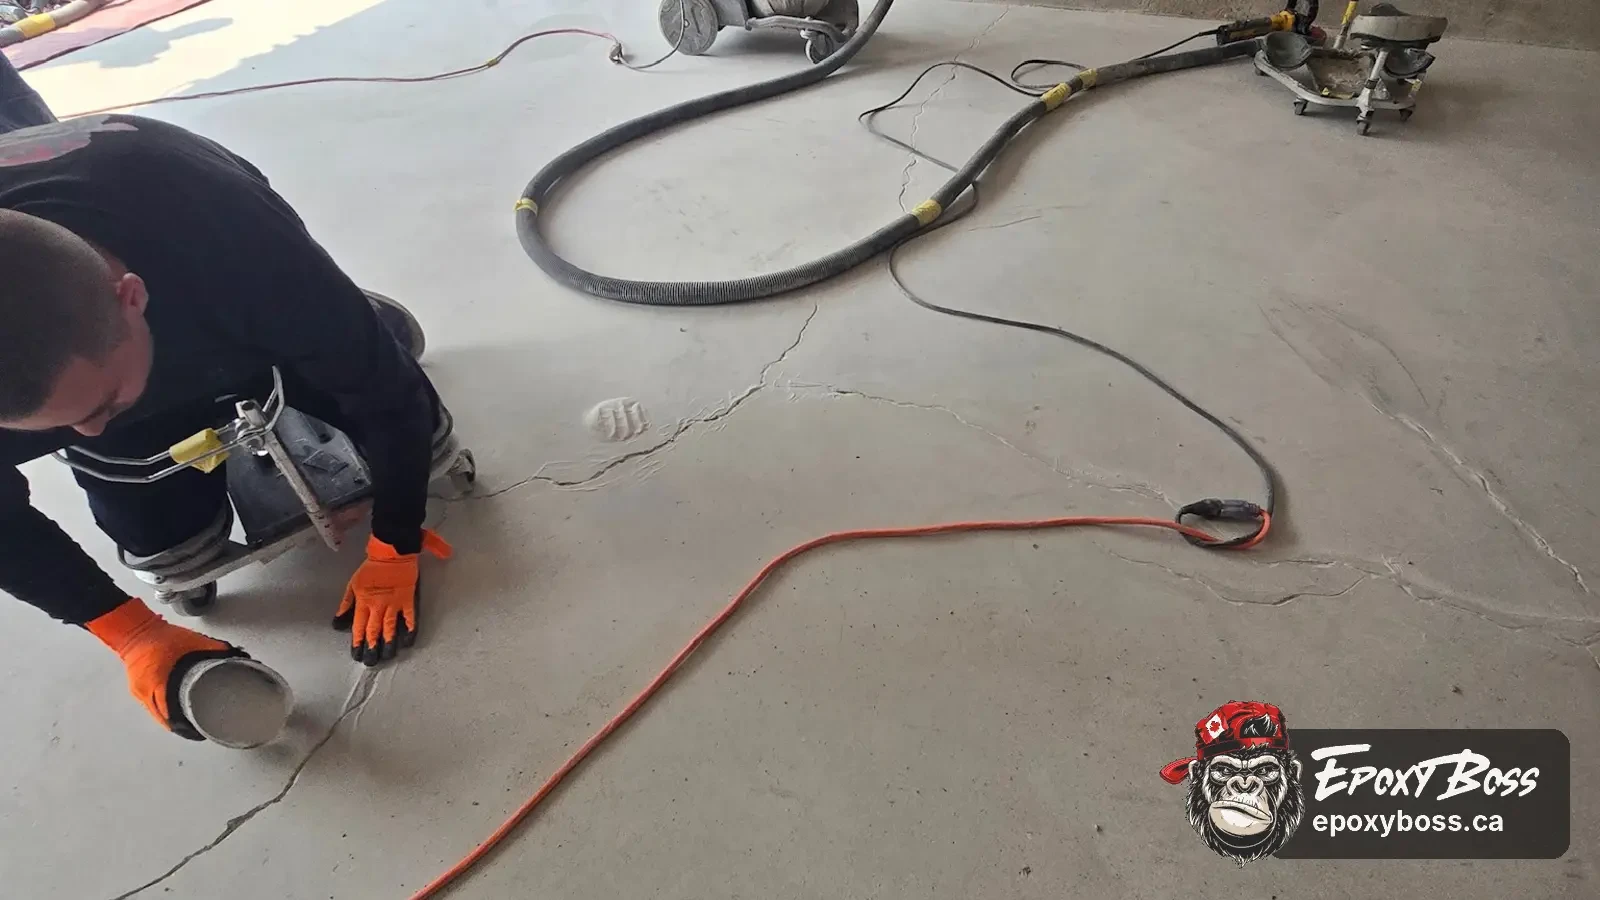
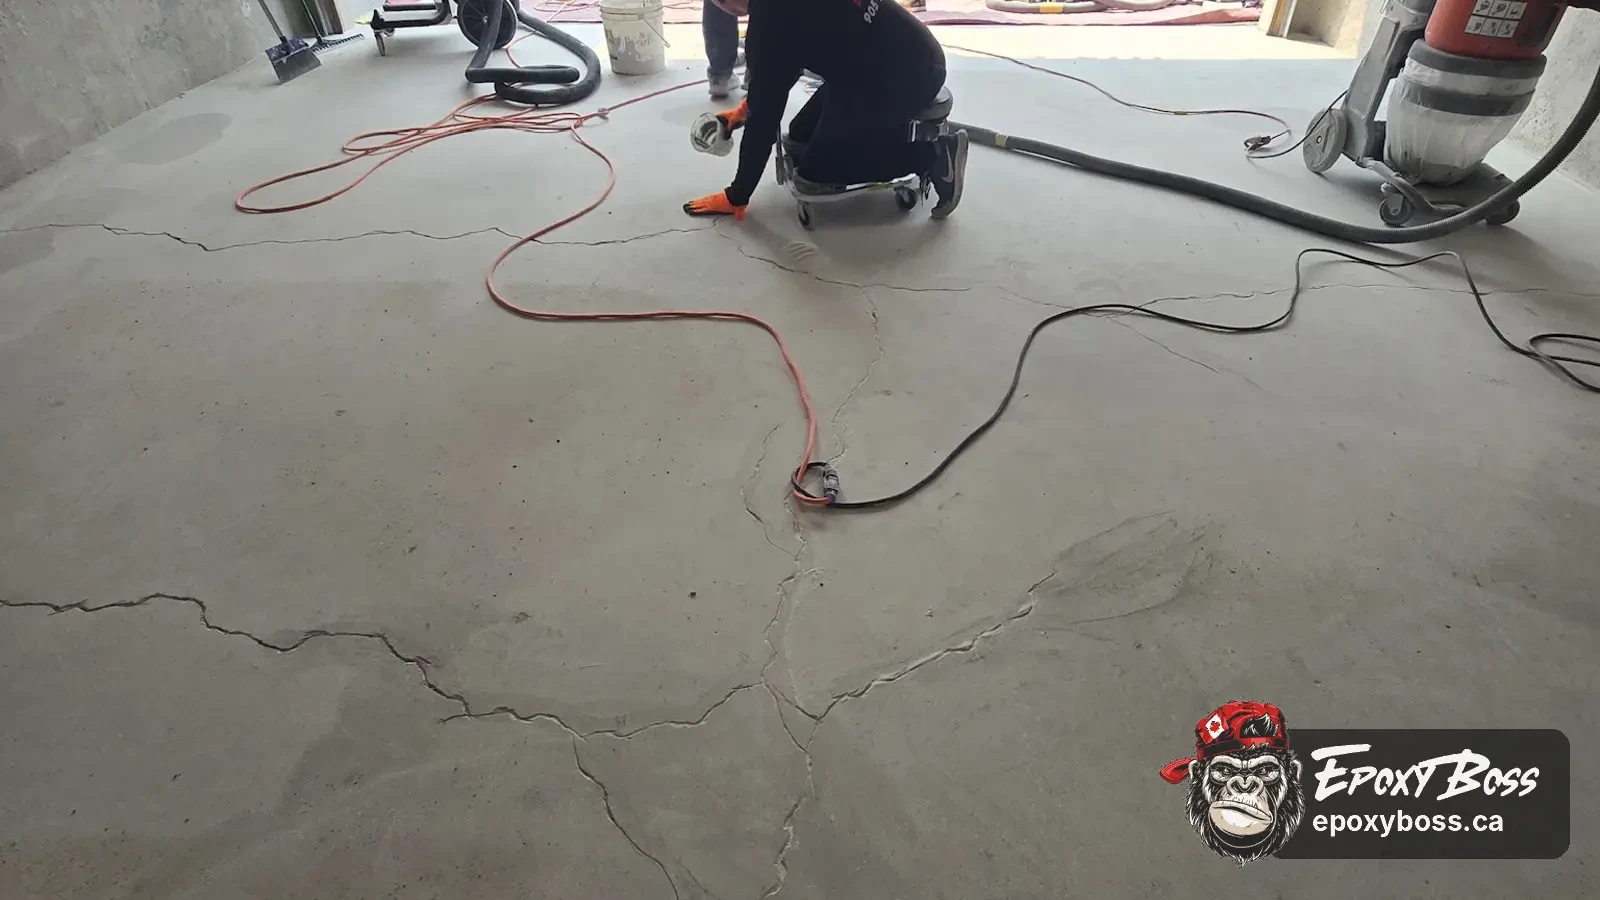
Step Four: Repair Cracks, Chips, Spalls, and Surface Damage
Grinding often reveals the real condition of cracks and damaged areas, so repairs are typically addressed once the surface is exposed.
Not every crack can be made permanently invisible, especially where the slab continues to move. But cracks, pits, chips, spalls, and damaged concrete can often be repaired so the floor is better supported and more visually consistent before coating.
Common garage floor repairs include:
- Crack filling
- Spall repair
- Surface patching
- Repair of pitted concrete
- Edge repair
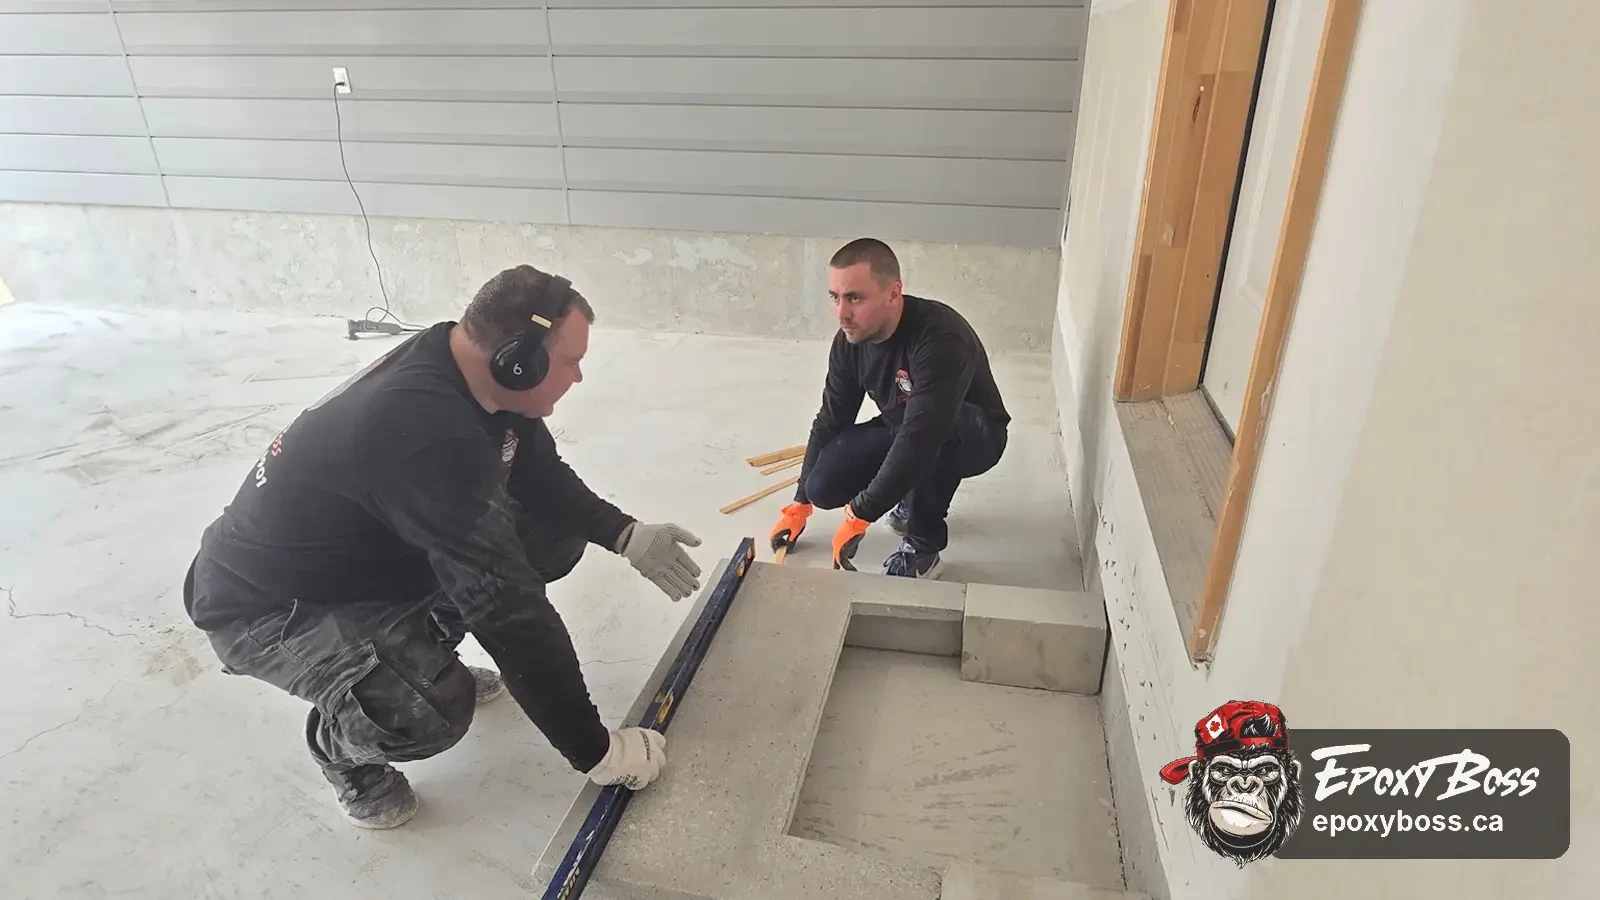
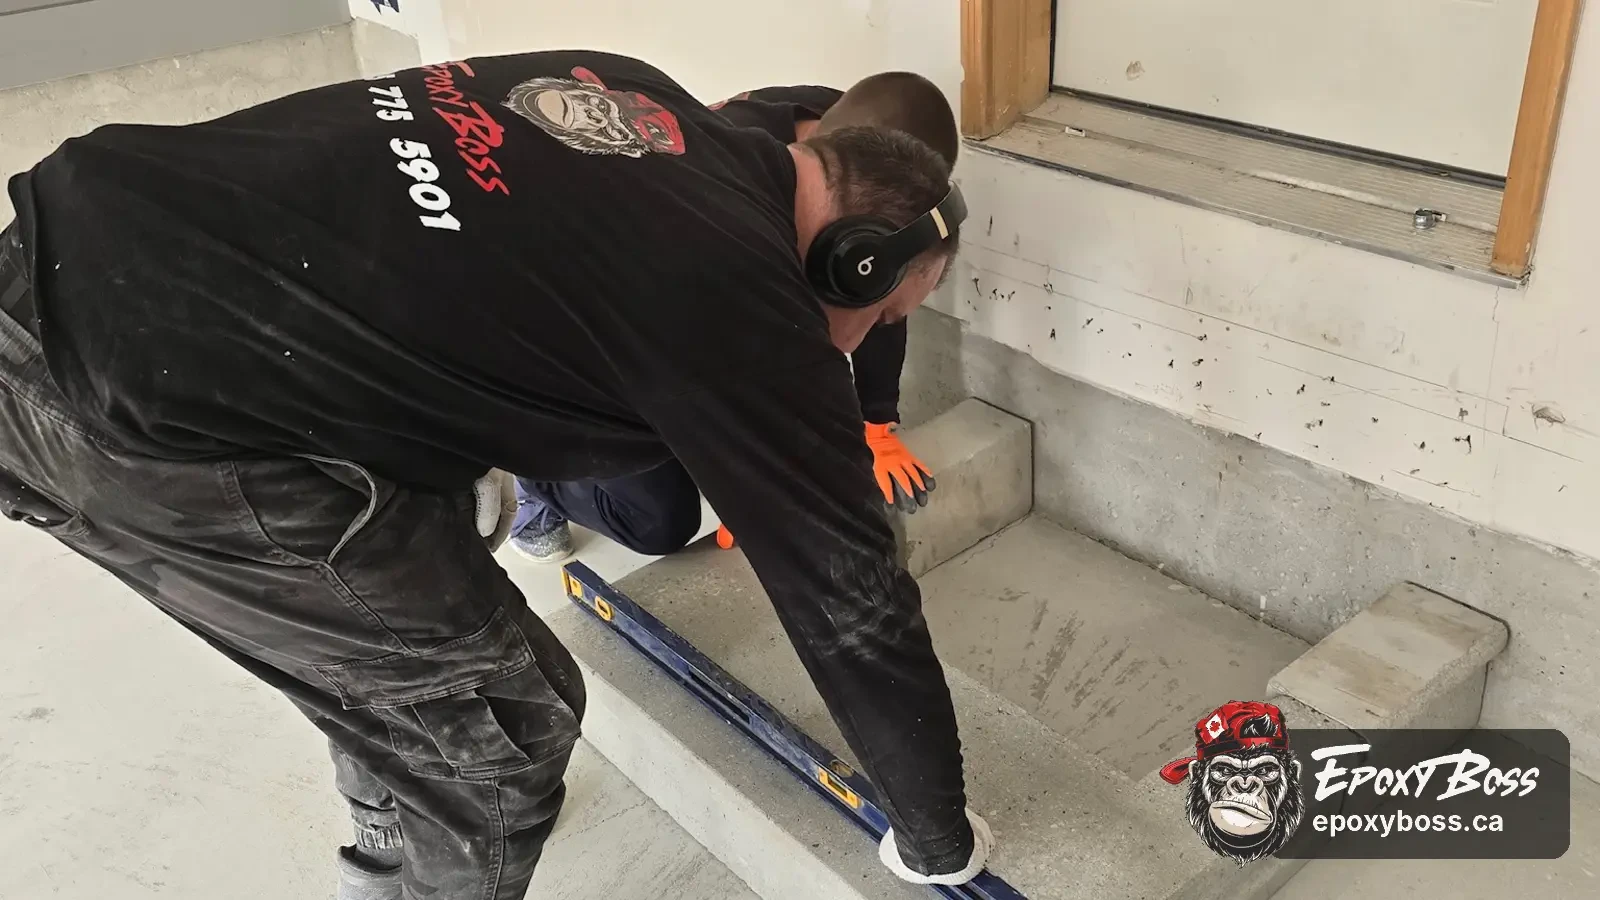
- Repair around posts, steps, or transitions
- Removal and replacement of weak previous patch material
A coating should not be expected to solve structural movement, active water intrusion, or an unstable slab. Those conditions need to be understood first so the system and scope are honest about what the coating can achieve.
Step Five: Remove Oil, Salt, Dust, and Other Contamination
A garage floor can look clean and still contain materials that interfere with adhesion. In Vaughan, road salt and winter moisture are major concerns: salt-laden water drips off vehicles, dries on the floor, and can contribute to surface deterioration. Oil, automotive fluids, silicone-containing products, grease, and old cleaning chemicals can also create bond risks.
Preparation should account for:
- Oil and grease spots
- Road-salt residue
- Tire residue
- Chemical spills
- Dust created during grinding
- Loose debris in joints and cracks
- Moisture introduced by cleaning or weather exposure
After grinding and repairs, the floor should be thoroughly vacuumed and cleaned. A professional installation should not trap grinding dust, debris, or loose particles beneath the coating.
Step Six: Review Moisture-Related Conditions
Moisture is one of the more common reasons garage floor coatings fail. Concrete is porous, and moisture vapour can move upward through a slab. Water can also enter from outside through garage doors, cracks, drainage problems, or snow and rain carried in by vehicles.
A moisture review helps determine whether the floor needs a moisture-tolerant primer, a vapour-control approach, additional repair, or a different installation plan. The right response depends on the findings and on the product's specifications.
Warning signs to point out
- Blistering or bubbling in an old coating
- White powdery deposits on the concrete
- Darkened areas that stay damp
- Repeated moisture at the perimeter
- Previous coating separation without an obvious impact cause
- Water entering under the garage door
- Dampness near cracks or control joints
No contractor should promise that a product will solve active drainage or water-entry problems on its own. The goal is to understand where the moisture comes from and choose a system that fits the actual slab.
Epoxy vs. Polyaspartic: Does Preparation Change?
The preparation principles are the same. Both systems need sound concrete, mechanical surface preparation, repairs, contamination removal, and a compatible installation process. Polyaspartic coatings may cure more quickly and offer strong UV stability, but they do not replace proper preparation. A fast-curing product over poor concrete can still fail.
The right system depends on:
- The condition of the concrete
- Moisture-related findings
- Desired appearance
- Garage use and traffic
- Sun exposure
- Required installation schedule
- Existing coating removal needs
- Repair scope
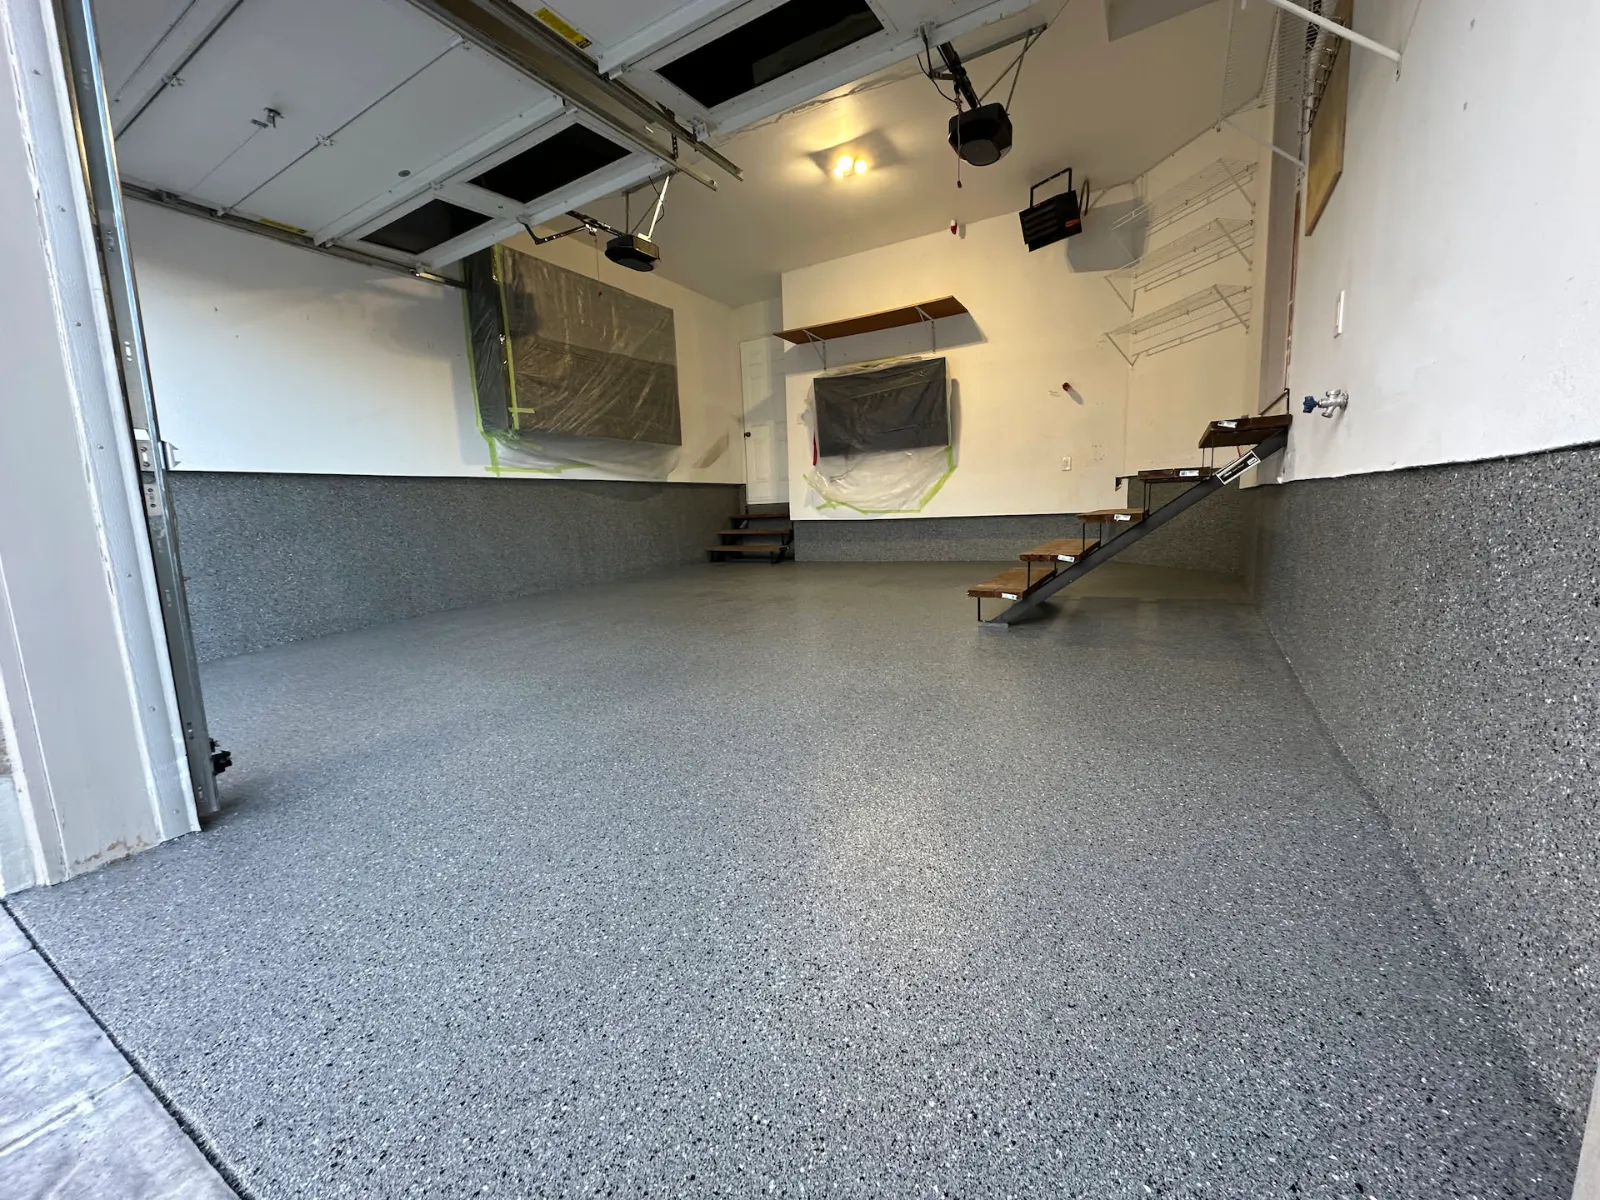
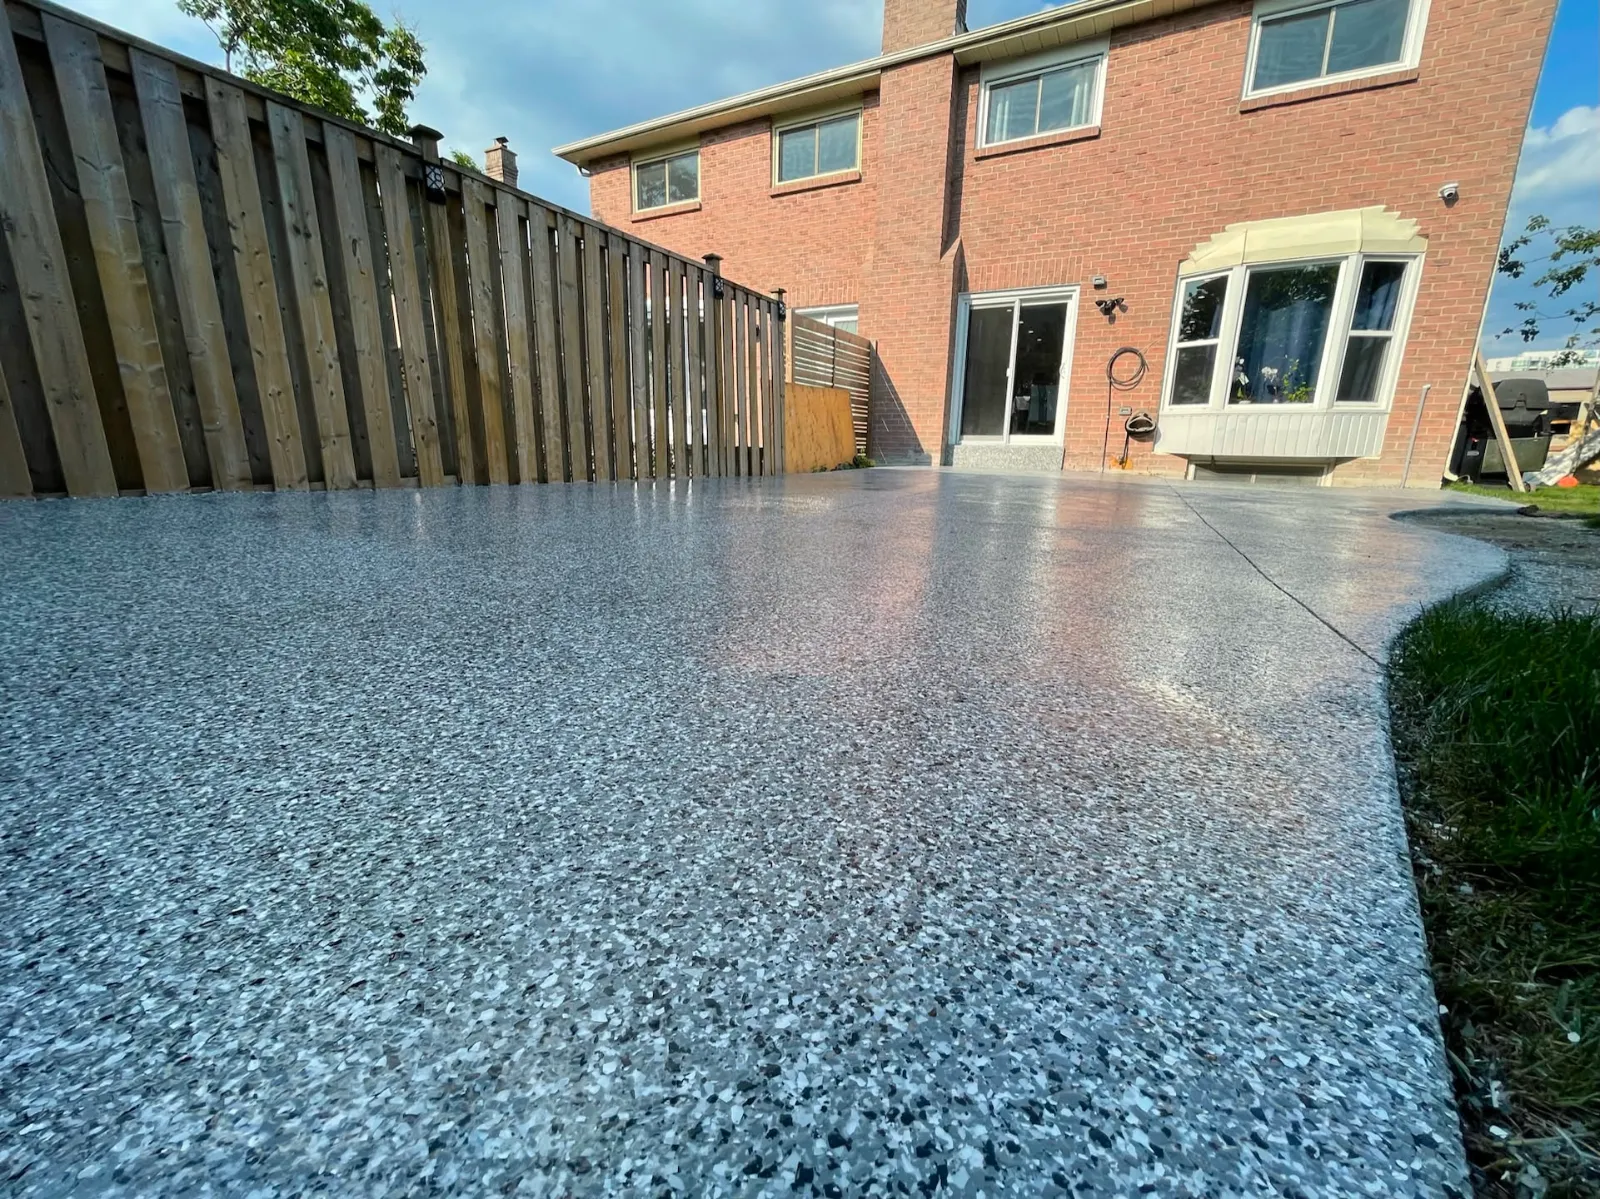
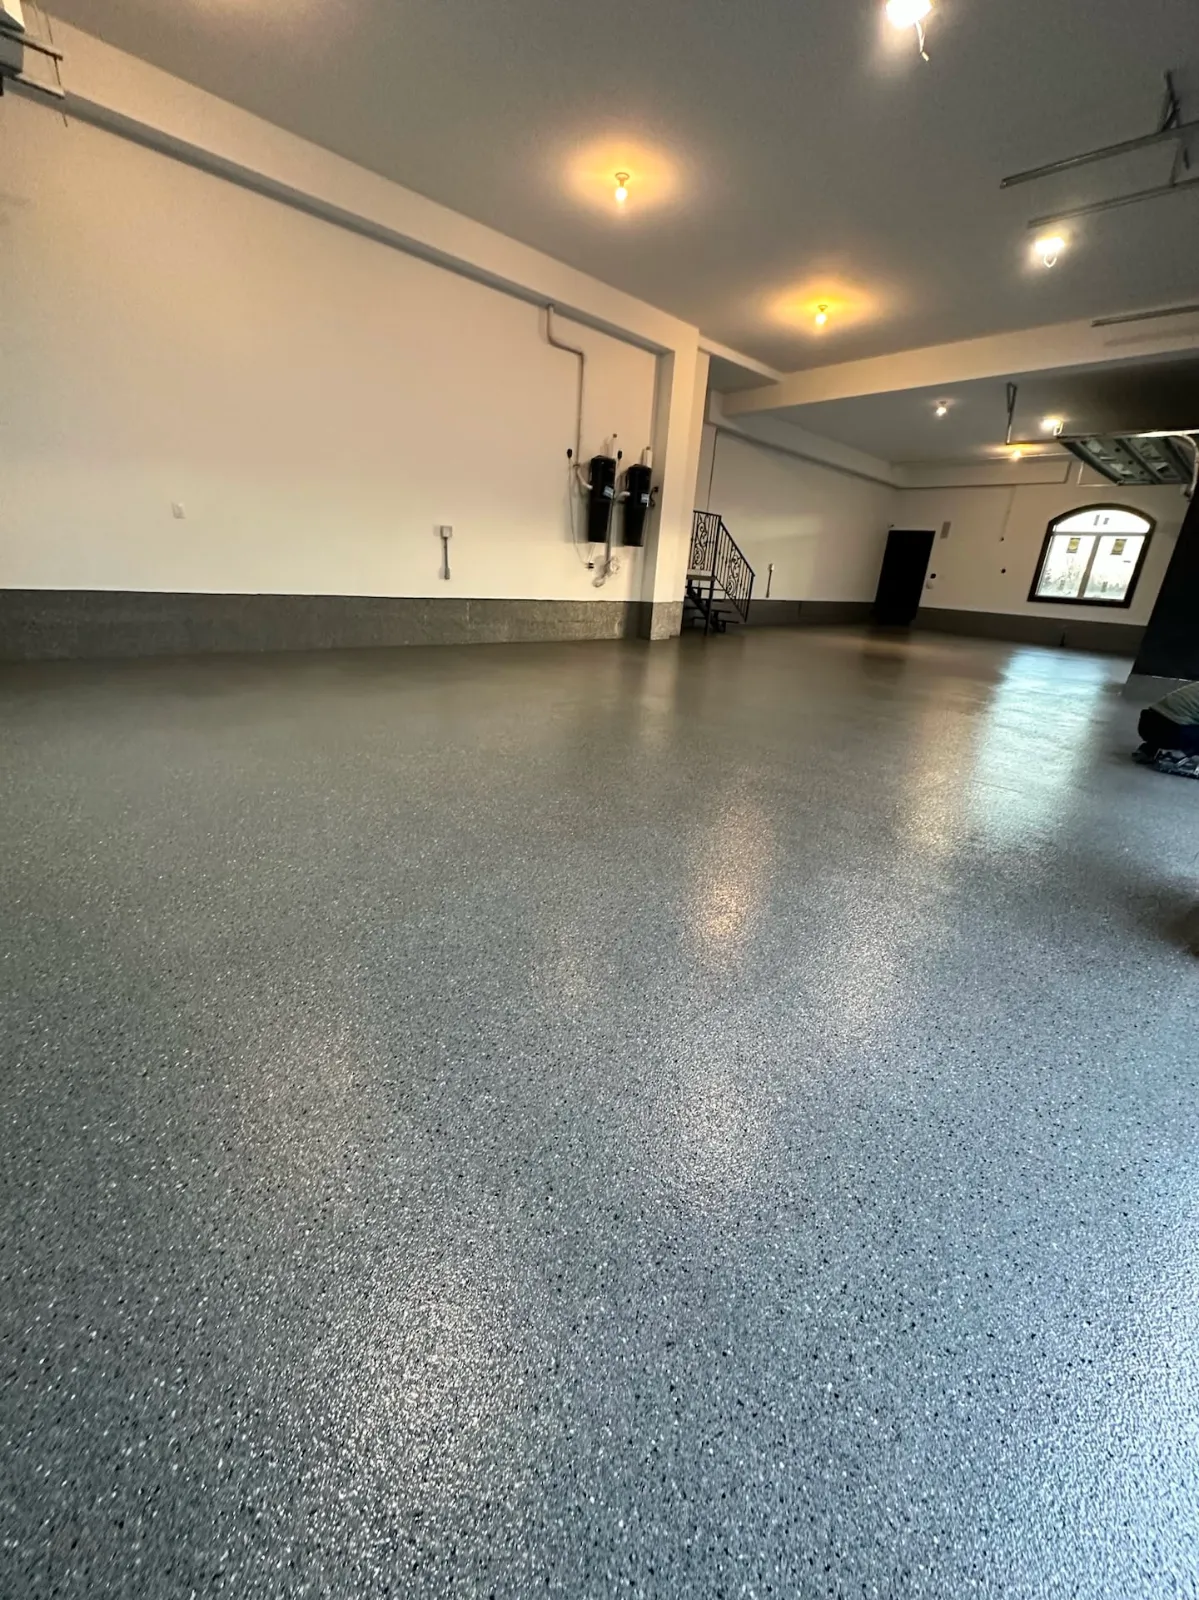
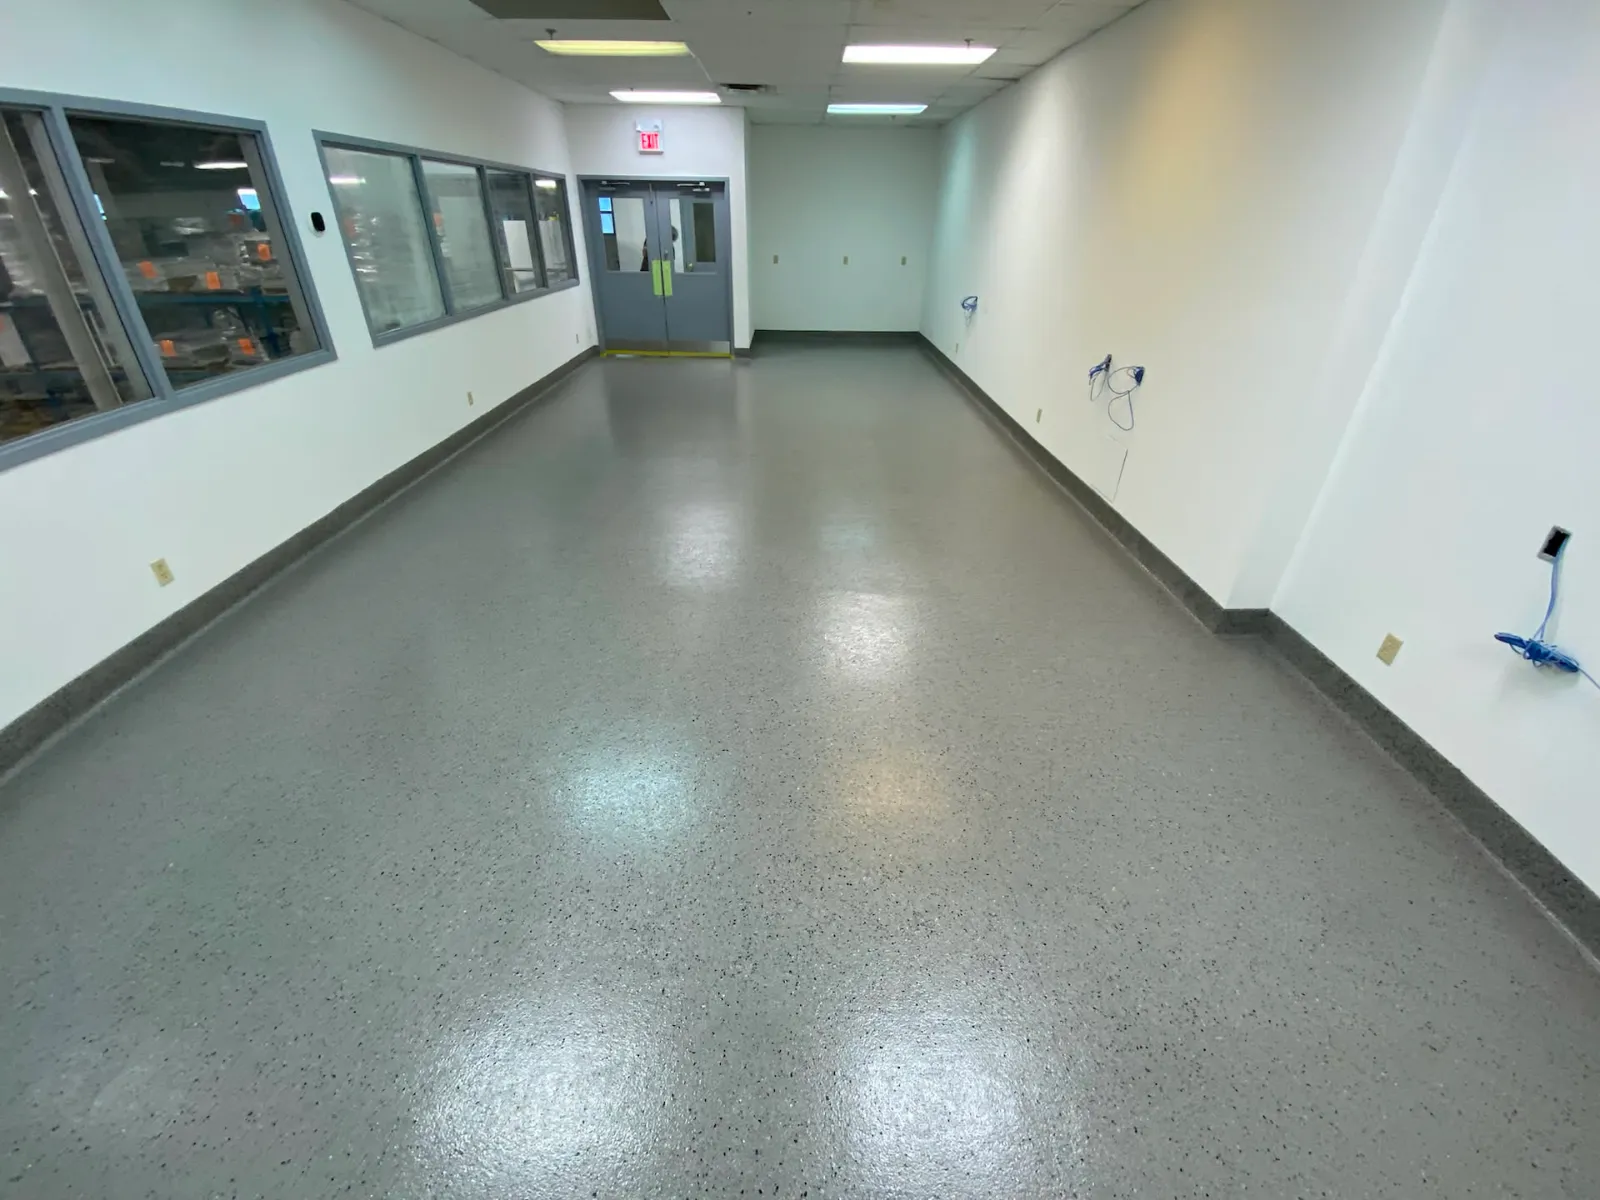
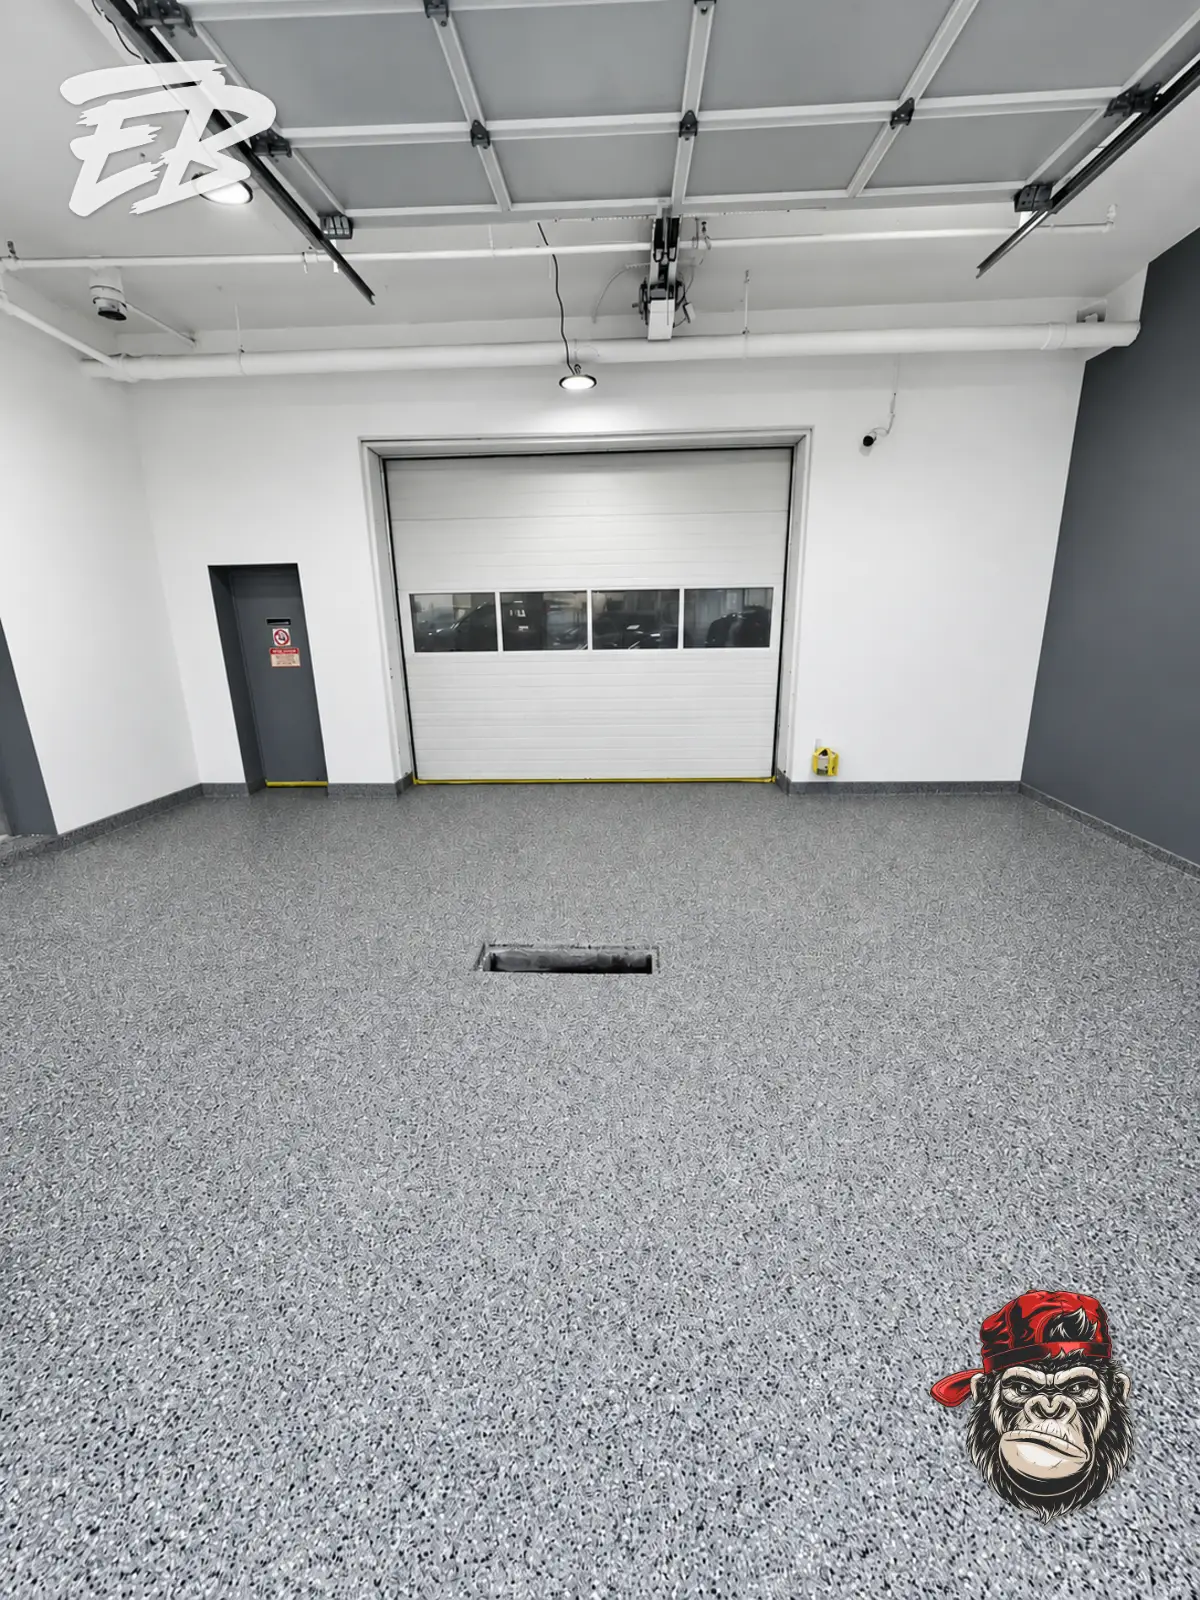
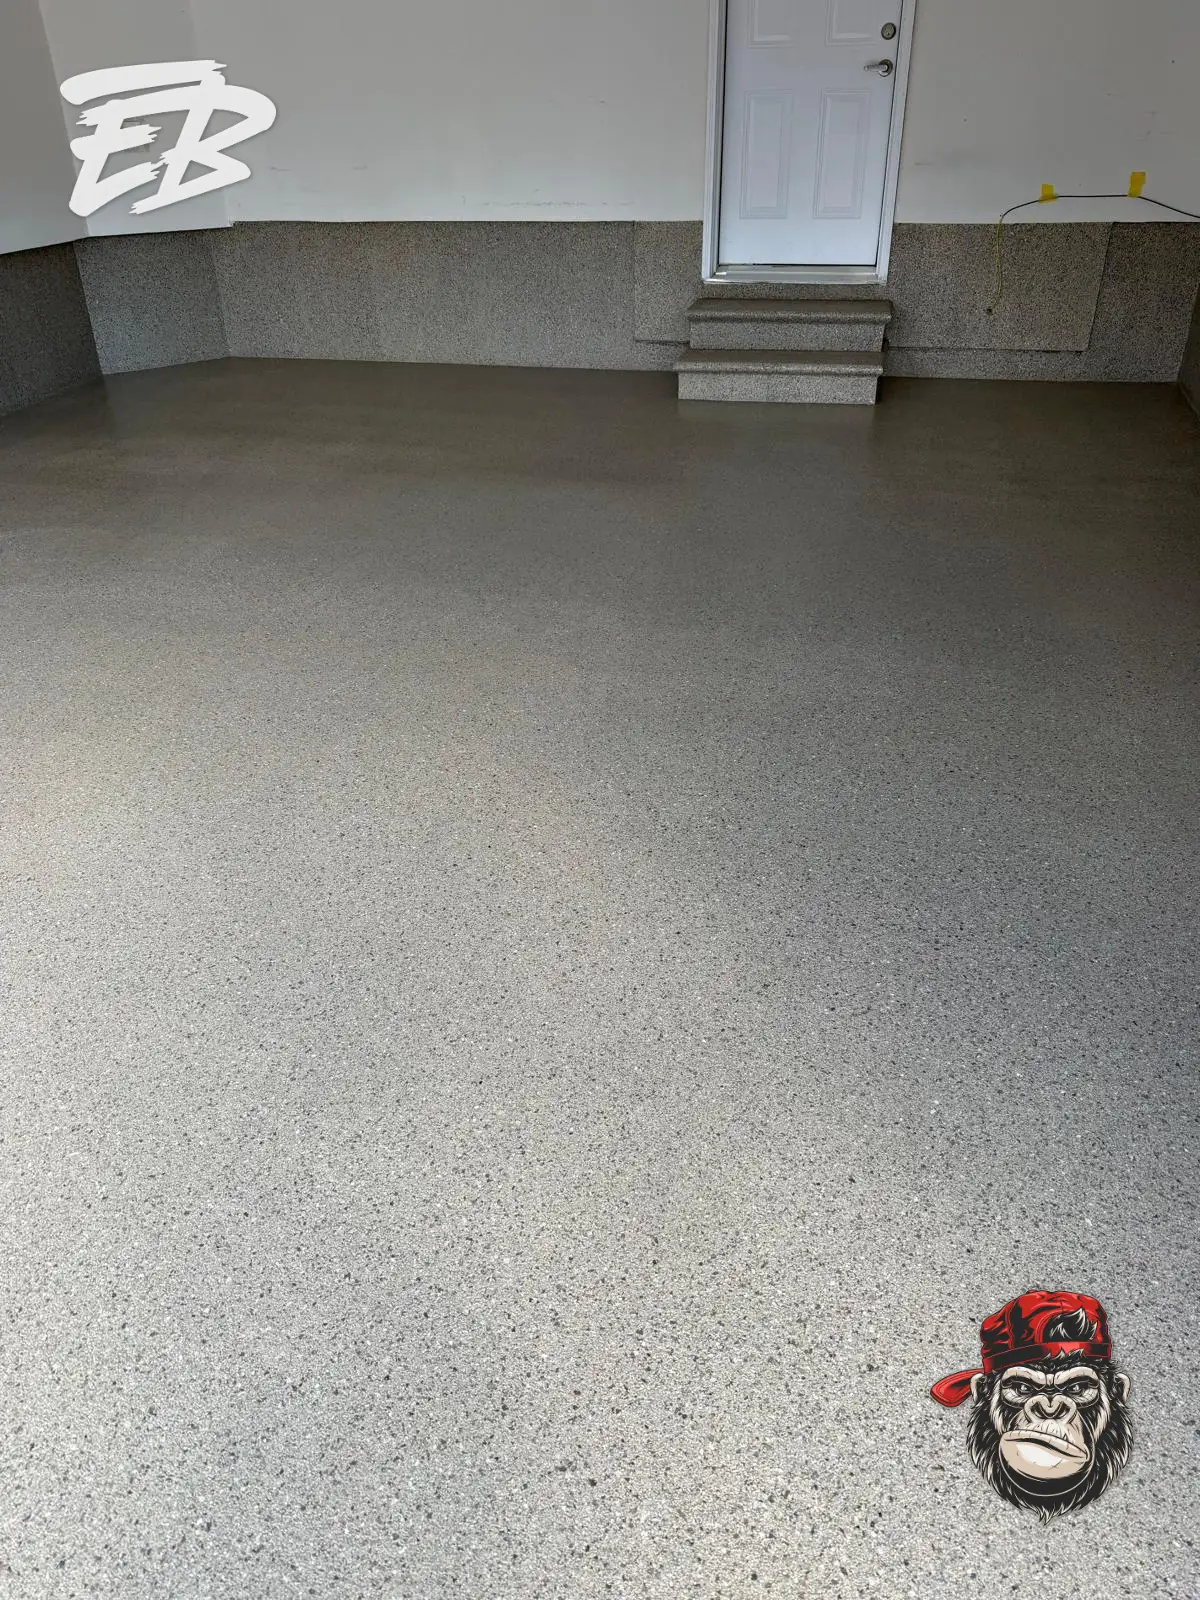
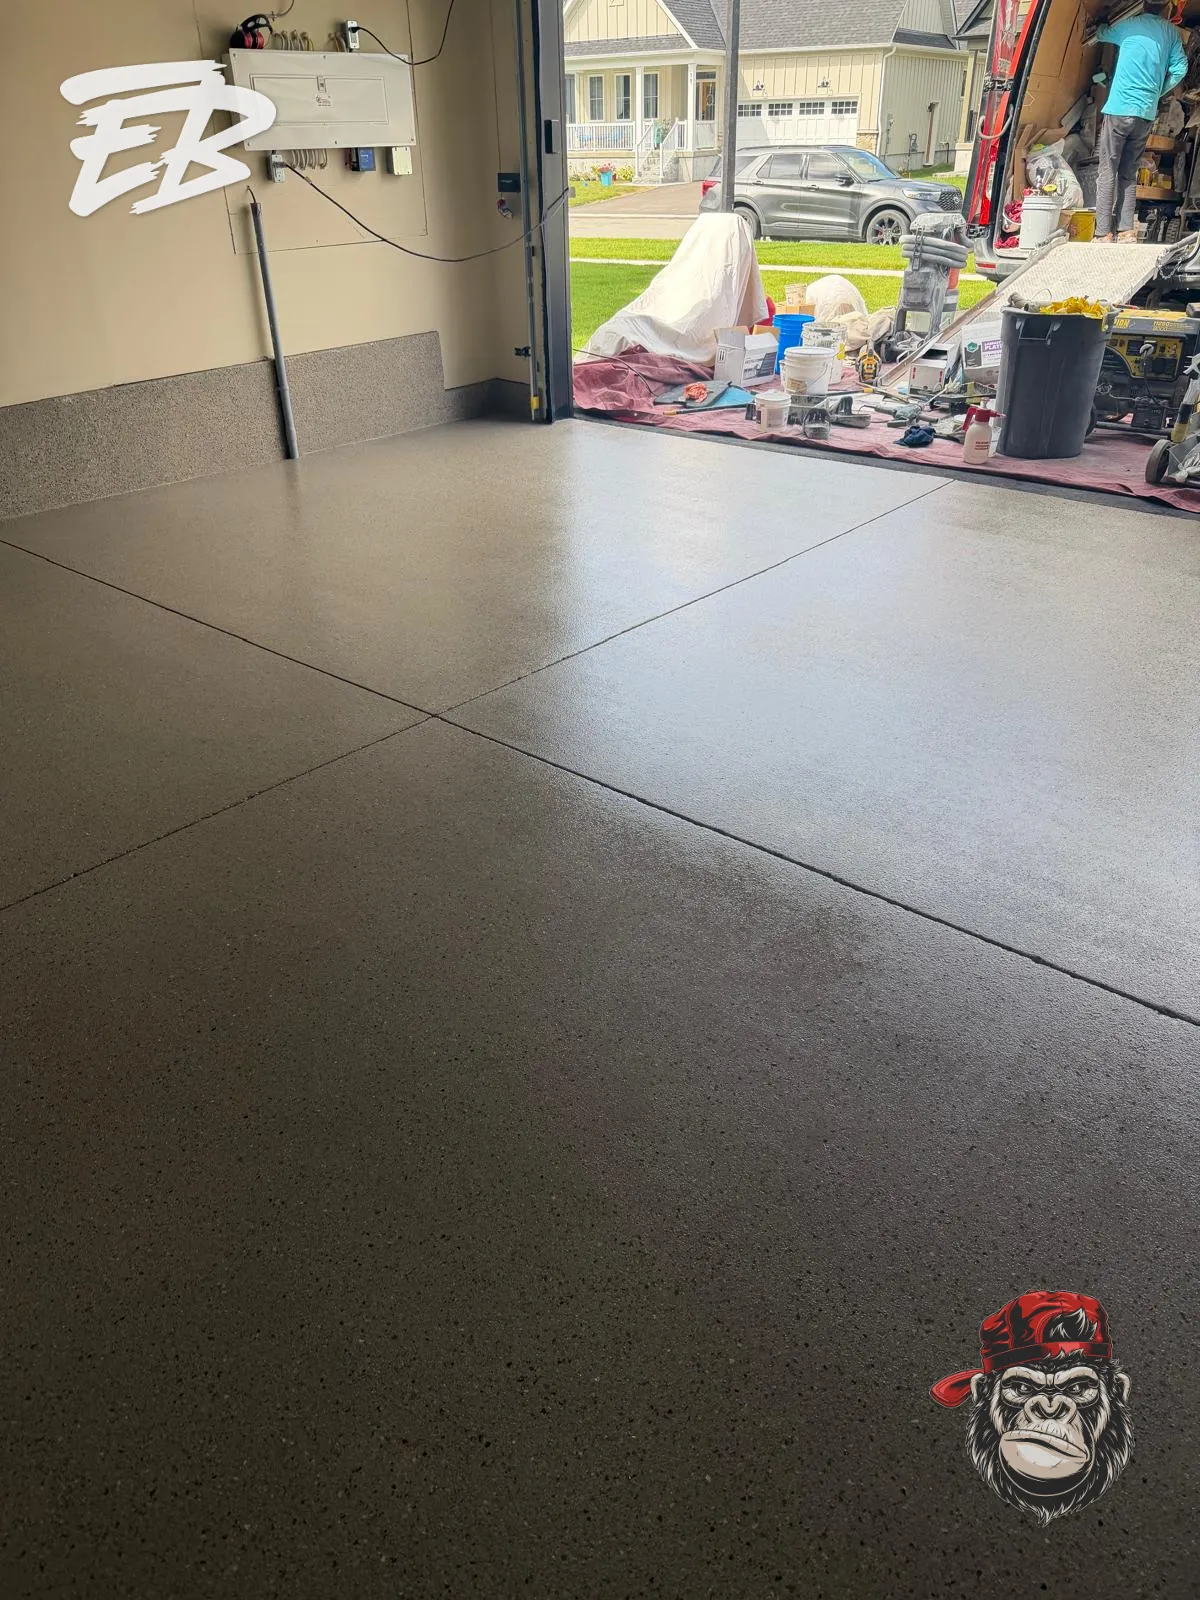
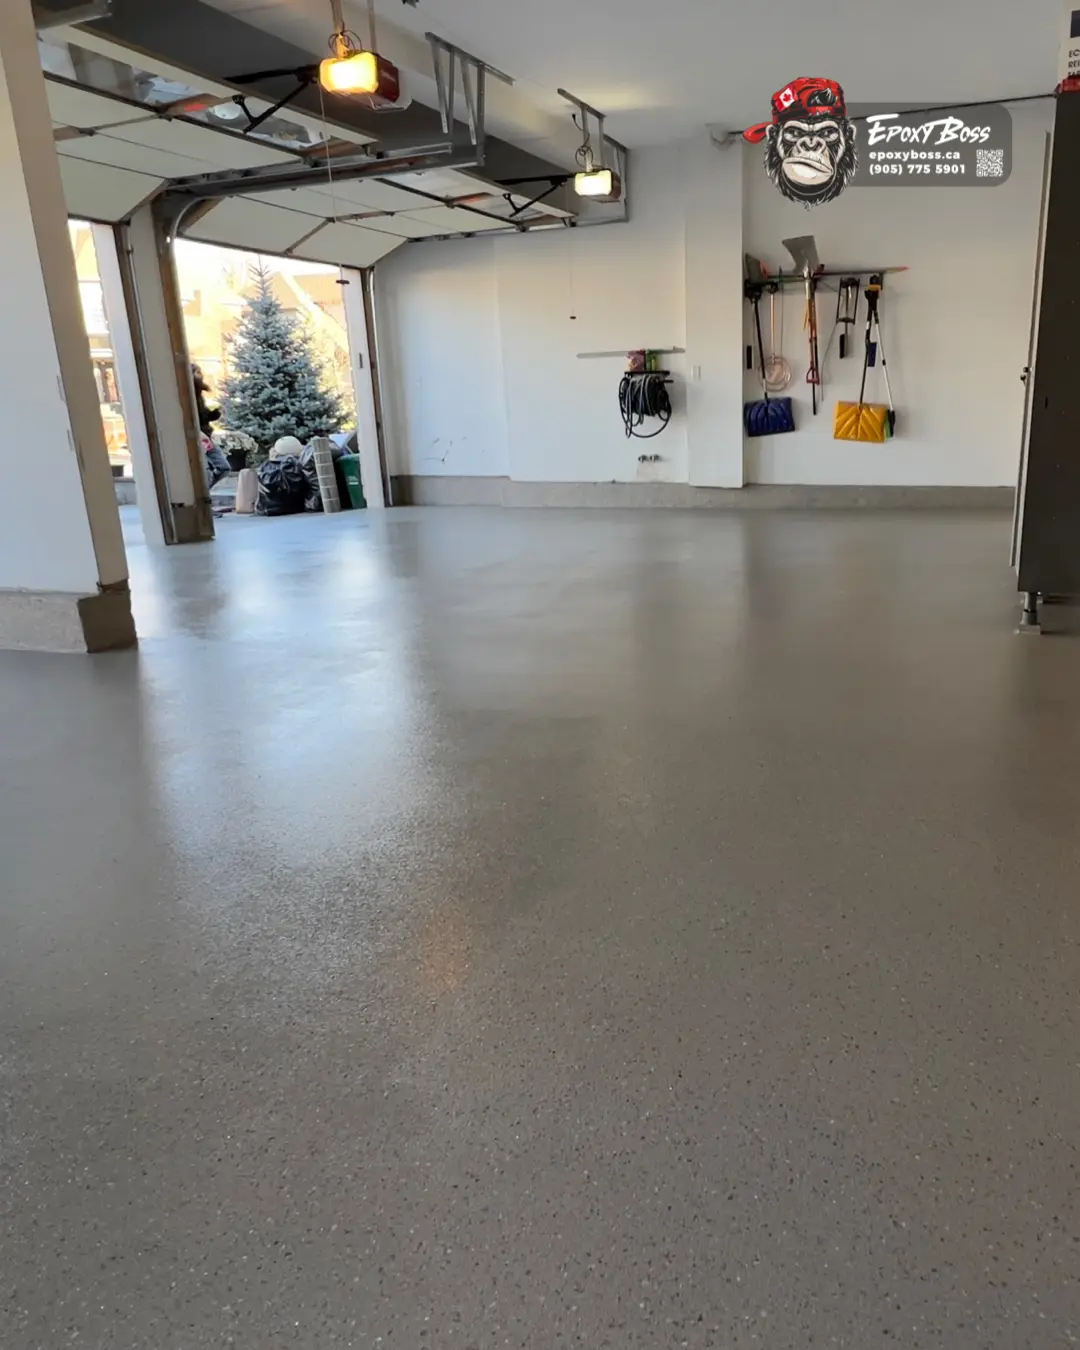
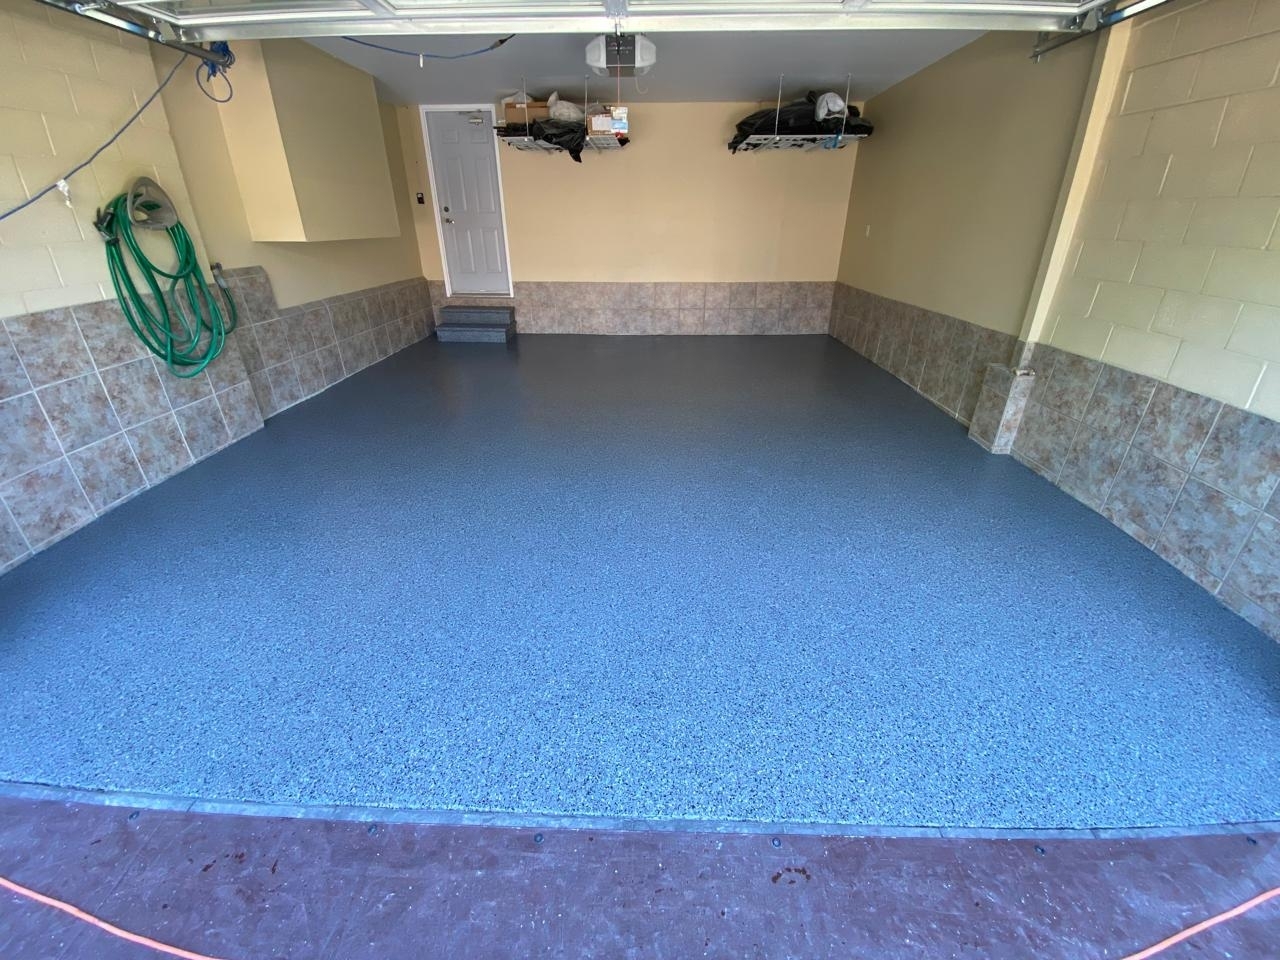
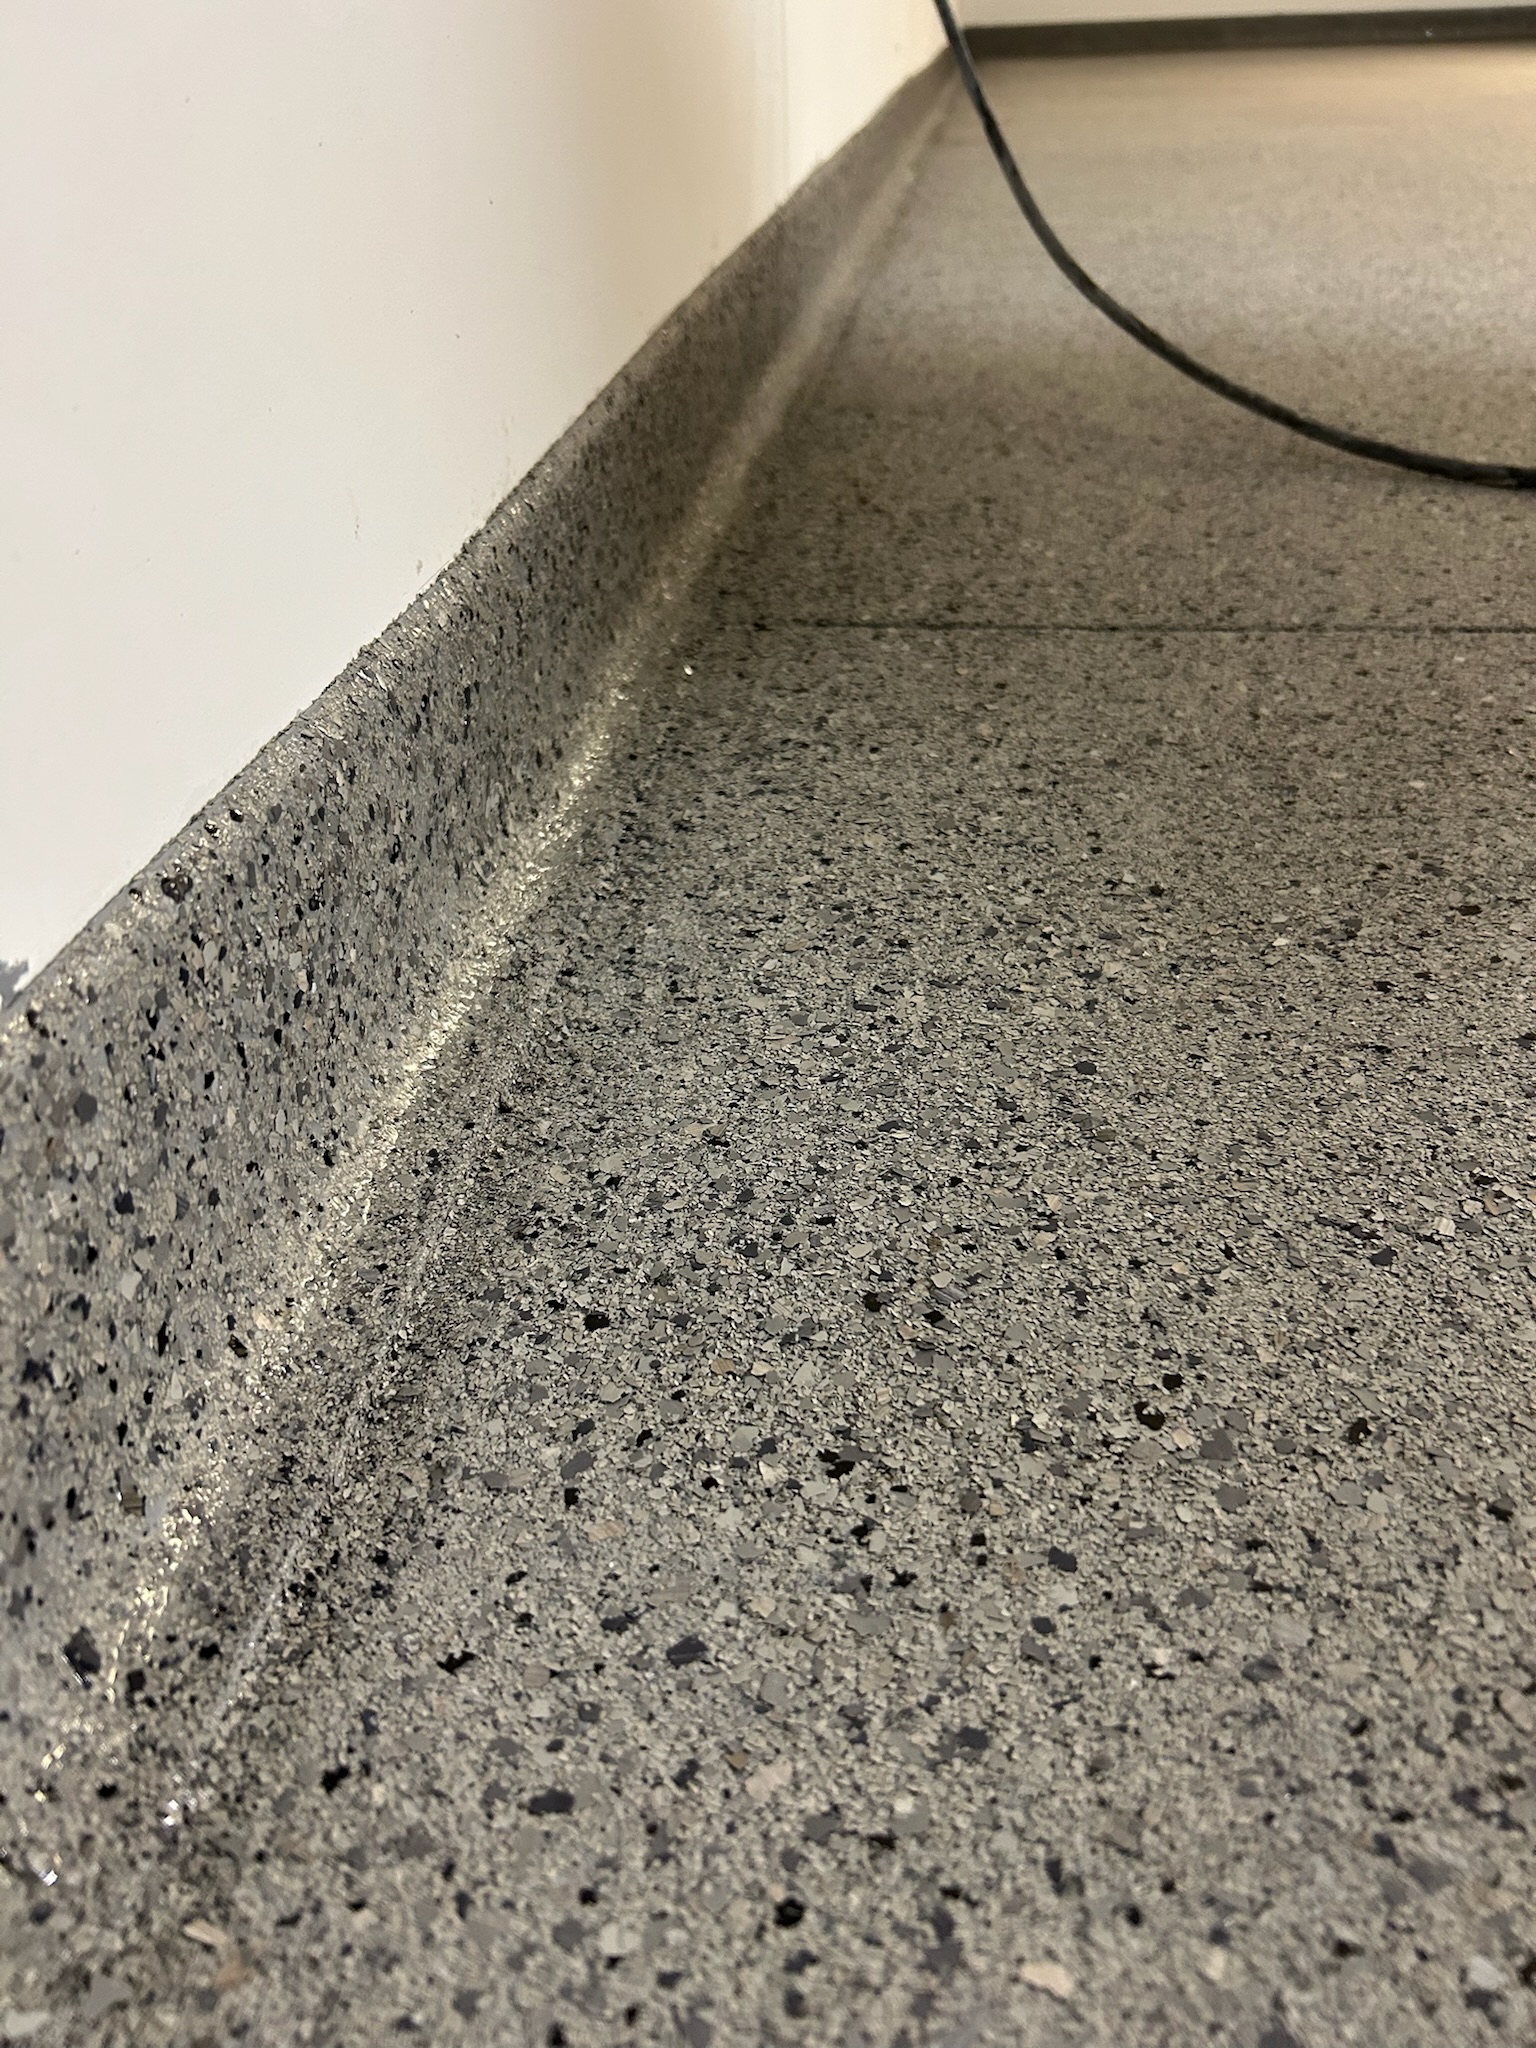
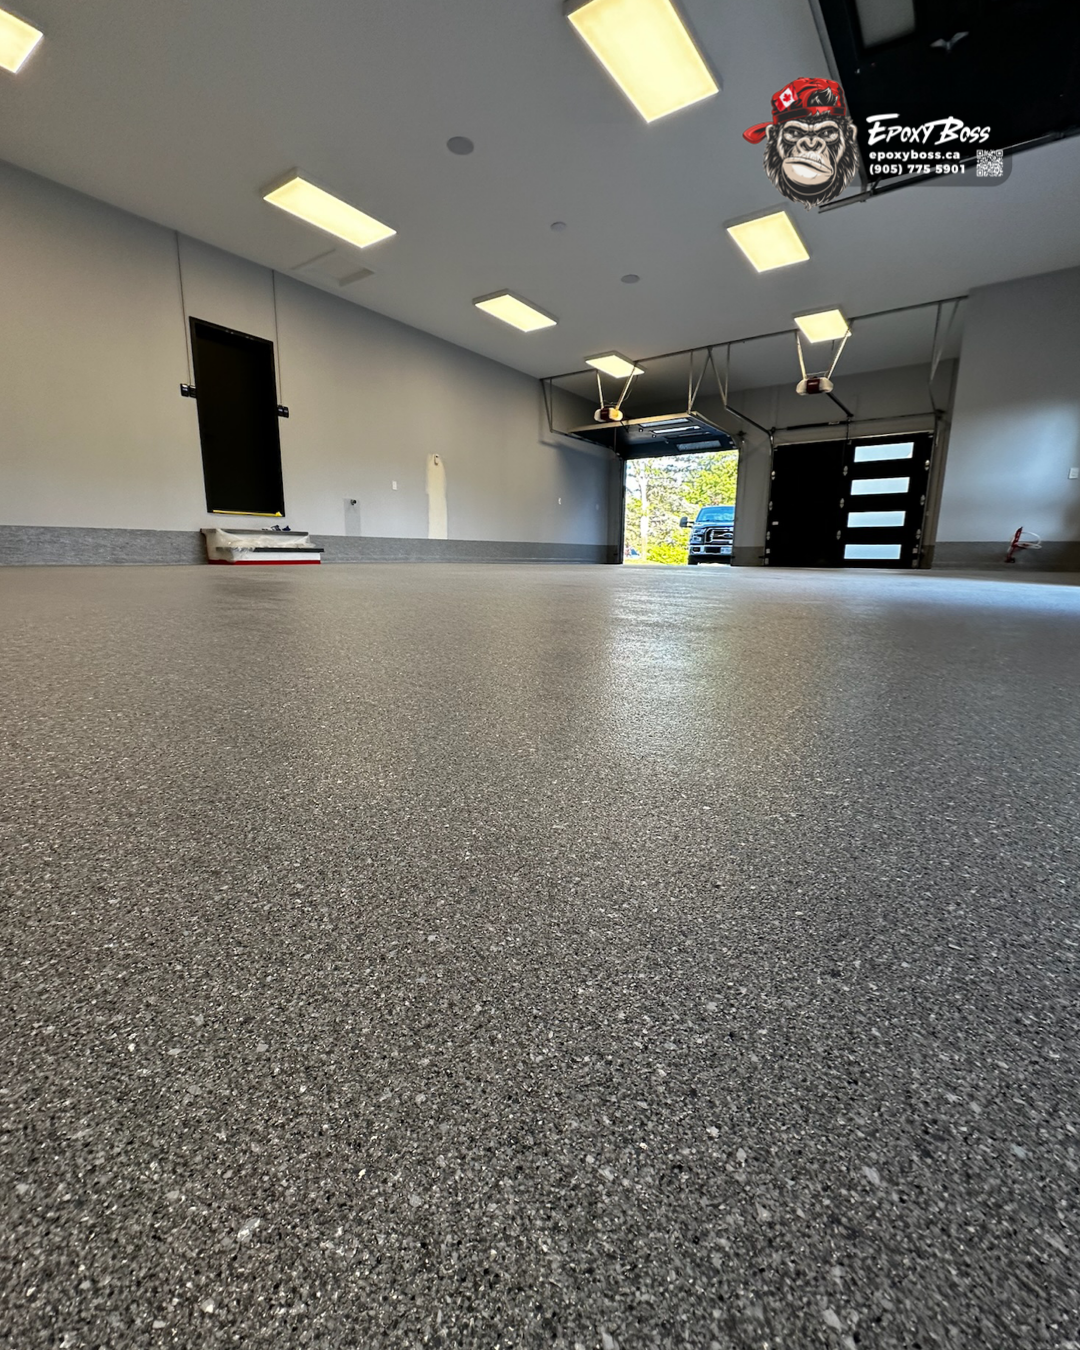
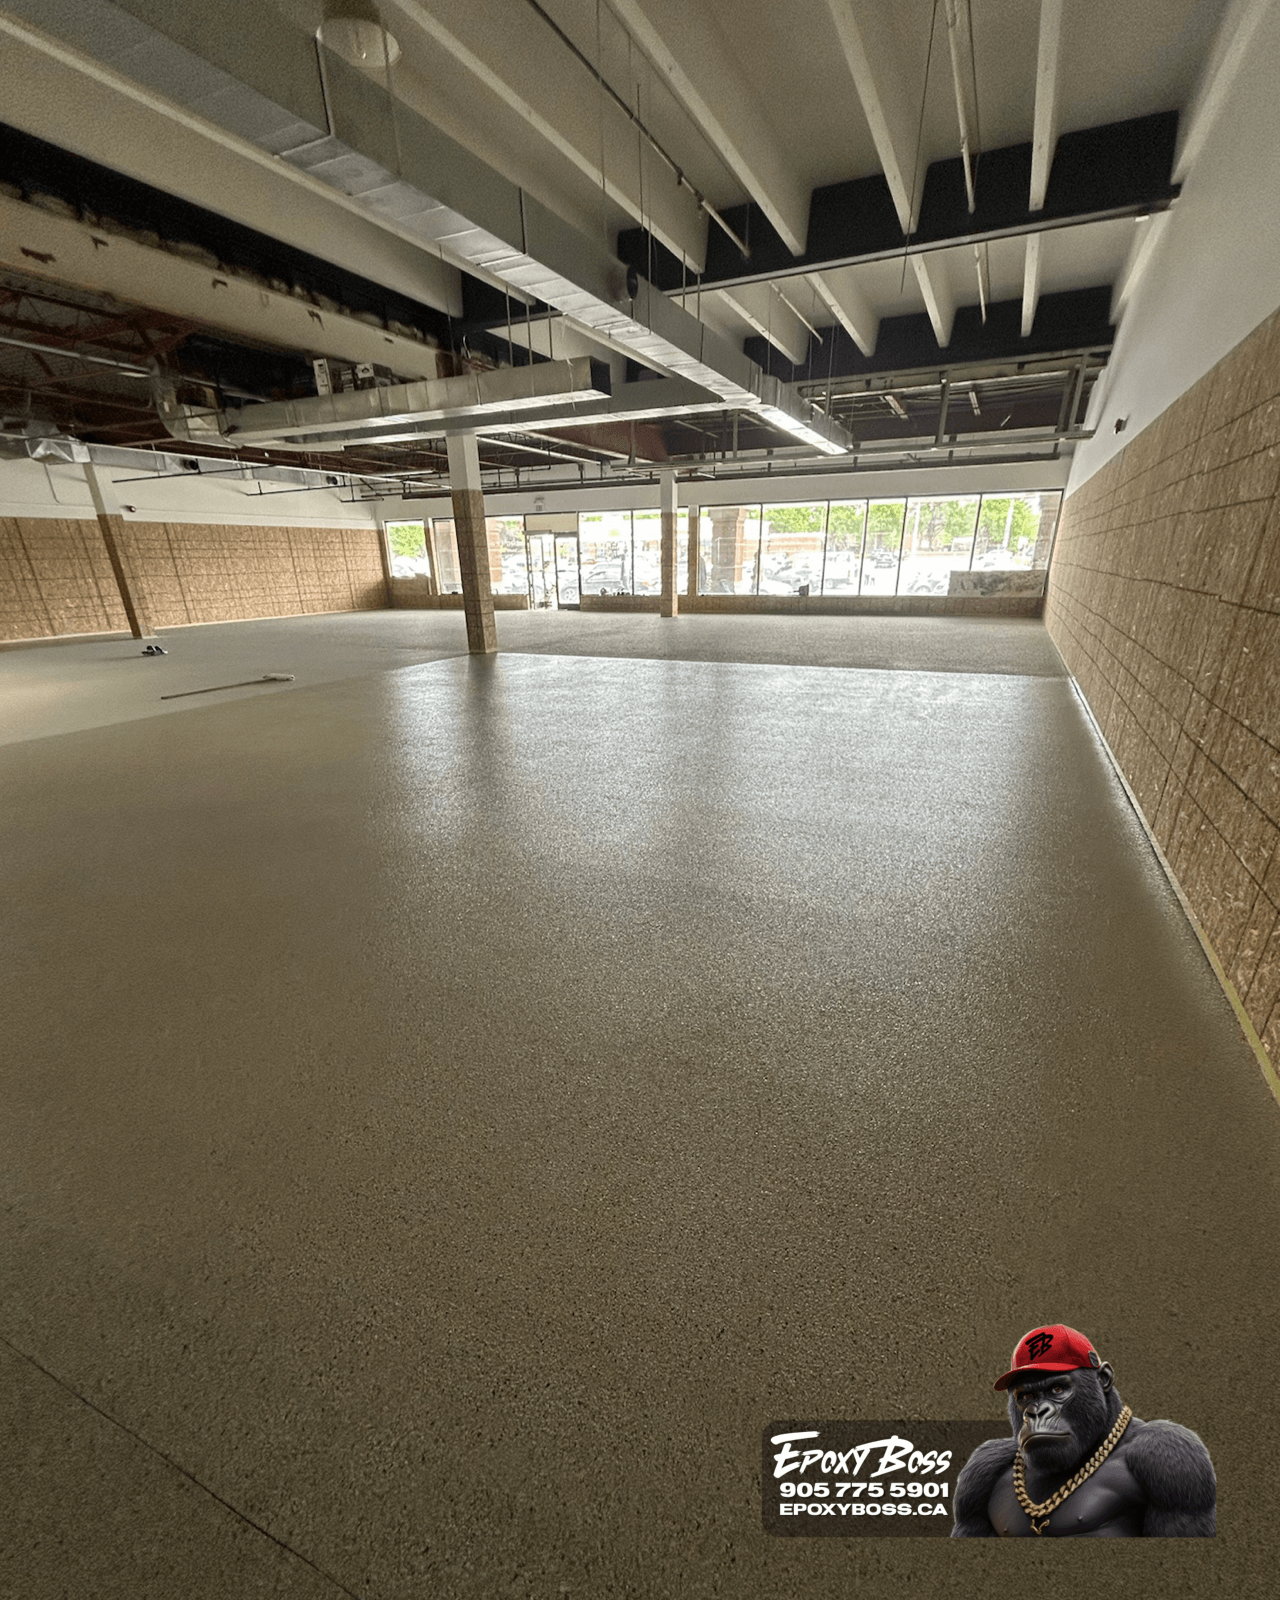
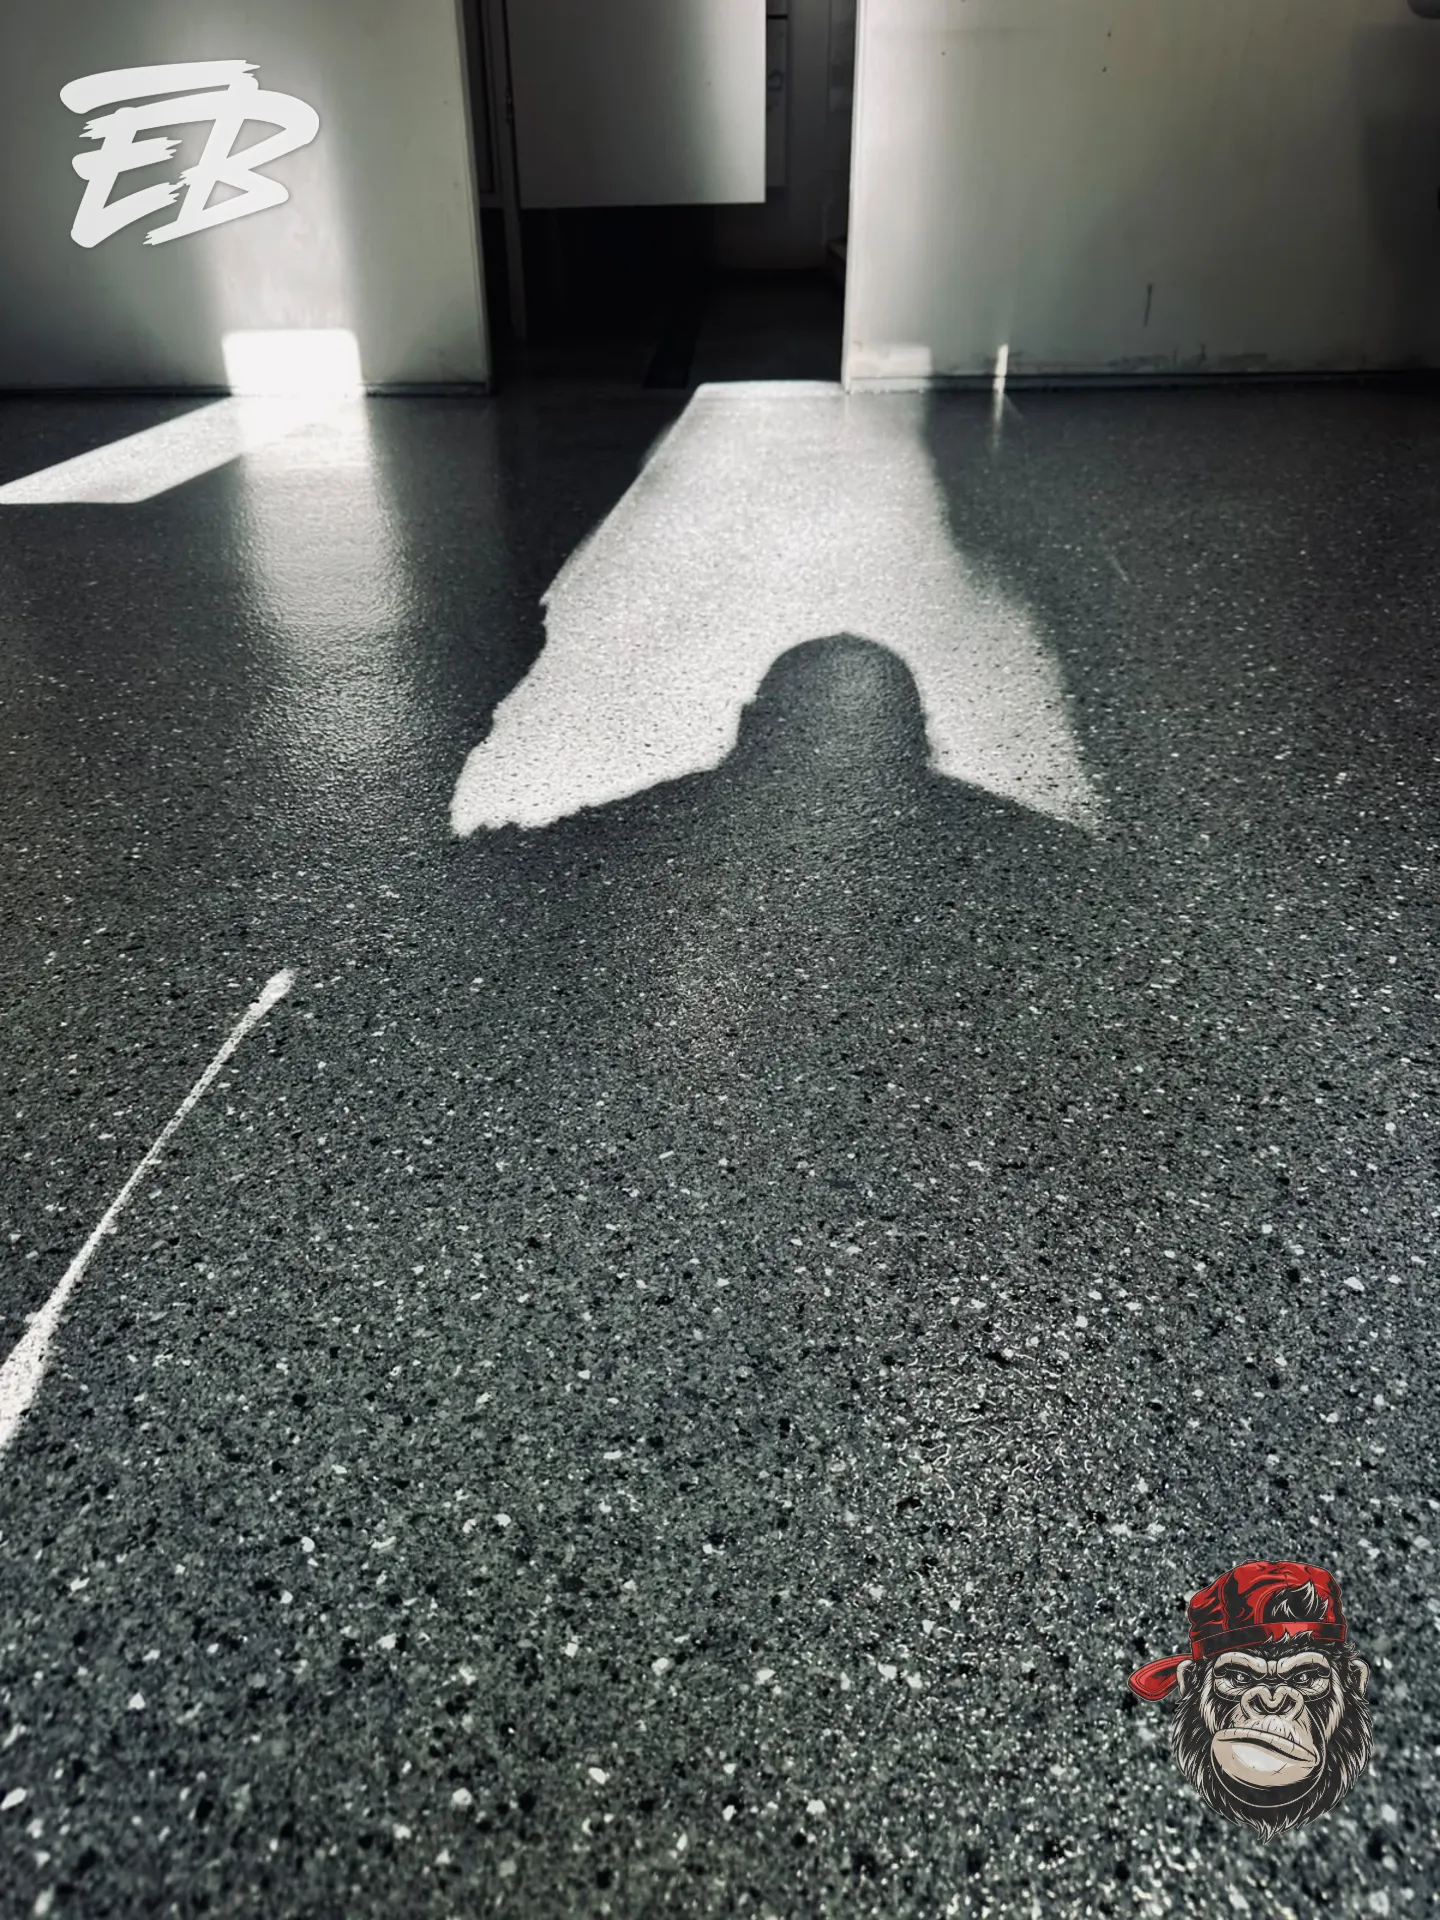
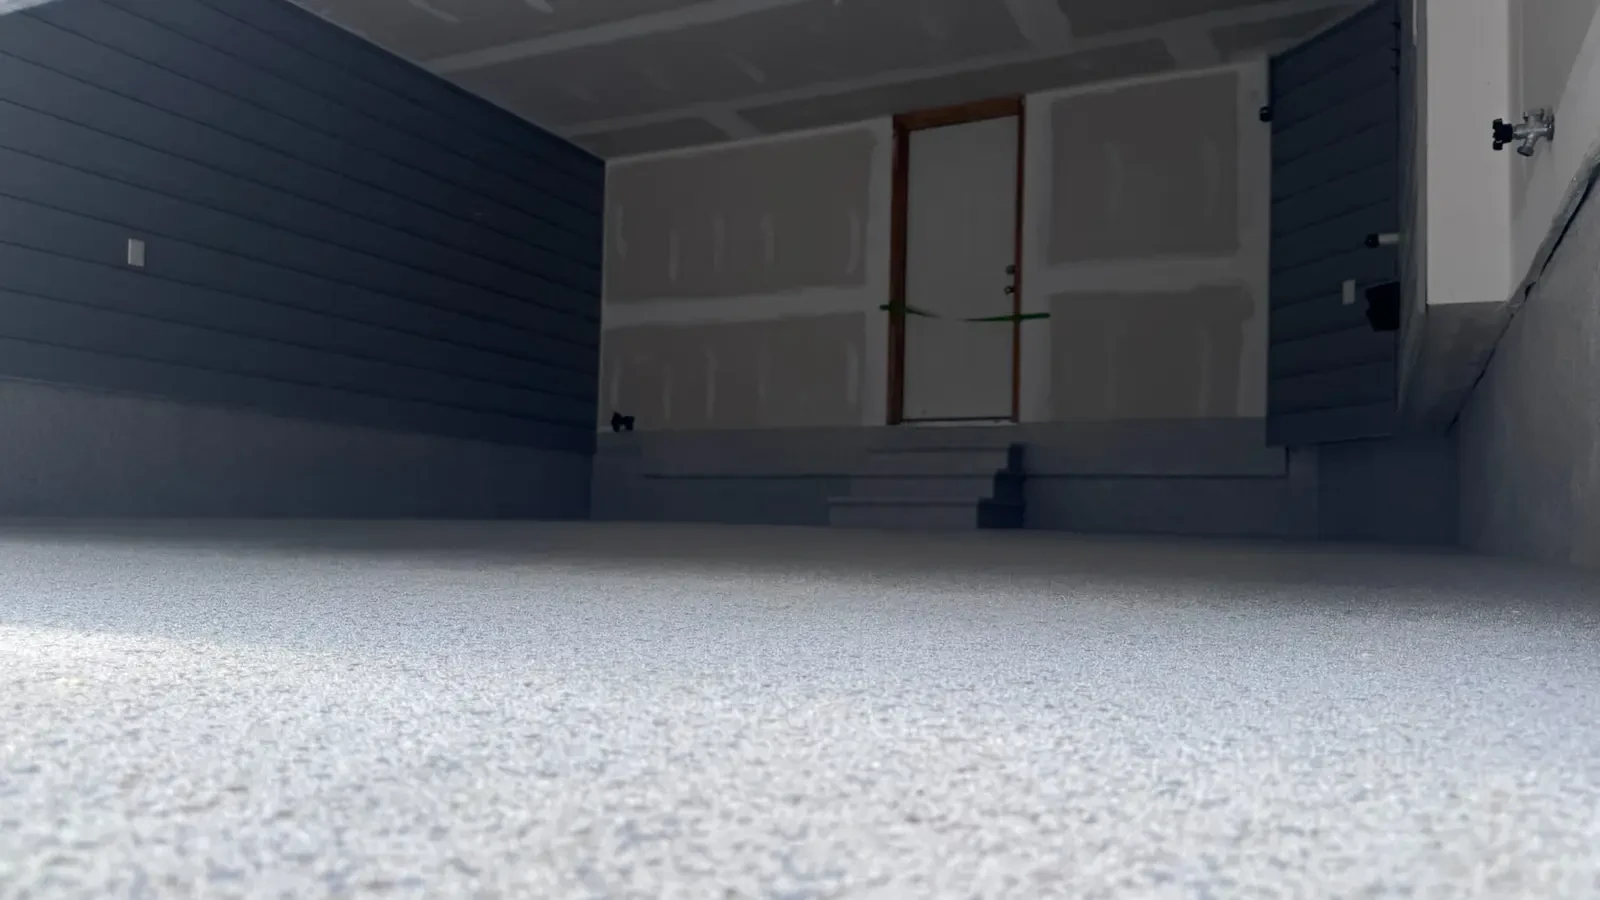
For a full-flake garage floor, a typical system may include a prepared concrete substrate, a compatible primer or base coat, a full decorative flake broadcast, a scrape and vacuum process, and a protective clear topcoat. The exact materials should be chosen after the floor has been assessed.
What Happens If Preparation Is Skipped?
Incomplete preparation can lead to:
- Peeling or delamination
- Blisters or bubbles
- Chipping at hot-tire areas
- Cracks showing through the finish
- Uneven appearance
- Poor adhesion around edges
- Failure over old paint or sealer
- Surface defects that become visible after installation
- Premature wear in high-use areas
These problems are often blamed on the coating product. In many cases they begin below it, at the concrete surface, the old layer, contamination, moisture, or a missed repair.
How to Get a Vaughan Garage Ready for Assessment
Homeowners do not need to attempt the full preparation process themselves. The most useful step is making sure the garage can be assessed properly. Before the assessment or installation:
- Remove vehicles, storage items, shelving, and loose belongings.
- Tell the contractor about any old coating, paint, water issues, or past repairs.
- Point out oil stains, recurring wet areas, cracks, and damaged spots.
- Avoid applying new sealers, cleaners, degreasers, or DIY patch materials just before the assessment.
- Confirm whether the scope includes coating removal, crack repair, surface repair, and moisture-related preparation.
- Ask what mechanical preparation method will be used.
The most valuable question to ask any contractor is: What condition is the concrete in now, and what preparation is included before the coating is applied?
Next Step for Your Garage
A garage floor coating should be built from the concrete upward. Whether your Vaughan garage has bare concrete, salt-related surface damage, cracks, a peeling old coating, or needs a full decorative flake system, preparation comes before appearance.
If you would like Epoxy Boss to review your floor, share your location, the approximate floor area, the current condition (bare concrete, painted, sealed, or previously coated), how the garage is used, and a few photos of any cracks, stains, peeling, or damp areas. That information helps frame what preparation and system options are worth discussing.
Frequently Asked Questions
Do I need to grind my garage floor before epoxy or polyaspartic?
In most professional garage coating installations, yes. Mechanical diamond grinding prepares the concrete for adhesion by removing weak surface material and creating a suitable surface profile.
Can epoxy or polyaspartic be installed over old garage floor paint?
Only if the existing layer is assessed and confirmed to be sound and compatible. If it is peeling, weak, unknown, sealed, or poorly bonded, removal is usually the safer approach.
Should cracks be repaired before coating a garage floor?
Yes. Cracks, chips, spalls, and damaged areas should be evaluated and repaired as part of preparation. Some movement-related cracks may remain faintly visible over time, but unstable or open damage should not be ignored.
Can road salt damage a Vaughan garage floor?
Yes. Road salt, snow, and repeated wet-dry cycles can contribute to pitting, scaling, staining, and surface deterioration, especially near the garage door and tire paths.
Is polyaspartic better than epoxy for garage floors?
Neither is automatically better in every situation. The right choice depends on concrete condition, preparation, moisture-related findings, system design, sun exposure, and performance goals. Both require proper surface preparation.
How long does garage floor preparation take?
It depends on the garage size, old-coating removal needs, concrete damage, crack repair, moisture conditions, and the coating system selected. Preparation is a major part of the project, not an optional add-on.