A Step-by-Step Guide: How to Seal a Concrete Garage Floor
Transforming your concrete garage floor from mundane to magnificent starts with proper sealing. In this comprehensive guide, Epoxy Boss will walk you through the step-by-step.
- How to seal concrete?

How to seal concrete?
Transforming your concrete garage floor from mundane to magnificent starts with proper sealing. In this comprehensive guide, Epoxy Boss will walk you through the step-by-step process of sealing your concrete garage floor. Whether you’re looking to enhance aesthetics, protect against stains, or increase longevity, follow our expert guidance to achieve a sealed garage floor that stands the test of time.
Step 1: Assessing the Concrete
Before diving into the sealing process, assess the condition of your concrete. Look for cracks, stains, or imperfections that may need repair. Epoxy Boss recommends addressing any issues before proceeding with the sealing to ensure a smooth and lasting finish.
Step 2: Cleaning and Preparing the Surface
Thoroughly clean the garage floor surface to remove dirt, dust, and any existing sealers. Utilize a concrete cleaner or degreaser, and consider etching the surface to enhance sealer adhesion. Epoxy Boss emphasizes the importance of a clean and prepared surface for optimal results.


Step 3: Repairing Cracks and Imperfections
Address any cracks or imperfections in the concrete by filling them with an appropriate patching compound. Epoxy Boss recommends a high-quality concrete patch to ensure a seamless and durable repair.
Step 4: Choosing the Right Sealer
Select a sealer that aligns with your goals. Whether you prioritize aesthetics, durability, or ease of maintenance, Epoxy Boss emphasizes the significance of choosing the right sealer for your specific needs. Options include penetrating sealers, acrylic sealers, and epoxy coatings.


Step 5: Applying the Sealer
Follow the manufacturer’s instructions for your chosen sealer. Typically, this involves using a roller or brush to evenly apply the sealer across the garage floor. Epoxy Boss advises applying the sealer in thin, even coats to achieve the desired level of protection and finish.
Step 6: Allowing Proper Drying Time
Patience is key during the drying process. Allow the sealer to cure according to the manufacturer’s recommendations before subjecting the surface to heavy use. Epoxy Boss stresses the importance of giving the sealer ample time to bond and provide optimal protection.
Step 7: Consider Additional Enhancements
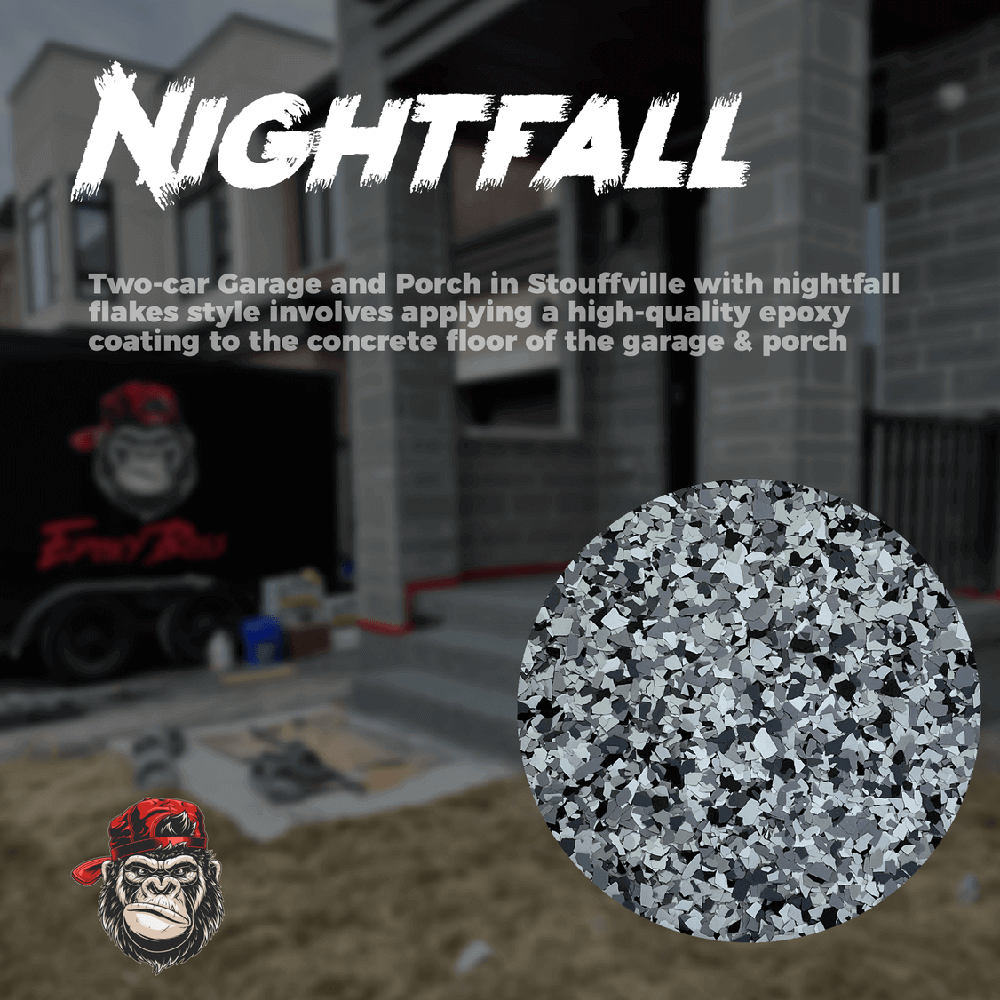
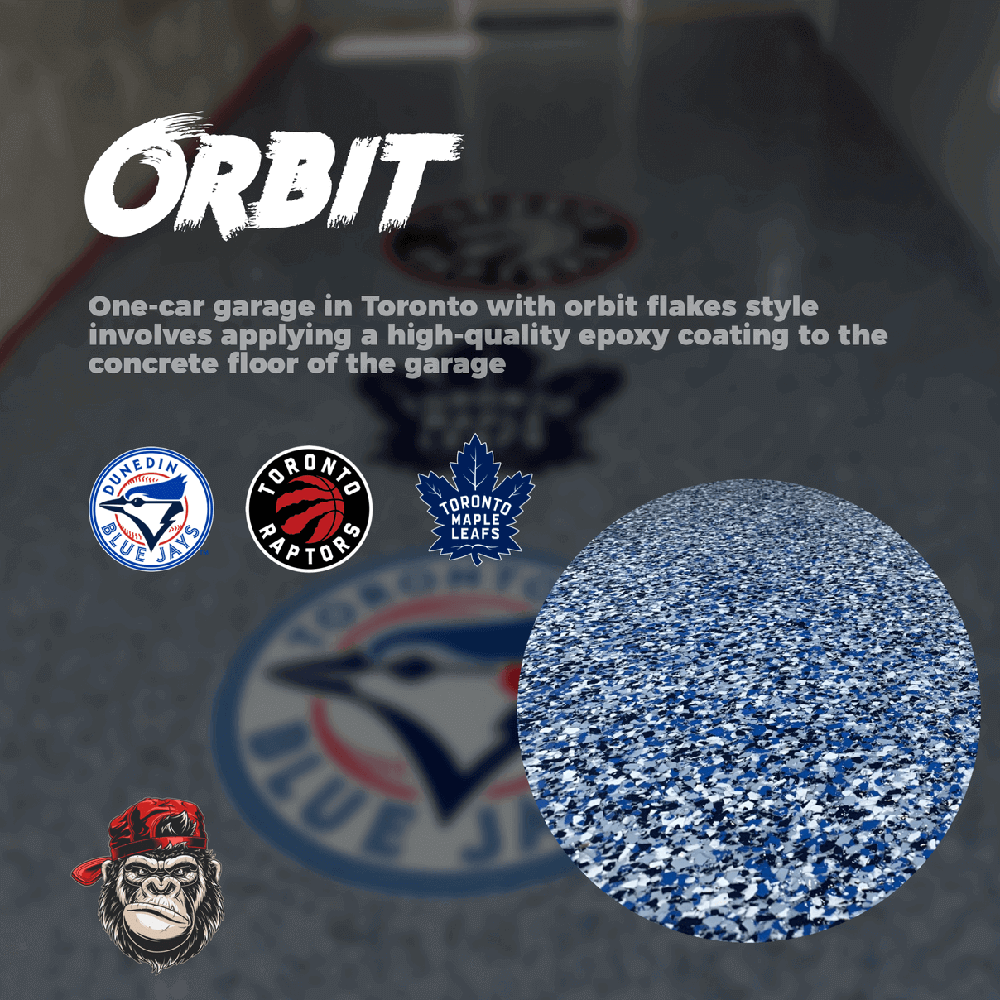
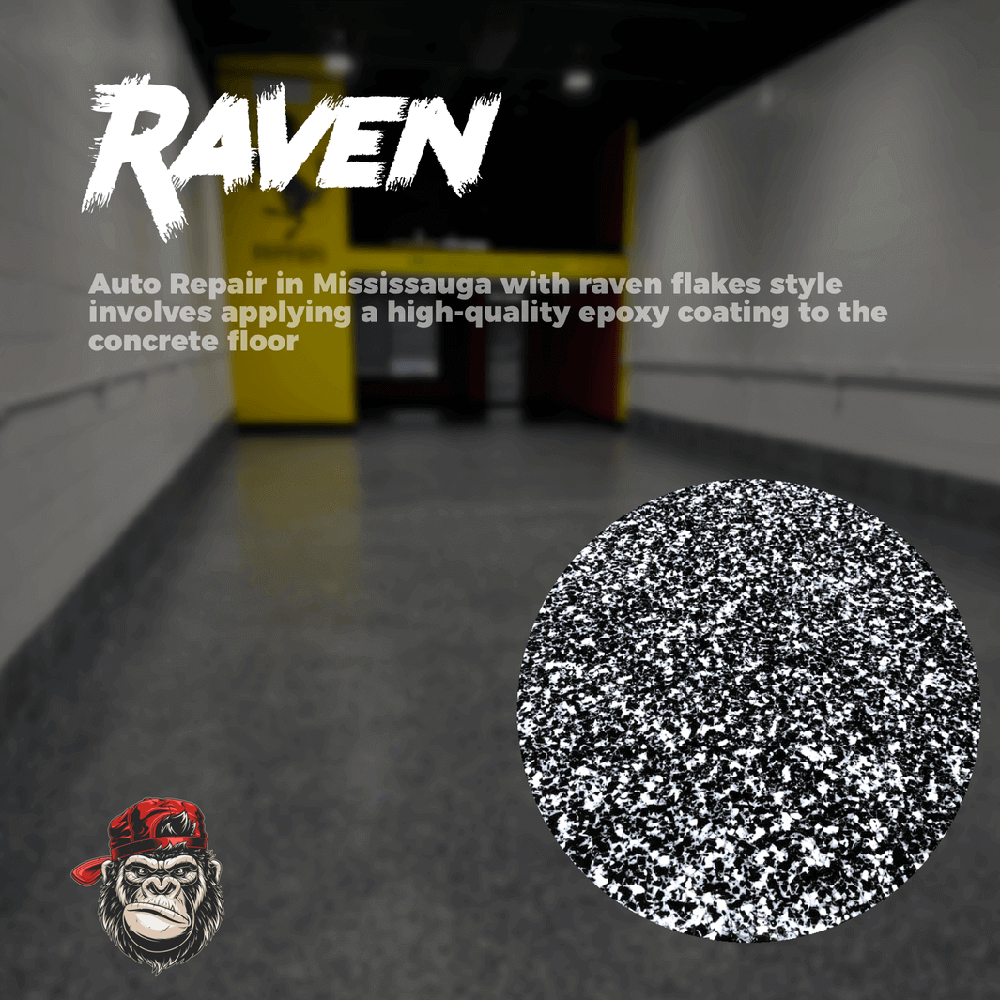
Depending on your goals, consider additional enhancements such as decorative flakes or pigments to customize the appearance of your garage floor. Epoxy Boss recommends coordinating with your chosen sealer for a cohesive and visually stunning finish.
Sealing a concrete garage floor is a transformative process that enhances both aesthetics and functionality. Epoxy Boss’s step-by-step guide empowers you to achieve professional-level results. Follow these expert recommendations to seal your concrete garage floor with confidence, creating a resilient, beautiful, and long-lasting surface.
Check Out Social Media Profiles
Epoxy Boss Company – How To Seal Concrete? | Call us at +1(905)775-5901 or visit our website to explore our services and request a personalized consultation.

